Are you looking to add a touch of elegance and style to your bookshelf without spending a fortune? Making bookshelf molding yourself is easier than you might think, and it can completely transform the look of your space.
Imagine the pride you’ll feel when you see your books lined up against beautifully framed shelves that you built with your own hands. In this guide, you’ll discover simple steps and tips that make the process smooth and enjoyable—even if you’ve never done any woodworking before.
Ready to upgrade your bookshelf and impress everyone who sees it? Let’s dive in and make your vision a reality.

Credit: www.youtube.com
Materials And Tools Needed
Before starting your bookshelf molding project, gather all materials and tools. Good preparation saves time and effort. Knowing what you need helps the project run smoothly.
Choosing The Right Wood
Select wood that fits your room style and budget. Pine is soft and easy to cut. Oak is strong and lasts long but costs more. MDF is smooth and paints well but is less durable. Choose wood that works best for your skill level and design.
Essential Tools Checklist
Use the right tools for clean and precise cuts. A miter saw helps cut angles easily. A measuring tape ensures correct lengths. A nail gun or hammer will attach molding firmly. Sandpaper smooths rough edges. A level keeps your work straight.
Safety Gear Essentials
Protect yourself during the project. Wear safety glasses to guard your eyes. Use ear protection when cutting wood. Gloves protect hands from splinters and cuts. A dust mask prevents breathing wood particles. Safety gear keeps you safe and comfortable.
Planning Your Bookshelf Molding
Planning your bookshelf molding is the first step to a successful project. It ensures the molding fits perfectly and looks great. Careful planning saves time and reduces mistakes. It helps you choose the right materials and tools. Follow a clear plan to create a smooth process and a beautiful result.
Measuring Your Space
Start by measuring the width and height of your bookshelf area. Use a tape measure for accurate results. Measure twice to avoid errors. Write down each measurement clearly. Note any obstacles like switches or vents. These details affect the molding size and shape.
Selecting A Molding Style
Choose a molding style that matches your room decor. Simple styles work well for modern looks. Ornate designs suit traditional rooms. Think about the size of the molding too. Large moldings stand out more. Small moldings give a subtle finish. Pick a style that fits your taste and space.
Creating A Cutting Plan
Plan your cuts before buying the wood. Draw a cutting layout on paper. Mark the lengths needed for each side. Account for corners and joints. This plan helps minimize waste. It also ensures you buy the right amount of material. Check angles and measurements carefully. A good plan makes cutting easier and more precise.
Cutting The Molding Pieces
Cutting the molding pieces is a key step in making bookshelf molding. It ensures the pieces fit perfectly and look neat. Precise cuts help the molding sit flush against the wall and shelves.
Take your time to measure and cut carefully. This process makes assembly easier and improves the final look. Use the right tools and follow simple steps for the best results.
Marking Accurate Measurements
Start by measuring the length you need for each piece. Use a tape measure for accuracy. Mark the cut line clearly with a pencil. Double-check your marks before cutting. Marking carefully prevents mistakes and wasted material.
Using A Miter Saw
A miter saw gives clean, precise cuts. Set the saw angle to match your molding corners. Hold the molding firmly in place. Cut slowly and steadily along the marked line. A miter saw makes angled cuts easier and more accurate.
Tips For Clean Cuts
Keep the saw blade sharp and clean. Support the molding firmly to avoid movement. Cut on the waste side of the line for exact fit. Sand edges lightly to remove splinters. These tips help create smooth, neat edges for your molding.
Assembling The Molding
Assembling bookshelf molding requires patience and care. This step ensures all parts fit well before final attachment. Taking time now saves trouble later. Follow each step to secure the molding firmly and neatly.
Dry Fitting The Pieces
Place all molding pieces together without glue or nails. Check angles and edges for a tight fit. Adjust cuts if gaps appear. This step helps avoid mistakes during final assembly. Make sure every corner aligns perfectly.
Applying Wood Glue
Use a small amount of wood glue on each joint. Spread it evenly to cover the entire surface. Avoid excess glue to prevent messy squeeze-out. Glue strengthens joints and holds pieces tightly. Work quickly, as glue can dry fast.
Nailing And Securing Joints
Use finishing nails to fasten the molding pieces together. Nail at an angle for a stronger hold. Drive nails just below the surface for a smooth finish. Fill holes with wood filler later for a clean look. Secure all joints firmly to prevent gaps.
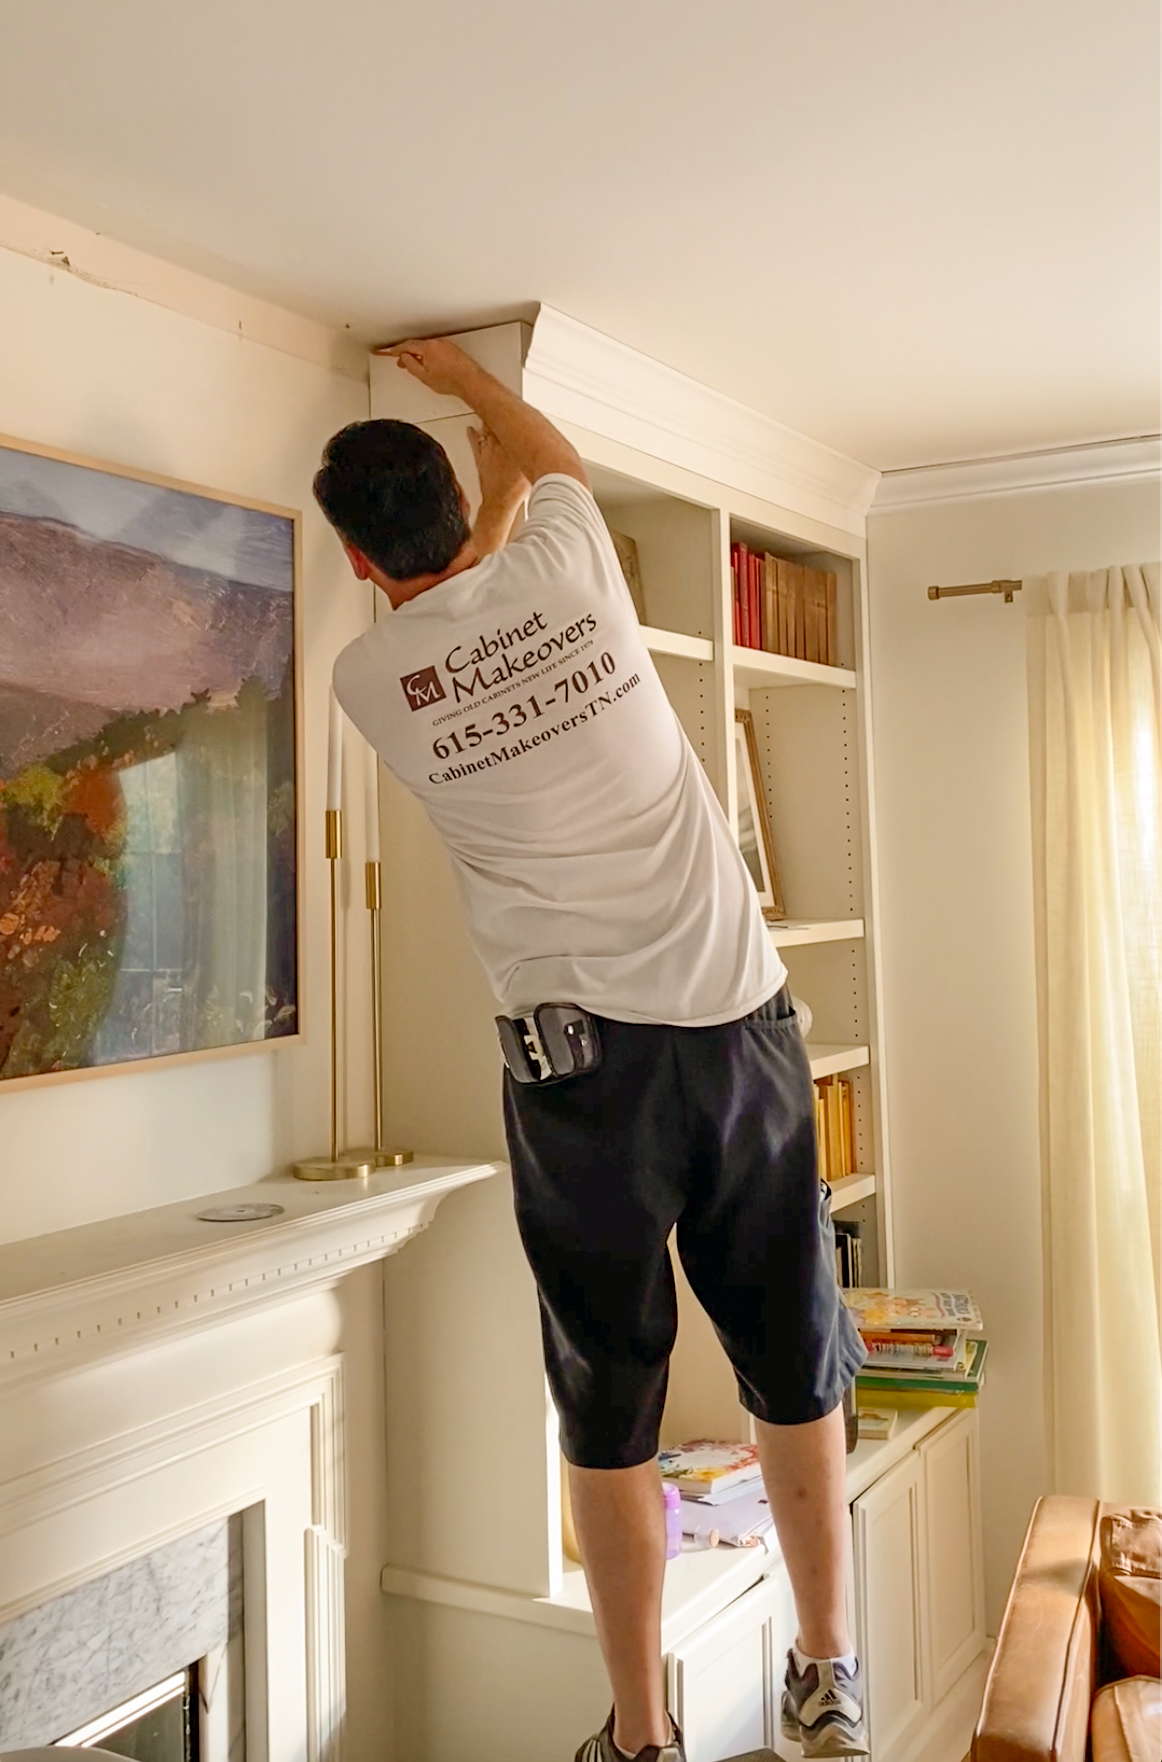
Installing The Molding On Your Bookshelf
Installing the molding on your bookshelf adds a polished, professional look. This step completes the design and makes your bookshelf stand out. Follow clear steps to attach molding correctly and neatly. Proper installation keeps the molding secure and enhances the bookshelf’s style.
Preparing The Bookshelf Surface
Start by cleaning the surface where the molding will go. Remove dust, dirt, and grease using a damp cloth. Let the surface dry completely. Sand rough spots lightly for better adhesion. Make sure edges are smooth and even. A clean, smooth surface helps the molding stick well.
Attaching Molding With Nails
Use small finishing nails to attach the molding. Hold the molding firmly against the bookshelf. Nail at an angle to avoid splitting the wood. Space nails about every 12 inches for good hold. Countersink nails slightly below the molding surface. This method keeps the molding tight and secure.
Filling Gaps And Seams
Fill any nail holes and gaps with wood filler. Use a putty knife to smooth the filler evenly. Let it dry fully before sanding. Sand gently to blend the filler with the molding. This step hides imperfections and creates a clean finish. Paint or stain the molding after filling for a perfect look.

Credit: www.youtube.com
Finishing Touches
Finishing touches bring your bookshelf molding to life. They smooth rough edges and protect the wood. These steps make your project look clean and last longer. Taking time here improves the final result a lot.
Sanding For Smoothness
Start by sanding the molding with fine-grit sandpaper. This removes splinters and rough spots. Sand along the grain for the best finish. Wipe dust off with a damp cloth. Smooth surfaces help paint or stain stick well.
Priming And Painting Options
Apply a primer to seal the wood and improve paint hold. Use a brush or spray for even coverage. Let the primer dry completely before painting. Choose paint that matches your room style. Light colors brighten the space. Dark colors add depth and contrast.
Sealing For Durability
Seal the molding to protect it from damage. Use clear polyurethane or a water-based sealer. Apply thin coats and let each dry well. Sealing guards against scratches and moisture. This step helps your molding stay beautiful for years.
Common Mistakes To Avoid
Making bookshelf molding can be a fun project. Avoiding common mistakes saves time and frustration. These errors can affect the look and strength of your molding. Watch out for these common pitfalls to get better results.
Incorrect Measurements
Measuring wrong is one of the biggest mistakes. Cut pieces too short or too long will not fit well. Always double-check your measurements before cutting. Use a reliable tape measure and mark clearly. Measure twice, cut once is a good rule to follow.
Poor Joint Alignment
Joints that do not line up look messy and weak. Make sure corners meet perfectly at the right angles. Use a miter saw for clean cuts. Clamp pieces together before nailing to keep them steady. Sand rough edges to improve the fit of joints.
Skipping Surface Preparation
Surface preparation is key for a smooth finish. Dirt, dust, or old paint can ruin the look. Clean the wood thoroughly before painting or staining. Sand the surface lightly to help paint stick. Skipping this step can cause peeling or uneven color.
Creative Ideas For Customization
Customizing bookshelf molding gives your shelves a unique look. It can match your room’s style perfectly. Simple changes can make your shelves stand out. Here are some creative ideas to personalize your molding.
Adding Decorative Accents
Decorative accents bring charm and detail to plain molding. Small pieces like rosettes or corner blocks add flair. Use trim with patterns or shapes for a classic touch. You can also attach thin wood strips for texture. These accents create a finished, elegant look.
Using Stains And Finishes
Stains change the color and highlight the wood grain. Choose a light stain for a fresh, modern feel. Dark stains give a warm, traditional vibe. Clear finishes protect the wood and add shine. Matte finishes work well for a subtle, soft effect. Try layering stains for a rich, deep color.
Incorporating Lighting Elements
Lights add mood and highlight your books or decor. LED strip lights fit neatly under the molding. They give soft, even light without heat. Small spotlights can focus on special items. Battery-operated lights are easy to install. Lighting makes your shelves inviting and stylish.
Credit: inhonorofdesign.com
Frequently Asked Questions
What Materials Are Needed For Bookshelf Molding?
You need wood molding, measuring tape, saw, nails, wood glue, sandpaper, primer, and paint. These tools help create a smooth, secure finish for your bookshelf molding project.
How Do I Measure For Bookshelf Molding?
Measure the length and height of your bookshelf edges. Add a few extra inches for cutting errors and mitered corners. Accurate measurements ensure a perfect fit and professional look.
Can I Install Bookshelf Molding Myself?
Yes, with basic carpentry skills, you can install it yourself. Follow the steps carefully, use proper tools, and take safety precautions. DIY installation saves money and allows customization.
How Do I Finish Bookshelf Molding?
Sand the molding to smooth rough edges. Apply primer and paint or stain as desired. Finishing enhances durability and complements your bookshelf’s style.
Conclusion
Creating bookshelf molding adds charm and style to any room. Follow each step carefully for the best results. Use the right tools and measure twice before cutting. Take your time to fit the pieces neatly and securely. Painting or staining the molding enhances the final look.
Enjoy the satisfaction of a beautiful, custom bookshelf. This simple project boosts your home’s value and appeal. Keep practicing, and your skills will improve quickly. Try this project to add a personal touch to your space.