Are you looking to add a safe and sturdy ladder to your bunk bed? Building your own ladder might seem tricky, but with the right steps, you can create one that fits perfectly and lasts for years.
Imagine having a ladder that matches your bed’s style and keeps your kids safe every night. In this guide, you’ll discover simple tips and clear instructions to make your own bunk bed ladder easily. Keep reading, and by the end, you’ll feel confident to start your project and enjoy the satisfaction of a job well done.
Materials Needed
Gathering the right materials is key to building a strong bunk bed ladder. This step ensures safety and durability. Focus on quality wood, proper tools, and safety gear before starting your project.
Choosing The Right Wood
Select wood that is sturdy and smooth. Pine, oak, or maple are good choices. Avoid soft woods that may break easily. Make sure the wood is dry and free of cracks or knots. Cut the wood to fit the ladder size needed.
Tools Required
Use essential tools for accuracy and efficiency. A saw for cutting wood, a drill for screws, and sandpaper for smoothing edges. A measuring tape and pencil help with precise marks. A screwdriver or power drill is needed for assembly.
Safety Equipment
Protect yourself during the build. Wear safety goggles to shield your eyes from dust. Use gloves to avoid splinters and cuts. A dust mask prevents inhaling sawdust. Keep a first aid kit nearby for minor injuries.
Credit: plankandpillow.com
Designing The Ladder
Designing the ladder for your bunk bed is an important step. A well-designed ladder ensures safety and comfort. It also fits well with the bunk bed size and style. Careful planning helps avoid mistakes during building.
Start by understanding the bunk bed height and space available. Next, decide the ladder dimensions. Finally, pick a style that suits your room and needs.
Measuring The Bunk Bed Height
Use a tape measure to find the exact height from floor to top bunk edge. Measure straight up for accuracy. Note the height in inches or centimeters. This number helps decide ladder length and step spacing. Double-check the measurement for safety.
Determining Ladder Dimensions
The ladder length should match bunk bed height plus a little extra. Add about 12 inches for stability on the floor. Step width must be wide enough for feet to fit comfortably. Space steps evenly, about 10 to 12 inches apart. Ladder width often ranges from 12 to 16 inches.
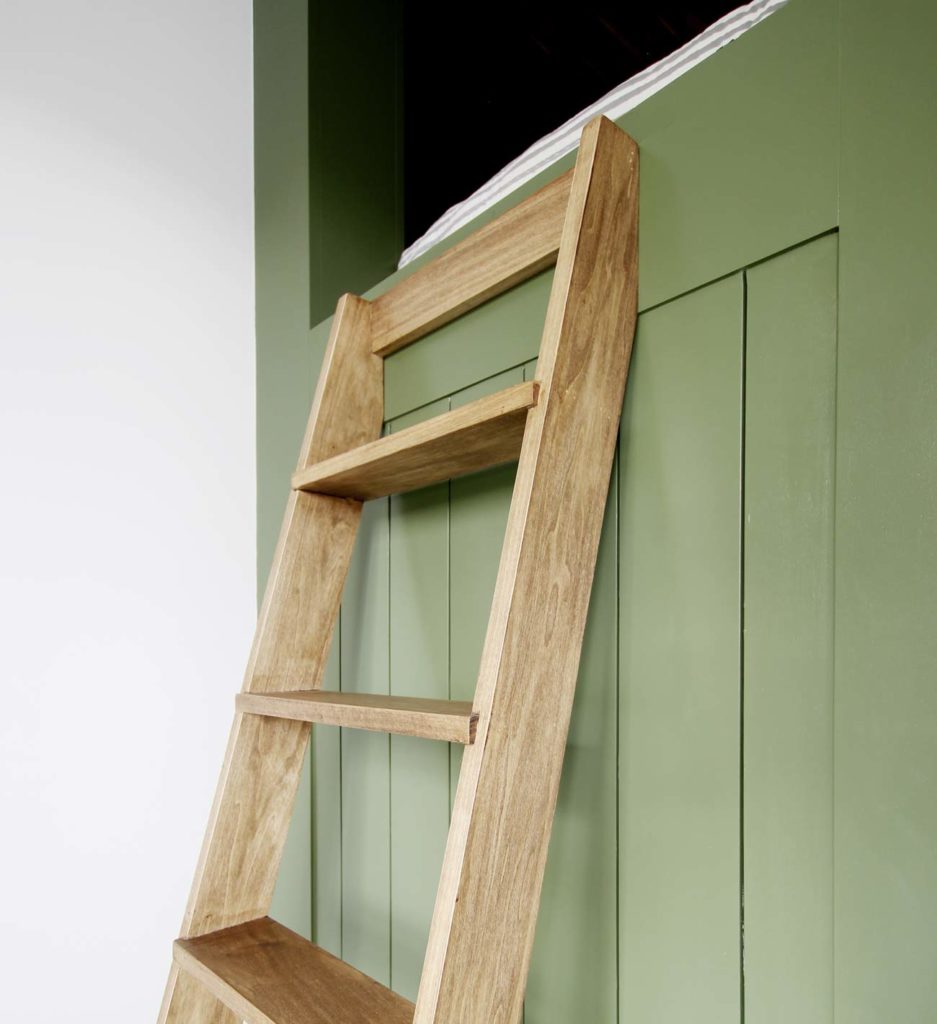
Choosing Ladder Style
Pick a style that matches the bunk bed design. Straight ladders are simple and space-saving. Angled ladders offer easier climbing but need more room. Some ladders have flat steps, others use round rungs. Consider material too: wood looks warm, metal feels modern. Choose what fits your room and child’s comfort best.
Cutting The Wood
Cutting the wood is a key step in making a ladder for a bunk bed. This process shapes the ladder parts and ensures they fit perfectly. Precise cuts make the ladder strong and safe to use. Careful planning and steady hands help achieve clean cuts. Follow each step with focus for the best results.
Marking Measurements
Start by measuring the wood pieces for the ladder. Use a tape measure and pencil for clear marks. Mark the length of the ladder rails and steps carefully. Double-check each measurement before cutting. Draw straight lines with a ruler or square tool. Clear marks guide the saw and prevent mistakes.
Safe Cutting Techniques
Wear safety goggles and gloves before cutting the wood. Use a sharp saw for smooth and clean cuts. Hold the wood firmly on a stable surface. Cut slowly along the marked lines to avoid splintering. Keep your fingers away from the blade at all times. Take breaks if your hands get tired to stay steady.
Assembling The Ladder
Assembling the ladder for your bunk bed is a key step. It ensures safety and ease of use. Follow clear steps to build a strong, stable ladder. This part guides you through attaching the parts correctly. Simple tools and care make the job easier. Take your time for the best results.
Attaching The Side Rails
Start by placing the two side rails on a flat surface. Make sure they are parallel and the same length. Use clamps to hold them steady. Mark where each rung will go, spacing evenly. Drill pilot holes to prevent wood splitting. Secure the rails using wood screws. Check that the rails are straight and firm.
Fixing The Rungs
Cut the rungs to the right length for your ladder width. Sand the edges smooth to avoid splinters. Fit each rung into the pilot holes on the side rails. Attach with wood screws or strong nails. Use a level to keep the rungs horizontal. Tighten all screws so the rungs do not move. Space the rungs evenly for easy climbing.
Ensuring Structural Stability
Check the entire ladder for wobbling or loose parts. Tighten any loose screws or nails. Add wood glue to joints for extra strength. Let the glue dry completely before use. Test the ladder by applying weight gently. Make sure it supports weight without bending. A stable ladder keeps your bunk bed safe.
Securing The Ladder To The Bunk Bed
Securing the ladder to the bunk bed is a key step for safety. A loose ladder can cause falls and injuries. Proper attachment keeps the ladder steady and safe for use. Focus on strong points and secure fasteners. Test the ladder after installation to ensure it holds well.
Choosing Attachment Points
Select strong parts of the bunk bed frame to attach the ladder. The side rails or corner posts work best. Avoid weak or thin wood that may break. Measure carefully to find the right height for the ladder. Mark spots that allow easy climbing without blocking space.
Using Brackets And Screws
Use metal brackets for firm support. Attach brackets with wood screws that fit tightly. Pre-drill holes to prevent wood splitting. Secure the ladder at two or more points for balance. Tighten all screws until the ladder feels solid and does not wobble.
Testing Ladder Stability
Push and pull the ladder gently to check movement. Climb the ladder slowly to test strength. Listen for any creaking or loose parts. Fix any shaky spots by tightening screws again. Repeat testing until the ladder feels safe and steady.

Credit: www.youtube.com
Finishing Touches
Finishing touches make your bunk bed ladder safe and beautiful. These small steps improve the ladder’s look and feel. They also protect the wood and make climbing easier. Follow these tips to complete your project perfectly.
Sanding Rough Edges
Sand all rough edges and corners carefully. Use fine-grit sandpaper for a smooth surface. Check every step and side for splinters. Smooth wood feels better and prevents injuries. Take your time to avoid sharp spots.
Applying Paint Or Varnish
Choose paint or varnish for protection and style. Paint adds color and hides marks. Varnish shows the wood grain and guards against moisture. Apply thin, even coats with a brush. Let each coat dry completely before the next.
Adding Non-slip Features
Non-slip features increase safety on the ladder steps. Use adhesive strips or rubber pads on each step. These materials stop slipping and provide better grip. Test the ladder after adding them to ensure stability. Safety first for happy climbing.
Safety Tips
Safety is the top priority when building a ladder for a bunk bed. A strong and secure ladder prevents accidents. It keeps children safe while climbing up or down. Simple precautions help avoid injuries. Here are important safety tips to follow.
Regular Maintenance Checks
Inspect the ladder often for loose screws or cracks. Tighten any loose parts right away. Check the wood or metal for signs of wear. Replace damaged pieces immediately. Clean the ladder to remove dirt and dust. Regular care extends the ladder’s life and keeps it safe.
Weight Limits
Know the ladder’s weight limit before use. Do not let more weight than allowed on it. Heavy loads can cause the ladder to break. Always follow the manufacturer’s or builder’s weight guidelines. This keeps the ladder strong and prevents accidents.
Supervision Recommendations
Children should use the ladder under adult supervision. Watch them closely while climbing or descending. Teach kids to hold the ladder firmly with both hands. Remind them to climb slowly and carefully. Adults nearby reduce risks and ensure safe use.

Credit: neurocin.com.br
Frequently Asked Questions
How Do I Build A Safe Ladder For A Bunk Bed?
To build a safe bunk bed ladder, use sturdy wood and secure joints. Measure carefully for proper height and width. Sand edges smooth to avoid splinters. Attach the ladder firmly to the bed frame to prevent movement. Always test stability before use.
What Materials Are Best For A Bunk Bed Ladder?
Wood is the most common and durable material for bunk bed ladders. Choose hardwoods like oak or maple for strength. Avoid soft woods that may crack easily. Use non-toxic paint or varnish for finishing to ensure child safety.
How Do I Attach A Ladder To A Bunk Bed?
Attach the ladder by securely screwing it to the bed frame. Use brackets or metal braces for extra support. Ensure the ladder is angled correctly to provide safe climbing. Double-check all screws and connections before use.
What Are The Ideal Ladder Dimensions For Bunk Beds?
The ideal ladder width is 12 to 15 inches for comfortable climbing. Step spacing should be 8 to 10 inches apart. Ladder height must match the bunk bed height precisely. Proper dimensions ensure safety and ease of use.
Conclusion
Building a ladder for a bunk bed can be simple and safe. Choose strong wood and measure carefully. Cut pieces to the right size and join them tightly. Sand all edges to avoid splinters. Attach the ladder firmly to the bed frame.
Check stability before use. A well-made ladder helps kids climb safely every day. Taking time to build it right pays off. Try it yourself and enjoy a sturdy, reliable ladder. Safety and care matter most in this project.