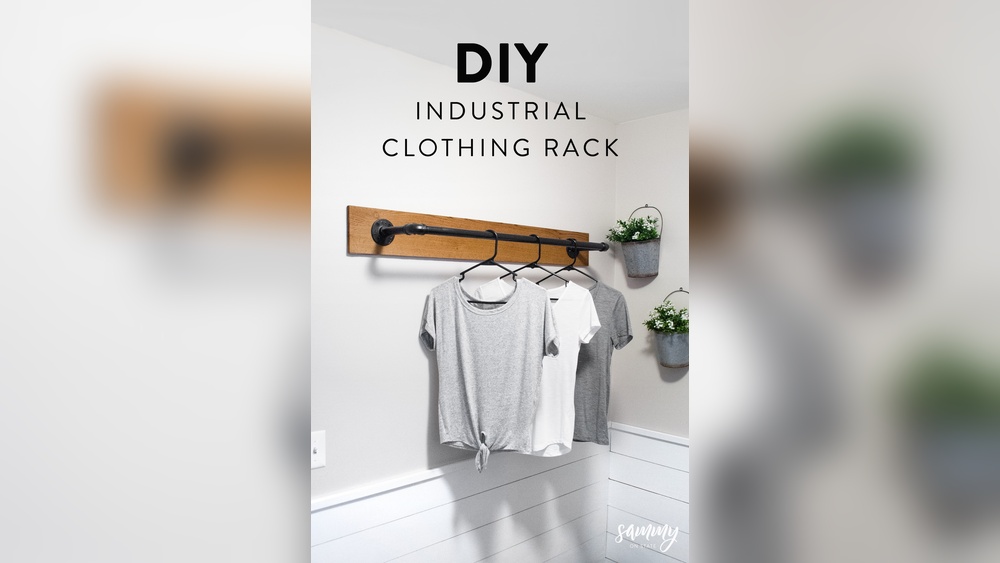
Looking for a stylish and practical way to organize your coats and accessories? You’re in the right place.
Making a rustic coat rack is easier than you think, and it adds a warm, charming touch to any room. Imagine having a unique piece that not only keeps your space tidy but also sparks conversations. In this guide, you’ll discover simple steps to create your own rustic coat rack, even if you’re new to DIY projects.
Ready to transform your entryway with something truly special? Let’s get started!
Credit: www.esseg.eu
Choosing Materials
Choosing the right materials is key to a sturdy and charming rustic coat rack. The materials set the tone and ensure your rack lasts long. Focus on wood type and hardware for the best results. Both elements should match your style and hold weight well.
Selecting The Wood
Wood gives the rustic coat rack its natural look. Choose wood with a rough texture and visible grain. Reclaimed wood is perfect for an authentic rustic feel. Pine, oak, and cedar work well. These woods are strong and easy to work with. Avoid soft woods that may dent or break easily. Sand the wood lightly to keep its natural charm.
Picking Hooks And Hardware
Hooks hold coats, hats, and bags securely. Metal hooks with a worn or matte finish suit rustic styles. Black iron or bronze hooks add character. Choose hooks that can support heavy weight. Screws and nails should be sturdy and rust-resistant. Match hardware color with hooks for a cohesive look. Simple designs often work best for rustic racks.
Tools Needed
Before starting your rustic coat rack project, gather the right tools. The right tools make the work easier and the result better. Basic tools handle the main tasks. Optional accessories help with details and finishing touches.
Basic Tools
A saw cuts the wood to the right size. A drill makes holes for screws and hooks. Sandpaper smooths rough edges for a clean look. A measuring tape ensures all parts fit perfectly. A pencil marks where to cut and drill. A screwdriver fastens screws securely. These tools are essential for building your coat rack.
Optional Accessories
A wood clamp holds pieces steady while working. A level checks that your rack is straight. Wood glue adds extra strength to joints. Paintbrushes help apply stain or paint for a rustic finish. A hammer can help with nails or adjusting parts. These accessories improve your project’s quality and ease.
Preparing The Wood
Preparing the wood is the first step in making a rustic coat rack. It sets the base for a sturdy and attractive final product. Good preparation means the coat rack will last longer and look better on your wall.
Measuring And Cutting
Start by measuring the wood pieces carefully. Use a tape measure and mark the lengths with a pencil. Double-check the marks to avoid mistakes. Cut the wood with a saw, following the marks closely. Straight, clean cuts help the rack fit together well.
Sanding And Finishing
After cutting, sand the wood to smooth rough edges. Use medium-grit sandpaper first, then fine-grit for a soft finish. Sand all sides evenly to avoid splinters. Finish by wiping off dust with a damp cloth. This step makes the wood ready for painting or staining.
Assembling The Rack
Assembling the rustic coat rack is a simple process that brings all the parts together. Focus on each step carefully to ensure a sturdy and attractive rack. Take your time and follow these instructions to build a reliable piece for your home.
Attaching The Hooks
Start by placing the hooks evenly along the wooden board. Use a ruler to measure equal spaces between each hook. Mark the spots lightly with a pencil. Align each hook with the marks and screw them in firmly. Make sure the hooks are tight and straight. This will hold coats and bags securely.
Securing The Backing
Next, attach the backing board to the main frame. This backing adds strength and keeps the rack stable. Position the backing flush with the edges of the main board. Use wood glue or screws to fix it in place. Check that the backing is secure before hanging the rack on the wall. This step ensures your coat rack lasts a long time.
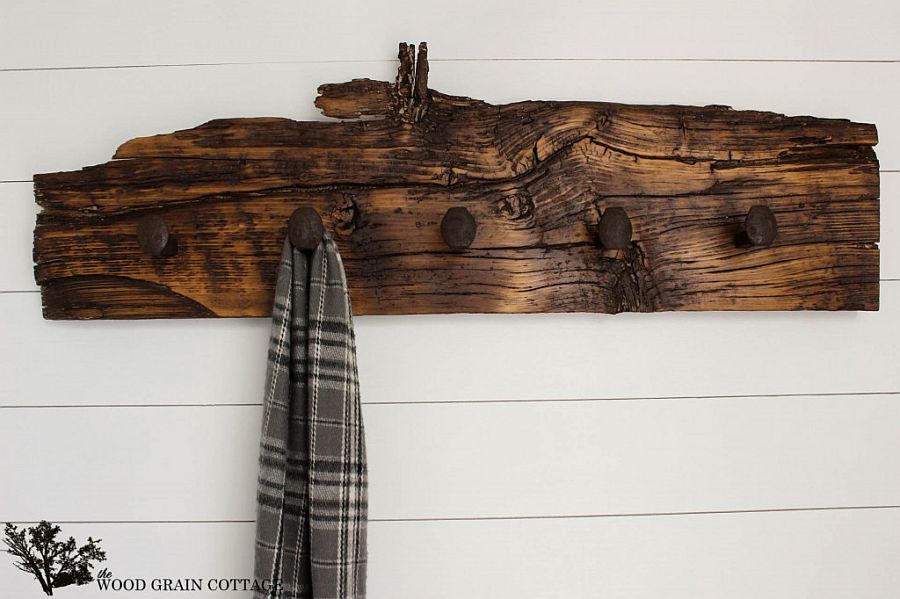
Adding Rustic Touches
Adding rustic touches transforms a plain coat rack into a charming piece. It gives the rack a warm, natural look. Rustic style means rough textures, natural colors, and aged appearance. This style fits well in country homes and cozy spaces. Simple steps can help you create that perfect rustic feel.
Distressing Techniques
Distressing makes wood look old and worn. Use sandpaper to rub edges and corners gently. Scratches and dents add character. You can also tap the wood with a hammer or chain for small marks. Use a wire brush to roughen the surface. These simple steps create an authentic rustic look.
Applying Stain Or Paint
Choose natural wood stains in brown, gray, or deep red. Apply stain with a cloth or brush. Let it soak for a few minutes, then wipe off the excess. For paint, pick muted colors like white or soft blue. Use a dry brush to apply paint lightly, leaving some wood showing. This method keeps the rustic charm alive.

Credit: www.youtube.com
Mounting The Coat Rack
Mounting the coat rack is a key step in your rustic project. It ensures the rack stays secure and looks great. Proper mounting helps the rack hold heavy coats without falling. Let’s explore how to find the right spot and some tips for installation.
Finding The Right Spot
Choose a wall near your door or hallway. It should be easy to reach when entering your home. Avoid places with too much moisture or direct sunlight. Measure the space to fit your rack size perfectly. Check the wall surface for sturdiness. Drywall alone may not support heavy weight well.
Installation Tips
Use a stud finder to locate studs behind the wall. Screwing into studs offers the best support. Mark the spots for screws before drilling. Use a level tool to keep the rack straight. Pre-drill holes to avoid splitting the wood. Use strong screws and wall anchors if needed. Tighten screws firmly but avoid over-tightening. Test the rack by gently pulling on it after installation.
Maintenance And Care
Keeping your rustic coat rack in good shape takes simple care and attention. Regular cleaning and quick repairs help it last longer and look great. This section explains easy steps to maintain your coat rack effectively.
Cleaning
Dust your coat rack often with a soft cloth. Use a damp cloth for sticky spots. Avoid harsh chemicals that can damage the wood. Dry the surface well to prevent moisture damage. Clean hooks and metal parts carefully to stop rust.
Repairing Wear And Tear
Check your coat rack for loose screws or hooks. Tighten them with a screwdriver to keep the rack sturdy. Sand rough or chipped wood areas gently. Apply wood finish or sealant to protect the surface. Replace broken parts quickly to avoid further damage.

Credit: www.thehandcraftedhaven.com
Frequently Asked Questions
What Materials Are Needed For A Rustic Coat Rack?
You need wood planks, hooks, screws, sandpaper, and wood stain. Choose reclaimed or natural wood for authenticity. Hooks can be metal or vintage style to enhance the rustic look.
How Do I Prepare Wood For A Rustic Coat Rack?
Sand the wood thoroughly to remove rough edges and splinters. Wipe off dust before staining or painting. This ensures a smooth, clean surface and better finish.
Can I Customize The Size Of My Coat Rack?
Yes, customize the length and number of hooks based on your space. Measure your wall area before starting. Adjust wood size accordingly for a perfect fit.
What Finishing Options Suit A Rustic Coat Rack?
Use natural stains, matte varnish, or wax for a rustic feel. Avoid glossy finishes as they reduce the rustic charm. Finishes protect wood and enhance grain texture.
Conclusion
Building a rustic coat rack brings charm to any space. It adds warmth and keeps your area neat. The steps are simple and fun to follow. Use basic tools and materials you have. Personal touches make your rack truly unique.
Enjoy the satisfaction of creating something useful. Try this project to enhance your home today.