Your bathroom vanity cabinet can be the centerpiece of your space, but over time, it might start to look dull or outdated. What if you could give it a fresh, stylish makeover without spending a fortune?
Painting your bathroom vanity cabinet is easier than you think, and it can completely transform the look of your bathroom. In this guide, you’ll discover simple, step-by-step tips to help you achieve a smooth, professional finish. Ready to turn your bathroom into a place you love?
Keep reading, and let’s get started!
Preparing The Vanity Cabinet
Preparing the vanity cabinet is the first key step to a great paint job. A clean, smooth surface helps the paint stick better. This step prevents peeling or uneven color. Take your time to get the cabinet ready. It makes the final result look professional and last longer.
Removing Hardware And Doors
Start by taking off all hardware like knobs and handles. Use a screwdriver for this job. Remove the cabinet doors carefully and set them aside. This allows you to paint every corner evenly. Keep all screws and parts in a safe place. It makes reassembly easier later.
Cleaning And Sanding Surfaces
Clean the cabinet thoroughly to remove dirt and grease. Use warm water and mild soap with a sponge. Let the cabinet dry completely. Next, sand the surfaces with fine-grit sandpaper. Sanding roughs up the finish so paint sticks well. Wipe away dust with a damp cloth before painting.
Repairing Imperfections
Check the cabinet for dents, scratches, or holes. Fill these spots with wood filler or putty. Let the filler dry as the instructions say. Sand the filled areas smooth so they blend with the surface. Clean off dust once more to keep the surface ready.

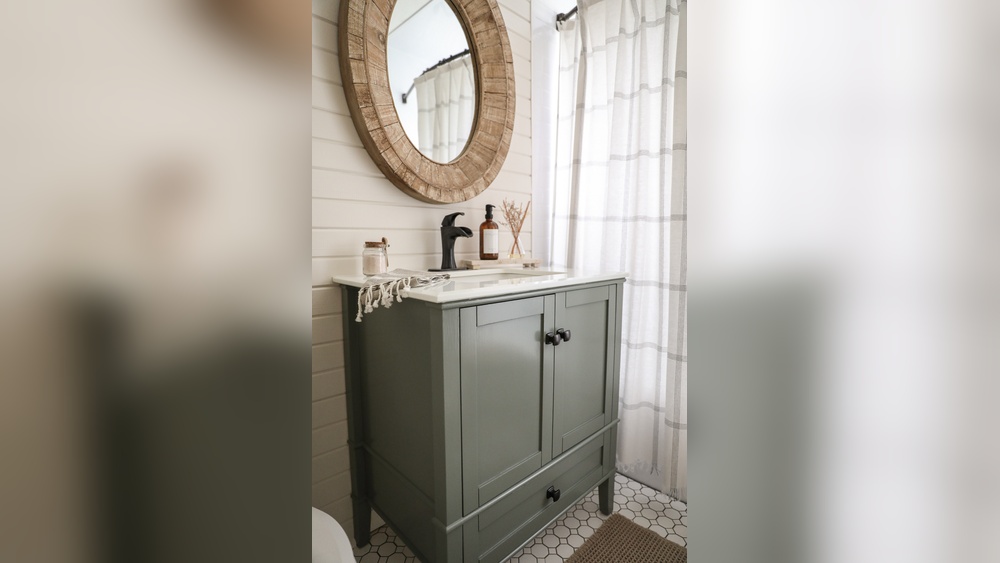
Credit: lizpacini.com
Choosing Paint And Supplies
Choosing the right paint and supplies is key to a successful bathroom vanity makeover. The paint must resist moisture and wear. The tools should make the job easier and the finish smooth. This section helps you pick the best paint and gather the right supplies.
Selecting The Right Paint Type
Bathroom vanities face water, steam, and frequent use. Use paint that handles moisture well. Semi-gloss or satin finishes work best. They resist water and are easy to clean. Avoid flat or matte paints. They absorb moisture and can peel. Look for paints labeled for kitchens or bathrooms. These have mildew-resistant properties. Choose a paint made for wood or cabinets. It sticks better and lasts longer.
Gathering Necessary Tools
Good tools make painting easier and neater. Get a high-quality brush with synthetic bristles. It applies paint smoothly on cabinets. Use a small foam roller for flat surfaces. It reduces brush marks. Sandpaper or a sanding block helps prepare the surface. Clean the cabinet with mild soap and water first. Use painter’s tape to protect edges and hardware. Have a drop cloth ready to catch spills. Also, get a screwdriver to remove doors and drawers.
Priming The Cabinet
Priming the cabinet is an important step before painting your bathroom vanity. It helps the paint stick better and lasts longer. Primer also covers old colors and stains. This creates a smooth base for your new paint.
Skipping primer can lead to peeling paint and uneven color. Take your time to apply it carefully. This step makes a big difference in the final look of your cabinet.
Applying Primer Evenly
Use a brush or roller to apply the primer. Spread it thin and smooth across all surfaces. Avoid thick layers to prevent drips and uneven drying.
Cover all edges and corners well. These spots often need extra attention. Let the primer settle for a few minutes before moving on.
Drying And Sanding Primer
Allow the primer to dry completely. This can take about an hour or more, depending on the product and room temperature. Check the label for exact drying times.
Once dry, lightly sand the surface with fine-grit sandpaper. This removes bumps and rough spots. Wipe away dust with a clean cloth before painting.
Painting Techniques
Painting a bathroom vanity cabinet requires careful technique for a smooth finish. The right methods help the paint stick well and look even. Small tools and patience make a big difference. Below are key painting techniques to get great results.
Using Brushes And Rollers
Choose a high-quality brush for corners and edges. A small angled brush works best for tight spots. Use a foam roller on flat surfaces. Rollers help spread paint evenly and avoid brush marks. Clean tools before starting to prevent clumps.
Applying Multiple Coats
Apply thin coats of paint instead of one thick coat. Thin layers dry faster and stick better. Let each coat dry fully before adding the next. Two or three coats create a durable and smooth finish. Lightly sand between coats for extra smoothness.
Avoiding Drips And Streaks
Do not overload your brush or roller with paint. Too much paint causes drips and uneven spots. Paint in slow, steady strokes. Keep a wet edge to avoid streaks. Check your work under good light to catch drips early.
Finishing Touches
Finishing touches bring your painted bathroom vanity cabinet to life. They protect your work and restore the cabinet’s function. These final steps ensure your vanity looks great and lasts long.
Sealing With A Protective Topcoat
Apply a clear topcoat to protect the paint. Choose a water-resistant, durable finish. This helps prevent scratches and water damage. Use a brush or roller for an even coat. Let the topcoat dry fully before using the cabinet. Two coats give the best protection.
Reattaching Hardware And Doors
Carefully reattach the cabinet doors and hardware. Tighten screws without stripping them. Check hinges for smooth movement. Replace any worn or damaged hardware. Make sure doors close evenly and securely. This step finishes the look and function perfectly.

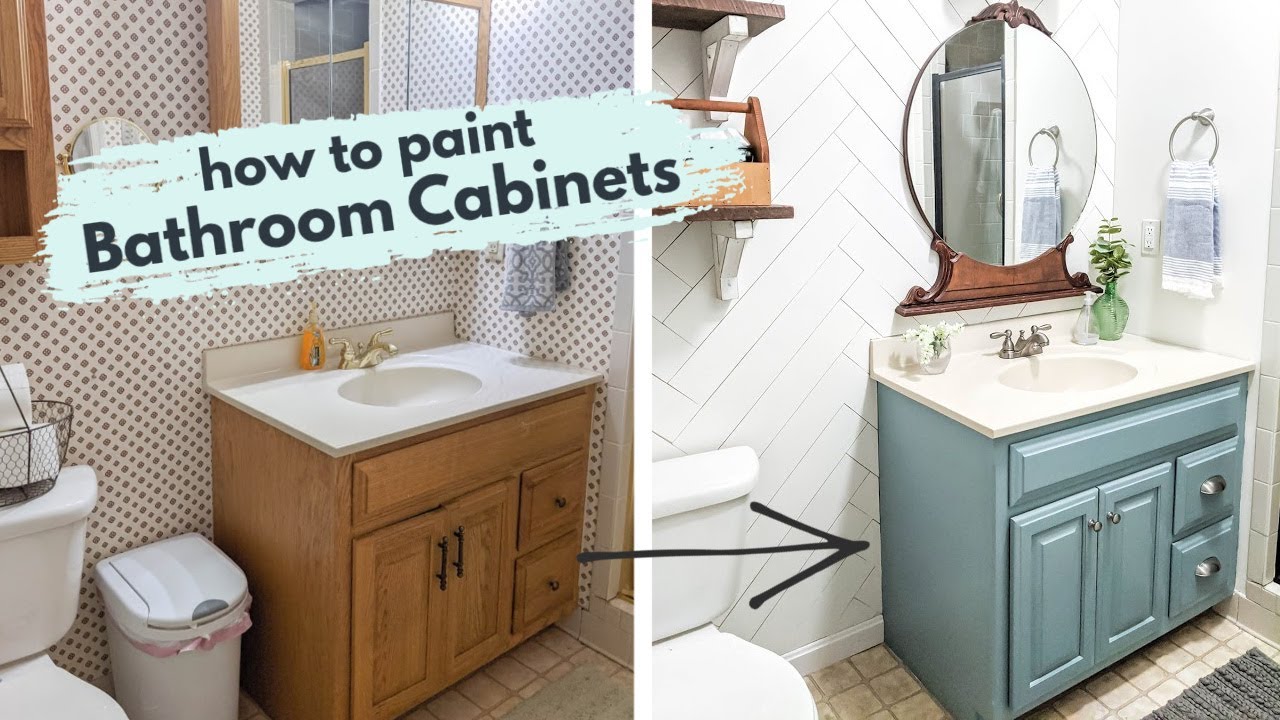
Credit: www.youtube.com
Maintaining Your Painted Vanity
Maintaining your painted bathroom vanity keeps it looking fresh and new for years. A little care goes a long way. Regular attention prevents wear and damage. You can enjoy your beautiful vanity longer with simple steps.
Cleaning Tips
Use a soft cloth or sponge to clean the surface. Avoid abrasive scrubbers that can scratch the paint. Mild soap mixed with water works well to remove dirt. Wipe spills quickly to stop stains from setting. Dry the vanity after cleaning to avoid water spots. Clean gently to keep the paint smooth and intact.
Preventing Damage
Keep sharp objects away from the vanity surface. Avoid placing hot items directly on the paint. Use coasters or mats under toiletries and cosmetics. Check for water leaks under the sink often. Repair any damage to avoid peeling or chipping paint. Handle doors and drawers with care to prevent wear. Small efforts protect your vanity’s finish for a long time.
Credit: www.youtube.com
Frequently Asked Questions
How Do I Prepare A Bathroom Vanity For Painting?
Start by removing hardware and cleaning the surface thoroughly. Sand the cabinet to create a smooth base. Wipe off dust before applying primer. Proper prep ensures paint adhesion and a professional finish.
What Type Of Paint Is Best For Bathroom Vanities?
Use a high-quality, water-resistant, semi-gloss or satin paint. These finishes resist moisture and are easy to clean. Avoid flat paint, which can wear quickly in humid bathrooms.
How Many Coats Of Paint Should I Apply On Vanity?
Apply at least two to three thin coats for even coverage. Allow each coat to dry fully before the next. Multiple coats ensure durability and a smooth, professional look.
Can I Paint Bathroom Vanity Without Sanding?
Sanding is recommended to remove old finish and improve paint adhesion. However, using a high-bond primer can reduce sanding needs. For best results, lightly sand to ensure long-lasting paint.
Conclusion
Painting a bathroom vanity cabinet can change the room’s look fast. Choose the right paint and tools for the best results. Take your time with each step to avoid mistakes. Clean surfaces help the paint stick better and last longer.
A fresh coat can make an old cabinet feel new again. Enjoy the satisfaction of your hard work and a bright bathroom. Try this simple project to add style without spending much money. You will feel proud of your new, beautiful vanity cabinet.