Are you looking to give your wood bookshelf a fresh, new look? Painting a wood bookshelf is easier than you might think, and with a few simple steps, you can transform your old shelves into a stunning focal point in your room.
Whether your style is modern, rustic, or colorful, this guide will help you achieve a smooth, professional finish. Keep reading, and you’ll discover the secrets to choosing the right paint, preparing your wood, and applying paint like a pro—so your bookshelf looks exactly how you want it.
Ready to bring your bookshelf back to life? Let’s get started!
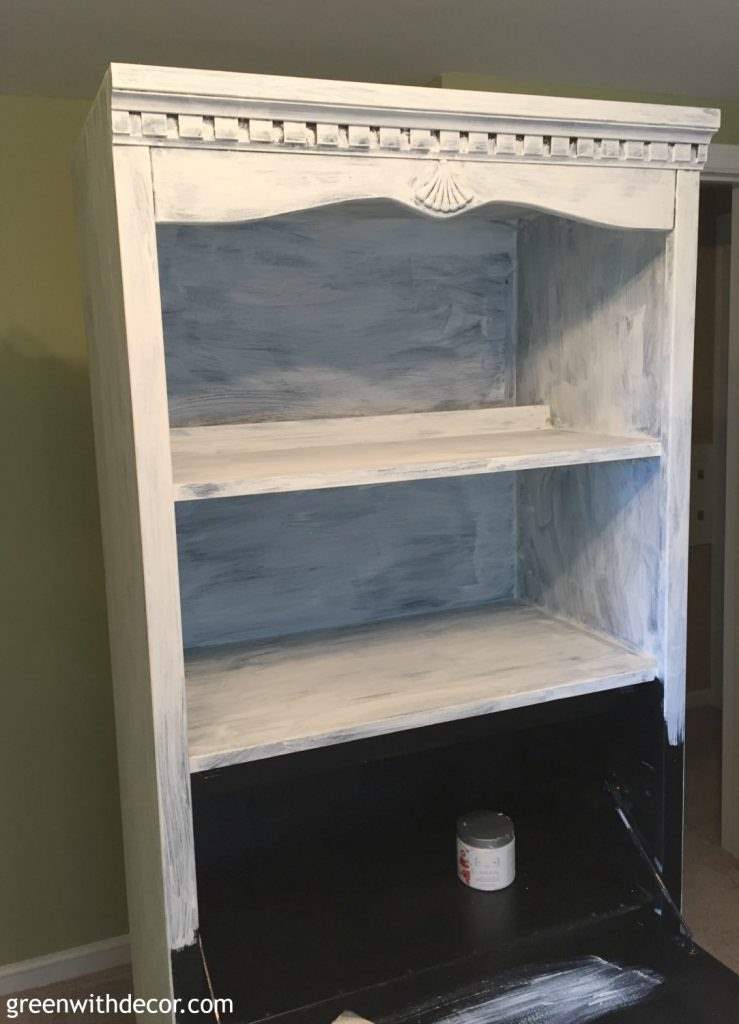
Credit: greenwithdecor.com
Choosing The Right Paint
Choosing the right paint is a key step in painting a wood bookshelf. The paint affects how the bookshelf looks and how long it lasts. Picking the correct type, color, and finish can make your project successful. Understanding these options helps you make the best choice for your bookshelf.
Types Of Paint For Wood
Wood needs paint that sticks well and covers smoothly. Acrylic paint is water-based, easy to clean, and dries fast. It is good for indoor shelves. Oil-based paint takes longer to dry but gives a hard, smooth finish. It is strong and lasts a long time. Chalk paint offers a matte look and works well for a vintage style. It needs a sealant to protect the surface. Choose a paint type that fits your shelf use and style.
Selecting The Perfect Color
Color sets the mood and style of your bookshelf. Light colors make a small room feel bigger. Dark colors add drama and hide dirt well. Neutral tones fit most rooms and styles. Bright colors create a fun, lively look. Think about the room’s theme and your personal taste. Test paint samples on a small area before painting the whole shelf.
Paint Finishes And Their Effects
Paint finish changes the look and feel of your bookshelf. Matte finish hides imperfections and looks soft. It is easy to touch up. Satin finish has a slight shine and is easy to clean. It works well for shelves you use often. Glossy finish is very shiny and shows every detail. It is strong but can highlight flaws. Pick a finish based on how much use your bookshelf will get.
Gathering Essential Supplies
Gathering the right supplies is the first step to paint a wood bookshelf. Choosing quality tools makes the job easier and results better. Being prepared helps you work faster and cleaner. Here are the key supplies you need.
Brushes And Rollers
Select brushes with soft, synthetic bristles for smooth paint application. Use a small angled brush for corners and edges. Rollers help cover large flat areas quickly. Choose a roller with a short nap to avoid texture. Clean brushes and rollers well after use.
Sandpaper And Preparation Tools
Sandpaper smooths the wood surface before painting. Use medium-grit sandpaper to remove old paint or rough spots. Fine-grit sandpaper finishes the surface for better paint grip. A sanding block or sponge makes sanding easier. Clean dust with a dry cloth before painting.
Primers And Protective Gear
Primer prepares wood and improves paint adhesion. Choose a primer suitable for wood surfaces. Wear gloves to protect your hands from paint and chemicals. Use a mask to avoid breathing dust and fumes. Cover floors and nearby furniture with drop cloths.
Preparing The Bookshelf
Preparing a wood bookshelf for painting is a key step. It helps paint stick well and look smooth. Taking time here saves effort later. Follow these simple steps to get your bookshelf ready.
Cleaning And Removing Dust
Start by wiping the bookshelf with a dry cloth. Remove all dust and dirt from every corner. Use a damp cloth for sticky spots but avoid soaking the wood. Let the bookshelf dry completely before the next step. Clean surfaces help the paint stick better.
Sanding For A Smooth Surface
Use fine-grit sandpaper to sand the whole bookshelf. Sanding removes old finish and smooths rough spots. Move the sandpaper in the direction of the wood grain. Don’t press too hard to avoid scratches. After sanding, wipe the dust off with a clean cloth.
Fixing Imperfections
Check the bookshelf for cracks, holes, or dents. Use wood filler to fill in these imperfections. Apply the filler with a putty knife and smooth it out. Let the filler dry as per instructions. Sand the filled areas gently for a flat surface.
Priming The Wood
Priming the wood is an important step before painting your bookshelf. It creates a smooth base and helps the paint stick better. This step also protects the wood and stops stains from showing through the paint. A good primer makes your finished project look neat and last longer.
Why Primer Matters
Primer covers the wood’s surface and fills small holes. It stops paint from soaking into the wood unevenly. This helps the paint color stay bright and true. Without primer, paint can peel or chip faster. Primer also blocks knots and stains from bleeding through the paint.
Applying Primer Evenly
Use a clean brush or roller to apply primer smoothly. Paint in thin, even coats to avoid drips and lumps. Work along the wood grain for a natural look. Cover all edges and corners well. Let the first coat dry, then check for missed spots and apply a second coat if needed.
Drying Times And Tips
Allow primer to dry fully before painting. Drying time depends on the primer type and room temperature. Usually, it takes 1 to 2 hours. Avoid touching or sanding the primer too soon. If needed, lightly sand the surface for extra smoothness. Clean your tools right after use to keep them in good shape.
Painting Techniques
Painting a wood bookshelf requires the right techniques for a smooth and lasting finish. Using proper methods helps you avoid common mistakes. It also makes the process faster and more enjoyable. This section covers simple painting techniques to get clean lines, even coverage, and fix drips.
Brushing Tips For Clean Lines
Choose a high-quality angled brush for better control. Dip the brush lightly into the paint to avoid excess. Start painting along the edges and corners first. Use long, smooth strokes to create straight lines. Avoid pressing too hard; let the brush glide. Clean the brush often to prevent clumps. This keeps the lines sharp and neat.
Rolling For Even Coverage
Use a small foam roller for flat surfaces. Roll slowly and evenly to avoid splatters. Apply thin layers to prevent thick, uneven paint. Overlap each stroke slightly for full coverage. Let the first coat dry before applying the next. This technique creates a smooth and consistent finish. It saves time and paint in the long run.
Dealing With Drips And Runs
Check your work frequently for drips. If you see a drip, gently smooth it with a brush. Use a damp cloth to wipe small drips before they dry. Avoid adding too much paint at once. Work in thin layers to reduce drips. Fixing drips early keeps your bookshelf looking professional and neat.

Credit: girlinthegarage.net
Adding Finishing Touches
Adding finishing touches to your painted wood bookshelf brings the project to life. This step ensures a smooth, professional look and a long-lasting finish. Small details can make a big difference in the final appearance and durability.
Second Coat Application
Apply a second coat of paint after the first one dries completely. This layer enhances color depth and coverage. Use even strokes and avoid thick paint to prevent drips. Two coats offer better protection and a richer look.
Sanding Between Coats
Lightly sand the surface between coats using fine-grit sandpaper. This smooths out any bumps or brush marks. Wipe away dust with a clean cloth before applying the next coat. Sanding helps paint stick better and creates a flawless finish.
Sealing For Durability
Seal the painted bookshelf with a clear protective topcoat. Choose a water-based polyurethane for easy use and low odor. Sealing protects against scratches, moisture, and wear. It keeps your bookshelf looking fresh for years.
Maintaining Your Painted Bookshelf
Keeping your painted bookshelf looking fresh takes effort. Proper care helps maintain its color and finish. It also protects the wood underneath. Small steps can keep your bookshelf beautiful for years.
Cleaning Without Damage
Use a soft cloth to dust regularly. Avoid harsh cleaners that can strip paint. A damp cloth with mild soap works well. Wipe gently and dry the surface quickly. This keeps the paint from peeling or fading.
Touching Up Scratches
Scratches happen over time and can show easily. Use matching paint to cover small scratches. Apply paint with a fine brush or cotton swab. Let it dry fully before using the shelf again. This keeps your bookshelf looking smooth and new.
Long-term Care Tips
Place your bookshelf away from direct sunlight. Sunlight can cause paint to fade or crack. Avoid placing heavy items that can dent the shelves. Use coasters or felt pads under objects. This prevents damage and keeps the paint intact longer.

Credit: www.benjaminmoore.com
Frequently Asked Questions
How Do I Prepare A Wood Bookshelf For Painting?
Start by cleaning the bookshelf to remove dust and dirt. Sand the surface lightly for better paint adhesion. Remove sanding dust with a damp cloth. Apply a primer to ensure the paint sticks well and lasts longer.
What Type Of Paint Is Best For Wood Bookshelves?
Use acrylic or latex paint for a durable finish. These paints dry quickly and resist chipping. Avoid oil-based paints as they take longer to dry and have strong fumes. Choose a paint with a satin or semi-gloss finish for easy cleaning.
How Many Coats Of Paint Should I Apply?
Apply at least two coats of paint for even coverage. Allow each coat to dry fully before applying the next. Multiple coats ensure a smooth, durable finish and enhance the bookshelf’s appearance. Lightly sand between coats for best results.
Can I Paint A Bookshelf Without Sanding?
Sanding is recommended but not always necessary if the surface is smooth. If the wood is glossy, lightly scuff it to help paint adhere. Use a strong primer designed for slick surfaces to improve paint bonding. Skipping sanding may reduce paint durability.
Conclusion
Painting a wood bookshelf can refresh any room quickly. Choose the right paint and prepare the surface well. Take your time with each step for the best results. A painted bookshelf adds color and style to your space. Enjoy the satisfaction of a project done by yourself.
Keep your tools clean for future use. Try different colors to match your home decor. Your painted bookshelf can last for years with care. Simple steps lead to a beautiful, functional piece. Start today and see the difference a coat of paint makes.