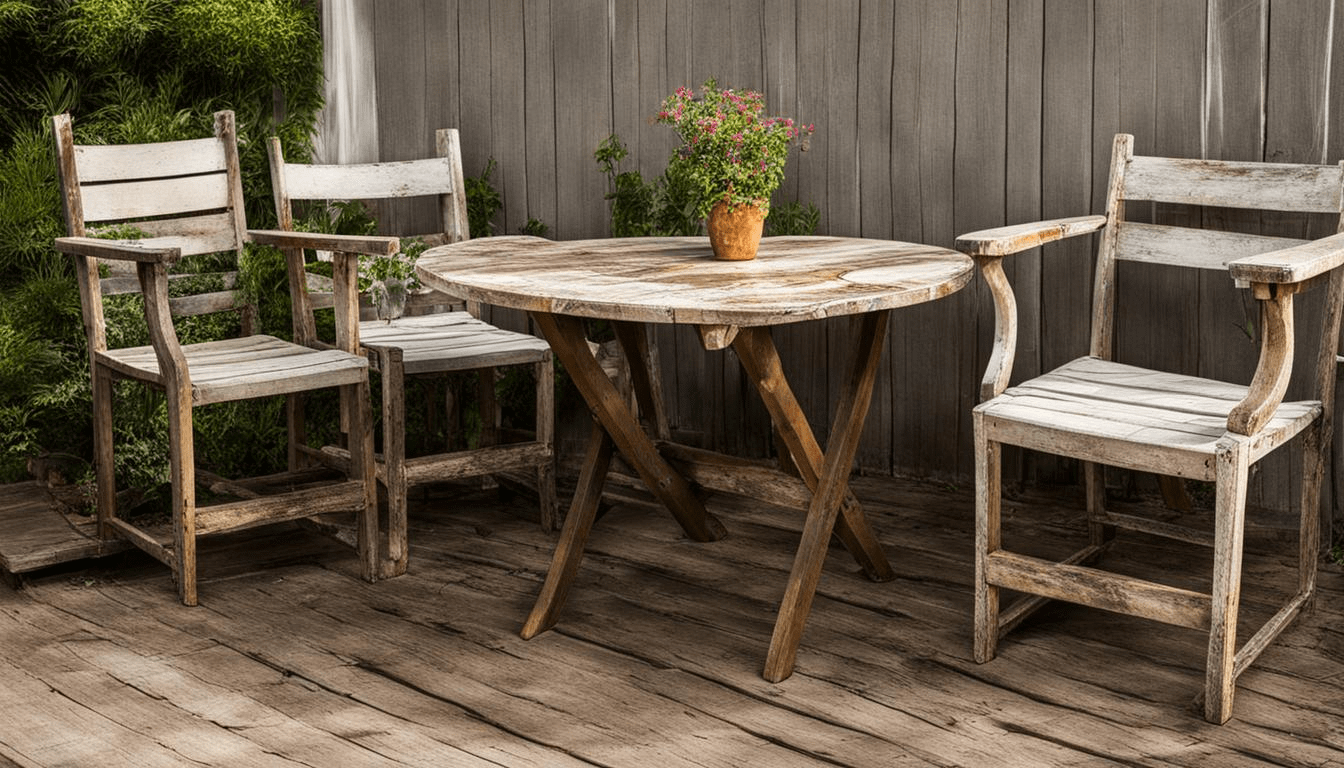
Are your outdoor furniture pieces looking tired and worn out? Imagine transforming them into vibrant, fresh additions to your patio without spending a fortune.
You don’t need to be a professional to give your furniture a stunning makeover. With the right steps, you can easily paint your outdoor furniture and bring new life to your outdoor space. Keep reading to discover simple, effective tips that will help you achieve a beautiful, long-lasting finish you’ll love.
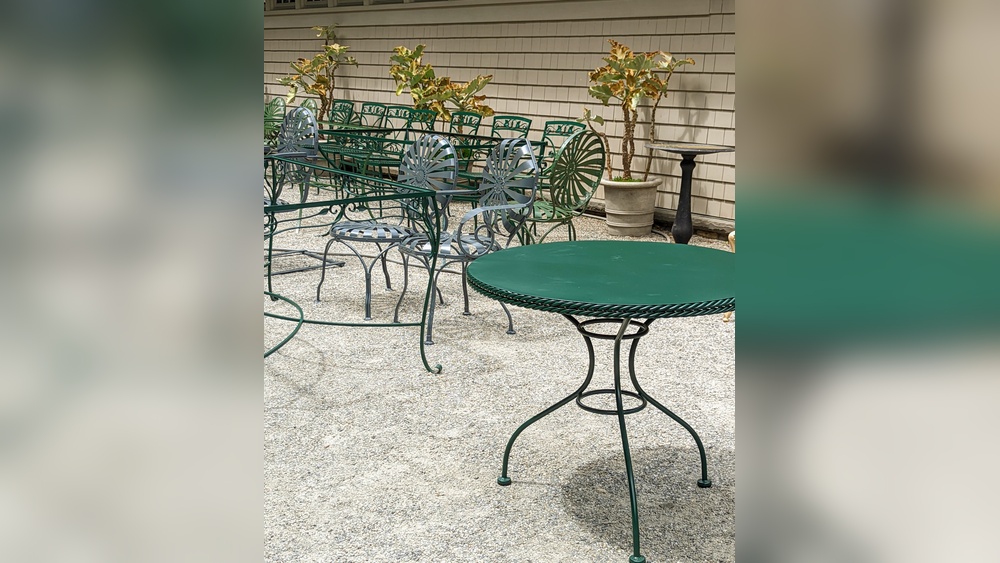
Choosing The Right Paint
Choosing the right paint for outdoor furniture affects its look and durability. Outdoor furniture faces sun, rain, and wind. The paint must protect and last long. Selecting paint carefully saves time and money. It keeps furniture fresh and strong through seasons.
Types Of Outdoor Paint
Latex paint is water-based and easy to clean. It dries fast and resists fading. Oil-based paint sticks well to wood and metal. It offers strong protection but takes longer to dry. Chalk paint gives a matte, vintage look. It needs a sealant for outdoor use. Spray paint covers evenly and works on many surfaces. Choose paint labeled for outdoor use only.
Color Selection Tips
Pick colors that match your garden or porch style. Light colors reflect sunlight and stay cooler. Dark colors hide dirt but can fade faster. Test small paint patches before full painting. Bright colors add energy and make furniture pop. Neutral colors blend well with any setting. Think about the mood you want to create.
Paint Finish Options
Glossy finishes shine and are easy to clean. They highlight details but show scratches. Satin finish offers a soft shine and hides flaws. It balances beauty and durability. Matte finish looks natural but can stain easier. Semi-gloss is a popular choice for outdoor furniture. It provides good protection and looks nice.
Credit: whitneysowles.com
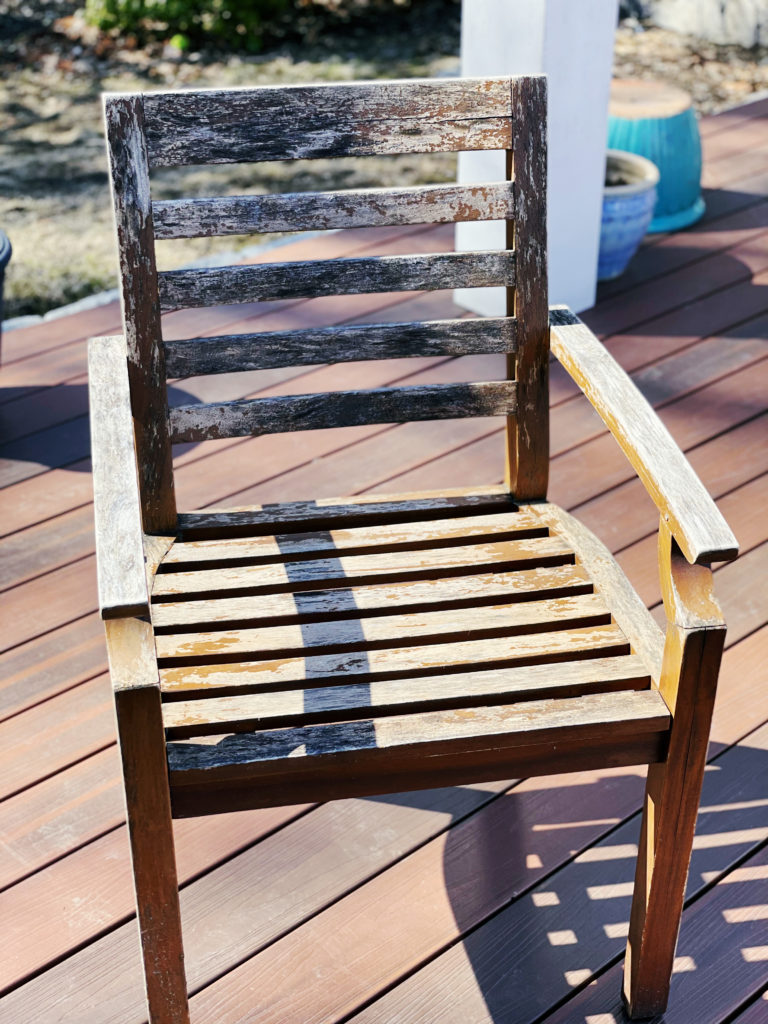
Preparing Your Furniture
Preparing your outdoor furniture is the first step for a fresh, long-lasting paint job. Clean and smooth surfaces help paint stick better. Fix any damage to avoid problems later. Proper preparation saves time and effort in the end.
Cleaning And Removing Dirt
Start by cleaning your furniture well. Use mild soap and water to wash away dirt and grime. A soft brush can help reach tight spots. Rinse with clean water and let it dry completely. Clean surfaces ensure paint will cover evenly.
Sanding For Smooth Surface
Sand the furniture with fine-grit sandpaper. This removes old paint and rough spots. Sanding creates a smooth surface for new paint. Wipe away dust with a damp cloth after sanding. Smooth surfaces help paint look neat and last longer.
Repairing Damages
Check for cracks, holes, or loose parts. Fill small cracks with wood filler or outdoor putty. Let the filler dry and sand it smooth. Tighten screws or replace broken parts. Repairing damages makes the furniture strong and ready for painting.
Setting Up Your Workspace
Setting up your workspace is the first step to painting outdoor furniture. A good setup helps you work safely and get better results. It keeps your furniture clean and avoids mess. Preparing your area carefully saves time and effort later.
Choosing A Well-ventilated Area
Pick a place with fresh air flow. Open spaces outside are best. Avoid closed rooms or small spaces. Paint fumes can be harmful to breathe. A breezy spot helps paint dry faster and smells less. Make sure sunlight is not too strong to avoid paint drying too fast.
Protecting Surroundings
Cover the ground with a drop cloth or old sheets. Protect plants, walls, and floors nearby. Use painter’s tape on edges that need care. This stops paint splashes and stains. Keep pets and children away from the area. Clean up spills quickly to avoid damage.
Gathering Necessary Tools
Prepare all tools before starting. You will need paint, brushes, sandpaper, and primer. Have rags and gloves ready for cleanup and safety. Use a paint tray to hold paint easily. Keep water or thinner nearby for cleaning brushes. Organizing tools saves time and keeps you focused.
Applying Primer
Applying primer is a key step before painting your outdoor furniture. It helps the paint stick better and last longer. Primer also protects the furniture from weather damage and rust. Skipping this step can cause the paint to peel or fade quickly.
Importance Of Primer
Primer creates a smooth base for the paint. It seals the surface, preventing moisture from getting in. This stops wood from swelling and metal from rusting. Primer improves the paint’s color and finish. It also helps the paint cover old stains or marks.
How To Apply Primer
Start by cleaning your furniture well. Remove dirt, dust, and old paint flakes. Use a brush or roller to apply primer evenly. Work in small sections to avoid streaks. Apply a thin layer; thick primer takes longer to dry. Allow primer to cover all surfaces, including edges and corners.
Drying Time
Let the primer dry fully before painting. Drying usually takes 1 to 3 hours. Check the instructions on the primer can for exact time. Touch the surface lightly to see if it feels dry. Painting over wet primer can cause bubbles or peeling.
Painting Techniques
Painting outdoor furniture needs the right technique. Good techniques make your paint last longer. They also make your furniture look great. Understanding how to apply paint helps you avoid mistakes. It saves time and effort too.
This section explains key painting techniques. It covers tools, how to apply paint evenly, and drying tips.
Using Brushes Vs. Sprayers
Brushes give more control on small surfaces. They work well on detailed parts. Brushes help reach corners and edges easily. Sprayers cover large areas quickly. They create a smooth, even finish fast. Sprayers need careful handling to avoid drips. Choose brushes for small jobs, sprayers for big pieces.
Applying Even Coats
Apply thin, even coats of paint. Thick paint causes drips and uneven texture. Move your brush or sprayer steadily. Cover all surfaces without overloading paint. Let each coat dry before adding the next. Even coats give a neat, professional look. They also improve paint durability.
Layering And Drying
Paint in thin layers for best results. Wait for one layer to dry fully. Drying time depends on paint type and weather. Cold or humid days slow drying. Add several layers to build color and protection. Patience here ensures strong, lasting paint. Avoid rushing to keep your furniture looking fresh.
Finishing Touches
Finishing touches are the last and most important steps in painting outdoor furniture. They protect your work and make the paint last longer. These steps help your furniture look fresh and new for many seasons.
Adding Sealant For Protection
Sealant forms a strong layer over the paint. It stops water, dirt, and sun damage. Use a clear, outdoor sealant for best results. Apply it with a brush in thin, even coats. Let each coat dry before adding the next.
Curing Time
Curing means letting the paint and sealant fully dry and harden. This can take several days. Avoid using or moving the furniture during this time. Proper curing makes the paint tough and long-lasting. Patience here saves you from peeling or chipping later.
Maintaining Painted Furniture
Clean the furniture gently with a soft cloth and mild soap. Avoid harsh chemicals that can damage the paint. Check for scratches or chips and touch them up quickly. Cover furniture or move it inside during bad weather. Regular care keeps your paint fresh and strong.
Common Mistakes To Avoid
Painting outdoor furniture can refresh your space and protect your pieces. Avoid common mistakes to get a smooth, lasting finish. Small errors can ruin your hard work and waste time and paint. Focus on preparation, paint choice, and patience for the best results.
Skipping Preparation
Preparation is key. Clean dirt and dust off your furniture. Sand the surface to remove old paint and smooth rough spots. Without proper prep, paint won’t stick well. This leads to peeling and uneven color. Take time to prep for a strong paint bond.
Using Wrong Paint
Use paint made for outdoor use. Indoor paint can crack and fade quickly. Look for weather-resistant, waterproof paints. These protect against sun, rain, and cold. Wrong paint means you will repaint sooner. Choose paint designed for outdoor furniture.
Rushing The Process
Patience matters. Let each coat dry fully before applying the next. Rushing causes drips and uneven coverage. Follow drying times on the paint can. Skip drying, and your finish looks messy and peels fast. Take your time for a smooth, durable finish.

Credit: joyfulderivatives.com
Credit: mtspainting.com
Frequently Asked Questions
How Do I Prepare Outdoor Furniture For Painting?
Clean the furniture thoroughly to remove dirt and debris. Sand the surface lightly to ensure paint adhesion. Remove old paint if peeling. Wipe down with a damp cloth and let it dry completely before painting.
What Type Of Paint Is Best For Outdoor Furniture?
Use exterior-grade paint designed for outdoor use. Acrylic latex paint is durable and weather-resistant. Oil-based paint offers excellent adhesion but takes longer to dry. Choose paint suitable for the furniture material, like wood, metal, or plastic.
How Many Coats Of Paint Should I Apply?
Apply at least two coats for even coverage and durability. Let the first coat dry fully before applying the second. Additional coats may be needed for darker colors or rough surfaces. Multiple coats protect against weather damage.
Should I Seal Outdoor Furniture After Painting?
Yes, use a clear sealer or topcoat for extra protection. Sealers prevent moisture damage and fading from sunlight. Choose a sealer compatible with your paint type. Apply after the paint dries completely for best results.
Conclusion
Painting outdoor furniture can refresh your space and protect it well. Choose the right paint and prepare surfaces carefully. Apply paint in thin, even coats for best results. Let each layer dry fully before adding the next. Take your time, and enjoy the process.
Soon, your furniture will look bright and new again. This simple project adds charm and lasts longer. Give your outdoor area a fresh, colorful touch today.


