Are you ready to give your outdoor furniture a fresh, vibrant look? Painting your patio chairs, tables, or benches can completely transform your outdoor space.
But before you grab that brush, there’s an important step you can’t skip: prepping your furniture properly. Taking the time to prepare your pieces means your paint will stick better, last longer, and look amazing. In this guide, you’ll discover simple, effective tips to get your outdoor furniture ready for painting—so you can enjoy a beautiful, durable finish that turns heads every time.
Keep reading to learn how to make your next painting project a total success!
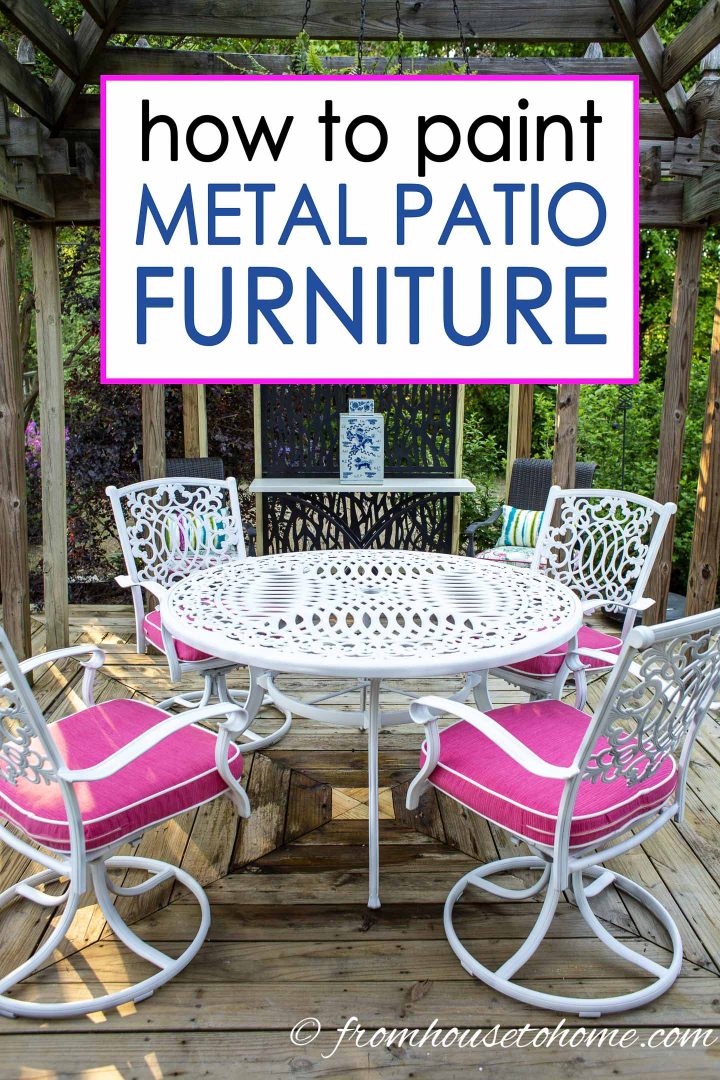
Credit: www.fromhousetohome.com
Choose The Right Furniture
Choosing the right furniture is the first step in prepping for painting. Not all outdoor furniture is easy to paint or will hold the paint well. Picking the right pieces saves time and effort. It also helps the paint last longer and look better.
Think about the material and condition of each piece. Some materials take paint better than others. Furniture that is too damaged may need repairs before painting. Careful selection makes the whole project smoother.
Select Suitable Materials
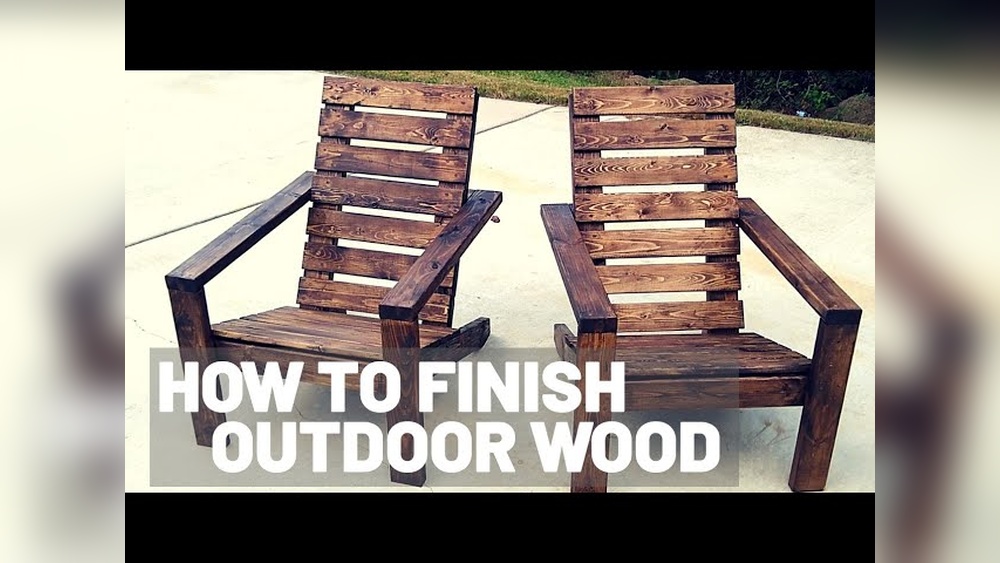
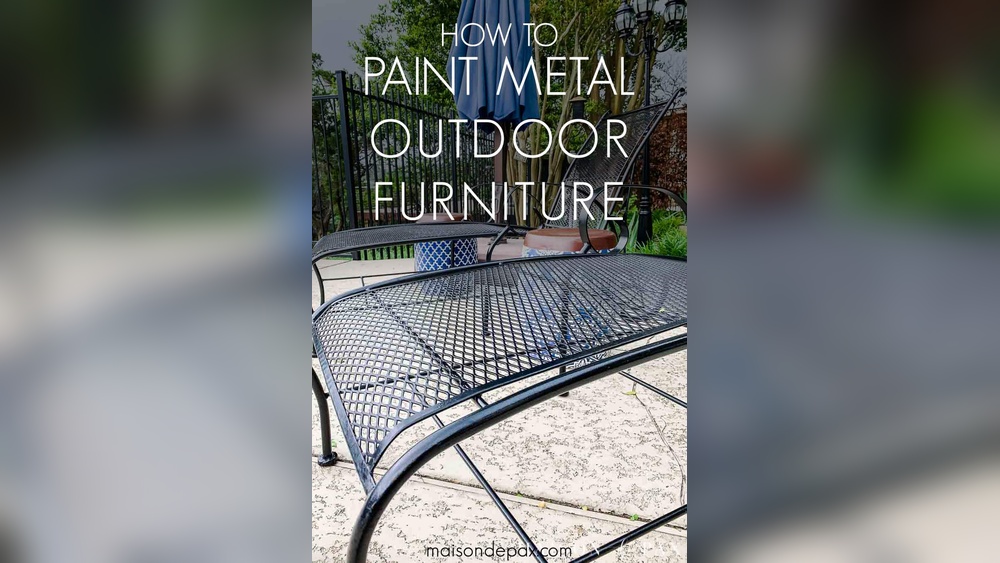
Wood, metal, and plastic are common outdoor furniture materials. Wood holds paint well but may need sanding first. Metal can be painted but must be cleaned and rust-free. Plastic needs special paint made for plastic surfaces. Choose materials that match your paint type and the climate in your area.
Check Furniture Condition
Look for cracks, rust, or loose parts. Fix any damage before painting. Sand rough spots to create a smooth surface. Remove old paint that is peeling or chipping. Clean dirt and dust to help paint stick better. Good condition furniture gives the best results.
Gather Essential Tools
Gathering the right tools is the first step to painting outdoor furniture well. Having everything ready makes the job easier and faster. It also helps you get a smooth, long-lasting finish. Preparing your workspace and materials before you start saves time and avoids frustration.
Painting Supplies Checklist
Start with paint made for outdoor use. It protects furniture from weather damage. Choose brushes or rollers that fit your furniture’s shape and size. Sandpaper helps smooth old paint or rough spots. Use a primer to help paint stick better. Have clean rags or cloths to wipe dust and dirt. Painter’s tape keeps edges neat and clean. A paint tray or bucket holds your paint comfortably. Keep a small brush for tight corners and details.
Safety Gear To Use
Protect your eyes with safety goggles. Use gloves to keep paint off your skin. Wear a mask to avoid breathing paint fumes. Dress in old clothes or a protective apron. Work in a well-ventilated area or outside. Keep a first-aid kit nearby just in case. Safety gear keeps you safe and comfortable while working.
Clean The Furniture
Cleaning outdoor furniture is the first step before painting. Dirt and grime can stop paint from sticking well. A clean surface ensures smooth, long-lasting paint. Take time to remove all dust, dirt, and stains. This makes your furniture ready for the next steps.
Remove Dirt And Debris
Start by brushing off loose dirt and leaves. Use a soft brush or cloth to wipe surfaces. For stubborn dirt, mix mild soap with water. Scrub gently using a sponge or soft brush. Rinse thoroughly with clean water to wash away soap. Allow the furniture to dry completely before painting.
Treat Mold And Mildew
Mold and mildew often grow on outdoor furniture. They cause damage and stop paint from sticking. Mix one part white vinegar with three parts water. Apply the solution to affected areas using a spray bottle. Let it sit for 10 minutes to kill mold spores. Scrub the surface with a brush and rinse well. Dry the furniture fully before moving to painting.
Repair Damages
Repairing damages is an important step before painting outdoor furniture. Fixing cracks and smoothing rough spots helps the paint last longer. It also gives your furniture a fresh, neat look. Take time to check every part carefully. Small problems can turn into bigger ones if ignored.
Fill Cracks And Holes
Use wood filler or putty to fill cracks and holes. Choose a product that works well for your furniture type. Apply the filler with a putty knife. Press it firmly into the crack or hole. Let it dry fully before moving to the next step. This keeps the surface even and ready for paint.
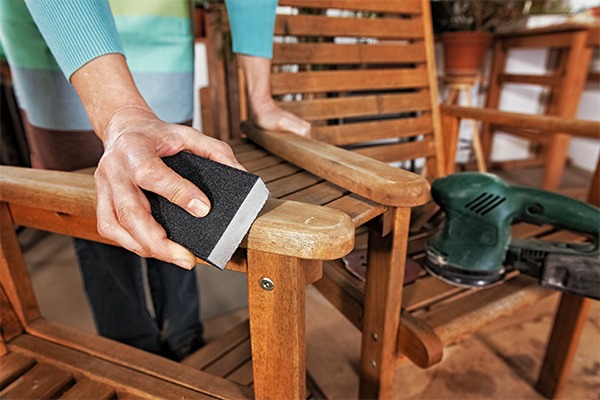
Sand Rough Areas
Sand rough spots to smooth the surface. Use medium-grit sandpaper for best results. Sand in a circular motion to avoid scratches. Focus on areas with old paint peeling or rough texture. Wipe away dust with a clean cloth. A smooth surface helps paint stick better and look nice.
Prepare The Surface
Preparing the surface is the first step before painting outdoor furniture. A clean and smooth surface helps the paint stick better. This also makes the final look neat and lasts longer. Take your time to do this well. It saves effort later.
Remove Old Paint
Start by removing any old paint that is peeling or flaking. Use a paint scraper or wire brush to scrape off loose paint. For stubborn areas, sandpaper can help remove the remaining paint. If the paint is very thick, a chemical paint remover may be needed. Always work in a well-ventilated area and wear gloves for protection.
Smooth The Surface
After removing old paint, smooth the surface with fine-grit sandpaper. This removes rough spots and makes the wood or metal even. Wipe off dust with a damp cloth to clean the surface. A smooth surface ensures the new paint spreads evenly. It also prevents bumps and cracks in the finish.
Prime For Painting
Priming outdoor furniture is an important step before painting. It helps paint stick better and last longer. Primer also protects the furniture from weather damage. Applying primer creates a smooth base for the paint.
Skipping primer can cause paint to peel or fade quickly. Proper priming saves time and effort in the long run. It makes your furniture look fresh and new for many seasons.
Choose The Right Primer
Select a primer made for outdoor use. Look for one that works with your furniture material, like wood or metal. Oil-based primers are good for metal and tough surfaces. Latex primers work well on wood and plastic.
Check the primer label for weather resistance. Some primers help stop rust or mildew. Using the right primer improves paint adhesion and durability.
Apply Primer Evenly
Use a brush or roller to spread primer smoothly. Avoid thick layers that drip or run. Thin, even coats dry faster and cover better. Apply primer to all surfaces, including corners and edges.
Allow the primer to dry fully before painting. Follow the drying time on the primer label. Applying paint over wet primer can cause peeling. Proper application ensures a strong, lasting finish.
Set Up A Painting Area
Setting up a proper painting area is key for a smooth painting job on outdoor furniture. The right space helps you work comfortably and keeps your furniture safe. It also protects your home and garden from paint spills and dust. Follow these tips to create the best painting setup.
Choose A Well-ventilated Space
Pick a spot with fresh air and good airflow. Outdoor spaces like patios or driveways work well. Avoid tight or closed rooms to reduce paint fumes. Open windows and doors if you paint indoors. Good ventilation keeps you safe and helps paint dry faster.
Protect Surroundings
Cover the ground with a drop cloth or old sheets. Use painter’s tape to shield nearby plants and walls. Move any fragile items away from the area. This prevents paint stains and damage. A clean, protected space makes cleanup easier and saves time.

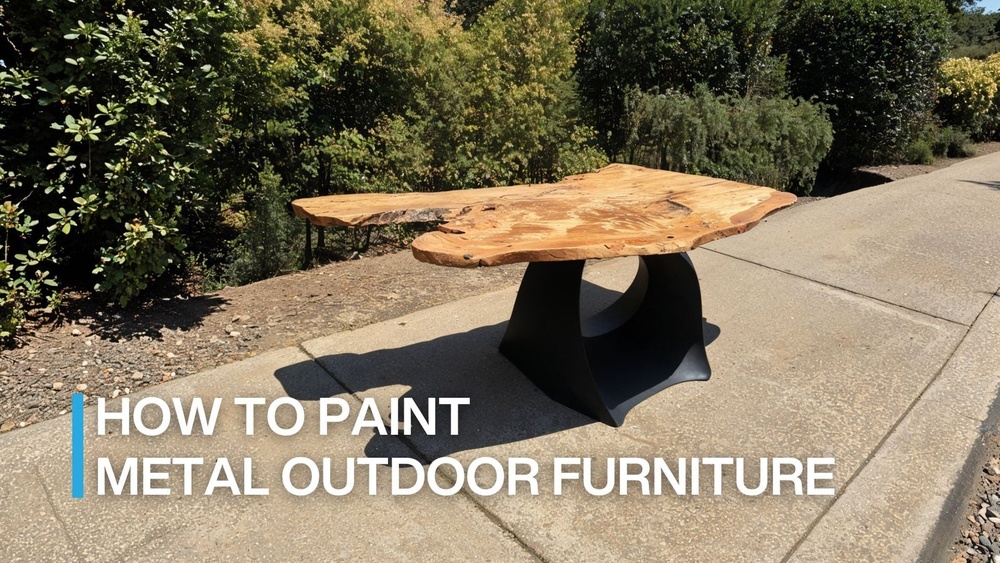
Credit: www.youtube.com
Apply Paint Properly
Applying paint properly is key for a smooth, lasting finish on outdoor furniture. Paint that is applied right will protect your furniture from weather damage. It also makes the surface look fresh and attractive. Taking time to do it well saves effort and money later.
Select Suitable Paint Types
Choose paint made for outdoor use. These paints resist fading and peeling. Acrylic latex paint works well on wood and metal. Oil-based paint offers strong protection but takes longer to dry. Look for paints labeled “exterior” or “weatherproof.” This ensures they can handle rain, sun, and cold. Test a small area first to check adhesion and color.
Use Correct Techniques
Start with clean, dry furniture. Use a brush or spray for even coverage. Thin coats dry faster and avoid drips. Apply several thin layers instead of one thick coat. Let each coat dry fully before adding the next. Paint in the direction of the wood grain or metal lines. Light sanding between coats helps paint stick better. Avoid painting in direct sunlight or high humidity to prevent bubbles.
Let Paint Cure
Letting the paint cure is a key step in prepping outdoor furniture. Curing means the paint dries fully and becomes strong. This process protects the furniture from weather and wear. Patience during curing ensures a smooth and lasting finish. Rushing this step can cause damage or peeling later.
Follow Drying Times
Check the paint can for drying time instructions. Different paints require different times to dry. Some need just a few hours, others a full day or more. Always wait the full recommended time before using your furniture. This helps the paint harden and stick well.
Avoid Touching Surfaces
Do not touch or place objects on the painted furniture while drying. Touching can leave marks or fingerprints. It can also cause the paint to peel or chip. Keep the furniture in a safe, dust-free area during curing. This keeps the paint smooth and even.
Seal For Durability
Sealing outdoor furniture protects your paint job and extends its life. It keeps moisture, dirt, and sunlight from damaging the surface. A good seal makes your furniture look fresh longer. This step is important after painting. It adds strength and durability to your project.
Pick The Best Sealer
Choose a sealer made for outdoor use. Look for water-resistant and UV-protective formulas. Clear sealers keep the paint color bright. Some sealers dry fast and resist cracking. Read product labels to find the right type for your furniture material. Test on a small spot first.
Apply Protective Coating
Apply the sealer with a brush or spray. Use thin, even coats to avoid drips. Let each coat dry before adding another. Usually, two or three coats work best. Cover all surfaces, including edges and undersides. This creates a full barrier against weather damage. Follow the manufacturer’s drying times carefully.
Credit: www.taubmans.com.au
Frequently Asked Questions
How Do I Clean Outdoor Furniture Before Painting?
Start by removing dirt and debris with a brush or cloth. Use mild soap and water to scrub surfaces. Rinse thoroughly and let dry completely to ensure paint adheres well.
Should I Sand Outdoor Furniture Before Painting?
Yes, sanding smooths the surface and removes old paint or rust. Use medium-grit sandpaper for best results. This step helps the new paint stick better and last longer.
What Primer Is Best For Outdoor Furniture?
Use a weather-resistant, oil-based or acrylic primer designed for outdoor use. Priming prevents moisture damage and improves paint adhesion. Always choose a primer compatible with your paint type.
How Long Should Outdoor Furniture Dry Before Painting?
Allow the furniture to dry completely after cleaning and priming. Drying time varies but usually takes 24 hours. Ensure no moisture remains to avoid paint bubbling or peeling.
Conclusion
Preparing outdoor furniture for painting takes time and care. Clean the surfaces well to remove dirt and dust. Sand rough spots to help paint stick better. Use primer for a smooth and even finish. Cover areas you don’t want painted.
Let everything dry completely before starting. These steps protect your furniture and make the paint last longer. A little effort now saves you from repainting soon. Enjoy your refreshed outdoor space with furniture that looks great and stays strong. Simple prep work makes all the difference.