Is your outdoor furniture looking worn out with paint that’s peeling and flaking? You’re not alone—and the good news is, you don’t need to replace your favorite pieces.
With a little effort and the right steps, you can bring your outdoor furniture back to life. Imagine relaxing in your backyard, enjoying furniture that looks fresh, clean, and inviting. In this guide, you’ll discover simple, effective ways to repaint your flaking outdoor furniture so it lasts for seasons to come.
Keep reading to learn how to transform your worn-out pieces into something you’ll be proud to show off.
Assessing The Damage
Before you start repainting your outdoor furniture, it is important to assess the damage carefully. This step helps you understand how much work is needed. You will know where to focus your efforts. Proper assessment can save time and improve the final look.
Take your time to inspect the furniture closely. Check every part for paint flaking and any underlying issues. A good assessment sets a strong foundation for repainting.
Identifying Flaking Areas
Look at the furniture surface for loose paint. Flaking paint appears as small chips or large patches. These areas feel rough and may peel off easily. Use a scraper or your fingers to test the paint’s condition. Mark all the spots with flaking paint. These need to be removed before you repaint. Ignoring flaking areas leads to poor paint adhesion later.
Checking For Structural Issues
Examine the furniture frame carefully. Look for cracks, splits, or loose joints. Check the wood or metal for signs of rot or rust. Press gently on joints to test their stability. Weak or broken parts should be fixed first. Structural issues can worsen if left untreated. Repairing these ensures your furniture lasts longer and looks good after repainting.
Preparing The Furniture
Preparing outdoor furniture for repainting is a vital step. It ensures the new paint sticks well and lasts longer. This process also removes dirt and old paint flakes that can ruin the finish. Taking time to prepare can save effort later. Follow these steps to get your furniture ready.
Cleaning The Surface
Start by cleaning the furniture thoroughly. Use a mild soap and water mix. A soft brush helps remove dirt and grime. Rinse with clean water and let it dry completely. Clean surfaces allow paint to bond better and look smooth.
Sanding For Smoothness
Lightly sand the furniture with fine-grit sandpaper. Focus on rough and peeling areas. Sanding removes bumps and creates a smooth surface. This step helps the paint stick evenly. Wipe off dust with a damp cloth before painting.
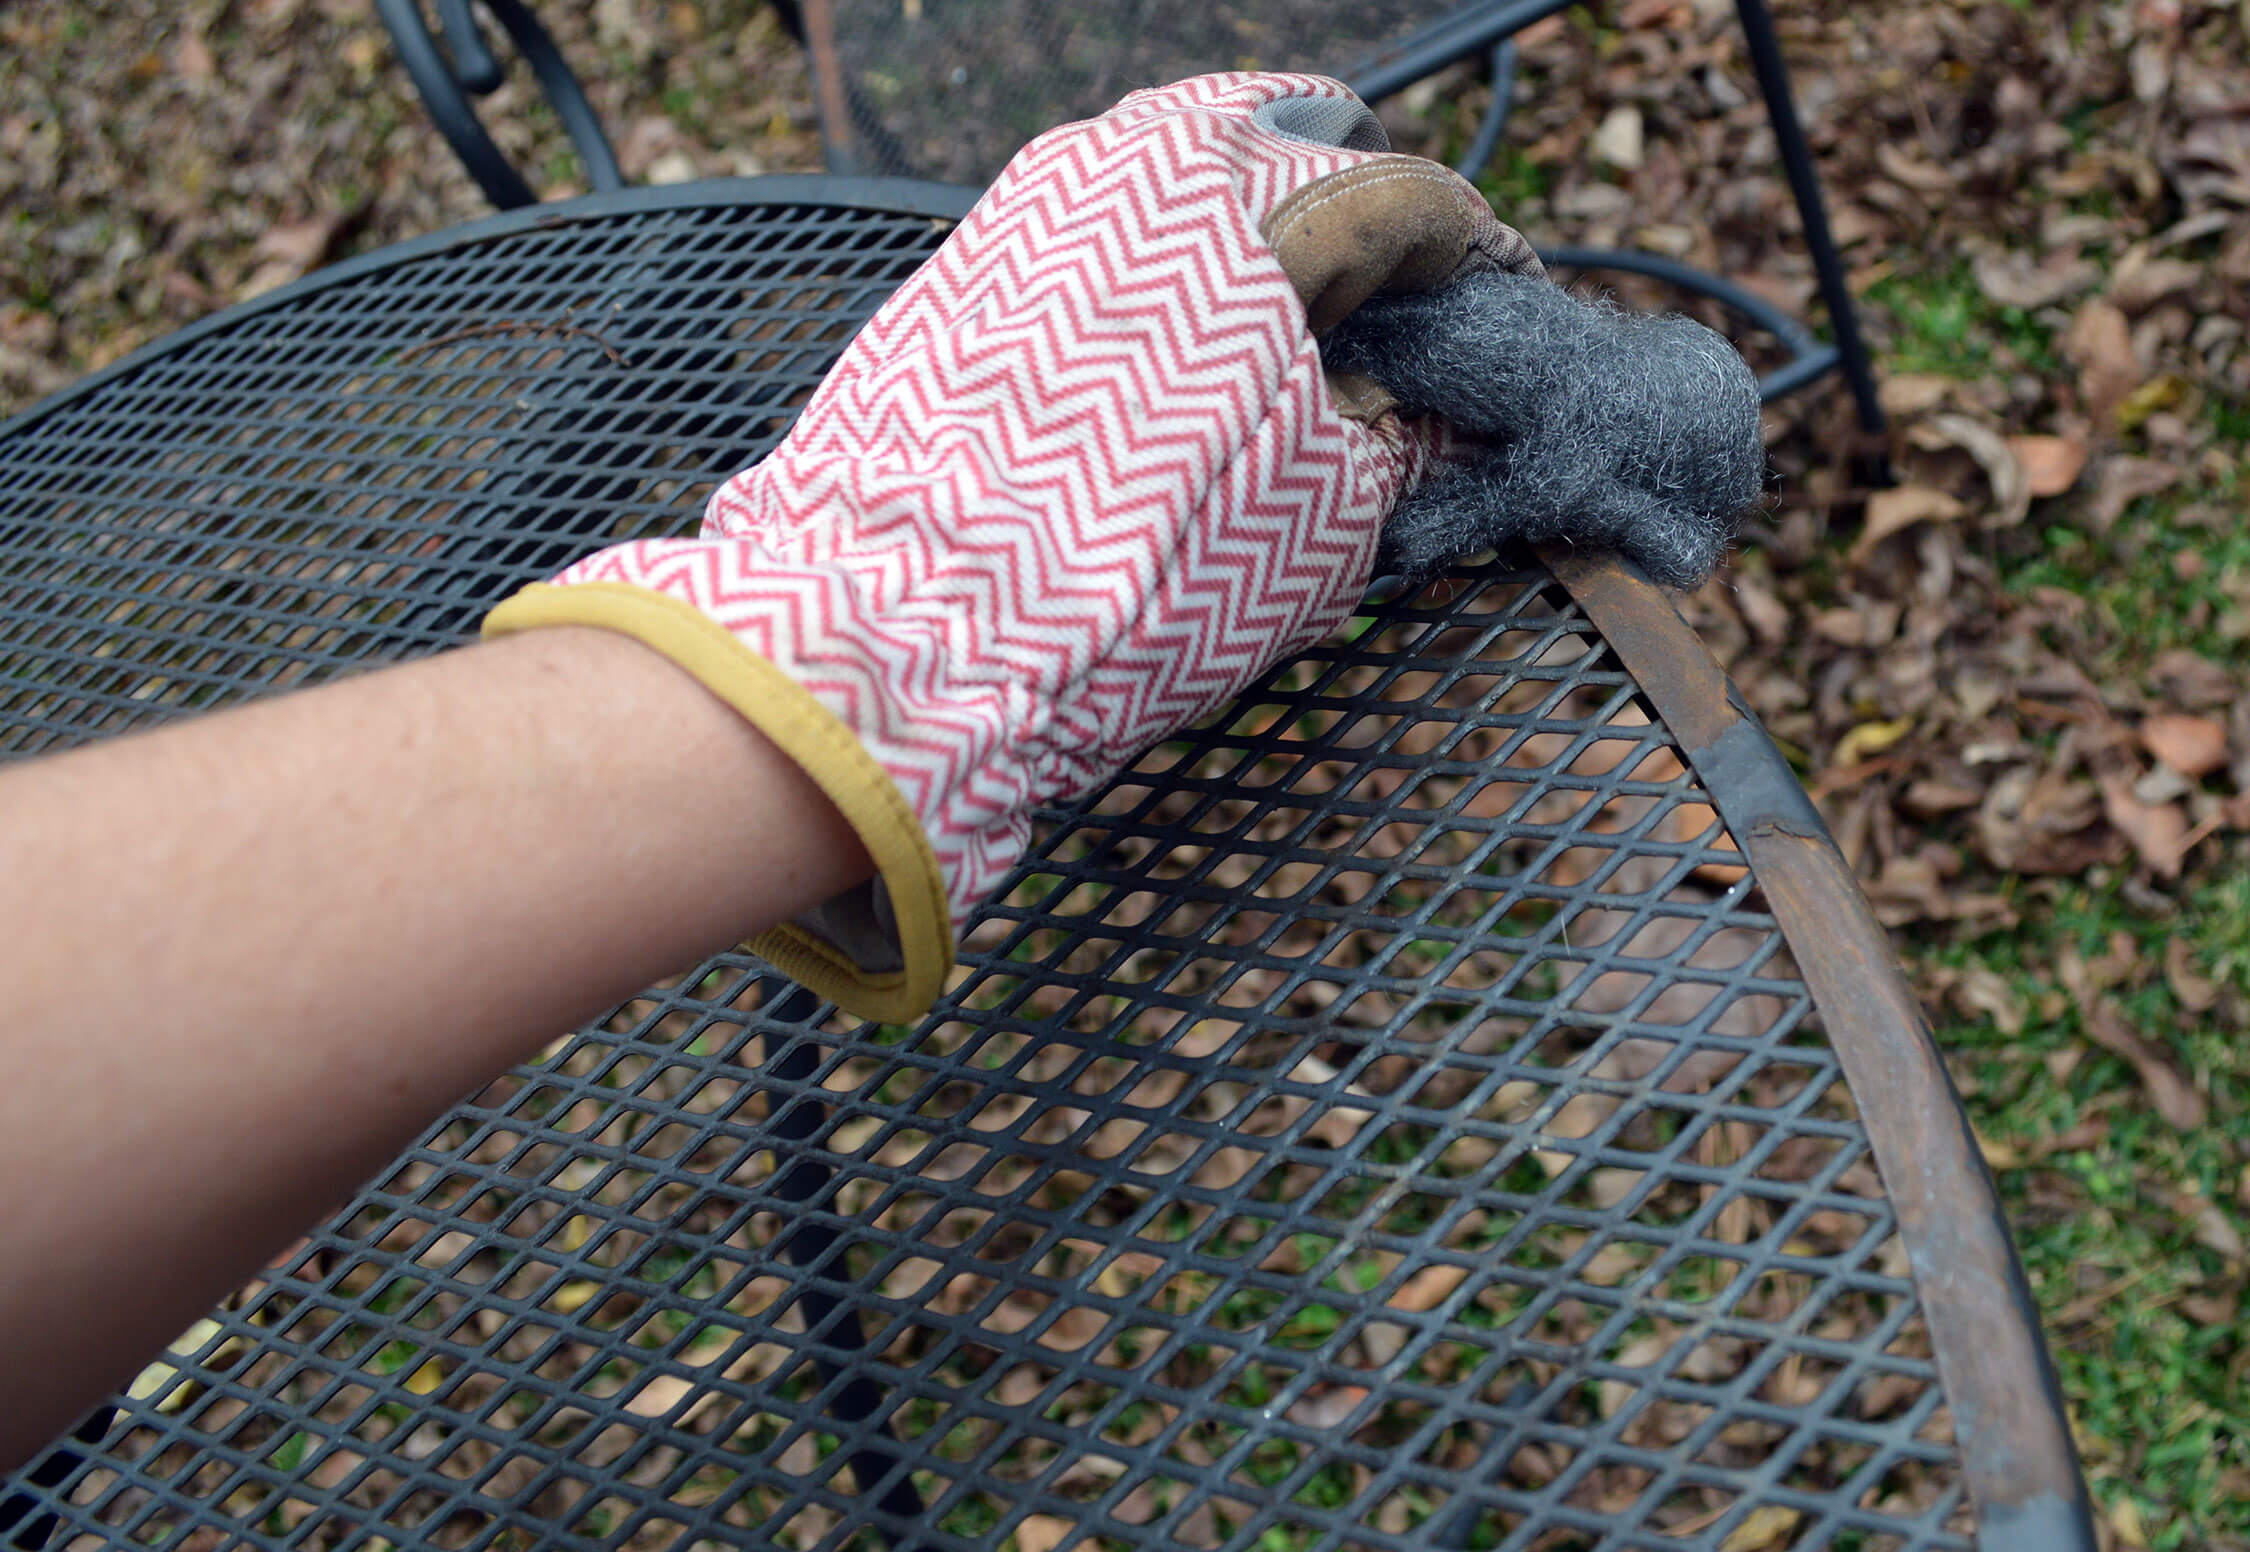
Removing Old Paint
Scrape off loose or flaking paint using a paint scraper. Be gentle to avoid damage to the wood or metal. For stubborn paint, use a chemical paint remover or heat gun carefully. Removing old paint prevents bubbling and peeling of new paint.
Choosing The Right Paint
Choosing the right paint is key to giving your outdoor furniture a fresh, lasting look. The right paint protects the wood or metal from damage. It also keeps the furniture looking good over time. Picking paint made for outdoor use is important. It should handle sun, rain, and temperature changes well. This section helps you understand paint types, colors, and weather resistance. You will learn how to pick paint that fits your needs and style.
Types Of Outdoor Paint
Outdoor paints come in different types. Latex paint is water-based. It dries fast and cleans up easily with soap and water. Oil-based paint lasts longer but takes more time to dry. It needs special thinner for cleanup. Chalk paint gives a matte, vintage look. It is easy to apply but needs sealing for protection. Choose paint type based on your furniture material and desired finish.
Selecting Suitable Colors
Choose colors that match your outdoor space. Light colors reflect sunlight and keep furniture cooler. Dark colors hide dirt and stains better. Bright colors can add a pop of fun and style. Neutral colors work well with many settings. Test a small area first to see how the color looks outdoors. Remember, paint may look different in sunlight.
Considering Weather Resistance
Pick paint that can resist sun, rain, and cold. UV protection helps prevent fading and cracking. Water-resistant paint stops moisture from seeping into wood or metal. Some paints have mold and mildew resistance. This keeps furniture clean and healthy. Check the paint label for weatherproof features. Good weather resistance means your furniture stays beautiful longer.

Credit: www.reddit.com
Applying Primer
Applying primer is a key step in repainting flaking outdoor furniture. It helps the paint stick well and last longer. Primer also protects the surface from moisture and weather damage. Skipping this step can cause the new paint to peel quickly. Take time to apply primer correctly to get the best results.
Benefits Of Priming
Primer creates a smooth base for paint. It blocks stains and old colors from showing through. Primer improves paint adhesion, making the finish stronger. It prevents rust on metal parts and stops wood from soaking up paint unevenly. Using primer increases the life of your outdoor furniture paint.
Best Primers For Outdoor Furniture
Choose a primer made for outdoor use. Oil-based primers work well on wood and metal. They resist water and weather damage. Latex primers dry faster and clean up easily with water. For rusty metal, use a rust-inhibiting primer. Pick one that matches your furniture material for best results.
Proper Primer Application Techniques
Start with clean, dry furniture. Remove all loose paint and sand rough spots. Use a brush or roller for even coverage. Apply thin, smooth coats of primer. Avoid thick layers that take longer to dry. Let the primer dry fully before adding paint. Good primer application ensures a smooth, lasting finish.
Painting Techniques
Painting outdoor furniture requires the right techniques to achieve a smooth, lasting finish. Choosing the proper method affects how well paint sticks and how the furniture looks. Careful preparation and correct application help the paint resist weather and wear.
Brush Vs. Spray Application
Brushing is the most common method. It allows control and precision, especially on detailed areas. Use a high-quality brush for smooth strokes and fewer brush marks. Brushing works well for small or uneven surfaces.
Spray painting covers large areas quickly. It creates a thin, even coat without brush marks. Spraying suits flat or simple shapes but needs careful masking to avoid overspray. Use spray paint designed for outdoor use for best results.
Number Of Coats Needed
Apply at least two coats of paint for good coverage. The first coat seals the surface and provides a base. The second coat improves color depth and durability. For old or rough furniture, three coats may be necessary to hide flaws.
Thin coats dry better and last longer. Thick layers can peel or drip. Applying multiple thin coats gives the best finish.
Drying Time Between Coats
Allow each coat to dry fully before applying the next. Drying times vary by paint type and weather. Usually, wait 4 to 6 hours for outdoor paint to dry. Check the paint can instructions for exact times.
Skipping drying time causes paint to peel or bubble. Patience ensures a strong, smooth finish that lasts through seasons.
Sealing And Protection
Sealing and protecting your outdoor furniture is key to keep the new paint looking fresh. It stops water, sun, and dirt from damaging the surface. A good sealant makes the paint last longer and keeps the furniture strong.
Choosing A Protective Sealant
Select a sealant that fits the paint type and furniture material. Look for products made for outdoor use. Clear sealants keep the color bright without changing the look. Some sealants add a little shine or matte finish. Pick one that matches your style and needs.
Applying Sealant Correctly
Apply sealant on dry, clean furniture for best results. Use a brush or spray for even coverage. Work in thin, smooth layers to avoid drips. Let each coat dry before adding the next. Two or three coats give the best protection. Follow the instructions on the sealant package carefully.
Maintaining The Finish
Check furniture regularly for chips or cracks. Clean gently with mild soap and water to avoid damage. Reapply sealant every 1 to 2 years for ongoing protection. Store furniture in shade or cover during harsh weather. Small repairs and care keep the finish strong and beautiful.
Preventing Future Flaking
Preventing future flaking is key to keeping outdoor furniture looking good longer. Proper care stops paint from peeling and saves you time. Simple steps help protect your furniture from harsh weather and wear.
Regular Maintenance Tips
Clean your furniture often. Use mild soap and water to remove dirt. Check for small cracks or chips in the paint. Fix these spots quickly to stop flaking. Light sanding before repainting helps paint stick better.
Proper Storage Solutions
Store furniture in a dry place during bad weather. Cover it with a breathable tarp to avoid moisture buildup. If possible, keep furniture inside during winter or heavy rain. This reduces paint damage and extends furniture life.
Weatherproofing Strategies
Apply a good quality outdoor sealant or varnish after painting. This layer protects from sun, rain, and cold. Use paint made for outdoor use only. Reapply sealant every year to keep the protection strong.

Credit: dengarden.com
Credit: www.gardenexperiments.com
Frequently Asked Questions
How Do I Prepare Flaking Outdoor Furniture For Repainting?
Start by cleaning the furniture thoroughly with soap and water. Then, scrape off all loose and flaking paint using a putty knife. Sand the surface smooth to ensure proper paint adhesion. Finally, wipe the furniture clean to remove dust before painting.
What Type Of Paint Is Best For Outdoor Furniture?
Use exterior-grade paint designed for outdoor use. Acrylic latex paint is durable, weather-resistant, and flexible. It adheres well to wood, metal, and plastic surfaces. Choose paint with UV protection to prevent fading and extend the life of your finish.
Can I Repaint Outdoor Furniture Without Sanding?
Sanding is highly recommended to remove flaking paint and smooth rough spots. Skipping this step may cause poor paint adhesion and peeling. Light sanding ensures a clean surface, improving durability and the overall appearance of your repaint job.
How Long Should Paint Dry Before Using Outdoor Furniture?
Allow the paint to dry for at least 24 hours. Drying times may vary based on temperature and humidity. Avoid placing furniture in direct sunlight or rain during this period to ensure a smooth, long-lasting finish.
Conclusion
Repainting flaking outdoor furniture can bring it back to life. Start by cleaning and sanding the surface well. Choose the right paint for outdoor use. Apply thin, even coats for the best finish. Let each layer dry completely before the next.
This simple process protects your furniture from weather damage. It also makes your outdoor space look fresh and inviting. With patience and care, old furniture can look new again. Enjoy your renewed outdoor furniture for many seasons.