Is your outdoor furniture looking tired and worn out? You don’t have to replace it just yet.
Rewebbing your outdoor furniture can give it a fresh new look and extend its life for years to come. Imagine relaxing in your backyard, enjoying your favorite chair that looks as good as new. In this guide, you’ll discover simple steps to reweb your furniture yourself, saving money and adding a personal touch.
Ready to transform your outdoor space? Let’s dive in and make your furniture shine again.
Choosing The Right Materials
Choosing the right materials is key to a successful outdoor furniture rewebbing project. The materials must resist weather and last long outside. Good quality webbing keeps the furniture strong and comfortable. Pick materials that fit your furniture style and budget. Knowing the types of webbing and needed tools makes the process easier.
Types Of Outdoor Webbing
Outdoor webbing comes in many types. Vinyl webbing is popular for its durability and water resistance. It cleans easily and stands up to sun damage. Polypropylene webbing is strong and dries fast. It works well in damp environments. Polyester webbing is another good option. It resists stretching and color fading. Choose a webbing type that suits your climate and use. Color options help match your furniture look.
Tools And Supplies Needed
Gather the right tools before starting. You need scissors or a utility knife to cut webbing. A staple gun or heavy-duty staples hold the webbing in place. Webbing clips or hog rings secure tight edges. Gloves protect your hands during work. Measuring tape helps get exact lengths. A flat screwdriver or pliers assists in removing old webbing. Having all tools ready saves time and avoids frustration.

Credit: rattanyard.com
Preparing Your Furniture
Preparing your outdoor furniture is the first step in rewebbing. This step makes sure the new webbing fits well and lasts longer. Proper preparation also keeps the furniture safe and clean. Take your time to do it right.
Cleaning The Frame
Start by cleaning the furniture frame. Use a soft brush to remove dirt and dust. Wipe the frame with a damp cloth and mild soap. Avoid harsh chemicals that can damage the frame’s finish. Let the frame dry completely before moving on.
Removing Old Webbing
Carefully remove the old webbing from the frame. Use scissors or a utility knife to cut the webbing strands. Pull out any staples or tacks holding the webbing in place. Take your time to avoid damaging the frame. Clear all old webbing to prepare for the new material.
Measuring And Cutting Webbing
Measuring and cutting webbing are key steps in rewebbing outdoor furniture. Accurate measurements ensure the webbing fits well and supports weight. Cutting strips to the right size helps avoid waste and keeps the project neat.
Taking Accurate Measurements
Start by removing old webbing carefully. Use a tape measure to check the frame width and length. Measure the exact space where the webbing will go. Write down each measurement clearly. Double-check numbers before cutting. Accurate measurements prevent mistakes and save time.
Cutting Strips To Size
Use sharp scissors or a utility knife for clean cuts. Cut strips slightly longer than the frame width. This extra length helps when attaching the webbing. Cut slowly and follow your measurements closely. Keep all strips uniform in width and length. Proper cutting makes weaving easier and the finished look better.
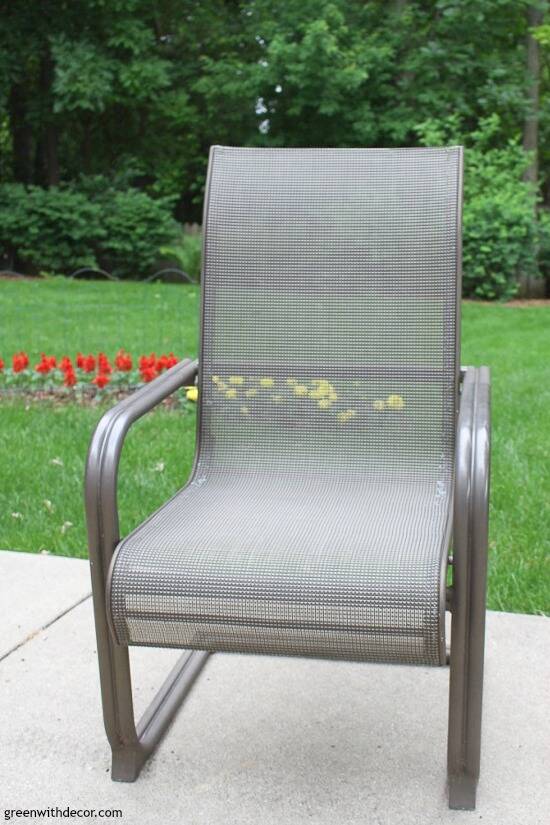
Credit: greenwithdecor.com
Weaving Techniques
Weaving techniques form the heart of rewebbing outdoor furniture. These methods determine the strength and look of the new seating surface. Choosing the right technique helps ensure durability and comfort. It also keeps your furniture looking neat and fresh.
Basic Weaving Patterns
Start with simple patterns like the plain weave. This involves going over and under the frame strands one by one. The pattern creates a sturdy and even surface. Another common option is the basket weave. It uses pairs of strands woven over and under. This pattern adds texture and strength to your furniture.
Try the twill weave for a diagonal pattern. It gives a unique look and extra flexibility. Practice these patterns on a small section first. This helps you get comfortable before working on the full piece.
Tips For Tight Weaving
Keep your strands firm but not too tight. Tight weaving holds the shape well and prevents sagging. Use pliers or weaving tools for better grip and control. Pull each strand evenly to avoid uneven tension.
Check your work often to spot loose spots. Fix them right away to keep the weave tight. Leave a little slack at the ends to tie knots securely. This makes sure the strands stay in place longer.
Securing The Webbing
Securing the webbing is a key step in rewebbing outdoor furniture. It keeps the webbing tight and strong. Proper securing stops the webbing from slipping or sagging. This ensures the furniture stays comfortable and lasts longer. There are simple ways to secure the webbing well.
Using Staples And Tacks
Staples and tacks are common tools to hold webbing. Use a heavy-duty staple gun for strong attachment. Place staples close together for better hold. Make sure staples go deep into the frame. Tacks work well for smaller webbing strips. Press tacks firmly so they do not loosen. Check that webbing is tight before stapling or tacking.
Knotting And Finishing Ends
Knotting webbing ends prevents unraveling. Use simple knots like square knots or double knots. Pull knots tight to hold webbing firmly. Trim extra webbing close to the knot. Tuck the ends under the webbing for a neat look. A clean finish helps webbing last longer. It also improves the furniture’s overall appearance.
Maintaining Rewebbed Furniture
Maintaining rewebbed furniture helps it last longer and look fresh. Proper care keeps the webbing strong and comfortable. Follow simple steps to protect your outdoor seating from wear and tear.
Cleaning Tips
Use a soft brush to remove loose dirt and dust. Mix mild soap with warm water for gentle cleaning. Avoid harsh chemicals that can damage the fibers. Rinse well with clean water and let it dry completely. Clean regularly to prevent buildup and stains.
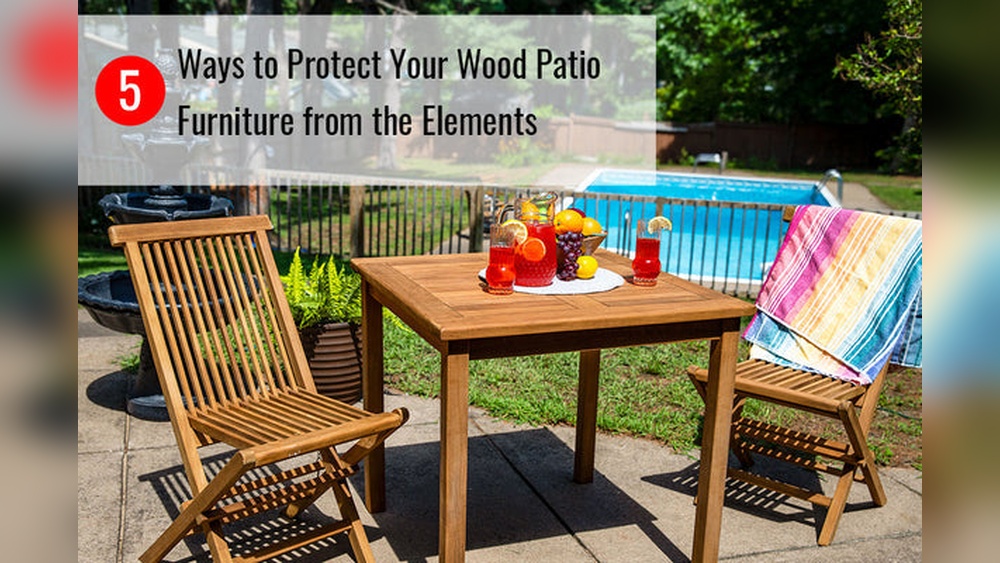
Protecting From Weather
Cover furniture during rain or snow to avoid water damage. Place pieces under shade to reduce sun fading and cracking. Use waterproof covers made for outdoor furniture. Store cushions and webbing indoors during harsh weather. Check webbing often and fix any loose strands quickly.
Credit: www.furnituremedic-mastercare.com
Frequently Asked Questions
What Materials Are Best For Rewebbing Outdoor Furniture?
The best materials are weather-resistant synthetic fibers like vinyl or polyethylene. They withstand sunlight, moisture, and temperature changes well. These materials ensure durability and maintain outdoor furniture’s aesthetic appeal over time.
How Do I Prepare Furniture Before Rewebbing?
Clean the furniture thoroughly and remove old webbing. Inspect for damage or rust and repair if needed. Proper preparation ensures the new webbing adheres well and lasts longer.
What Tools Are Needed To Reweb Outdoor Furniture?
You will need webbing material, a staple gun, scissors, pliers, and a measuring tape. These tools help cut, attach, and secure the webbing efficiently for a professional finish.
How Long Does Rewebbing Outdoor Furniture Usually Take?
Rewebbing typically takes 1-3 hours depending on furniture size and skill level. Small chairs take less time, while larger pieces require more effort and precision.
Conclusion
Rewebbing outdoor furniture saves money and extends its life. You can refresh old chairs with simple tools and materials. The process is fun and lets you customize your style. Taking care of your furniture keeps it strong and ready to use.
Try rewebbing to enjoy your outdoor space longer. Small efforts bring big changes to your patio look. Keep your furniture comfortable and durable with regular maintenance. Give your outdoor furniture a fresh start today.