Your outdoor wood furniture can look worn and faded after a while. But you don’t have to replace it to bring back its beauty.
With the right sanding and staining, you can transform your pieces into stunning highlights of your outdoor space. Imagine your patio glowing with rich, smooth wood that feels as good as it looks. In this guide, you’ll discover simple steps to sand and stain your outdoor wood furniture like a pro.
By the end, you’ll have the confidence and know-how to make your furniture last longer and stand out. Ready to give your outdoor wood a fresh new look? Let’s get started!
Preparing The Workspace
Preparing your workspace is the first step to sanding and staining outdoor wood furniture. A good setup helps you work safely and efficiently. It also keeps your project clean and organized. Taking time to prepare makes the whole process easier and more enjoyable.
Choose A Well-ventilated Area
Work in a space with plenty of fresh air. Outdoor areas like patios or garages with open doors work best. Proper ventilation helps remove dust and fumes from stains. It keeps the air safe to breathe. Avoid small, closed rooms without airflow. This reduces health risks and helps the stain dry faster.
Gather Necessary Tools And Materials
Collect all items before starting. This saves time and prevents interruptions. Basic tools include sandpaper, sanding blocks, or an electric sander. Have different grit sandpapers for smooth results. Bring brushes or rags for applying stain. Keep gloves and a mask handy to protect yourself. Also, prepare a clean cloth to wipe dust off the wood. Organize everything near your workspace for easy reach.
Inspecting The Furniture
Before sanding and staining your outdoor wood furniture, inspecting it carefully is important. This step helps you find any problems that need fixing. It also makes sure the wood is clean and ready to take the new finish. A good inspection saves time and effort later.
Check For Damages And Repairs
Look closely for cracks, splinters, and loose joints. These can cause bigger problems if ignored. Small cracks may need wood filler, while loose screws or nails should be tightened or replaced. Check every part, including legs and arms. Repairing now keeps the furniture strong and safe.
Remove Old Finish And Dirt
Old paint, stain, and dirt stop new finishes from sticking well. Use a scraper or sandpaper to remove old layers. Clean the wood with soap and water to get rid of dirt and grime. Let the furniture dry fully before moving to sanding. Clean, bare wood takes stain better and lasts longer.
Sanding Techniques
Sanding outdoor wood furniture prepares the surface for staining. It removes old finishes and smooths rough patches. Proper sanding helps the stain soak in evenly. This step is key to a long-lasting finish.
Use the right sanding methods to protect the wood. Avoid sanding too hard or too fast. Follow these simple techniques for the best results.
Select The Right Sandpaper Grit
Start with medium grit sandpaper, around 80 to 120 grit. It removes old paint and rough spots. After that, use finer grit, like 180 to 220, to smooth the wood. Coarse grit can damage the surface. Fine grit prepares wood for stain absorption.
Sand With The Grain
Always sand in the direction of the wood grain. Sanding against the grain creates scratches that show after staining. Smooth strokes make the surface even. This method helps the stain penetrate better.
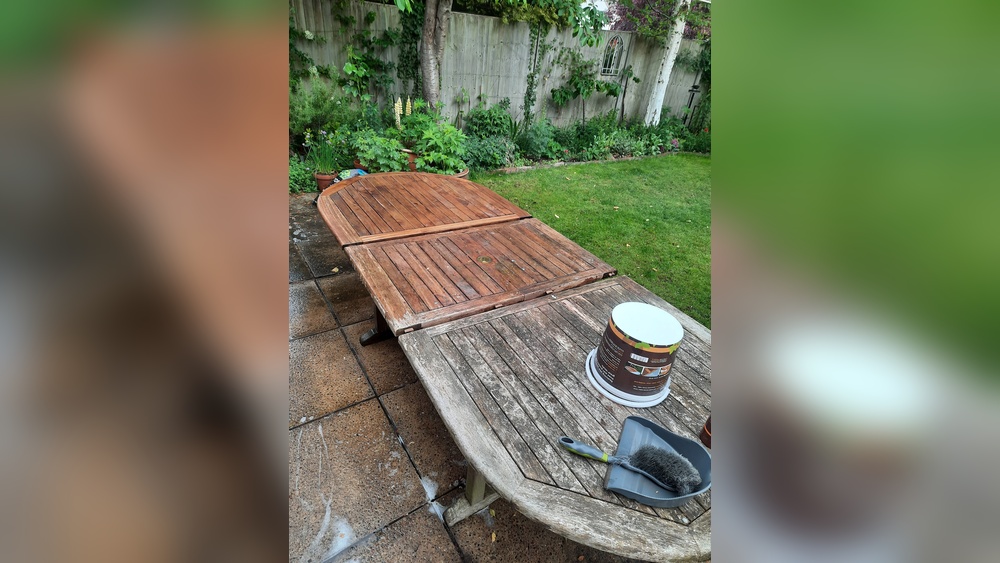
Smooth Hard-to-reach Areas
Use sanding sponges or small blocks for corners and curves. These tools reach tight spots easily. Sand gently to avoid rounding sharp edges. Proper attention here improves the furniture’s overall look.
Credit: www.homestoriesatoz.com
Cleaning After Sanding
Cleaning after sanding is a key step to prepare your outdoor wood furniture for staining. Removing all dust and debris helps the stain stick better and look smooth. Skipping this step can cause uneven color and rough texture. Take your time to clean thoroughly before moving on to staining.
Remove Dust And Debris
Use a soft brush or a vacuum to clear dust from the furniture. Pay close attention to corners and crevices where dust hides. Wipe the surface gently with a damp cloth to catch fine particles. Let the wood dry completely before the next step.
Use Tack Cloth For Final Wipe
Grab a tack cloth to pick up the smallest dust particles left behind. Lightly wipe the entire surface with the tack cloth. This sticky cloth grabs dust without damaging the wood. After this, your furniture is ready for staining with a clean, smooth surface.
Choosing The Stain
Choosing the right stain is key to protect and beautify outdoor wood furniture. The stain affects color, durability, and how well the wood resists weather. Picking the correct stain enhances the wood’s natural look and keeps it safe from sun and rain. Take time to select a stain that matches your wood type and your outdoor style.
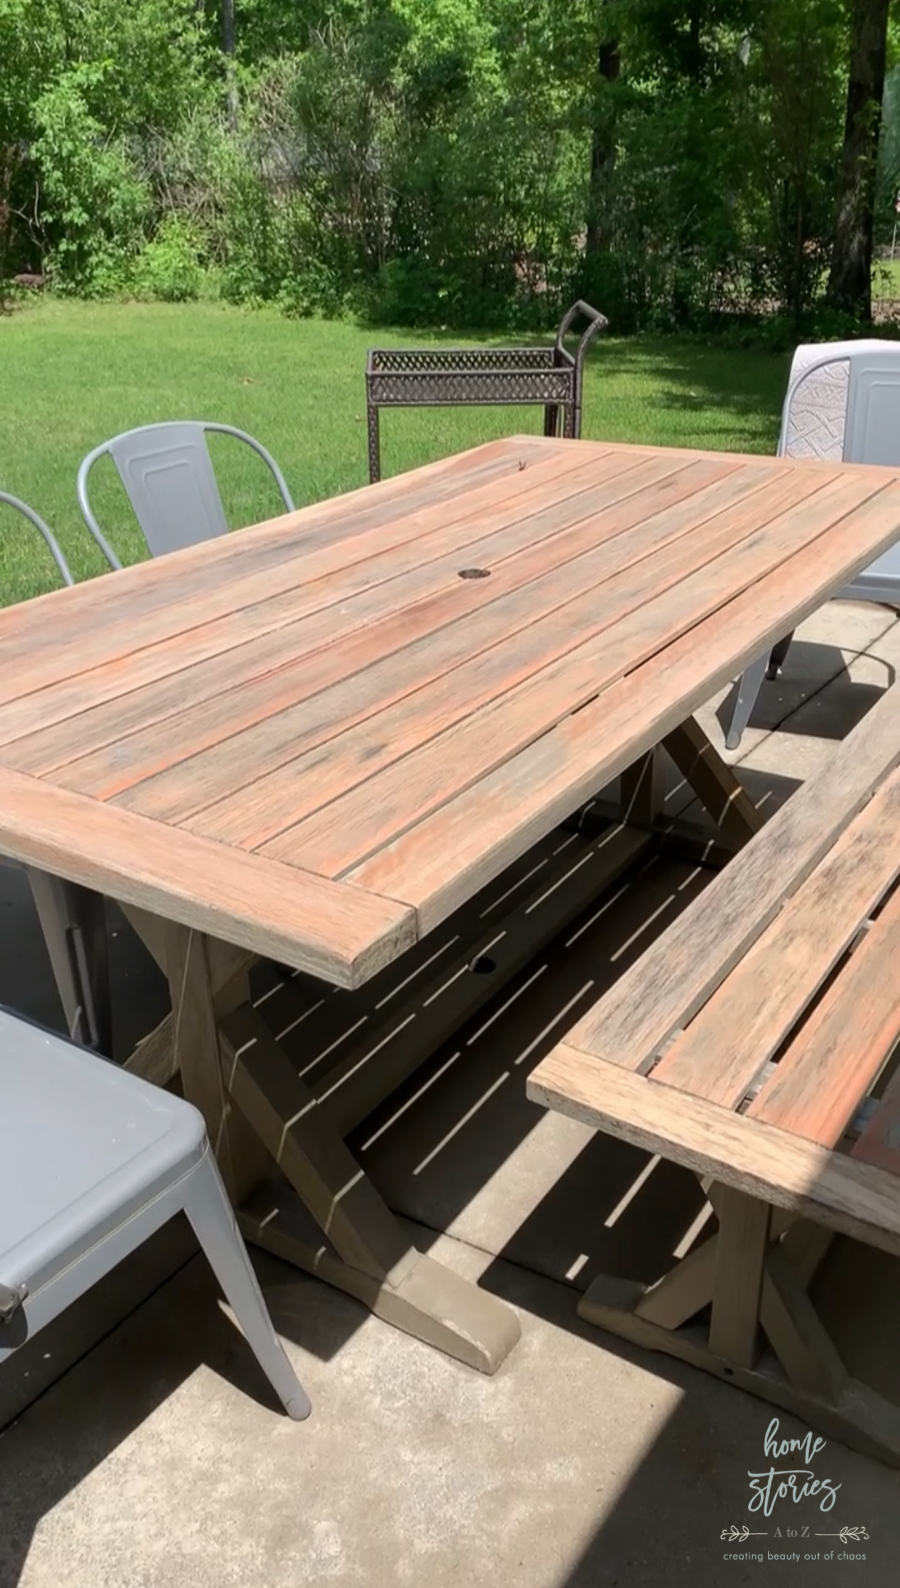
Consider Wood Type And Color
Different woods absorb stain in unique ways. Softwoods like pine soak up more stain and can look blotchy without a good base coat. Hardwoods such as teak or cedar often show rich grain patterns that a clear or light stain can highlight. Choose a stain color that complements the wood’s natural tone to keep the furniture looking fresh and natural.
Light-colored stains work well on pale woods. Dark stains suit richer woods and help hide imperfections. Test a small spot first to see how the stain changes the wood’s look before applying it all over.
Pick The Appropriate Stain Type
Outdoor furniture needs stains designed for exterior use. Oil-based stains penetrate deeply and protect well against moisture. Water-based stains dry faster and have less odor but may need more coats. Semi-transparent stains add color while showing wood grain. Solid stains cover wood completely and offer strong protection but hide natural patterns.
Choose a stain type that fits your maintenance plans. Oil stains last longer but require more drying time. Water stains are easy to clean up and good for quick projects. Match the stain type to your furniture’s exposure to sun and rain for best results.

Credit: www.reddit.com
Applying The Stain
Applying the stain to outdoor wood furniture is a key step to protect and beautify the wood. This process gives the wood a rich color and helps it resist weather damage. Careful application ensures an even finish that lasts longer.
Test Stain On A Hidden Spot
Always try the stain on a small hidden area first. This shows how the wood will look after staining. It helps avoid surprises with color or texture. Let the test spot dry fully to see the true color.
Use Brushes Or Rags For Application
Choose a good-quality brush or clean rag for applying stain. Brushes work well for detailed areas and even coverage. Rags allow easy control and quick application. Apply stain in the direction of the wood grain for best results.
Follow Recommended Drying Times
Check the stain label for drying times. Let the stain dry completely before adding more coats or using the furniture. Proper drying prevents sticky or uneven surfaces. Patience here leads to a smooth, lasting finish.
Adding Protective Finish
Adding a protective finish is a key step in caring for outdoor wood furniture. This finish guards the wood against moisture, sunlight, and dirt. It keeps the wood looking fresh and extends its life. Without protection, wood can fade, crack, or rot over time.
A good finish seals the surface and enhances the wood’s natural beauty. It also makes cleaning easier. Choosing the right finish and applying it well ensures your furniture stays strong and attractive.
Select Suitable Outdoor Sealant
Choose a sealant made for outdoor wood. Look for products that block water and UV rays. Water-based sealants dry quickly and have low odor. Oil-based sealants penetrate deeply and offer strong protection. Pick one that suits your wood type and climate. Always check the label for outdoor use.
Apply Multiple Coats For Durability
Apply thin, even coats of sealant with a brush or cloth. Let each coat dry fully before adding the next. Two to three coats give the best protection. More coats increase durability and resistance to weather. Lightly sand between coats for a smooth finish. This step helps the next layer stick better.
Maintenance Tips
Maintaining outdoor wood furniture keeps it strong and good-looking. Proper care helps the wood last through sun, rain, and wind. Simple steps prevent damage and save money on repairs. Follow these tips to keep your furniture fresh and inviting year-round.
Regular Cleaning
Clean wood furniture often to remove dirt and dust. Use a soft brush or cloth with mild soap and water. Avoid harsh cleaners that can strip the wood’s finish. Rinse with clean water and dry with a towel. Cleaning stops mold and mildew from growing on the surface.
Periodic Reapplication Of Finish
Reapply stain or sealant every 1 to 2 years. This protects the wood from moisture and sun damage. Sand lightly before applying a new coat to remove old, flaking finish. Use a brush or cloth to spread the stain evenly. Let it dry fully before using the furniture again.
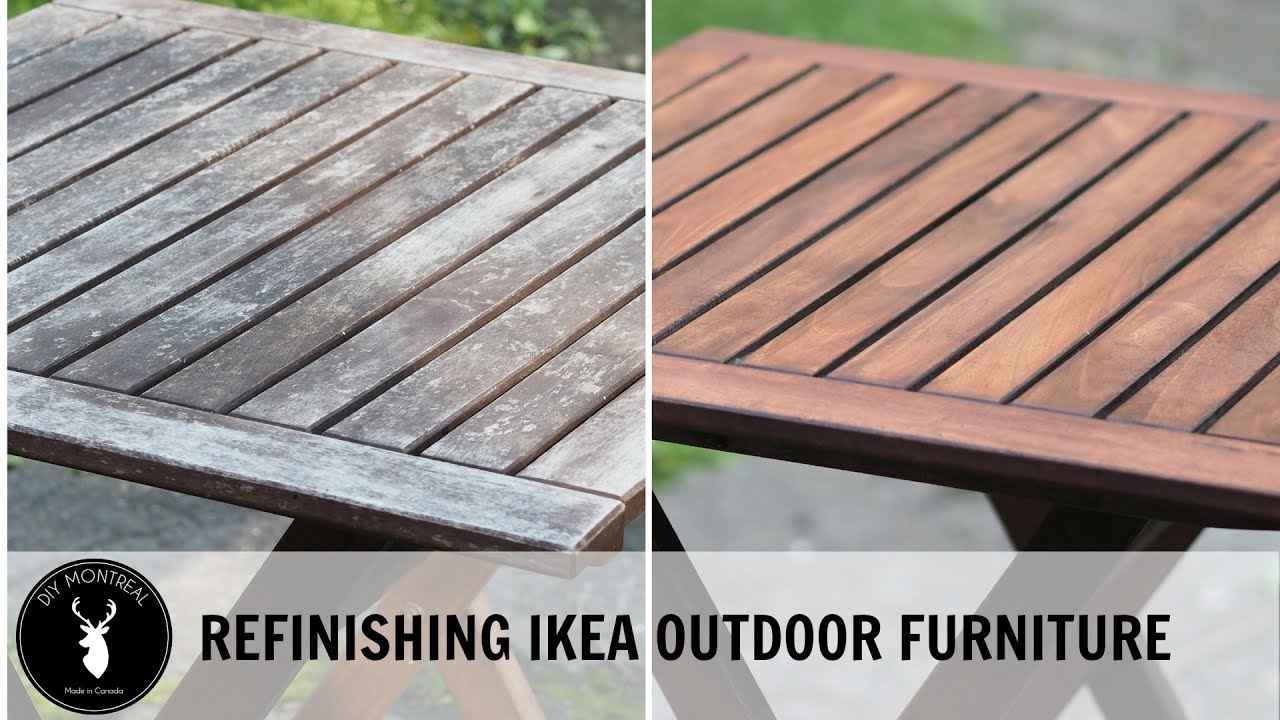
Credit: www.youtube.com
Frequently Asked Questions
How Do I Prepare Wood Furniture For Sanding?
Start by cleaning the furniture to remove dirt and debris. Use a mild detergent and water. Allow it to dry completely before sanding.
What Grit Sandpaper Is Best For Outdoor Wood?
Use medium-grit (120-150) sandpaper to remove old finish. Follow with fine-grit (220) for a smooth surface before staining.
How Long Should Stain Be Left On Wood?
Apply stain evenly and let it penetrate for 5-15 minutes. Wipe off excess with a clean cloth for an even finish.
Can I Sand And Stain Wood Furniture Outdoors?
Yes, but choose a dry, shaded area with good ventilation. Avoid direct sunlight to prevent uneven drying and blotching.
Conclusion
Sanding and staining outdoor wood furniture protects it from weather damage. Start with smooth sanding to remove old finishes and rough spots. Choose a stain that suits your wood and outdoor style. Apply the stain evenly for a fresh, lasting look.
Let the furniture dry fully before use. Regular care keeps wood beautiful and strong for years. Simple steps bring new life to old outdoor pieces. Try these tips to enjoy your furniture longer. Easy, effective, and worth the effort.