Are you ready to give your outdoor furniture a fresh, smooth look that lasts? Sanding your outdoor furniture is the key to making it look brand new again.
Whether your wood feels rough or the paint is peeling, sanding helps remove imperfections and prepares your furniture for a beautiful finish. In this guide, you’ll learn simple, step-by-step tips that anyone can follow. By the end, you’ll have the confidence to transform your outdoor space and enjoy furniture that feels as good as it looks.
Keep reading, and let’s get started on making your furniture shine!
Choosing The Right Sandpaper
Choosing the right sandpaper is key to sanding outdoor furniture well. The right sandpaper makes your work easier. It helps smooth the surface without damage. Using the wrong sandpaper can ruin wood or metal. Understanding sandpaper types helps you pick the best one for your project.
Grit Levels Explained
Sandpaper grit means the roughness of the paper. Low grit numbers are rough. They remove paint and rough wood fast. High grit numbers are smooth. They polish and finish surfaces gently. Start with rough grit to remove old layers. Then, use fine grit for a smooth finish. Common grits for furniture range from 60 to 220. Choose grit based on how rough the surface is.
Materials And Durability
Sandpaper comes in different materials. Aluminum oxide is common and lasts long. It works well on wood and metal. Silicon carbide is sharper and good for metal or plastic. Garnet is softer and best for wood. Choose durable sandpaper for big projects. Cheap sandpaper wears out fast and wastes time. Check the backing type too. Paper backing is flexible. Cloth backing is stronger for power sanding.

Credit: www.reddit.com
Preparing Your Workspace
Preparing your workspace is a key step before sanding outdoor furniture. A clean, organized space helps you work safely and efficiently. It also protects your furniture and tools. Taking time to set up your area makes the sanding process easier and more enjoyable.
Selecting A Well-ventilated Area
Choose a spot with plenty of fresh air. Sanding creates dust, which can irritate your lungs. Outdoors is best. If you must work inside, open windows and doors. Use a fan to move air around. Avoid small, enclosed spaces to keep dust low.
Gathering Necessary Tools
Collect all tools before starting. You will need sandpaper of different grits, a sanding block, and a dust mask. Gloves protect your hands. A drop cloth helps catch dust and debris. Having everything ready saves time. No stopping once you begin.
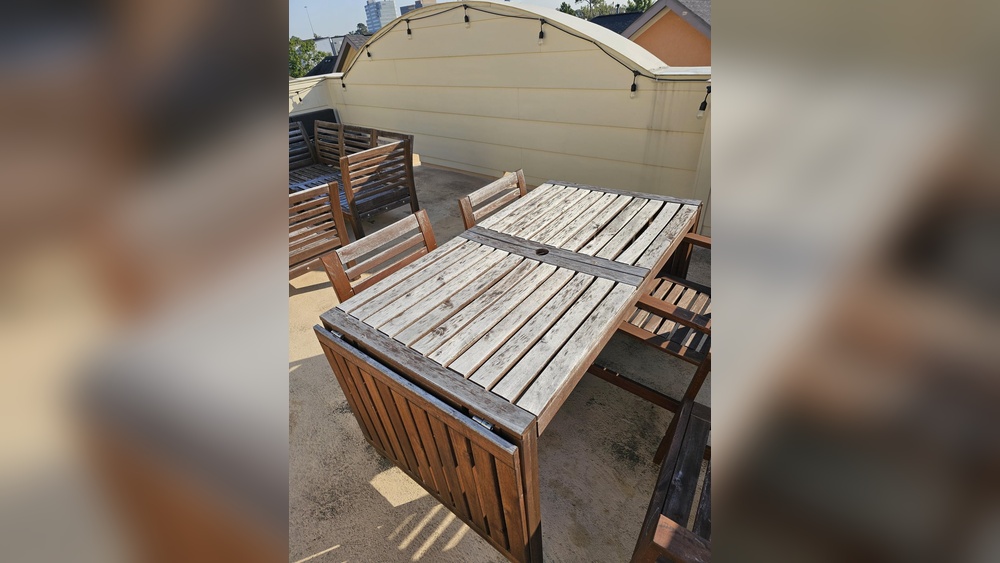
Cleaning Outdoor Furniture
Cleaning outdoor furniture is the first step before sanding. Dirt and grime can hide under paint or finish. Removing these will help sanding go smoothly. Clean furniture also lasts longer and looks better.
Start by washing the furniture with water and mild soap. Use a soft brush or cloth to avoid damage. Let the furniture dry completely before sanding.
Removing Dirt And Debris
Use a broom or brush to sweep off loose dirt. Leaves, dust, and small twigs can block sanding tools. Wipe surfaces with a damp cloth to catch stubborn dirt. Make sure to clean corners and crevices well.
Dealing With Mold And Mildew
Mold and mildew appear as dark or green spots. Mix water with white vinegar or baking soda. Apply the mix with a sponge and scrub gently. Rinse with clean water and dry the furniture. Removing mold prevents damage and keeps the wood healthy.

Credit: www.reddit.com
Sanding Techniques
Sanding outdoor furniture smooths the surface and removes old paint or rough spots. Good sanding makes your furniture look fresh and ready for paint or stain. Different sanding techniques work better for different parts of your furniture. Choose the right method for the job to get the best results.
Use the right grit of sandpaper to avoid damage. Start coarse, then move to finer grits for a smooth finish. Clean dust often to see your progress clearly. Proper sanding helps protect wood from weather damage.
Hand Sanding Tips
Hand sanding gives you control over small or detailed areas. Wrap sandpaper around a sanding block for even pressure. Sand along the grain of the wood, not against it. Use long, smooth strokes to avoid scratches. Change sandpaper when it feels rough or clogged. Take breaks to check your work and remove dust.
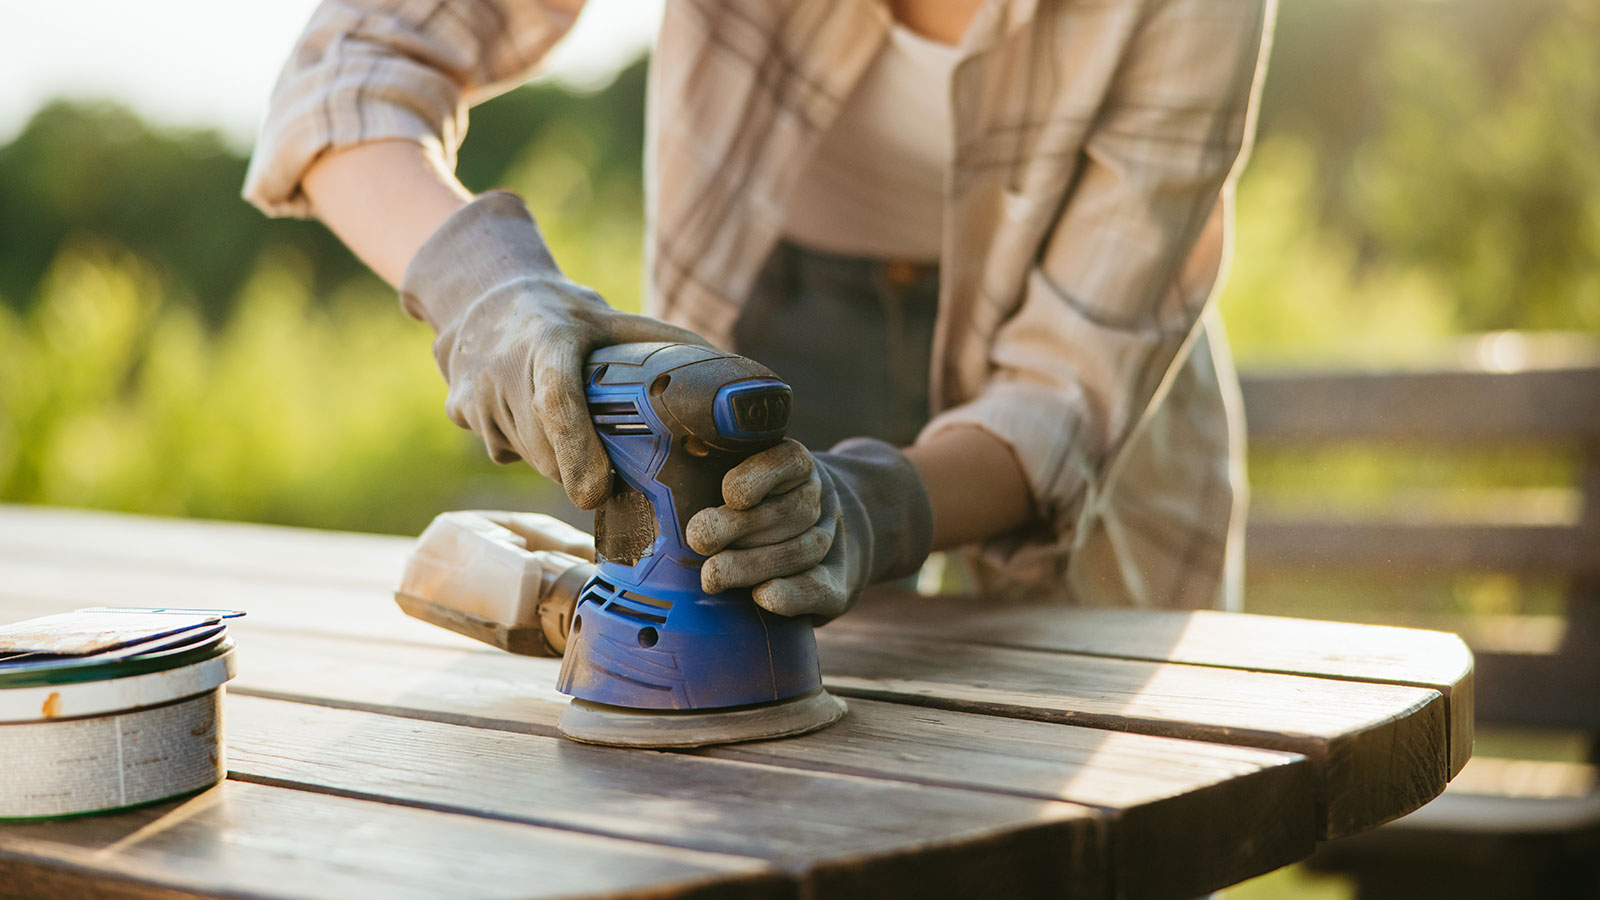
Using Power Sanders Safely
Power sanders speed up sanding large surfaces. Wear a mask and goggles to protect from dust. Keep the sander moving to avoid uneven spots. Start with coarse grit, then switch to finer grit paper. Hold the sander lightly; pressing hard can damage wood. Unplug the tool before changing sandpaper or cleaning.
Sanding Different Materials
Sanding outdoor furniture improves its look and helps protect it. Different materials need different sanding methods. Understanding these methods makes the job easier and better.
Each material reacts to sanding in its own way. Using the right tools and techniques prevents damage and gives smooth results.
Wood Furniture
Start with coarse sandpaper to remove old finish and rough spots. Use 80-120 grit for this step. Sand along the grain to avoid scratches. After rough sanding, switch to fine grit, like 220, for a smooth finish. Use a sanding block or orbital sander for even pressure. Clean dust with a brush or cloth before painting or staining.
Metal Furniture
Metal needs careful sanding to remove rust and old paint. Use medium grit sandpaper, around 150-180 grit. For rust spots, use a wire brush or steel wool first. Sand until the surface feels smooth and clean. Avoid deep scratches by not pressing too hard. After sanding, wipe down with a damp cloth to remove dust.
Plastic Furniture
Plastic requires gentle sanding to avoid scratches and damage. Use very fine sandpaper, like 220-320 grit. Lightly sand the surface in circular motions. Avoid using power sanders as they can melt plastic. Clean dust with a soft cloth. Sanding helps paint or sealant stick better to plastic furniture.
Credit: www.homesandgardens.com
Finishing Touches
Finishing touches are key to making outdoor furniture look its best. This step protects the wood and keeps it safe from weather damage. Proper finishing also gives your furniture a smooth, clean surface that feels nice to touch.
Removing Dust
After sanding, dust covers the furniture’s surface. Dust can stop paint or sealant from sticking well. Use a soft brush or cloth to wipe all dust away. A vacuum with a brush attachment works well too. Make sure to clean every corner and crevice. Let the furniture dry before moving to the next step.
Applying Sealants Or Paint
Sealants protect wood from moisture and sun damage. Choose a sealant made for outdoor use. Use a brush or sprayer to apply an even coat. Let the first coat dry completely before applying another. Paint adds color and extra protection. Use paint designed for outdoor wood. Apply thin coats to avoid drips. Allow each coat to dry well. Proper finishing extends your furniture’s life and beauty.
Maintenance After Sanding
After sanding outdoor furniture, proper maintenance is key. It keeps your furniture smooth and looking fresh. Regular care extends the life of the wood or metal. Neglect can lead to damage from dirt, moisture, and sun. Follow simple steps to protect your investment and enjoy it longer.
Regular Cleaning Tips
Clean your furniture often to remove dust and dirt. Use a soft brush or cloth for gentle cleaning. Mild soap and water work well for most surfaces. Avoid harsh chemicals that can harm the finish. Rinse with clean water and dry with a towel. Clean at least once a month during use seasons.
Protecting Against Weather
Weather harms outdoor furniture fast. Sun can fade colors and dry wood. Rain and moisture cause rust and rot. Cover your furniture with waterproof covers when not in use. Store pieces indoors during harsh weather or winter. Apply protective sealants or paint to shield surfaces. Reapply coatings every year for the best defense.
Frequently Asked Questions
What Grit Sandpaper Is Best For Outdoor Furniture?
Start with 80-120 grit sandpaper for rough surfaces. Finish with 150-220 grit for a smooth finish. This combination removes old paint and prepares wood effectively.
How Do I Prepare Outdoor Furniture For Sanding?
Clean furniture thoroughly to remove dirt and debris. Allow it to dry completely before sanding. This ensures a smooth and even sanding process.
Can I Sand Outdoor Furniture Without A Power Sander?
Yes, hand sanding works for small or detailed areas. Use sanding blocks or sponges for better control. It takes longer but provides precise results.
Should I Sand Outdoor Furniture Before Repainting Or Staining?
Always sand before repainting or staining. It helps the new finish adhere better and smooths out imperfections. Proper sanding extends the furniture’s lifespan.
Conclusion
Sanding outdoor furniture makes it smooth and ready for use. Start with rough sandpaper to remove old paint or dirt. Then use finer sandpaper for a soft finish. Always sand along the wood grain for best results. Clean dust away before painting or sealing.
Taking time to sand well helps your furniture last longer. It also looks fresh and inviting. Enjoy your outdoor space with furniture that feels new. Simple steps, great results.

