
Are you ready to give your bathroom a fresh, polished look? Securing your vanity top to the cabinet might seem tricky, but with the right steps, you can do it yourself and avoid costly repairs later.
Imagine a sturdy, perfectly aligned vanity that stays put, even with daily use. In this guide, you’ll discover simple, clear instructions that anyone can follow—no special skills needed. Keep reading, and by the end, you’ll feel confident to tackle this project and enjoy a bathroom upgrade that lasts.
Tools And Materials Needed
Securing a vanity top to a cabinet needs the right tools and materials. Using proper items makes the job easier and safer. It also helps the vanity last longer without damage. Preparing all tools and materials before starting saves time and avoids interruptions.
Essential Tools
Gather these basic tools for a smooth installation. A cordless drill helps to make holes and drive screws quickly. A screwdriver, either manual or electric, is useful for tightening screws. A level ensures the vanity top sits evenly on the cabinet. Measuring tape measures the space and placement accurately. A caulking gun applies sealant neatly around edges. Clamps hold the vanity top in place while securing it. A utility knife helps cut sealant or tape as needed.
Required Materials
Use these materials to secure the vanity top firmly. Silicone caulk seals gaps and prevents water leaks. Mounting screws fix the vanity top tightly to the cabinet. Adhesive tape or double-sided tape can hold the top temporarily. Wood shims adjust any unevenness between the top and cabinet. Painter’s tape protects surfaces from excess sealant or scratches during work.
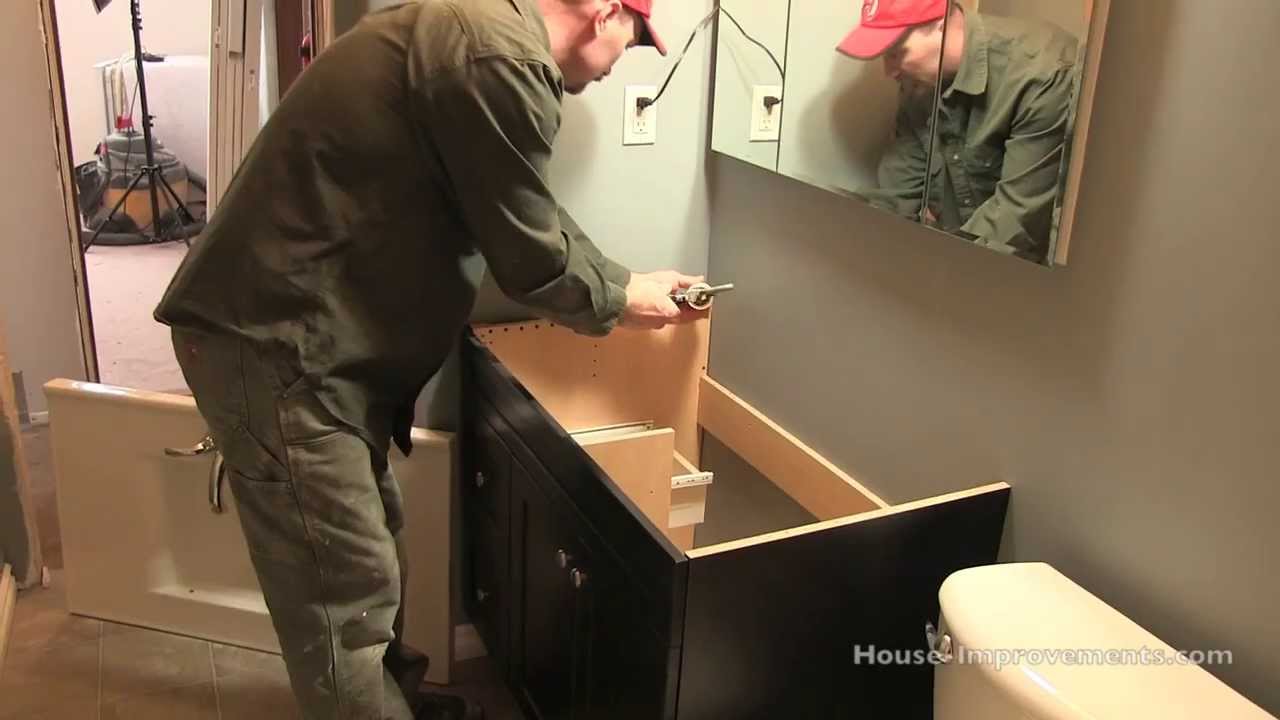
Credit: www.youtube.com
Preparing The Vanity Top And Cabinet
Preparing the vanity top and cabinet is a key step before securing them together. This process helps ensure a strong, lasting fit. Proper preparation avoids damage and keeps your installation smooth.
Focus on cleaning and inspecting both surfaces. Clean surfaces help adhesives and screws hold better. Checking for damage reveals any problems that need fixing first.
Cleaning Surfaces
Start by removing all dust and dirt from the vanity top and cabinet. Use a soft cloth and mild cleaner. Avoid harsh chemicals that can damage materials. Make sure both surfaces are dry before moving on. Clean surfaces prevent gaps and ensure secure attachment.
Checking For Damage
Look closely at the vanity top and cabinet edges. Check for cracks, chips, or warping. Damaged areas can weaken the connection. Replace or repair any issues before securing. A solid base creates a stable and safe installation.
Aligning The Vanity Top
Aligning the vanity top correctly is an important step to secure it to the cabinet. Proper alignment ensures the top looks neat and fits well. It prevents gaps and uneven surfaces that may cause damage or water leaks. Take your time to position the vanity top carefully before fixing it in place.
Positioning Tips
Start by placing the vanity top on the cabinet without any adhesive. Check if it sits flat and even on the cabinet edges. Move the top gently to center it over the cabinet. Use a level tool to confirm the surface is perfectly horizontal. Adjust the top by shifting it slightly until it fits well. Avoid forcing the top into place to prevent cracks.
Ensuring Proper Fit
Measure the gaps between the vanity top and the cabinet sides. The space should be small and uniform all around. If the gap is large, the top may not be the right size or the cabinet may be uneven. Use shims under the cabinet if needed to level the base. Double-check the fit before applying glue or screws. A proper fit keeps the vanity secure and stable for daily use.
Securing With Adhesive
Securing a vanity top to a cabinet with adhesive offers a strong and clean finish. This method avoids extra holes and keeps the surface smooth. Using the right adhesive and applying it correctly ensures a firm hold and long-lasting stability.
Choosing The Right Adhesive
Select an adhesive made for bathroom fixtures. Silicone adhesive is a popular choice because it resists water and stays flexible. Construction adhesive also works well on wood and stone surfaces. Avoid adhesives that are not waterproof or that dry too hard and brittle.
Check the product label for compatibility with your vanity top material. Some adhesives bond better to granite or marble, while others suit laminate or wood. Picking the right adhesive helps avoid damage and keeps the vanity secure.
Application Techniques
Clean both the cabinet and vanity top surfaces before applying adhesive. Remove dust, grease, and moisture for better adhesion. Apply a thin, even bead of adhesive along the cabinet edges where the vanity will rest.
Press the vanity top down firmly and hold it in place for a few minutes. Use clamps or weights if needed to keep the surface steady while the adhesive cures. Wipe away any excess adhesive immediately to keep the edges neat.
Using Fasteners For Stability
Using fasteners is a reliable way to secure a vanity top to its cabinet. Fasteners provide strong support and keep the vanity stable. They prevent movement and protect the vanity from damage over time.
Choosing the right fasteners and installing them correctly helps the vanity last longer. It also ensures safety in your bathroom space.
Types Of Fasteners
Screws are the most common fasteners used for vanity tops. They hold the top firmly to the cabinet frame.
Brackets are metal pieces that attach under the vanity top for extra support. They add stability and reduce wobbling.
Construction adhesive can be used along with fasteners. It helps keep the vanity top glued to the cabinet for a stronger bond.
Toggle bolts work well if the cabinet has hollow areas. They expand behind the surface for a secure hold.
Proper Installation
Start by aligning the vanity top correctly on the cabinet. Check the position before fastening.
Pre-drill holes for screws to avoid splitting the wood. Use a drill bit slightly smaller than the screw size.
Attach screws or brackets firmly but do not over-tighten. Too much force can crack the vanity top.
Apply a bead of construction adhesive under the vanity top edges for added grip. Let it dry fully before use.
Check the vanity top for any movement after installation. Tighten fasteners gently if needed.
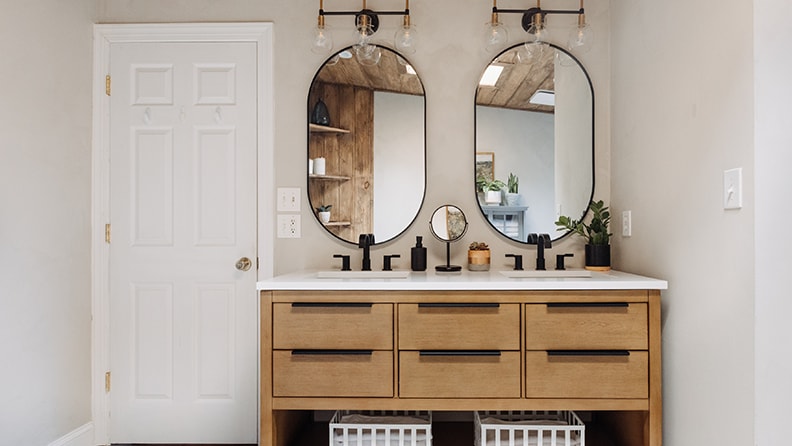
Credit: www.lowes.com
Sealing Edges And Gaps
Sealing edges and gaps between the vanity top and cabinet is crucial. It stops water from seeping into the cabinet. Water damage can cause wood to swell and weaken. Proper sealing also gives a clean, finished look to your vanity.
Pay attention to small gaps or cracks around the edges. These spots are where water often leaks. Sealing these areas helps keep your bathroom dry and your vanity in good shape for years.
Selecting Sealants
Choose a sealant that is waterproof and mold-resistant. Silicone sealants work well in wet areas. They stay flexible and do not crack over time. Clear or white silicone matches most vanity tops and cabinets.
Avoid sealants that are not designed for bathrooms. Some adhesives can break down when exposed to water. Check the label to ensure it is safe for use around sinks.
Applying Sealant Neatly
Clean the edges before applying sealant. Remove dust, grease, and old caulk. Use painter’s tape to mask off areas for a straight line. Cut the sealant tube tip at a 45-degree angle.
Apply a steady bead of sealant along the gap. Smooth it with a wet finger or a caulk tool. This seals the space and gives a neat finish. Wipe off excess sealant quickly before it dries.
Final Checks And Maintenance
Securing your vanity top to the cabinet is not the last step. Final checks and regular care keep it strong and looking good. These tasks prevent damage and save money on repairs later.
Inspecting Stability
Check if the vanity top feels firm on the cabinet. Press gently around the edges. No movement should be felt. Look under the cabinet for loose screws or gaps. Tighten any loose parts carefully. Stability ensures safety and durability.
Routine Maintenance Tips
Clean the vanity top regularly with mild soap and water. Avoid harsh chemicals that can damage the surface. Wipe spills immediately to prevent stains. Inspect caulking around edges for cracks. Replace old or broken caulk to keep water out. Check screws and fasteners every few months. Tighten or replace them to maintain a secure fit.

Credit: gharpedia.com
Frequently Asked Questions
How Do You Secure A Vanity Top To A Cabinet?
To secure a vanity top, apply a bead of silicone caulk around the cabinet edge. Then, carefully place the vanity top and press firmly. Use clamps if needed and wipe excess caulk immediately. Allow it to cure for a strong, waterproof bond.
What Tools Are Needed To Attach A Vanity Top?
You need silicone caulk, a caulking gun, clamps, a level, and a clean cloth. Optionally, use a drill and screws if additional support is required. These tools help ensure a secure and level installation.
Can I Use Screws To Fasten A Vanity Top?
Yes, screws can be used if the vanity top has pre-drilled holes or a solid surface underneath. Always use corrosion-resistant screws and avoid overtightening to prevent damage. Silicone caulk should still be applied for waterproofing.
How Long Should Silicone Caulk Cure Before Use?
Silicone caulk typically takes 24 hours to fully cure. Avoid using the vanity top during this time to ensure a strong seal. Check the manufacturer’s instructions for exact curing times.
Conclusion
Securing a vanity top to a cabinet is simple with the right steps. Start by aligning the top carefully on the cabinet. Use screws or clips to hold it firmly in place. Check that everything feels tight and stable. This keeps your vanity safe and looks neat.
Taking your time helps avoid damage and saves you effort later. Follow these tips for a strong, lasting fit. Your bathroom will look better and work well for years.