Are you ready to give your outdoor furniture a fresh, smooth finish? Knowing what grit to sand outdoor furniture with can make all the difference between a rough, uneven surface and a perfectly prepped piece ready for paint or stain.
Choosing the right sandpaper grit isn’t just about scrubbing away old paint or dirt—it’s about protecting your investment and making your furniture look its best. Stick with me, and you’ll learn exactly which grit levels to use at each step, so your outdoor furniture shines like new.
Let’s dive in and make your outdoor space inviting again!

Credit: www.luxushomeandgarden.com
Choosing The Right Sandpaper Grit
Choosing the right sandpaper grit is key to sanding outdoor furniture well. Different grits help in different stages of sanding. Using the correct grit makes the wood smooth and ready for finishing. It prevents damage and saves time.
Coarse Grit For Initial Sanding
Coarse grit sandpaper has large particles. It removes old paint, rough spots, and deep scratches fast. Use grit sizes between 40 and 60 for this stage. It shapes the wood and clears any major flaws. Avoid pressing too hard to protect the wood.
Medium Grit For Surface Refinement
Medium grit sandpaper smooths the surface after coarse sanding. Grit sizes of 80 to 120 work best here. It removes marks left by coarse grit. This grit helps prepare the wood for the final sanding. It makes the surface even and ready for finishing.
Fine Grit For Final Smoothness
Fine grit sandpaper creates a silky smooth finish. Use grit sizes from 150 to 220 for this step. It removes small scratches and dust particles. This grit improves paint or stain adhesion. It gives outdoor furniture a professional look and feel.
Preparing Outdoor Furniture For Sanding
Preparing outdoor furniture for sanding is an important step. It helps to get a smooth and even surface. Proper preparation saves time and effort later. It also protects the furniture from damage during sanding. Follow simple steps to prepare your furniture well.
Cleaning And Drying The Surface
Start by cleaning the furniture thoroughly. Remove dirt, dust, and any debris. Use a mild soap and water solution. Rinse well to get rid of soap residue. Let the furniture dry completely before sanding. Dry wood sands better and avoids damage.
Removing Old Paint And Finish
Remove loose or peeling paint with a scraper. Use a chemical paint remover if needed. Sanding over old paint can cause uneven surfaces. Make sure to clear off all old finishes. This step ensures the new finish will stick properly.
Checking For Damages
Look for cracks, holes, or loose joints. Fix any damage before sanding. Use wood filler for small holes and cracks. Tighten screws or replace broken parts. Repairing makes the furniture stronger and safer. It also improves the final look.
Sanding Techniques For Outdoor Furniture
Sanding outdoor furniture is a key step to keep it smooth and ready for finishing. Proper sanding removes old paint, rough spots, and weather damage. It also helps new paint or stain stick better.
Different sanding techniques work best for different furniture types and materials. Learning the right way to sand can save time and improve results. Below are some easy tips to follow.
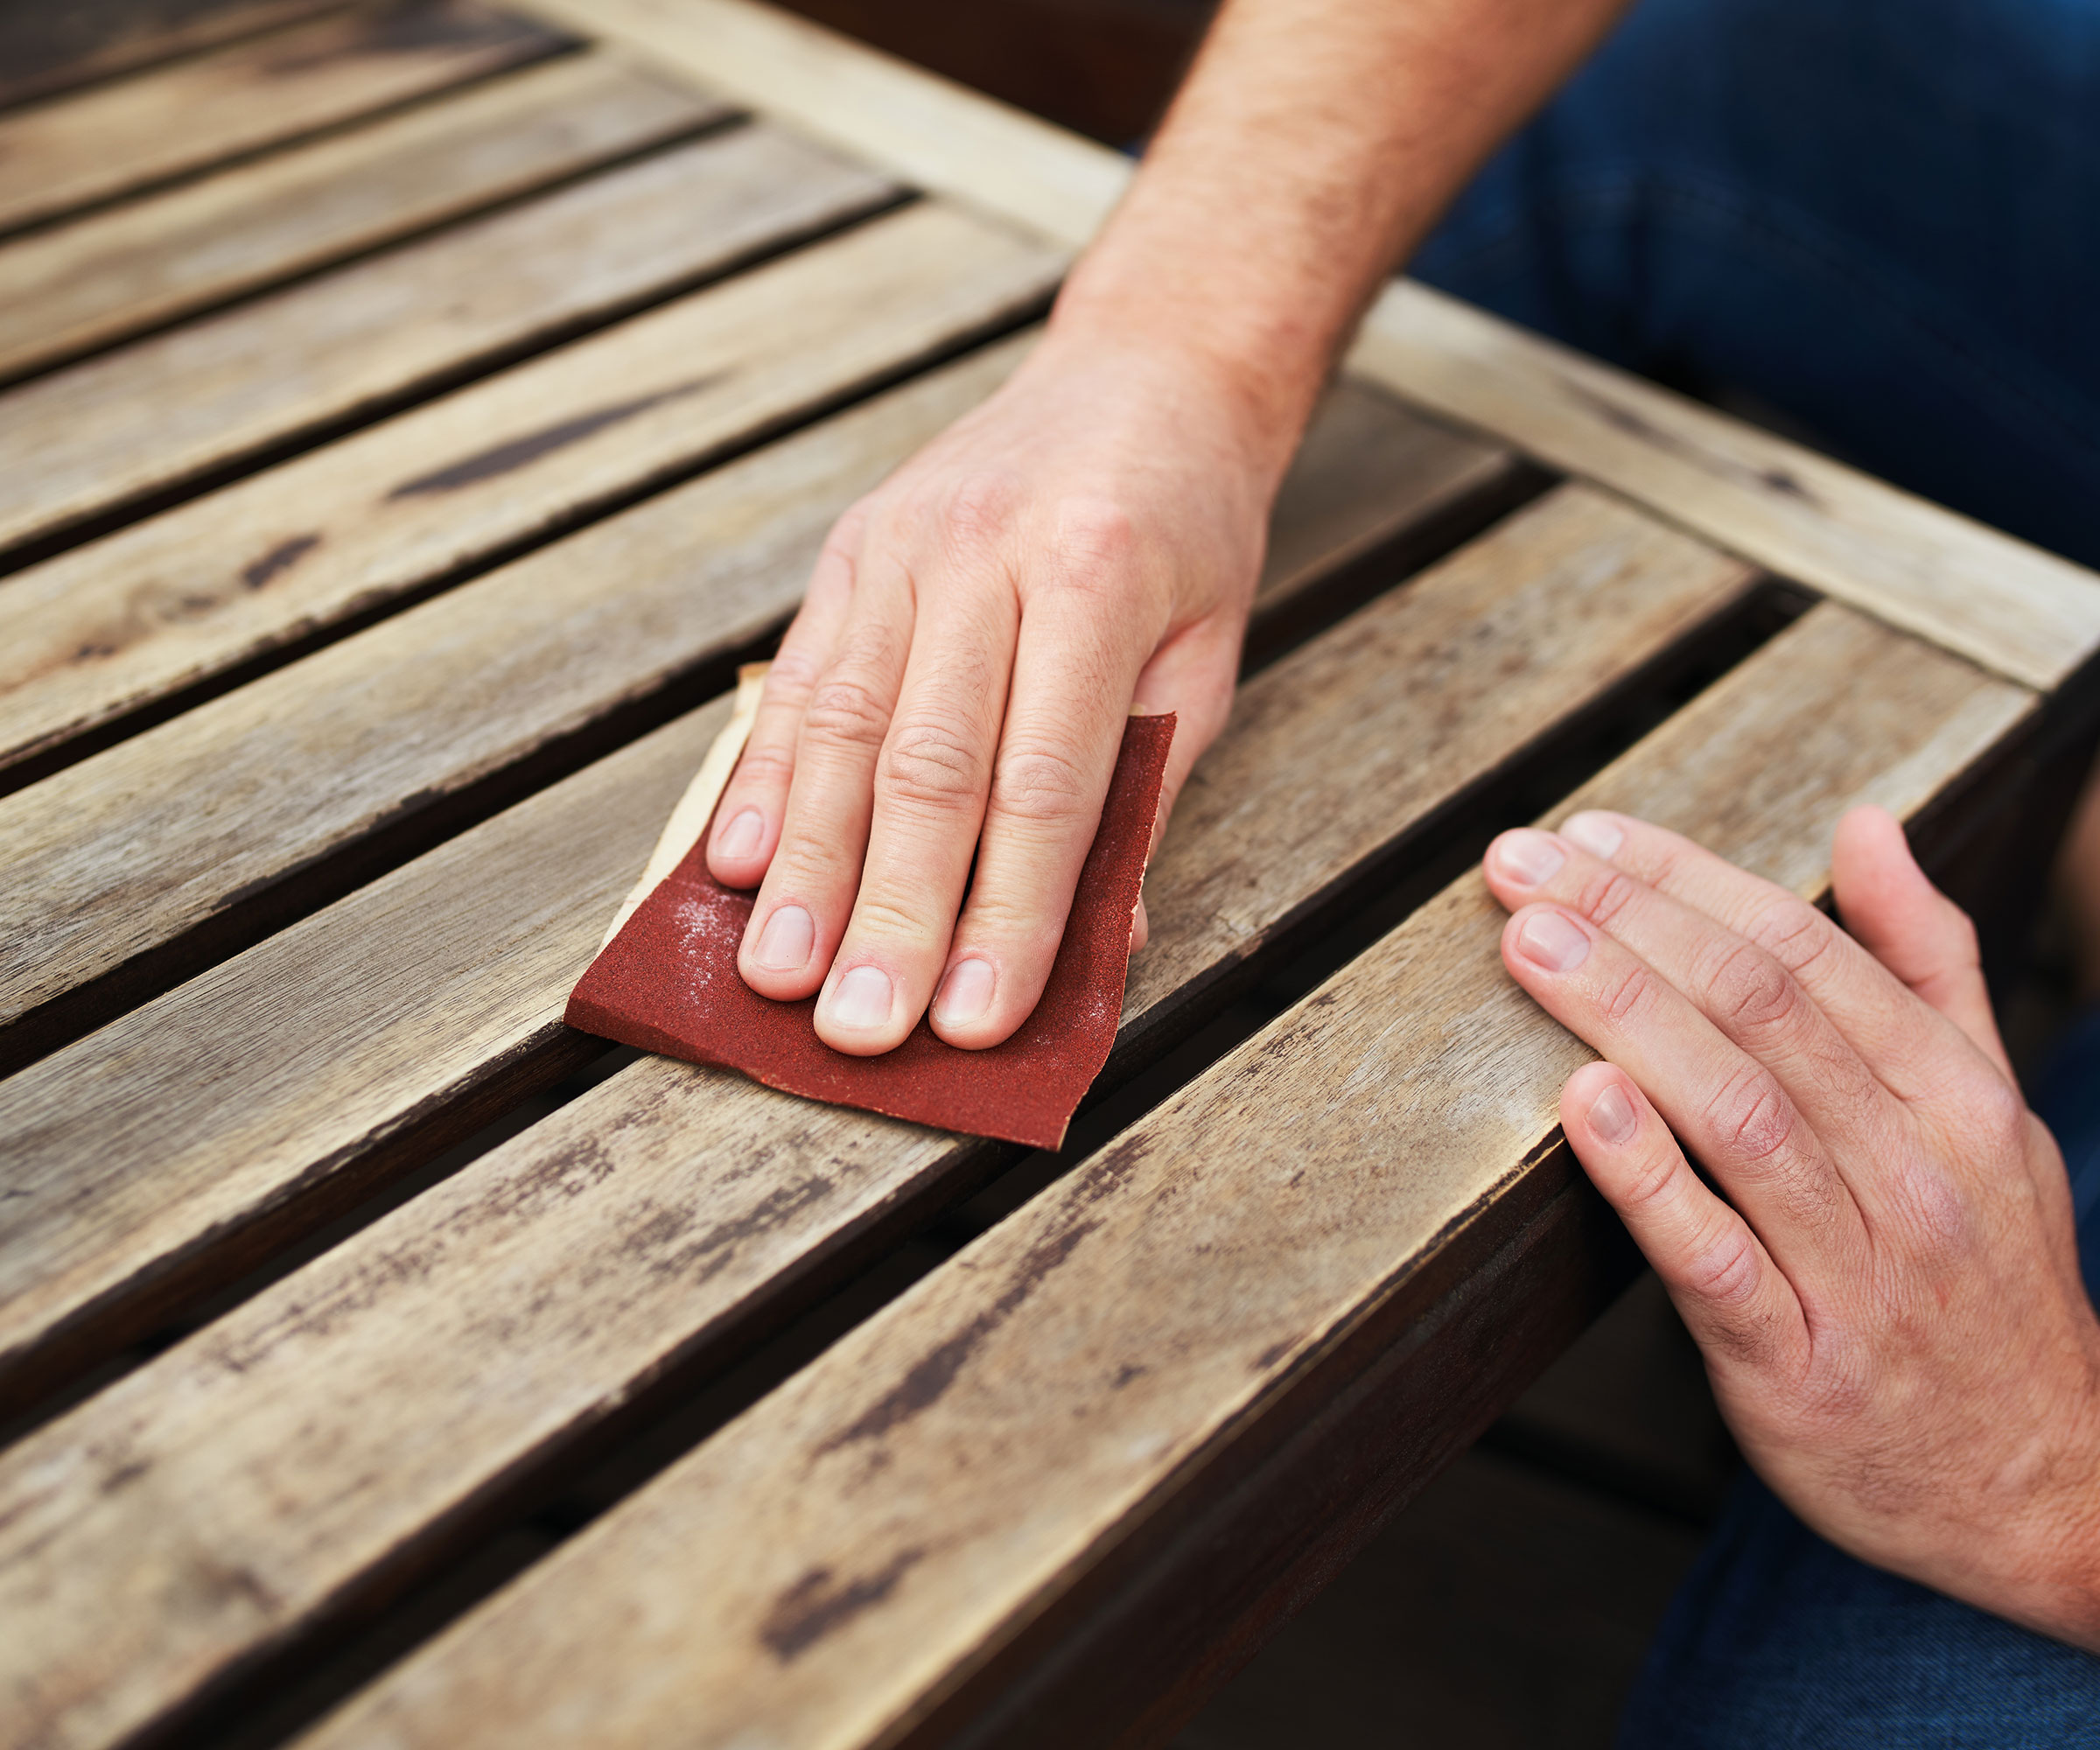
Hand Sanding Tips
Hand sanding is simple and gives you good control over the surface. Use sandpaper with a grit between 80 and 120 for rough spots. Switch to finer grit, like 150 or 180, for a smooth finish.
Wrap the sandpaper around a sanding block. This helps keep even pressure and avoid uneven spots. Sand in small, circular motions to remove rough patches gently.
Using Power Sanders Safely
Power sanders speed up the work but need careful handling. Choose an orbital or palm sander for outdoor furniture. Use medium grit sandpaper (80 to 120) to start.
Keep the sander moving to avoid creating holes or deep scratches. Wear safety glasses and a mask to protect from dust. Work in a well-ventilated area.
Sanding With The Grain
Always sand in the direction of the wood grain. Sanding against the grain can cause scratches that show after finishing. Follow the natural lines of the wood for the best look.
Take your time to smooth all edges and corners. This step helps your furniture look clean and professional after painting or staining.
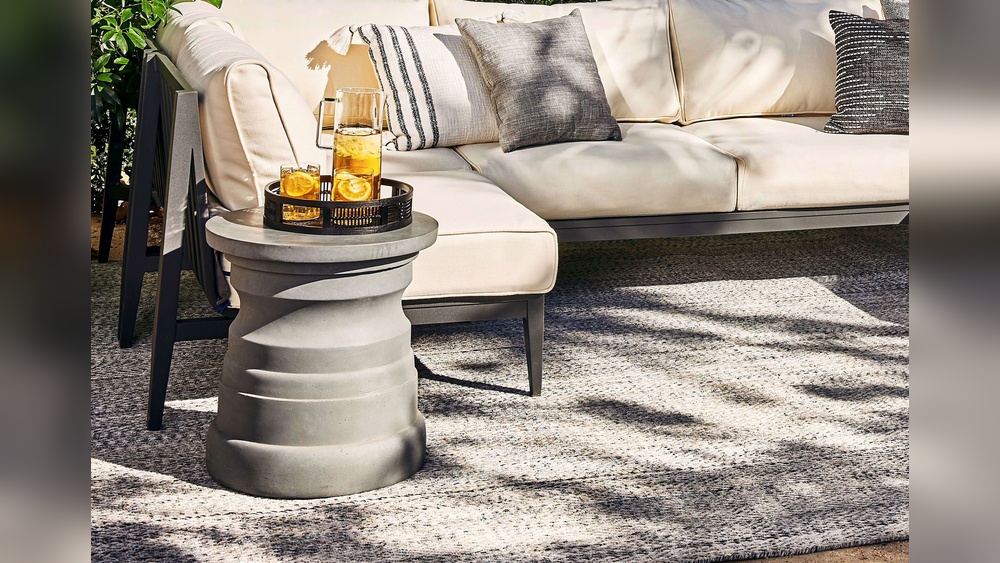
Credit: www.homesandgardens.com
Dealing With Different Wood Types
Sanding outdoor furniture requires knowing the wood type first. Different woods react differently to sanding grit levels. Choosing the right grit protects the wood and improves the finish. This guide helps you handle various wood types properly.
Softwoods Vs Hardwoods
Softwoods like pine and fir are easier to sand. Use finer grit to avoid deep scratches. Start with 120-grit sandpaper for softwoods. Hardwoods such as oak and maple need coarser grit first. Begin with 80 or 100 grit to smooth rough surfaces. Always finish with finer grit for a smooth touch.
Special Care For Teak And Cedar
Teak and cedar are popular for outdoor furniture. Teak has natural oils that protect it. Avoid coarse grit to keep oils intact. Use 150 to 180 grit for teak. Cedar is soft and can scratch easily. Choose fine grit like 180 or 220 to avoid damage. Sand gently to keep the wood’s natural look.
Handling Composite Materials
Composite materials blend wood fibers with plastic. They do not sand like natural wood. Use fine grit sandpaper, around 220 grit, to prevent melting or scratching. Sand lightly and evenly to keep surface smooth. Avoid heavy sanding to protect the composite’s finish.
After Sanding: Preparing For Finish
After sanding your outdoor furniture, the next step is preparing it for the finish. This stage is crucial to ensure the finish sticks well and lasts long. Proper preparation helps protect the wood from weather and wear. Taking time now saves effort later.
Removing Dust And Debris
Sanding creates a lot of dust and tiny wood bits. These particles can stop the finish from sticking properly. Use a soft brush or cloth to wipe off all dust. A vacuum with a brush attachment also works well. Make sure the surface is clean and dry before moving on.
Applying Wood Conditioner
Wood conditioner helps the finish go on evenly. It soaks into the wood and prevents blotches. This is especially important for softwoods like pine or fir. Apply the conditioner with a brush or cloth, following the wood grain. Let it sit for 15 to 30 minutes, then wipe off any excess.
Choosing The Right Finish
Pick a finish made for outdoor use. Look for waterproof and UV-resistant options. Oil-based finishes soak into the wood and offer good protection. Water-based finishes dry faster and have less odor. Consider your climate and how much sun or rain the furniture gets. Choose a finish that fits your needs and style.
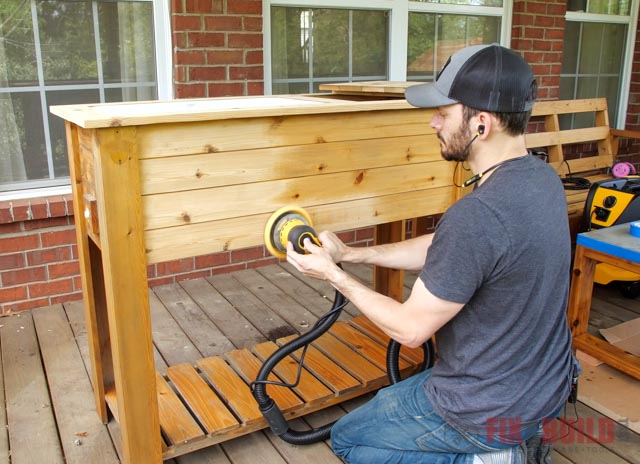
Credit: fixthisbuildthat.com
Frequently Asked Questions
What Grit Sandpaper Is Best For Outdoor Furniture?
For outdoor furniture, start with 80-120 grit for rough sanding. Then use 150-220 grit for a smooth finish. This range removes old paint and smooths the surface without damaging the wood.
Can I Use Coarse Grit On Outdoor Wood Furniture?
Coarse grit (below 80) is too harsh for outdoor furniture. It can damage the wood fibers. Stick to medium grit sandpaper for effective yet safe sanding.
How Does Grit Affect Sanding Outdoor Furniture?
Lower grit sandpapers remove rough layers quickly but leave scratches. Higher grits smooth the surface for painting or sealing. Choosing the right grit ensures a clean, even finish.
Should I Wet Sand Outdoor Furniture?
Wet sanding outdoor furniture is not recommended. It can raise wood grain and cause swelling. Dry sanding with proper grit sandpaper is best for outdoor pieces.
Conclusion
Choosing the right grit to sand outdoor furniture makes a big difference. Start with a coarse grit to remove old paint or rough spots. Then, use finer grit for a smooth finish. This process helps the paint or stain stick better.
It also protects your furniture from weather damage. Taking time to sand properly saves money and effort later. Clean the surface well before you paint or seal it. A well-prepared surface keeps your outdoor furniture looking great longer. Simple steps lead to beautiful, durable results.