Is your old outdoor furniture looking tired and worn out? You don’t have to toss it away or spend a fortune buying new pieces.
With a little effort and the right techniques, you can transform your weathered chairs and tables into stunning, fresh-looking furniture. Imagine enjoying your backyard with colorful, inviting seating that feels brand new. This guide will show you exactly how to paint your old outdoor furniture step-by-step, making the process simple and rewarding.
Ready to give your outdoor space a makeover that turns heads? Let’s get started!
Choosing The Right Paint
Choosing the right paint is the first step to refresh old outdoor furniture. The paint must protect against weather and last long. Picking paint that fits the furniture material is important. The right paint also helps maintain the furniture’s look over time. Consider durability, finish, and ease of use before buying paint.
Types Of Paint For Outdoor Furniture
Use paints made for outdoor use. Acrylic latex paint is popular. It dries fast and resists fading. Oil-based paint is strong and sticks well. It works great on wood and metal. Chalk paint offers a matte look and is easy to apply. It needs a protective topcoat to last outside.
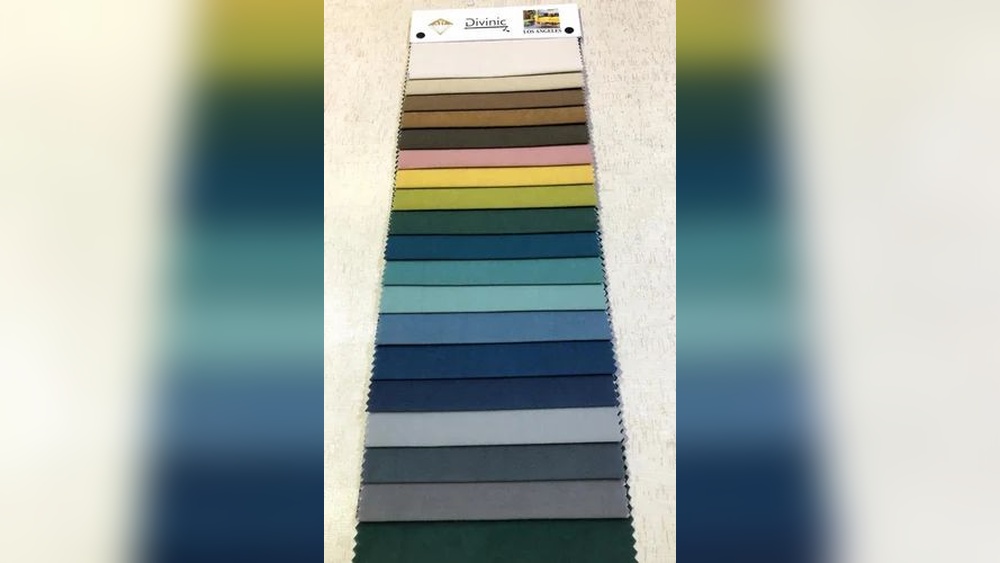
Selecting Colors That Last
Choose colors that hold up in sunlight. Light colors fade less than dark ones. Bright colors can brighten a dull space. Earth tones blend well with nature. Test a small paint area first. This helps see how color looks in the sun and weather.
Tools And Supplies Needed
Use quality brushes or foam rollers for smooth paint. Sandpaper helps prepare the furniture surface. Clean the furniture with soap and water before painting. Primer improves paint adhesion and durability. Finish with a sealant for extra protection. Have drop cloths and painter’s tape ready for neat work.
Credit: www.maisondepax.com
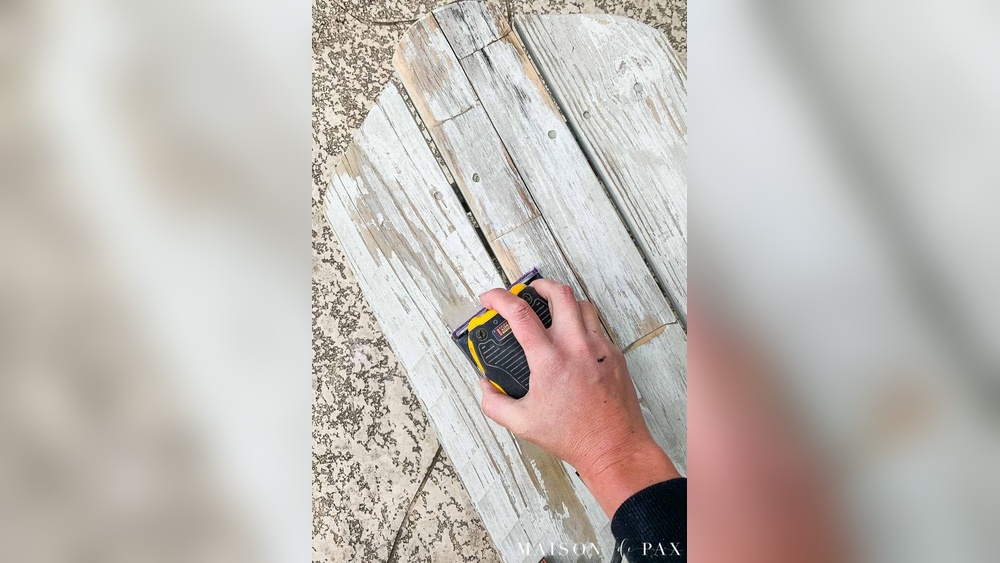
Preparing The Furniture
Preparing old outdoor furniture before painting is key to a lasting finish. Clean surfaces hold paint better and look smooth. Take time to fix any damage. These steps help your furniture look fresh and new.
Cleaning And Removing Dirt
Start by wiping down the furniture with a damp cloth. Use mild soap and water to remove dirt and grime. A soft brush can help clean tight spots. Let the furniture dry completely before moving on.
Sanding For A Smooth Surface
Sanding removes old paint and rough spots. Use medium-grit sandpaper to smooth the surface. Sand in the direction of the wood grain. Wipe away dust with a clean cloth after sanding.
Repairing Damages And Imperfections
Check for cracks, holes, or loose parts. Use wood filler to fill small holes and cracks. Let the filler dry, then sand it smooth. Tighten screws or replace broken parts as needed.
Priming The Surface
Priming the surface is a key step before painting old outdoor furniture. It helps paint stick better and last longer. Primer creates a smooth base and protects the furniture from weather damage. Skipping this step can cause paint to peel or fade quickly.
Benefits Of Using Primer
Primer improves paint adhesion on rough or worn surfaces. It seals porous wood and metal, preventing moisture damage. Primer hides stains and old paint marks. It enhances the color and finish of your new paint. Using primer makes your paint job more durable outdoors.
How To Apply Primer Properly
Start with clean, dry furniture. Remove dirt and old paint flakes first. Use a brush or spray to apply an even coat of primer. Cover all areas, including edges and corners. Avoid thick layers; thin coats dry better. Lightly sand the surface after it dries for smoothness.
Drying Times And Tips
Let primer dry fully before painting. Drying usually takes 1 to 4 hours. Check the label for exact times. Avoid painting in direct sunlight or high humidity. These conditions slow drying and cause bubbles. Wait longer on cold days. Proper drying ensures a strong, lasting paint finish.
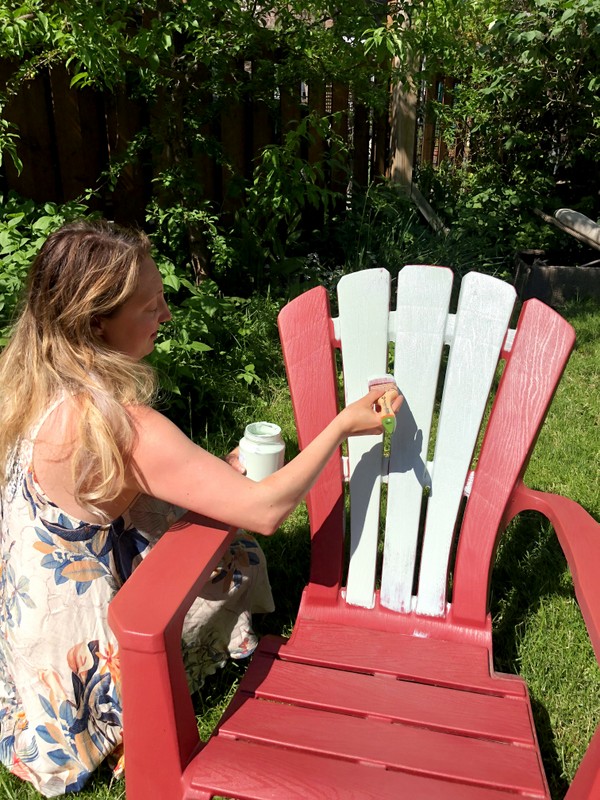
Painting Techniques
Painting old outdoor furniture can bring new life to tired pieces. The right painting techniques make the finish smooth and long-lasting. Using proper tools and methods helps the paint stick well and resist weather damage.
Careful application prevents drips and uneven patches. Taking time to apply multiple coats builds strength and improves the look. Below are key tips on painting techniques for the best results.
Choosing Brushes And Rollers
Select brushes with soft, synthetic bristles for smooth paint flow. These work well with most outdoor paints. Use a small brush for tight corners and detailed areas.
Choose rollers with a short nap for flat surfaces. They spread paint evenly and reduce streaks. Avoid cheap tools; they cause rough finishes and waste paint.
Applying Paint Evenly
Start with thin layers of paint. Spread paint gently in one direction for a uniform coat. Avoid pressing too hard to prevent marks.
Work in small sections to keep the edges wet. This stops visible lines between strokes. Check your work often and fix any drips immediately.
Multiple Coats For Durability
Apply at least two coats for strong protection. Let the first coat dry completely before the second. This helps paint stick and avoid peeling.
Lightly sand between coats to smooth bumps. Clean dust off before applying the next layer. More coats add depth and help furniture last longer outdoors.
Finishing Touches
Finishing touches make your painted outdoor furniture last longer and look great. These last steps protect the paint and add charm. Proper care keeps your furniture fresh and welcoming. Let’s explore how to seal, maintain, and creatively design your pieces.
Adding Protective Sealants
Sealants guard your furniture against weather damage. Choose a clear outdoor sealant that matches your paint type. Apply thin, even coats to avoid drips. Let each coat dry before adding another. Sealants prevent fading, chipping, and moisture damage. This step extends the life of your paint job.
Maintenance Tips For Longevity
Keep your furniture clean by wiping with a damp cloth. Remove dirt and dust regularly to avoid scratches. Store furniture indoors or cover it during rain and snow. Touch up paint chips quickly to stop rust or decay. Avoid harsh cleaners that can strip paint. Regular care helps your furniture stay strong and bright.
Creative Design Ideas
Try stencils or decals for unique patterns. Mix colors to create a fun, personalized look. Use painter’s tape to make stripes or shapes. Add cushions or fabric to complement the paint. Think about your garden’s style and choose matching designs. Creative touches make your furniture a focal point outdoors.
Credit: fusionmineralpaint.com
Common Mistakes To Avoid
Painting old outdoor furniture can refresh your space. Avoid mistakes that waste time and money. Some errors cause paint to peel or fade fast. Learn common pitfalls to get lasting results.
Skipping Surface Preparation
Cleaning and sanding the furniture is essential. Dirt, old paint, and rough spots stop new paint from sticking well. Skipping this step leads to uneven surfaces and peeling paint. Take time to remove rust, dust, and grease before painting.
Using The Wrong Paint Type
Outdoor furniture needs paint made for outside use. Indoor paint cannot handle sun, rain, or cold. Use paint labeled for exterior wood or metal. It protects against weather and lasts longer. Avoid glossy finishes that crack or fade fast.
Neglecting Weather Conditions
Paint only when the weather is dry and mild. Rain or high humidity causes paint to dry poorly. Cold temperatures make paint thick and hard to apply. Choose a day without strong wind or direct sun. This helps paint dry evenly and stick better.
Credit: whitneysowles.com
Frequently Asked Questions
How Do I Prepare Old Outdoor Furniture For Painting?
Clean the furniture thoroughly to remove dirt and debris. Sand the surface to smooth rough spots and remove old paint. Repair any damage with wood filler or epoxy. Ensure the furniture is dry before painting to help the new paint adhere properly.
What Type Of Paint Works Best On Outdoor Furniture?
Use high-quality exterior paint designed for outdoor use. Acrylic latex paint is durable, weather-resistant, and easy to clean. Avoid interior paints as they lack UV protection and moisture resistance. For best results, use a primer before applying the topcoat.
How Many Coats Of Paint Should I Apply?
Apply at least two coats of paint for full coverage and durability. The first coat primes and seals the surface. Allow each coat to dry completely before applying the next. Multiple thin coats prevent peeling and create a smooth finish.
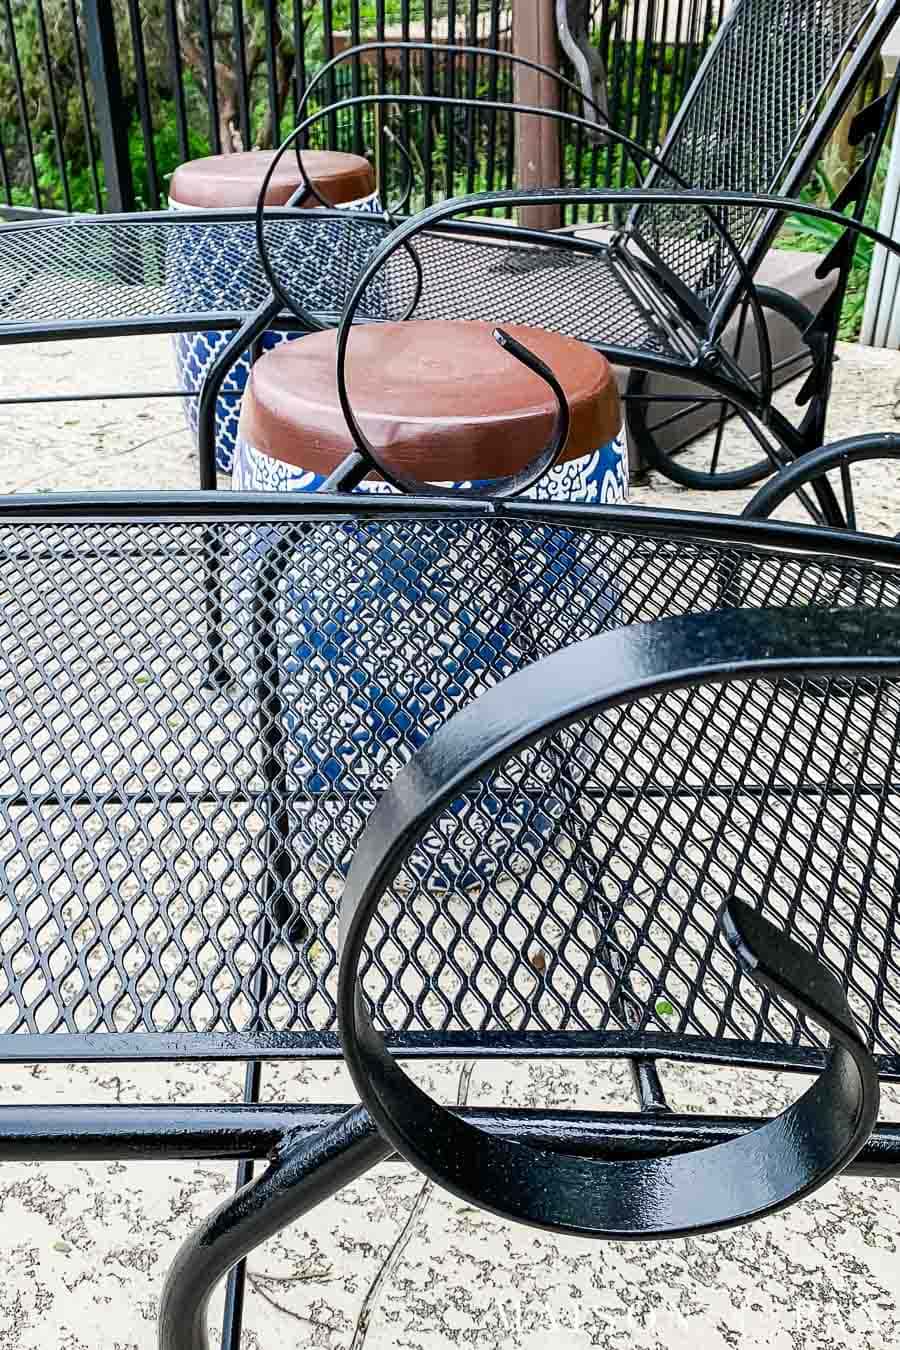
Can I Paint Metal Outdoor Furniture The Same Way?
Metal furniture requires special preparation. Remove rust with a wire brush and sand smooth. Use a rust-inhibiting primer designed for metal surfaces. Apply paint formulated for metal to ensure proper adhesion and protection against the elements.
Conclusion
Painting old outdoor furniture can bring new life to your space. Clean the surface well and choose the right paint for best results. Take your time and apply paint in thin, even coats. Let each layer dry fully before adding the next.
Small steps make a big difference in the final look. Enjoy your refreshed furniture and the cozy outdoor area it creates. With patience and care, your old pieces will look fresh and inviting again. A little effort turns old into new.
Simple, satisfying, and worth it.