Is your bathroom vanity cabinet looking tired or outdated? You don’t have to spend a lot of money to give it a fresh, new look.
Refinishing your vanity cabinet is a simple way to transform your space quickly and affordably. In this guide, you’ll learn easy steps to refinish your cabinet like a pro, even if you’ve never done it before. By the end, you’ll have the confidence and know-how to bring new life to your bathroom.
Ready to get started? Let’s dive in!
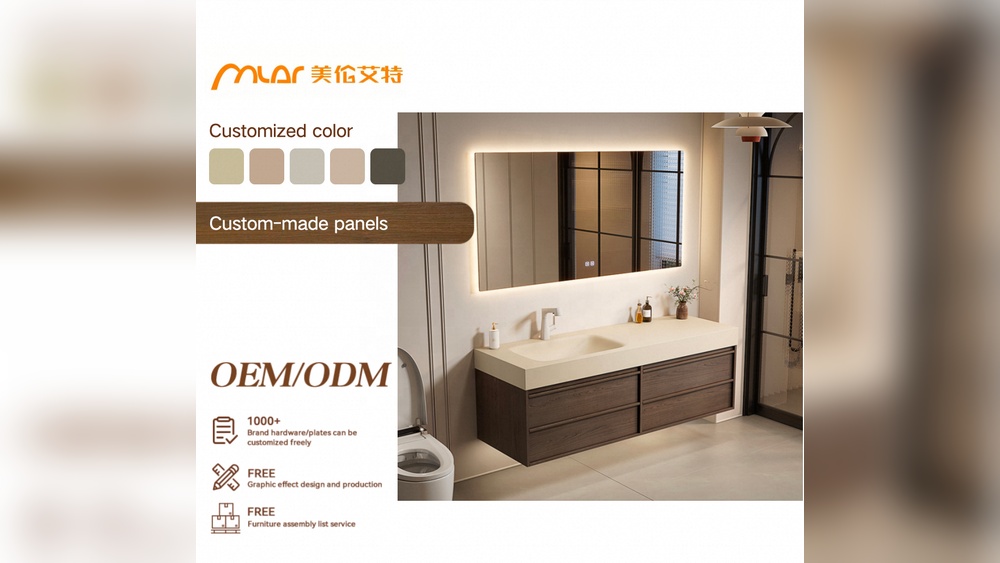
Credit: domesticblonde.com
Gathering Materials
Gathering the right materials is the first step to refinish your vanity cabinet. This step saves time and ensures a smooth process. Having everything ready helps you avoid interruptions. It also improves the quality of your work.
Prepare the tools and supplies before starting. Knowing what to use keeps the project organized. Choose materials that fit your cabinet type and finish style.
Essential Tools
Start with basic tools like sandpaper and a sanding block. These help smooth the cabinet surface. Use different grits for rough and fine sanding. A paintbrush or foam roller is necessary for applying paint evenly. A screwdriver helps remove cabinet doors and hardware. Painter’s tape protects areas you do not want to paint. A drop cloth keeps your workspace clean. A putty knife and wood filler fix any holes or dents. Gloves and a mask protect your hands and lungs from dust and fumes.
Recommended Paints And Finishes
Choose paint made for cabinets or furniture. These paints are durable and easy to clean. Semi-gloss or satin finishes work well for a smooth look. Use a primer to help paint stick better. A water-based primer dries fast and cleans easily. For extra protection, apply a clear topcoat. Polyurethane or polycrylic finishes add shine and resist moisture. Select finishes that match your bathroom’s humidity level. This prevents peeling and damage over time.
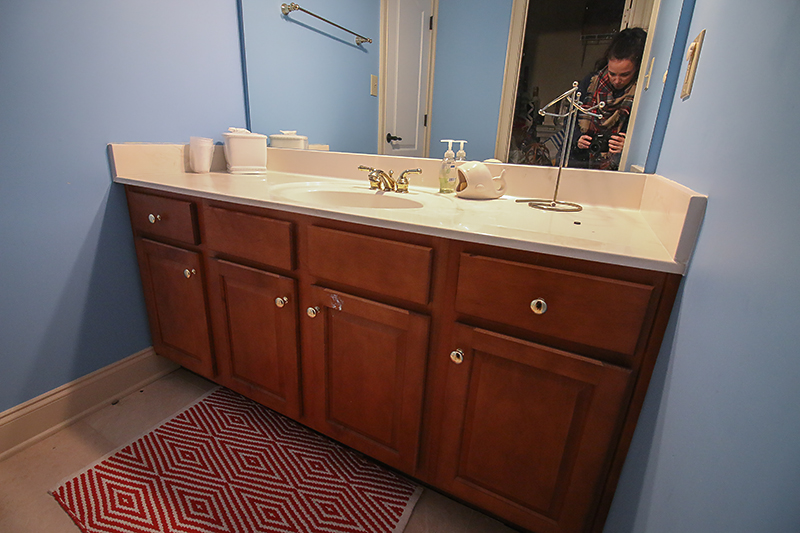
Preparing The Vanity
Preparing the vanity is the first step to a successful refinishing project. It sets the stage for a smooth finish and long-lasting results. Taking time to prepare the cabinet carefully saves effort later and improves the overall look.
Removing Hardware
Start by taking off all hardware like knobs, handles, and hinges. Use a screwdriver to remove screws gently. Keep the hardware in a safe place for reinstallation. Removing hardware helps you work on the cabinet surface easily.
Cleaning Surfaces
Clean the cabinet thoroughly to remove dirt, grease, and grime. Use warm water and mild soap with a soft cloth or sponge. Rinse with clean water and dry completely. A clean surface allows paint or stain to stick better.
Sanding Techniques
Sand the vanity to smooth rough spots and remove old finish. Use medium-grit sandpaper for the first pass and fine-grit for the final. Sand in the direction of the wood grain to avoid scratches. Wipe away dust with a damp cloth before painting or staining.
Fixing Imperfections
Fixing imperfections is a key step in refinishing your vanity cabinet. Small holes, cracks, and rough spots can ruin the final look. Taking time to repair these flaws creates a smooth base. This helps paint or stain stick better. It also makes your cabinet look fresh and new.
Filling Holes And Cracks
Start by cleaning the damaged areas well. Use a wood filler or putty to fill holes and cracks. Press the filler firmly into the gaps. Use a putty knife to smooth the surface. Let the filler dry completely. Drying time depends on the product but usually takes a few hours. Fill again if needed for deep holes.
Smoothing Surfaces
Once the filler is dry, sand the surface gently. Use fine-grit sandpaper for a smooth finish. Sand in the direction of the wood grain. Check for any rough spots or bumps. Remove dust with a damp cloth after sanding. Smooth surfaces help the new finish look even and professional.
Priming The Cabinet
Priming the cabinet is a key step in refinishing your vanity. It prepares the surface for paint and helps the finish last longer. Without primer, paint may peel or chip quickly. This step also hides stains and wood grain, giving a smooth base for the topcoat.
Choosing The Right Primer
Select a primer that matches your cabinet material. For wood, use a wood primer to seal knots and grain. For laminate or metal, pick a bonding primer that sticks well. Oil-based primers work well for tough stains and provide strong adhesion. Water-based primers dry faster and have less odor. Check the label and choose a primer made for your project.
Applying Primer Evenly
Use a high-quality brush or foam roller for smooth application. Apply thin, even coats to avoid drips or thick spots. Work in long, steady strokes following the grain of the wood. Let the primer dry fully before sanding or adding another coat. Sand lightly with fine grit paper for a smooth finish. Clean your tools right after use to keep them in good shape.
Painting The Vanity
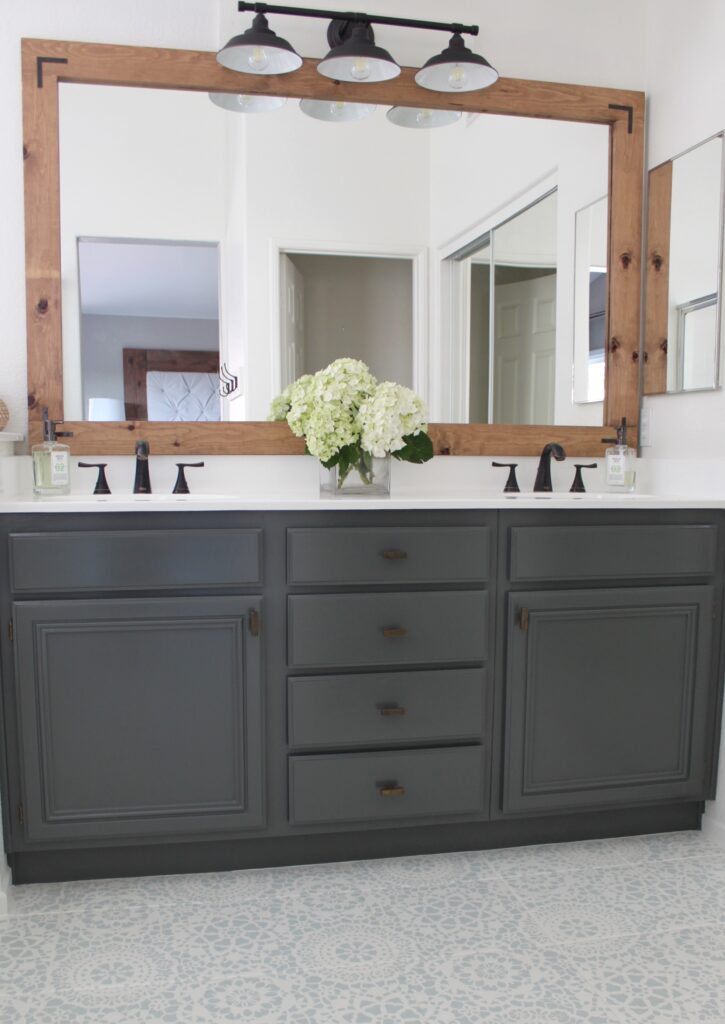
Painting the vanity cabinet is a key step in giving your bathroom a fresh look. This process changes the entire feel of the room. A well-painted cabinet looks clean and stylish. It can also protect the wood from moisture and damage.
Choosing the right color and applying paint carefully will make the project successful. Understanding drying times helps you avoid mistakes. Follow simple steps to get a smooth, lasting finish.
Selecting Colors
Pick a color that matches your bathroom style. Light colors make small spaces look bigger. Dark colors add a modern touch. Consider the wall color and fixtures. Test paint samples on a small area. See how the color looks in different lighting.
Applying Paint Coats
Start with a primer to help paint stick better. Use a brush for corners and a roller for flat surfaces. Apply thin, even coats. Avoid thick layers to prevent drips. Let each coat dry before adding the next. Two to three coats usually give good coverage.
Drying Times
Let the paint dry fully between coats. This can take 1 to 4 hours. Follow the paint can instructions for exact times. Avoid touching the surface while drying. Proper drying ensures a smooth, hard finish. Be patient for the best results.
Credit: www.bowerpowerblog.com
Adding Protective Finish
Adding a protective finish is a key step in refinishing your vanity cabinet. It keeps the surface safe from water, stains, and daily wear. This layer helps your cabinet look fresh and new for a longer time. Choosing the right sealant and applying it correctly ensures the best protection.
Types Of Sealants
Polyurethane is a popular choice. It creates a hard, clear coat that resists water and scratches. Water-based polyurethane dries fast and has less smell. Oil-based polyurethane is stronger but takes longer to dry.
Another option is varnish. It offers good protection and a glossy finish. Varnish works well on wood with natural grain. Shellac gives a warm look but is less durable against moisture.
Lacquer dries very quickly and gives a smooth, shiny finish. It is good for cabinets but needs good ventilation during application. Wax can be used for light protection and a soft shine but is not very durable.
Application Tips
Start with a clean, dry surface before applying any finish. Use a high-quality brush or a foam applicator for smooth coats. Apply thin, even layers to avoid drips and bubbles.
Let each coat dry fully before adding the next one. Sand lightly between coats with fine-grit sandpaper to keep the surface smooth. Work in a well-ventilated area to speed drying and reduce fumes.
Follow the manufacturer’s instructions on drying times and the number of coats. Avoid rushing the process for the best, longest-lasting results.
Reattaching Hardware
Reattaching hardware is the final step to finish your vanity cabinet. It brings back function and style to your piece. Properly attached hardware makes opening and closing smooth. It also boosts the cabinet’s new look.
Cleaning Or Replacing Handles
Clean old handles to remove dirt and grime. Use warm soapy water and a soft brush. Dry them well to avoid rust. If handles are broken or outdated, replace them. Choose new handles that match your cabinet’s style. Make sure new hardware fits the existing holes.
Installing Hardware Correctly
Align handles carefully with the holes on the cabinet. Use a screwdriver to tighten screws gently. Avoid over-tightening to prevent damage. Check each handle for firmness and even placement. Test the doors and drawers to ensure smooth use. Proper installation makes your vanity cabinet look neat and last longer.

Credit: www.youtube.com
Final Touches
After completing the main work on your vanity cabinet, the final touches make a big difference. These last steps help your cabinet look perfect and last longer. A careful finish can protect the wood and keep the new look fresh for years.
Inspecting The Finish
Check every corner of the cabinet carefully. Look for uneven paint or stain spots. Feel the surface to find rough patches or sticky areas. Use fine sandpaper to smooth any rough spots gently. Make sure the finish is dry and hard before using the cabinet.
Maintaining The Vanity
Keep your vanity clean with a soft, damp cloth. Avoid harsh chemicals that can damage the finish. Wipe spills right away to prevent stains. Use coasters or mats to protect the surface from water and heat. Regular care keeps the cabinet looking new and strong.
Frequently Asked Questions
How Do I Prepare A Vanity Cabinet For Refinishing?
Start by removing all hardware and cleaning the surface thoroughly. Sand the cabinet to smooth out old finishes. Wipe away dust before applying primer or paint for a perfect base.
What Materials Do I Need To Refinish A Vanity Cabinet?
You need sandpaper, primer, paint or stain, brushes or rollers, and new hardware. Also, use painter’s tape and drop cloths to protect surrounding areas.
Can I Refinish A Vanity Cabinet Without Sanding?
Light sanding is recommended for better paint adhesion. Skipping sanding can cause peeling or uneven finish. Use fine-grit sandpaper for minimal surface prep.
How Long Does It Take To Refinish A Vanity Cabinet?
Refinishing usually takes 2 to 3 days. Drying time between coats is essential. Plan for sanding, painting, and curing time for a durable finish.
Conclusion
Refinishing your vanity cabinet can refresh your bathroom’s look quickly. Follow the steps carefully for the best results. Choose the right materials and take your time sanding and painting. Small details, like new handles, make a big difference. You don’t need to spend a lot to update your space.
Enjoy the satisfaction of a project done by yourself. A fresh cabinet adds charm and value to your home. Start your refinishing project today and see the change. Simple, affordable, and rewarding.