Are you tired of cluttered entryways and searching for a place to hang your coats and bags? Making a coat rack for your wall is easier than you think, and it can add style and organization to your space.
Imagine having a neat spot right by your door where everything has its place. In this guide, you’ll discover simple steps to create a sturdy and attractive coat rack that fits your home perfectly. Ready to transform your wall and keep your things within reach?
Let’s get started!
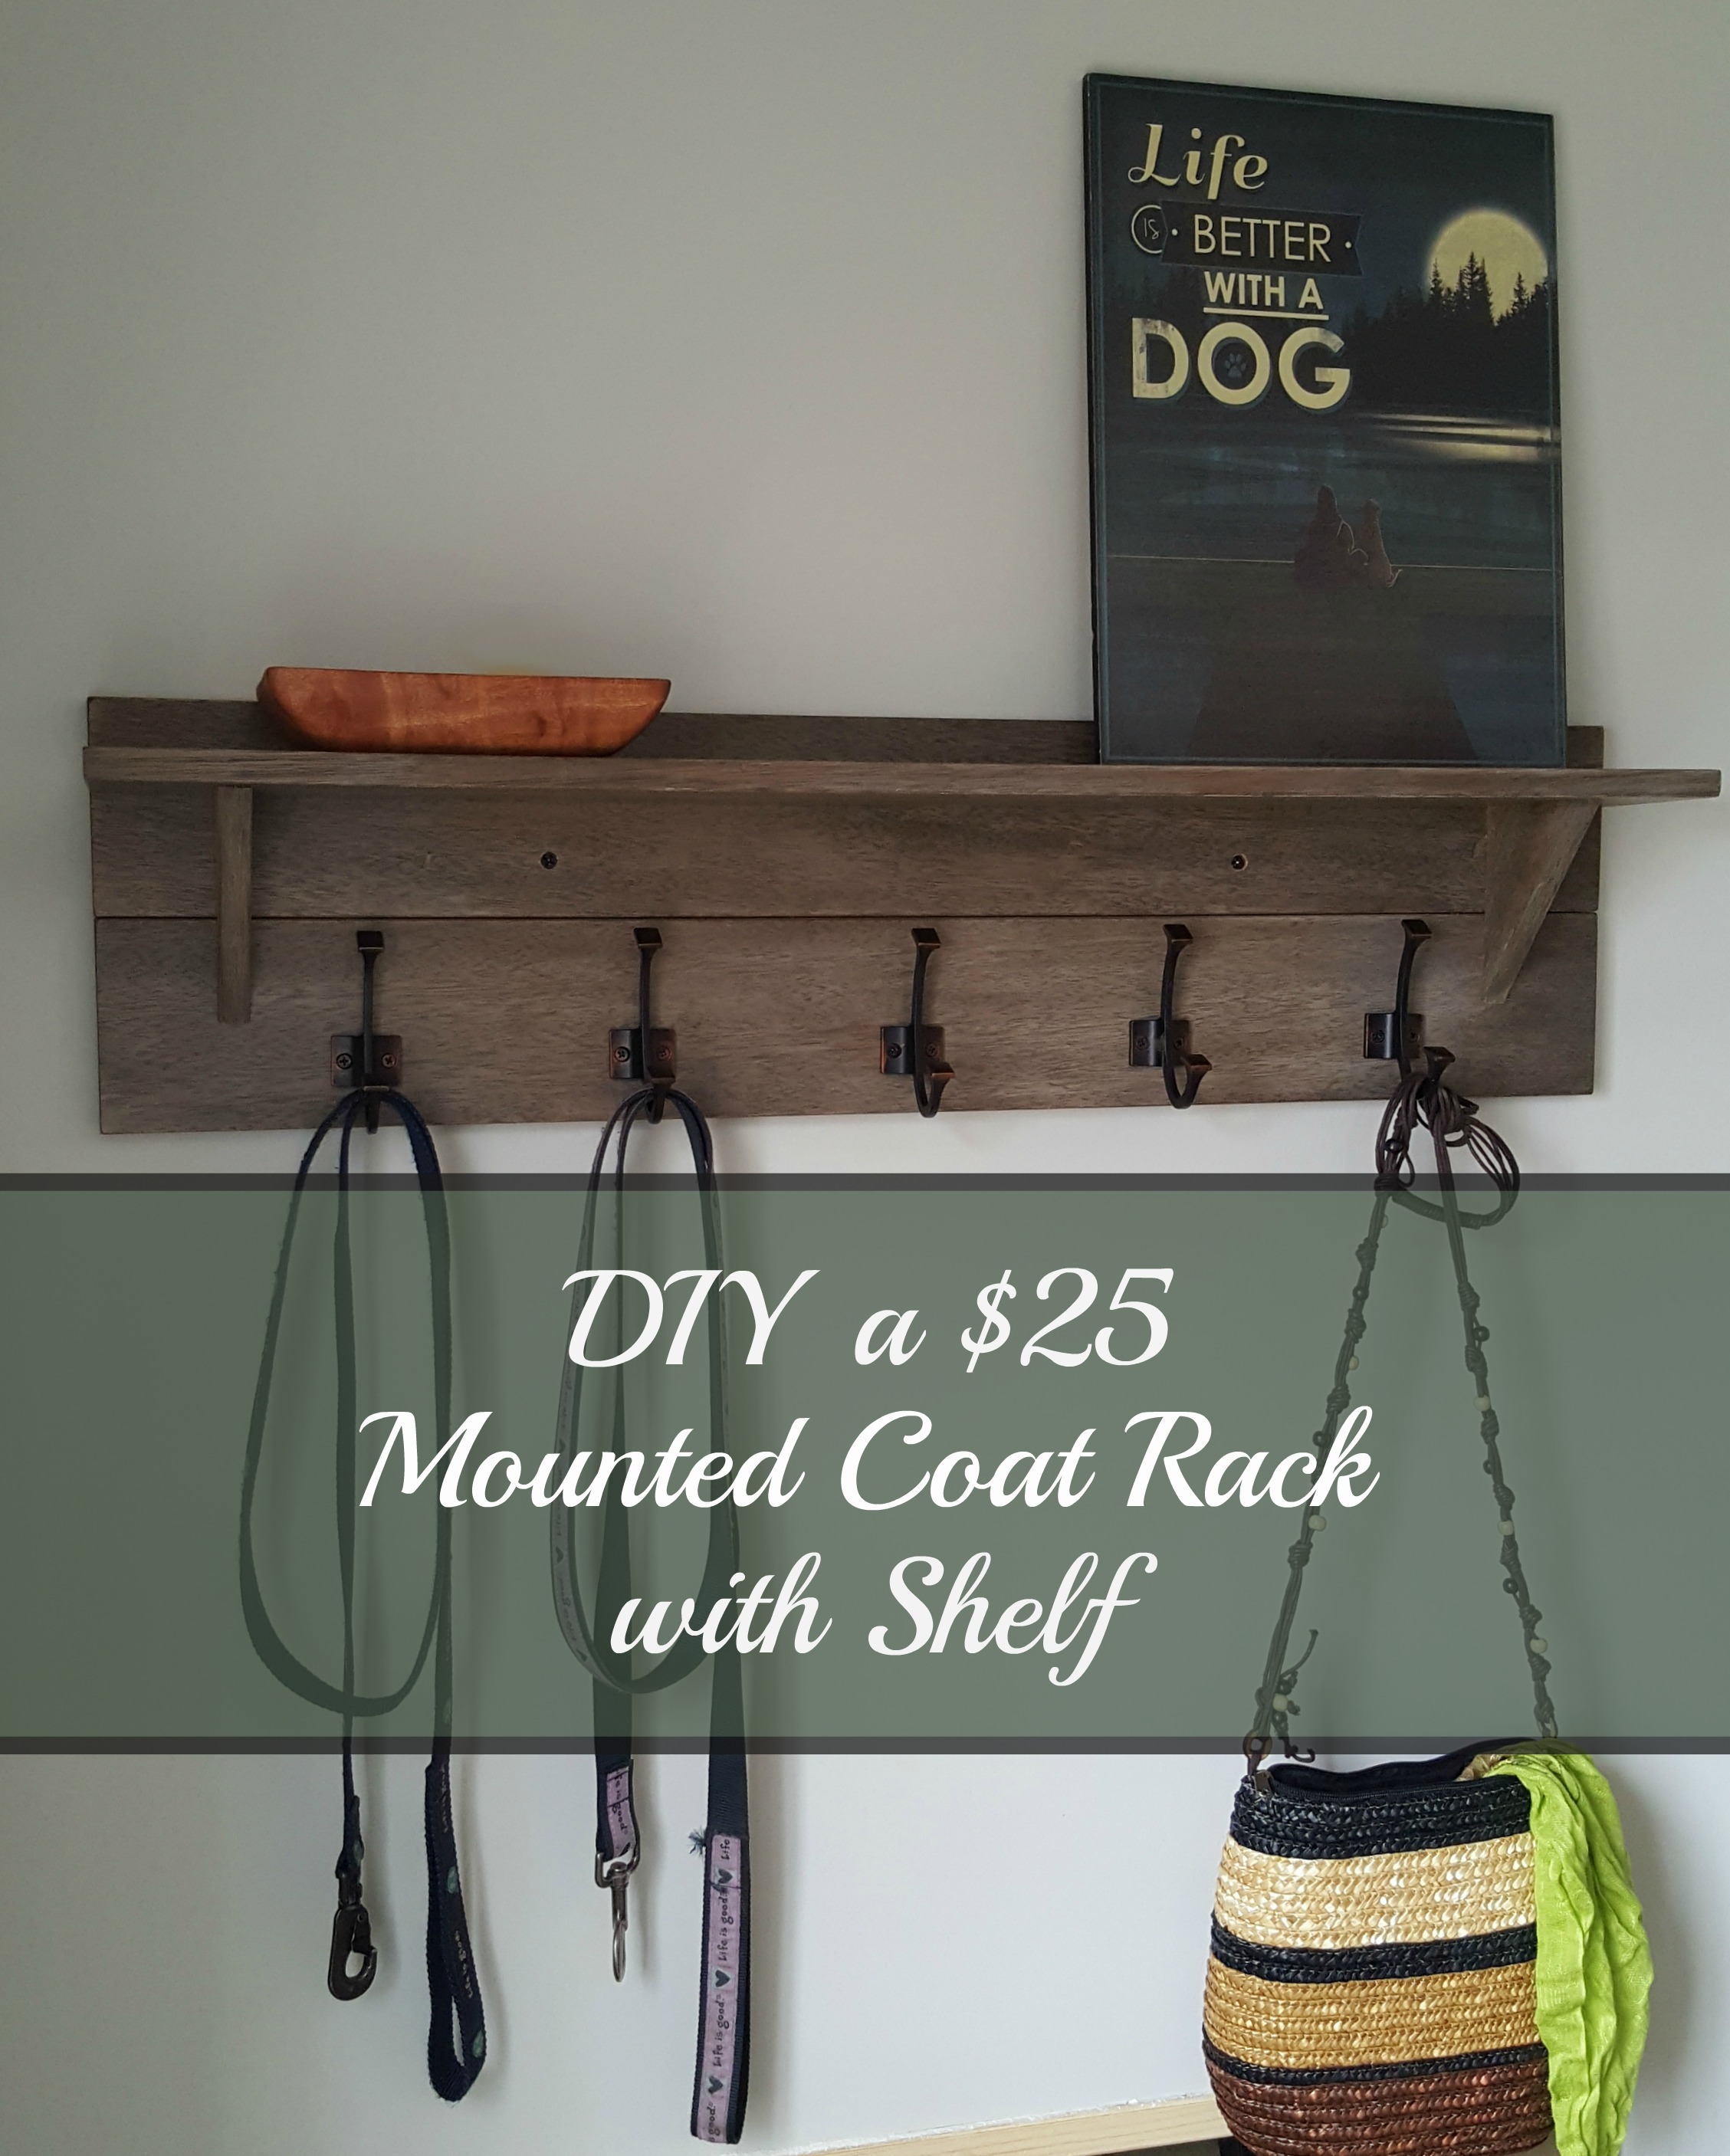
Credit: turtlesandtails.blogspot.com
Materials Needed
Gathering the right materials is the first step to making a wall coat rack. The choice of wood, hooks, and tools affects the rack’s look and strength. Select items that fit your style and skill level. The materials should be easy to work with and durable.
Wood Types
Choose a wood type that matches your room and budget. Pine is soft, affordable, and easy to cut. Oak is strong and has a beautiful grain but costs more. Cedar resists moisture and smells nice. Plywood is a budget-friendly option but less durable. Pick wood that is smooth and free of knots for a clean finish.
Hooks And Hangers
Hooks hold coats and bags securely. Metal hooks are strong and come in many styles. Wooden pegs offer a classic, natural look. Double hooks provide extra hanging space. Make sure hooks are sturdy and easy to install. Choose hooks that match the wood’s color or add contrast.
Tools Required
Basic tools make building easier. A saw cuts the wood to size. A drill creates holes for screws and hooks. Sandpaper smooths rough edges. A screwdriver helps fasten hooks and wall anchors. Measuring tape ensures accurate cuts. A level keeps the rack straight on the wall.
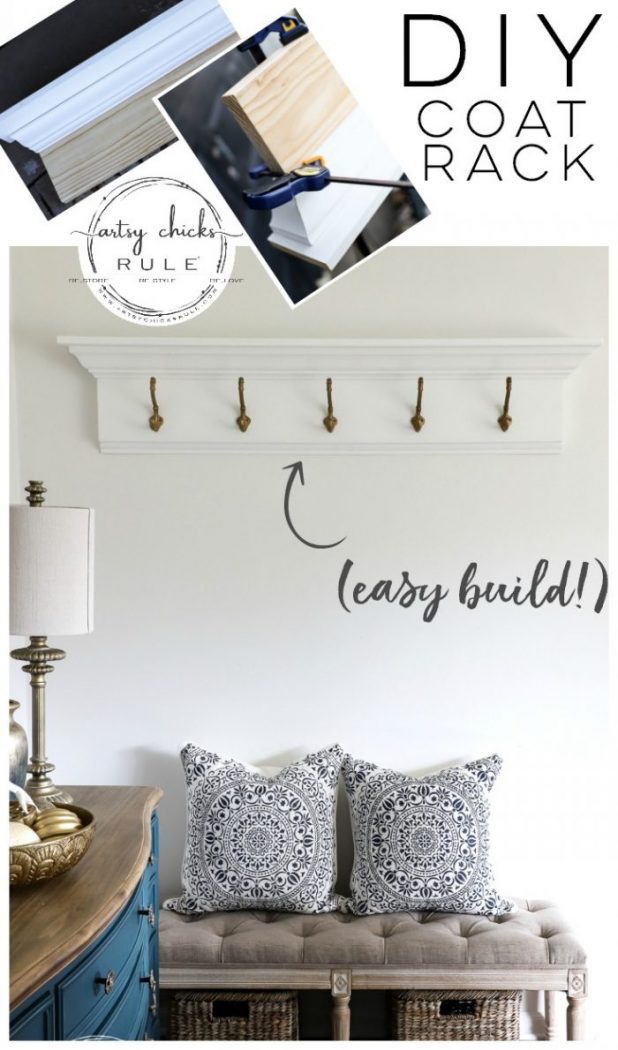
Credit: www.artsychicksrule.com
Choosing The Right Design
Choosing the right design for your wall coat rack is important. The design sets the tone for your room and affects how you use the rack. Consider your space, style, and needs before picking a design. This helps you create a rack that looks good and works well.
Minimalist Styles
Minimalist coat racks focus on simple shapes and clean lines. They often use neutral colors like white, black, or wood tones. These racks fit well in small spaces and modern homes. They keep the wall neat without adding clutter. Minimalist designs are easy to build and maintain.
Rustic Looks
Rustic coat racks bring warmth and charm to any room. They use natural wood with rough or weathered finishes. Hooks may be made from metal or reclaimed materials. These racks suit farmhouse or country-style homes. The rustic look adds character and a cozy feel to your space.
Modern Options
Modern coat racks feature bold shapes and materials like metal or glass. They often mix wood with sleek metal hooks. These racks stand out as a design feature on the wall. Modern designs work well in contemporary homes or offices. They combine style with strong function and durability.
Step-by-step Assembly
Building a wall coat rack is a simple project anyone can do. Follow these clear steps for a strong and stylish rack. Each step focuses on making the rack safe and neat. Take your time and enjoy the process. A good coat rack lasts for years and keeps your space tidy.
Cutting The Wood
Start with a wooden board. Measure the length you want for the rack. Mark the wood with a pencil and ruler. Use a saw to cut along the marks carefully. Wear safety glasses to protect your eyes. Smooth edges are easier to work with later.
Sanding And Finishing
Sand the wood to remove rough spots. Use medium-grit sandpaper first, then fine-grit for smoothness. Wipe off dust with a clean cloth. Apply paint, stain, or clear finish to protect the wood. Let it dry completely before moving on.
Attaching Hooks
Choose hooks that fit your style and needs. Mark spots on the wood where hooks will go. Drill small pilot holes to prevent wood from splitting. Screw hooks into place firmly. Check that hooks are secure and evenly spaced.
Mounting The Coat Rack
Mounting the coat rack on the wall is an important step. It makes sure the rack holds coats safely and looks good. Careful mounting stops the rack from falling and keeps your wall damage-free.
Finding The Perfect Spot
Choose a spot near the door or hallway for easy access. Look for a wall space that is clear and wide enough. Avoid areas with electrical wires or pipes behind the wall. Use a stud finder to locate wooden studs for stronger support. Mark the spots lightly with a pencil for drilling.
Using Wall Anchors
Wall anchors help hold heavy items on drywall. Pick anchors that match your wall type and weight needs. Drill holes slightly smaller than the anchors for a tight fit. Push or tap anchors into the holes until flush with the wall. Screw the coat rack brackets into the anchors firmly.
Ensuring Stability
Check the coat rack by gently pulling on it. Make sure it does not wiggle or move. Tighten screws if needed to improve hold. Use a level tool to keep the rack straight. Stability keeps your coats safe and the rack durable.
Creative Customizations
Customizing your wall coat rack makes it unique and fits your style. You can change colors, add designs, or include names to make it special. These ideas help your coat rack stand out and match your room décor. Creative touches turn a simple rack into a personal piece of art.
Painting And Staining
Painting lets you choose any color for your coat rack. Bright colors add energy, while soft tones create calm. Staining shows the wood’s natural grain and adds warmth. Both options protect the wood and make it last longer. Pick a finish that suits your home’s style.
Adding Decorative Elements
Decorative elements add charm and character to your rack. You can glue on small shapes or use metal hooks with unique designs. Adding fabric or rope gives texture and a cozy feel. These small touches make your coat rack more interesting and fun.
Personalizing With Labels
Labels help organize coats and accessories clearly. Write names or categories on small tags. Use chalkboard paint or printed stickers for easy changes. Labels keep your rack tidy and help family members find their things fast. Personal touches make your rack practical and neat.
Maintenance Tips
Maintaining your wall coat rack keeps it looking good and working well. Regular care stops damage and makes it last longer. Simple steps help keep your rack strong and neat.
Cleaning Methods
Dust your coat rack often with a soft cloth. Use a damp cloth for sticky spots. Avoid harsh chemicals that can ruin the finish. Dry the rack fully after cleaning to prevent water damage.
Repairing Damages
Check your rack for loose screws or hooks regularly. Tighten any loose parts with a screwdriver. Fill small scratches or dents with wood filler or touch-up paint. Replace broken hooks to keep the rack safe and useful.
Extending Longevity
Keep the rack away from direct sunlight and moisture. Use a wood polish or wax every few months. Avoid hanging very heavy items to prevent bending or breaking. Proper care helps your coat rack serve you for years.
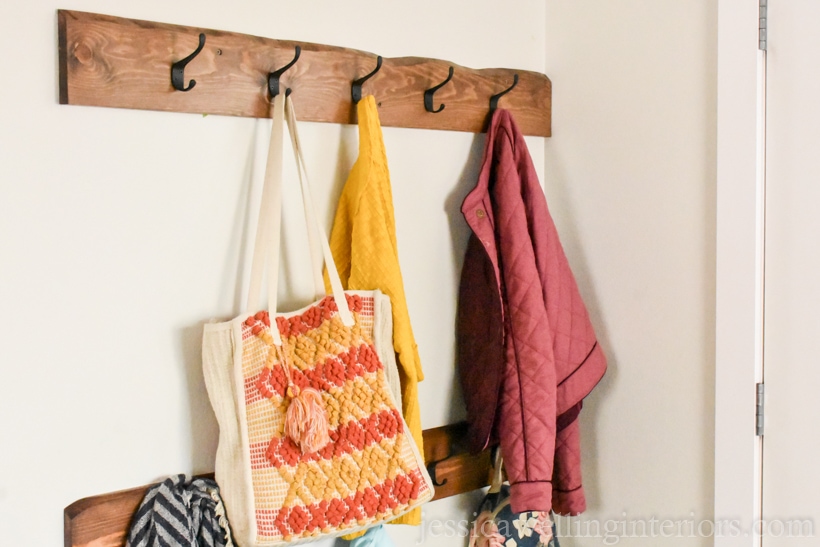
Credit: jessicawellinginteriors.com
Frequently Asked Questions
What Materials Do I Need To Make A Wall Coat Rack?
You need wood boards, hooks, screws, a drill, sandpaper, paint or stain, and a level. These materials ensure a sturdy and attractive coat rack.
How Do I Mount A Coat Rack Securely On The Wall?
Use wall anchors or screws into studs for strong support. Always level the rack and pre-drill holes to avoid wood splitting.
Can I Customize The Design Of My Coat Rack?
Yes, you can choose different wood types, hook styles, and paint colors. Customization makes your rack unique and fits your decor.
How Much Time Does It Take To Build A Coat Rack?
Building a basic coat rack typically takes 1 to 3 hours. This includes cutting, sanding, assembling, painting, and mounting.
Conclusion
Creating a wall coat rack is simple and rewarding. It saves space and keeps your room tidy. You only need a few tools and materials. Follow the steps carefully, and you will have a sturdy rack. Personalize it with paint or decorations for a unique touch.
Enjoy your new, useful wall rack every day. Try this project for a practical and fun home upgrade.