Looking for a smart way to organize your entryway while adding a touch of style? A shelf coat rack might be just what you need.
Imagine having a spot where you can hang your coats, hats, and bags, and also keep your keys or small items neatly on a shelf. It’s practical, space-saving, and surprisingly easy to make yourself. In this guide, you’ll discover simple steps to create your own shelf coat rack, even if you’re new to DIY projects.
Ready to transform your space and impress your guests? Let’s get started!
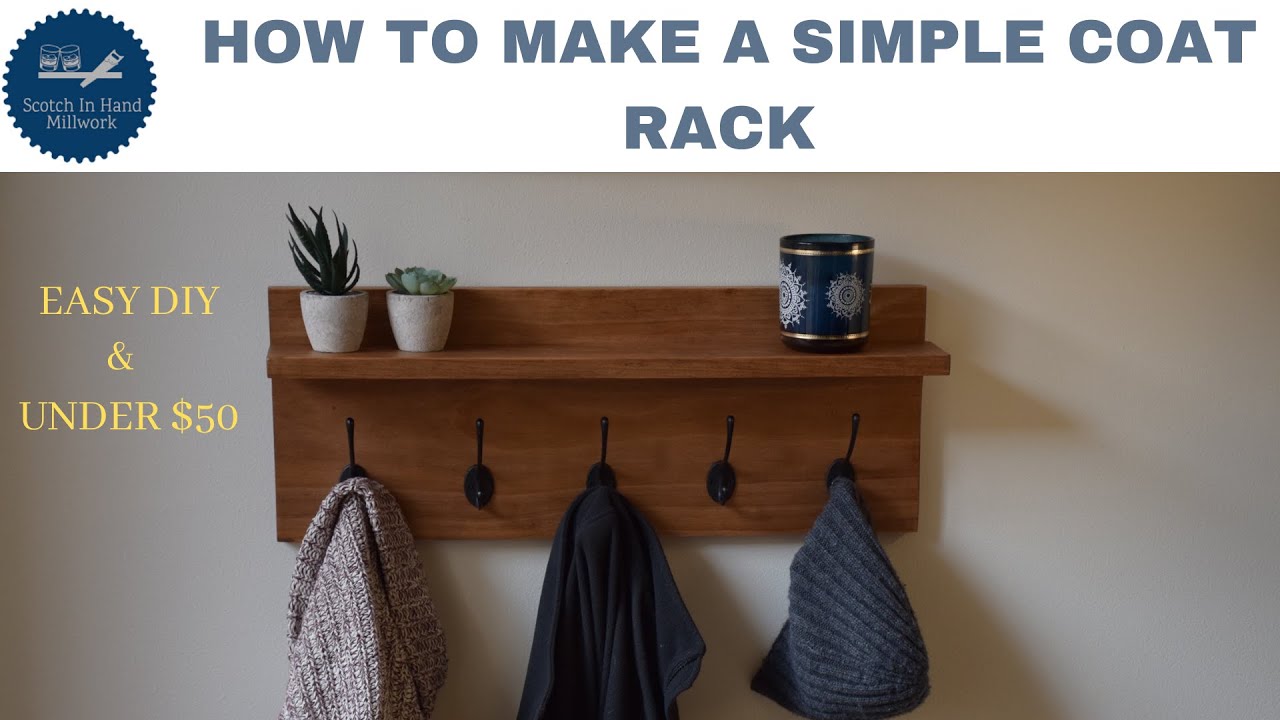
Credit: www.youtube.com
Materials And Tools Needed
Before starting your shelf coat rack project, gather all materials and tools. This step saves time and avoids interruptions. Having the right supplies makes the build smooth and successful.
Focus on quality and suitability. The correct items ensure your coat rack is strong and durable. Let’s explore what you need.
Selecting The Right Wood
Choose wood that is sturdy and easy to work with. Pine, oak, or maple are good choices. Pine is affordable and lightweight. Oak and maple are stronger but cost more. Look for smooth, knot-free boards. This helps with sanding and finishing. Pick wood that matches your room’s style and color.
Essential Hardware
Coat hooks are key for hanging items. Pick strong hooks that hold weight well. Metal hooks last longer and look nice. Use screws that fit your wood thickness. Include wall anchors if mounting on drywall. Sandpaper helps smooth rough edges. Wood glue adds extra strength at joints.
Tools For Assembly
A drill makes holes for screws and hooks. A screwdriver helps tighten screws securely. A saw cuts the wood to size. Use a measuring tape for accuracy. A level ensures your shelf hangs straight. Safety gear like gloves and goggles protect you. Sanding blocks or an electric sander smooth surfaces quickly.

Credit: www.woodshopdiaries.com
Designing Your Shelf Coat Rack
Designing your shelf coat rack is the first step in creating a useful and attractive piece. A well-planned design ensures the rack fits your space and meets your needs. Focus on size, style, and function before starting the build.
Think about where you will place the rack and what you want to store. This helps guide your design choices. Let’s explore how to choose the right size, plan hook placement, and add extra storage features.
Choosing The Size And Style
Measure the wall space where you want the shelf coat rack. The rack should fit comfortably without crowding the area. Decide if you want a narrow or wide shelf based on your needs.
Pick a style that matches your home decor. A simple wood shelf works well in many rooms. You can also paint or stain the wood for a personal touch.
Planning Hook Placement
Hooks hold coats and bags, so place them where they are easy to reach. Space hooks evenly to avoid crowding. Leave enough room between hooks for thick coats.
Think about the height of all users. Place hooks low for kids and higher for adults. Use a mix of hook sizes for different items.
Incorporating Additional Storage
Add small shelves or cubbies above or below the coat hooks. These can hold keys, hats, or small items. Use baskets or boxes to keep things organized.
Consider adding a small drawer for extra storage. This keeps the area tidy and clutter-free. Plan the shelf depth to fit these extra features comfortably.
Preparing The Wood
Preparing the wood is the first step in making a shelf coat rack. It helps ensure the wood pieces fit well and look great. Good preparation makes the shelf strong and safe to use. Follow these steps carefully to get the best results.
Measuring And Marking
Measure the wood pieces with a tape measure or ruler. Mark the exact lengths you need with a pencil. Double-check your measurements to avoid mistakes. Clear, straight lines will help you cut accurately.
Cutting To Size
Use a saw to cut the wood along your marked lines. Cut slowly and steadily for clean edges. Keep your hands away from the blade for safety. Proper cuts make assembly easier and the shelf stronger.
Sanding For Smoothness
Sand each wood piece with sandpaper to remove rough spots. Start with coarse sandpaper, then use finer grits for smoothness. Sand edges and surfaces until they feel soft. Smooth wood prevents splinters and gives a nice finish.
Assembling The Shelf
Assembling the shelf is the key step in building your shelf coat rack. This part brings together all pieces to create a sturdy and useful rack. Focus on each step carefully for a strong final product.
Attaching Support Brackets
Start by fixing the support brackets to the wall. Use a level to keep them straight. Mark the screw holes with a pencil. Drill pilot holes for easier screw insertion. Then, secure the brackets tightly with screws. Strong brackets hold the shelf steady and safe.
Securing The Shelf Base
Place the shelf base onto the attached brackets. Align it properly so it fits well. Use screws to fasten the shelf to the brackets. Check that the shelf does not wobble. Tighten screws as needed to ensure stability. The shelf base is the main surface for storage.
Installing Coat Hooks
Decide where to put the coat hooks under the shelf. Space them evenly for balanced use. Mark the spots for each hook with a pencil. Drill small holes if needed for the screws. Attach each hook with screws, making sure they are secure. Coat hooks add practical function to your shelf rack.
Finishing Touches
The finishing touches are what make your shelf coat rack look complete and last longer. These small steps protect the wood and give your rack a nice look. A good finish adds charm and strength.
Take your time with these final steps. They help your project stand out and stay useful for years. Even simple coats of paint or varnish change the whole feel of the rack.
Painting Or Staining
Choose paint or stain that matches your room style. Paint covers the wood fully and offers many colors. Stain shows the wood grain and gives a natural look.
Apply thin coats with a brush or cloth. Let each layer dry before the next. This avoids drips and uneven color. Light sanding between coats helps smooth the surface.
Sealing For Durability
Seal the wood to protect it from scratches and water. Use clear polyurethane, varnish, or wax for sealing. These finishes keep the wood safe and shiny.
Apply two or three coats for strong protection. Dry time is important; wait fully before use. Sealing helps your rack stay beautiful even with daily use.
Mounting The Rack On The Wall
Find the right spot on your wall to hang the rack. Use a level to make sure it sits straight. Mark the holes for screws carefully.
Use wall anchors if you cannot screw into studs. This keeps the rack stable and holds weight well. Tighten all screws firmly but do not over-tighten.
Check the rack after mounting. It should not wobble or feel loose. Your shelf coat rack is now ready to use and enjoy.
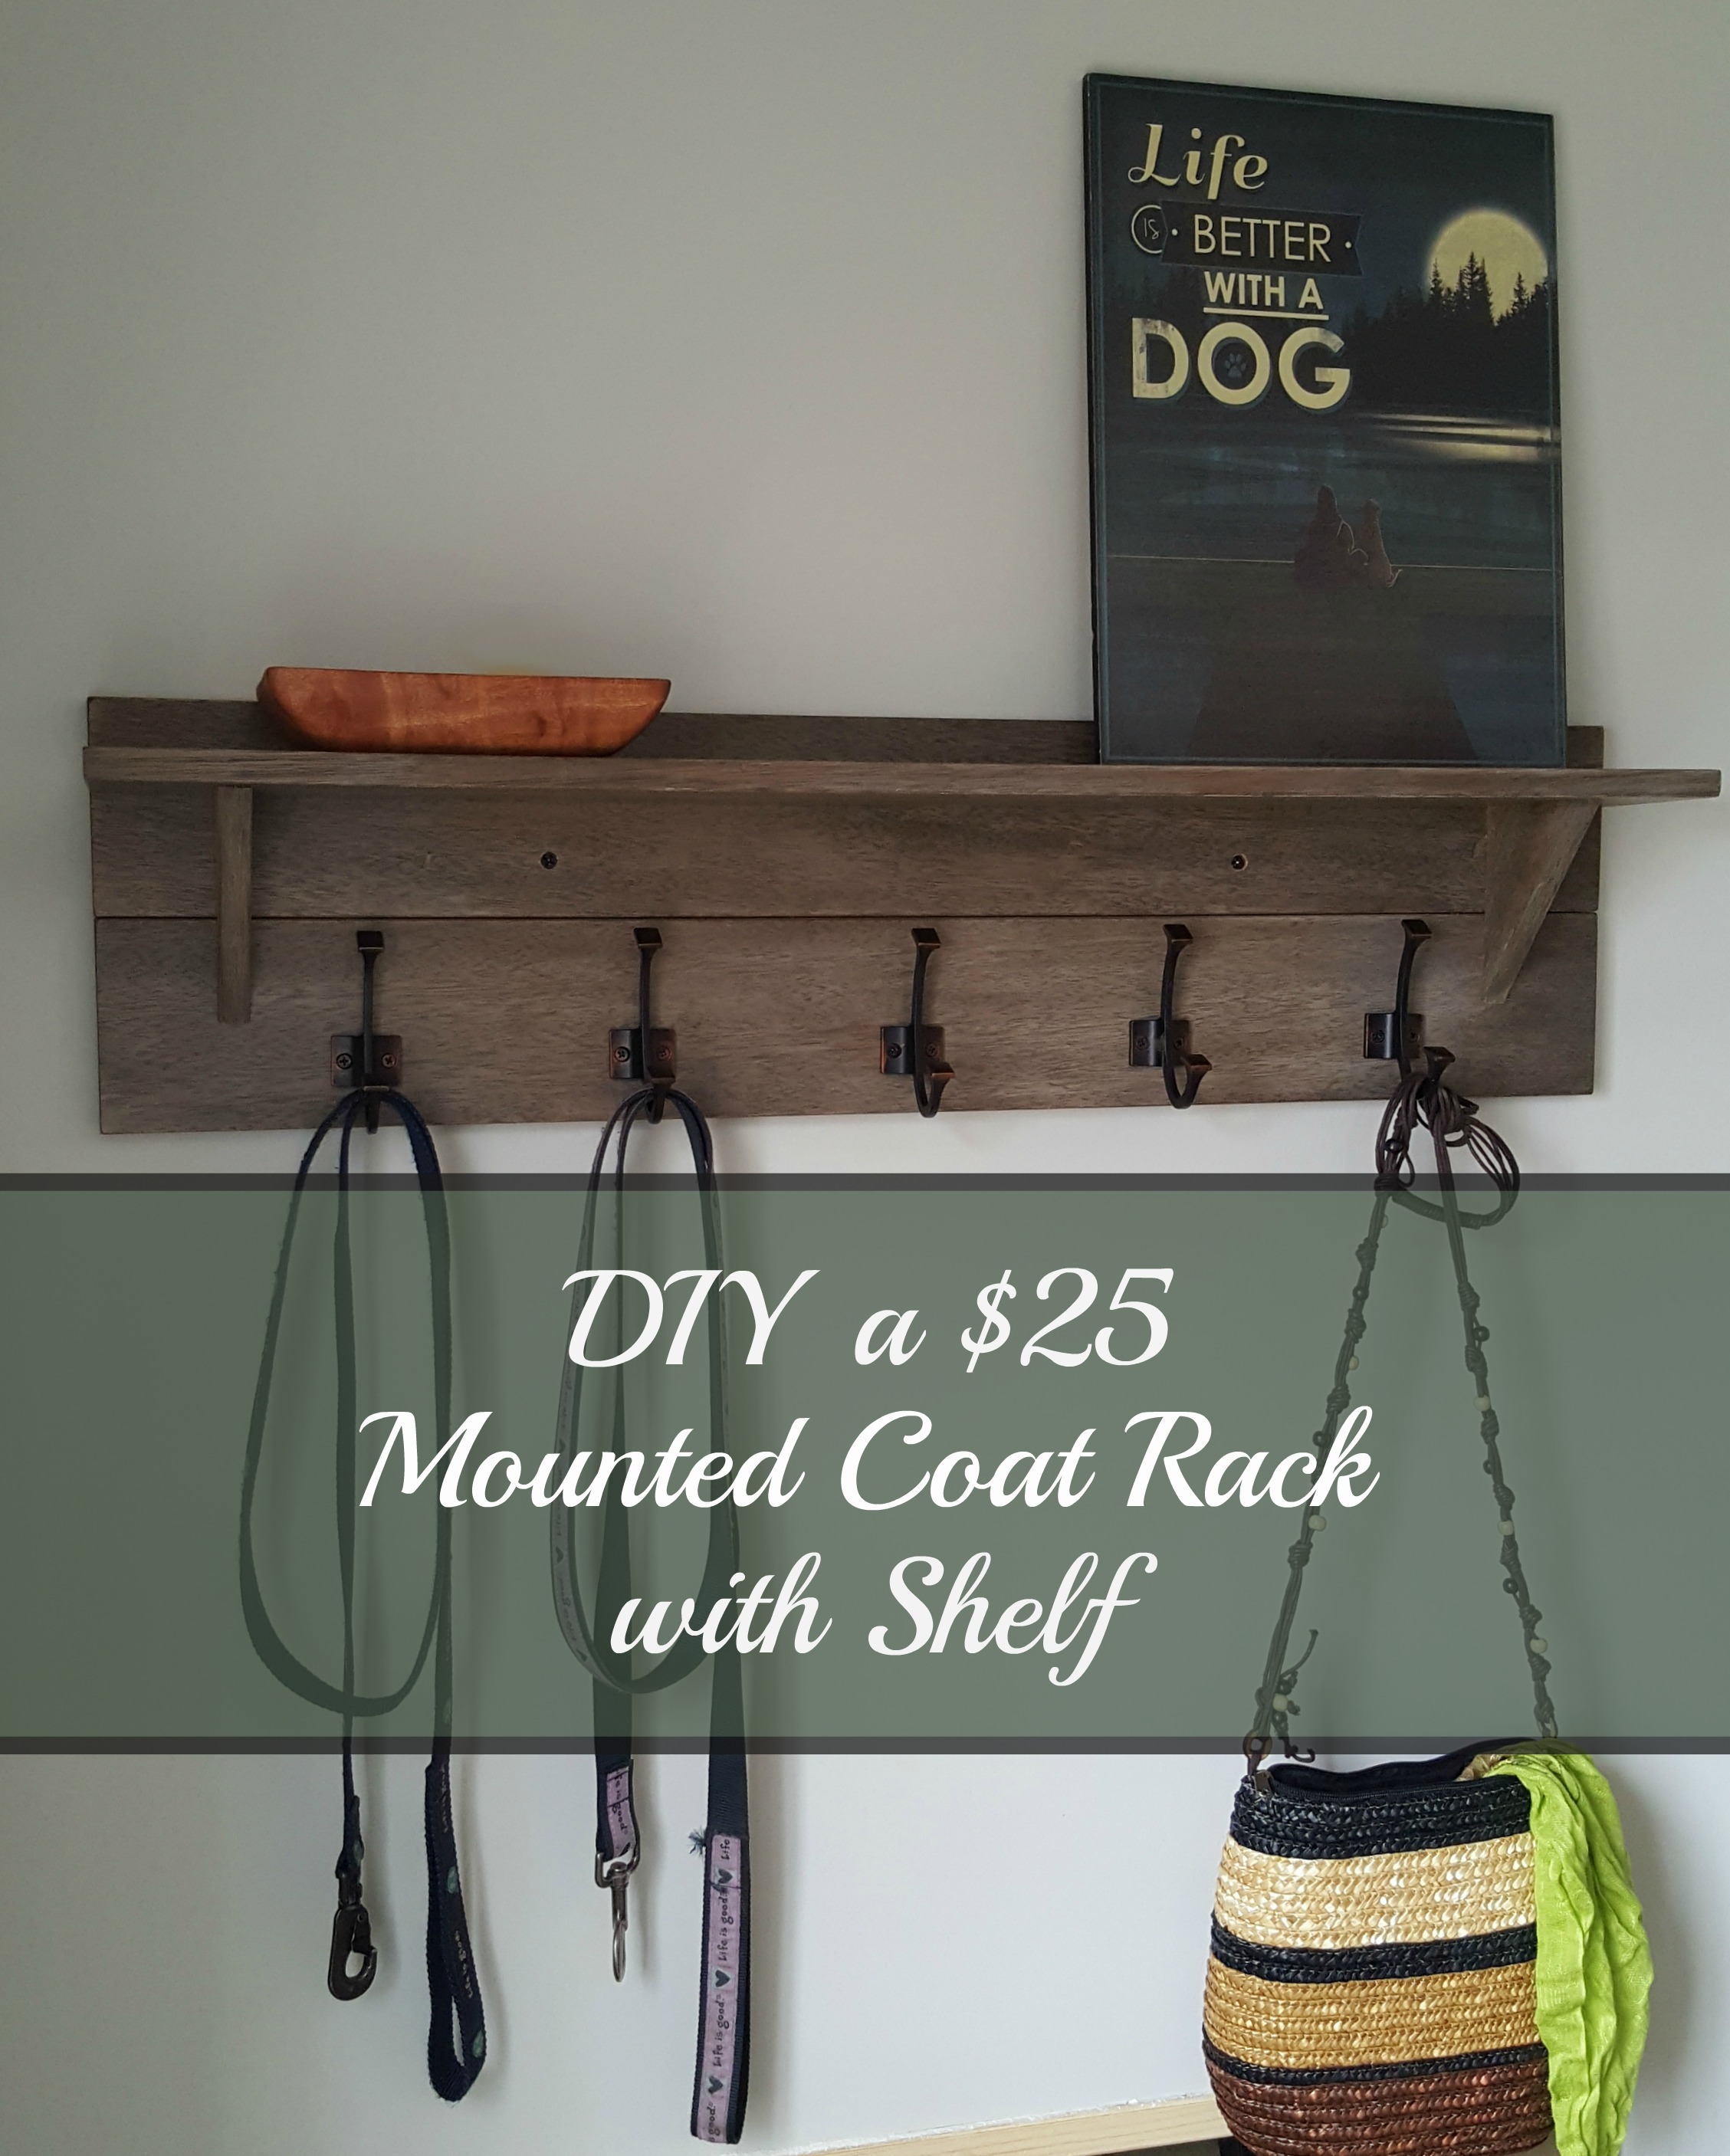
Credit: turtlesandtails.blogspot.com
Maintenance Tips
Keeping your shelf coat rack in good shape helps it last longer and look nice. Regular care prevents damage and keeps the rack sturdy. Follow simple steps to maintain your rack easily.
Cleaning Your Rack
Dust the rack often to stop dirt buildup. Use a soft cloth or duster for gentle cleaning. For sticky spots, dampen the cloth with water and wipe carefully. Avoid harsh chemicals that can damage the wood or finish.
Tightening Hardware
Check screws and hooks regularly. Loose parts can make the rack unstable. Use a screwdriver to tighten any loose screws. This keeps the rack strong and safe to use. Don’t forget to check the wall mounts too.
Refreshing The Finish
Over time, the rack’s finish can fade or scratch. Lightly sand the surface to smooth rough spots. Apply a fresh coat of paint or wood finish. This protects the wood and makes the rack look new again.
Frequently Asked Questions
What Materials Do I Need For A Shelf Coat Rack?
You need wood boards, hooks, screws, wall anchors, sandpaper, paint or stain, and a drill. Choose durable wood like pine or oak for strength. Hooks should be sturdy to hold coats securely. Quality tools ensure a smooth build process and long-lasting shelf rack.
How Do I Attach Hooks To The Shelf Coat Rack?
Measure and mark equal spaces for hooks on the wood. Use screws to firmly attach hooks through pre-drilled holes. Ensure hooks are aligned straight for balanced hanging. Proper attachment prevents wobbling and supports heavy coats safely.
Can I Customize The Size Of My Shelf Coat Rack?
Yes, you can customize the length and depth to fit your space. Measure your wall area before cutting wood boards. Adjust the number of hooks based on your needs. Custom sizing ensures your shelf coat rack fits perfectly and looks neat.
How Do I Mount The Shelf Coat Rack On The Wall?
Use a drill to install wall anchors into studs for maximum support. Screw the shelf bracket or backboard securely into the anchors. Check that the shelf is level before tightening screws. Proper mounting prevents accidents and supports heavy coats safely.
Conclusion
Building a shelf coat rack is simple and fun. You need just a few tools and materials. Follow the steps carefully, and you will have a useful rack in no time. This project saves space and keeps your area neat.
Plus, you get the joy of making something yourself. Try customizing the design to fit your style. Enjoy your new shelf coat rack every day!
