Looking for a stylish and practical way to organize your coats and accessories? Building a coat rack tree might be the perfect solution for you.
Not only does it add a unique touch to your space, but it also keeps your entryway neat and clutter-free. Imagine having a personalized rack that fits your style and needs perfectly—sounds great, right? In this guide, you’ll discover simple steps to create your own coat rack tree, even if you’re new to DIY projects.
Ready to transform your home and make everyday organization easier? Keep reading, and you’ll have your custom coat rack tree ready in no time.

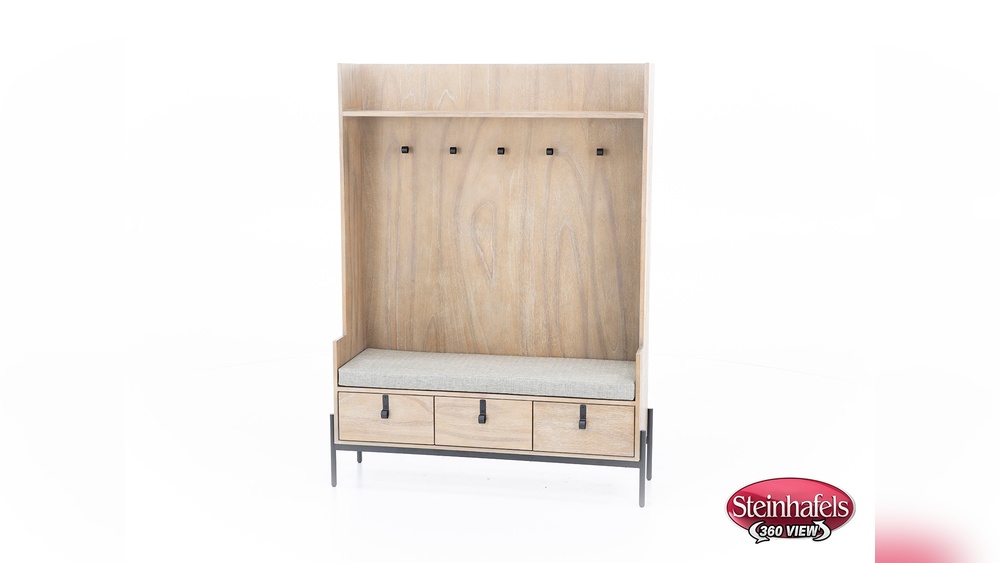
Credit: www.eatwinwin.com
Choosing The Right Materials
Choosing the right materials is key to building a strong coat rack tree. The materials affect how sturdy and attractive your rack will be. Picking good wood and the right tools makes the project easier and more enjoyable. You want your coat rack tree to last for years. Quality materials help with that goal. This section guides you in selecting wood types and gathering tools and supplies.
Selecting Wood Types
Wood choice shapes the coat rack’s look and strength. Pine wood is soft, easy to work with, and budget-friendly. It suits simple designs and indoor use. Oak is hard and durable, perfect for heavy coats. It has a beautiful grain but costs more. Cedar resists moisture and insects. It is good for damp areas or outdoor use. Choose wood that fits your style, budget, and where you plan to place the rack.
Gathering Tools And Supplies
Having the right tools speeds up your work. A saw helps cut wood into the right shapes. Sandpaper smooths rough edges and surfaces. A drill makes holes for screws or hooks. Screws and nails hold the parts firmly. Wood glue adds extra strength. Hooks or pegs will hold coats and hats. Measure tape and pencil help mark cuts and placements. Collect all tools and supplies before starting your project.

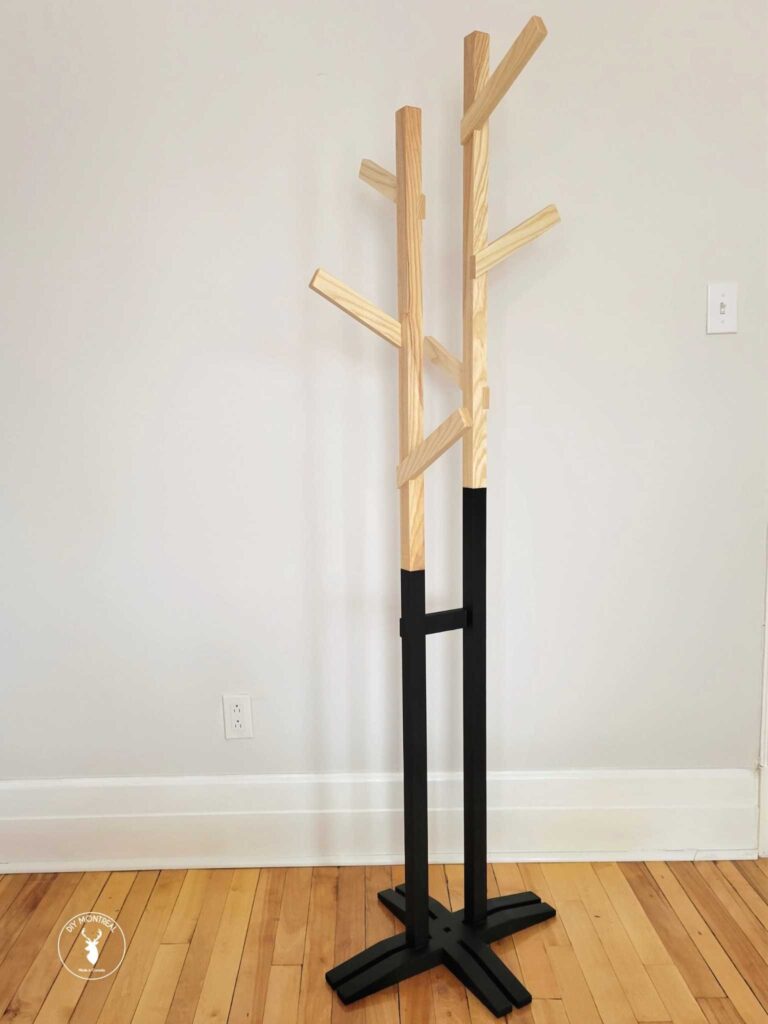
Credit: www.youtube.com
Designing Your Coat Rack Tree
Designing your coat rack tree sets the foundation for a useful and attractive piece. A good design balances space, style, and function. It helps you avoid mistakes and saves time during building.
Think about where the rack will go. Consider the room size and the number of coats it should hold. This focus guides your design choices clearly.
Planning The Size And Shape
Start by measuring the space where you want the rack. Ensure it fits well without blocking paths or doors. Choose a height that allows easy reach for all users.
Decide on the shape next. A simple vertical tree shape uses less floor space. Branches can vary in length and angle to hold different items.
Consider stability. A wider base or extra support prevents tipping. Keep the rack balanced by placing heavier branches lower.
Sketching Your Layout
Draw your coat rack tree on paper before building. Sketch the trunk and branches clearly. Mark where hooks or pegs will go.
Use simple shapes and lines to plan the structure. Add notes about materials and sizes. This plan helps you stay organized.
Try different layouts to find the best look and function. A clear sketch guides your cuts and assembly. It reduces errors and wasted materials.
Cutting And Preparing Wood Pieces
Cutting and preparing wood pieces is the first step in building a coat rack tree. It shapes the wood to fit your design. Proper preparation ensures a sturdy and attractive rack. Take your time to measure and cut carefully. This section explains how to measure, mark, and cut wood safely.
Measuring And Marking
Measure each wood piece exactly. Use a tape measure for accuracy. Mark the cut lines clearly with a pencil. Double-check measurements before marking. Mark both sides of the wood. This helps guide your cuts straight and clean. Keep your marks simple and easy to see.
Safe Cutting Techniques
Wear safety goggles and gloves before cutting. Use a saw that fits your wood size. Cut slowly to maintain control. Keep your hands away from the blade. Secure the wood piece with clamps or a bench. Stand in a balanced position. Check the blade for sharpness to avoid slips. Take breaks if you feel tired. Safety protects you and keeps the wood intact.
Assembling The Frame
Assembling the frame is the first big step in building your coat rack tree. It gives the rack its shape and strength. Careful assembly ensures it stands well and holds coats safely.
Work slowly and check each piece fits perfectly. Use the right tools for a smooth process.
Joining Branches And Trunk
Start by fitting the branches to the trunk. Align each branch at the right height and angle. Mark the spots clearly before drilling holes.
Use screws or dowels to join branches tightly. Avoid gaps that can make the frame weak. Test each joint for firmness before moving on.
Securing Connections
Secure all joints with wood glue or metal brackets. This adds extra hold and stops wobbling. Clamp the pieces together while glue dries.
Double-check all screws and bolts are tight. Tight connections keep the rack stable and safe for daily use. A strong frame lasts longer.
Adding Hooks And Hangers
Adding hooks and hangers is a key step in building a coat rack tree. Hooks hold coats, hats, and bags securely. Choosing the right hooks makes the rack both useful and stylish. Attaching hooks properly ensures the rack lasts and can hold weight safely.
Choosing Hook Styles
Pick hooks that match your room’s style. Simple metal hooks offer a clean, modern look. Wooden hooks blend well with natural wood racks. Double hooks provide extra space for hanging more items. Look for hooks with smooth edges to protect clothes. Size matters. Choose hooks big enough for thick coats.
Attaching Hooks Properly
Use a drill to make small pilot holes first. This prevents the wood from splitting. Attach hooks with screws that fit well. Tighten screws but do not overdo it. Test each hook by pulling gently. Make sure hooks are straight and secure. Space hooks evenly for balance and ease of use.
Finishing Touches
The finishing touches are important for your coat rack tree. They improve its look and protect the wood. Taking time to finish your project well makes it last longer. It also makes the rack feel smooth and safe to use. Follow these steps carefully to get the best result.
Sanding And Smoothing Surfaces
Start by sanding all wooden surfaces with fine sandpaper. This removes rough spots and splinters. Sand along the wood grain for a smooth finish. Check edges and corners to ensure they are not sharp. Wipe away dust with a dry cloth after sanding. This step makes the wood ready for painting or staining.
Applying Paint Or Stain
Choose paint or stain that suits your room style. Use a brush or cloth to apply evenly on the wood. Allow the first coat to dry completely before adding more. Multiple coats give a richer color and better protection. Paint hides imperfections, while stain shows the wood’s natural beauty. Finish with a clear sealant for extra durability.
Placement And Maintenance Tips
Choosing the right place for your coat rack tree is important for both use and style. Proper placement ensures easy access and keeps your space tidy. Regular care keeps it looking fresh and extends its life. Here are some tips on where to put your coat rack tree and how to care for it.
Best Spots For Your Coat Rack Tree
Place your coat rack tree near the entrance of your home. This location lets guests hang coats right away. Avoid tight corners to keep it easy to use. Hallways work well if they have enough space. In offices, near the door or waiting area is ideal. Make sure the rack does not block walkways or doors. Choose a spot with good lighting to highlight its design.
Cleaning And Upkeep
Dust your coat rack tree regularly using a soft cloth. Wipe down wooden parts with a damp cloth and dry immediately. For metal racks, use a mild cleaner to prevent rust. Check joints and hooks for loose screws and tighten them. Avoid placing it in damp areas to stop mold or damage. Apply polish or wood oil occasionally to keep wood shiny. Regular care helps your coat rack tree stay strong and attractive.
Credit: lads.com
Frequently Asked Questions
What Materials Are Needed To Build A Coat Rack Tree?
You need wood planks, screws, a drill, sandpaper, and paint or stain. Optional tools include a saw and measuring tape. Choose sturdy wood for durability and aesthetic appeal.
How Do You Ensure Stability In A Coat Rack Tree?
Use a wide, heavy base to prevent tipping. Secure all joints tightly with screws. Adding support braces or a weighted bottom enhances stability.
Can I Customize The Size Of My Coat Rack Tree?
Yes, customize the height and branch lengths to fit your space. Adjust dimensions based on your storage needs and room size. Personalizing improves functionality and style.
How Long Does It Take To Build A Coat Rack Tree?
Building usually takes 2 to 4 hours, depending on skill level. Preparation and drying time for paint or stain may extend this. Planning ahead makes the process smoother.
Conclusion
Building a coat rack tree adds style and function to your space. You can choose wood, paint, and hooks to fit your taste. The steps are simple and fun to follow. It keeps coats, hats, and bags organized and easy to find.
A DIY project like this saves money and gives you pride. Try making one to brighten your entryway and stay tidy. Small projects bring big satisfaction. Ready to create your own coat rack tree?