Are you looking to create the perfect bunk bed for your LPS (Littlest Pet Shop) collection? Making a custom LPS bunk bed can be fun, affordable, and a great way to organize your pets in style.
Imagine giving your LPS toys a cozy, cool space they’ll love while showing off your creativity. In this guide, you’ll discover simple steps to build a sturdy and charming bunk bed that fits your collection perfectly. Ready to turn your ideas into a fantastic LPS accessory?
Let’s get started!
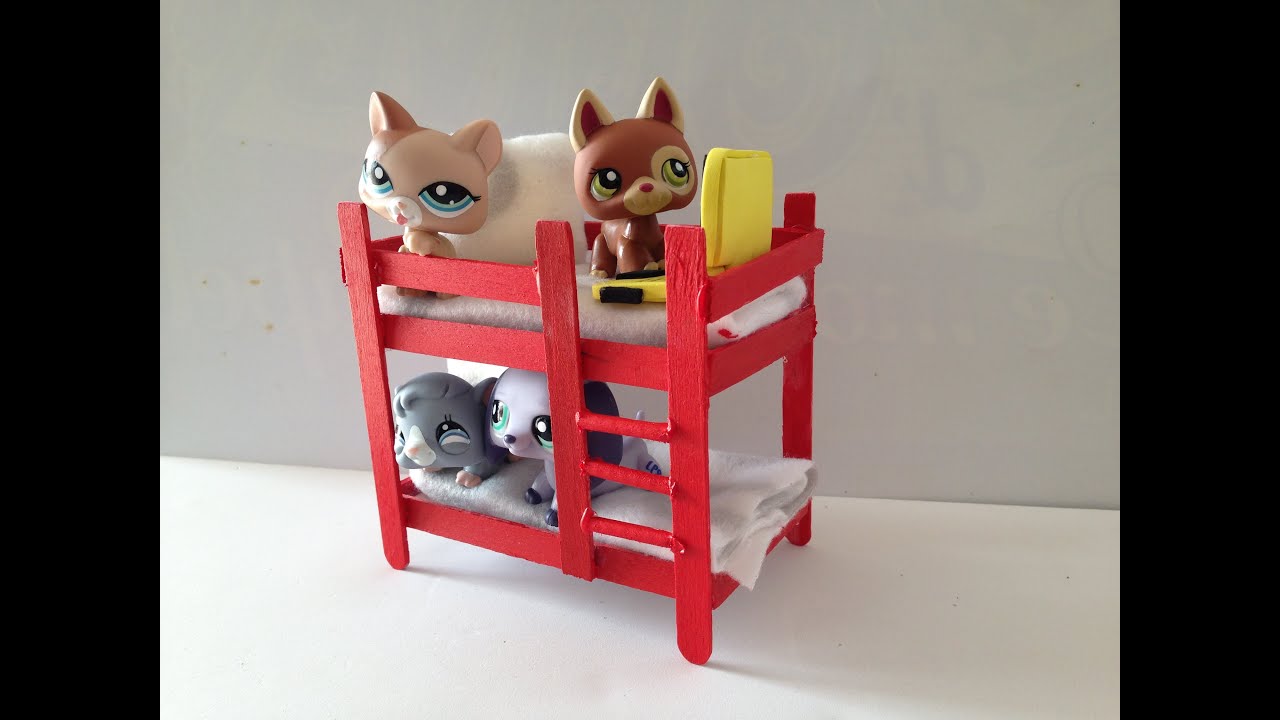
Credit: www.youtube.com
Choosing The Right Materials
Choosing the right materials is the first step in making a safe and sturdy LPS bunk bed. Good materials ensure the bed lasts long and stays safe for play. This part will guide you on picking wood, tools, paint, and decorations.
Selecting Safe Wood And Tools
Choose wood that is strong and smooth. Pine or cedar works well for this project. Avoid wood with splinters or cracks to keep it safe for kids. Use hand tools like saws and drills that are easy to handle. Make sure the tools are clean and sharp for precise cuts. Safety gear such as gloves and goggles is important to protect yourself.
Gathering Paint And Decorations
Pick non-toxic paint that is safe for children. Water-based paints dry quickly and have less smell. Choose bright colors to make the bunk bed fun and inviting. Decorations can include stickers or small toys fixed safely on the bed. Avoid small parts that could fall off and cause choking hazards. Keep the design simple and playful.

Credit: www.smithsfurniturestore.com
Planning Your Design
Planning your design is the first step in making an LPS bunk bed. It helps you organize ideas and avoid mistakes. A clear plan saves time and materials. Focus on the space, size, and shape of the bed. This step makes the building process smoother and fun.
Measuring Space And Bed Size
Measure the room space where the bunk bed will go. Note the height, width, and length available. Check for windows, doors, and furniture nearby. Think about the size of the LPS figures that will use the bed. Choose a bed size that fits well in the room. Leave some extra space for comfort and movement.
Sketching The Bunk Bed Layout
Draw a simple sketch of your bunk bed design. Include the top and bottom bed levels in the drawing. Show where the ladder or stairs will be placed. Mark the measurements on the sketch for accuracy. Use the sketch to plan the materials needed. Change the design on paper before starting to build.
Cutting And Preparing Wood
Cutting and preparing wood is an important step in making an LPS bunk bed. Precise cuts ensure the bed fits together well. Smooth edges prevent splinters and make the bed safe for children. Take your time and follow each step carefully.
Marking Cut Lines
Start by measuring the wood pieces you need. Use a pencil and a ruler to mark straight cut lines. Double-check measurements to avoid mistakes. Clear, visible lines guide your saw for accurate cuts. Mark all pieces before you begin cutting.
Sanding And Smoothing Edges
After cutting, sand all edges with sandpaper. Sanding removes rough spots and splinters. Use medium-grit sandpaper first, then fine-grit for a smooth finish. Smooth edges protect little hands from injury. Take your time to sand every corner well.
Assembling The Frame
Assembling the frame is the first step in making an LPS bunk bed. It creates a strong base that supports the entire structure. Follow the steps carefully to build a safe and sturdy frame. Start by preparing all parts and tools.
Building The Base And Supports
Begin with the base. Lay out the wooden boards flat on the floor. Join the boards using screws or nails to form a rectangle. This rectangle will be the bottom frame.
Next, attach the vertical supports. These are four wooden posts placed at each corner. Secure them tightly to the base with screws. These supports hold the upper bed and keep the frame stable.
Check that the base and supports are square. Use a measuring tape to confirm right angles. Tighten all screws to avoid any wobbling.
Attaching Side Rails And Ladder
Attach the side rails next. These rails run along the length of the bunk bed. Fix them to the vertical posts using screws. They prevent the mattress from sliding off.
Now, install the ladder. Choose a safe spot on the frame, usually at one end. Secure the ladder firmly to the side rails and base. Make sure it feels stable and strong to climb.
Test the frame by gently shaking it. It should feel solid and safe for children to use.
Painting And Decorating
Painting and decorating a LPS bunk bed turns it into a fun and cozy space. This step makes the bed unique and inviting for your child. Careful choices in paint and decorations can create a safe and cheerful atmosphere.
Choosing Kid-friendly Paint
Pick paint that is safe for children. Look for non-toxic, low-VOC paints. These paints have fewer harmful chemicals. They keep the air clean and fresh. Choose bright colors to make the bed lively. Soft pastels work well for calm and cozy vibes. Always test paint on a small area first.
Adding Personal Touches
Personalize the bunk bed with small decorations. Use stickers or decals with your child’s favorite themes. Add soft cushions or pillows for comfort. Consider painting fun shapes or patterns. Let your child help pick colors and designs. This creates a special spot they will love.
Ensuring Safety And Stability
Ensuring safety and stability is the most important part of making an LPS bunk bed. A sturdy bed keeps your little ones safe while they play or rest. Every piece must fit well and stay strong over time. This section explains how to make your bunk bed secure and steady for long-lasting use.
Securing Joints And Screws
Check all joints carefully before tightening screws. Loose joints cause wobbling and unsafe conditions. Use a screwdriver to fasten all screws firmly. Avoid over-tightening screws as this can crack the wood. Use wood glue at joints for extra strength. Inspect the bed regularly to ensure screws stay tight.
Adding Guardrails And Padding
Guardrails protect children from falling off the top bunk. Use smooth, rounded rails that are high enough to stop falls. Attach guardrails securely to the bed frame. Add soft padding around sharp corners and edges. Use foam or fabric to cover hard surfaces. This padding prevents injuries from bumps or knocks.

Credit: www.amazon.com
Frequently Asked Questions
What Materials Are Needed To Make An Lps Bunk Bed?
To make an Lps bunk bed, you need wood panels, screws, nails, a saw, sandpaper, paint, and safety gear. Select durable, non-toxic materials for safety and longevity. Proper tools ensure smooth assembly and a sturdy final product.
How Long Does It Take To Build An Lps Bunk Bed?
Building an Lps bunk bed typically takes 4 to 6 hours. This depends on your skill level and preparation. Taking time to measure and assemble carefully ensures safety and durability.
Can I Customize The Design Of My Lps Bunk Bed?
Yes, you can customize your Lps bunk bed design. Modify dimensions, colors, and storage options to fit your space and style. Customization makes the bed unique and functional for your needs.
Is It Safe To Build An Lps Bunk Bed At Home?
Building an Lps bunk bed at home is safe with proper tools and precautions. Follow instructions carefully, use quality materials, and ensure all parts are secure. Safety checks prevent accidents and ensure stability.
Conclusion
Building an LPS bunk bed can be fun and rewarding. Follow each step with care and patience. Use safe tools and materials for the best results. Personalize the bed to fit your style and space. Kids will love their new cozy and creative sleeping spot.
Enjoy the process and the final product. This project brings joy and adds charm to any room. Keep practicing to improve your crafting skills. Simple projects like this make great memories. Start your LPS bunk bed today and have fun!