Have you ever looked at your bookshelf and wished it could do more? Imagine turning that open shelf into a stylish cabinet that hides clutter and adds a fresh look to your room.
It’s easier than you think, and you don’t need to be a professional carpenter. You’ll discover simple steps to transform your bookshelf into a practical cabinet that fits your space and style perfectly. Ready to give your room a smart upgrade?
Let’s get started!
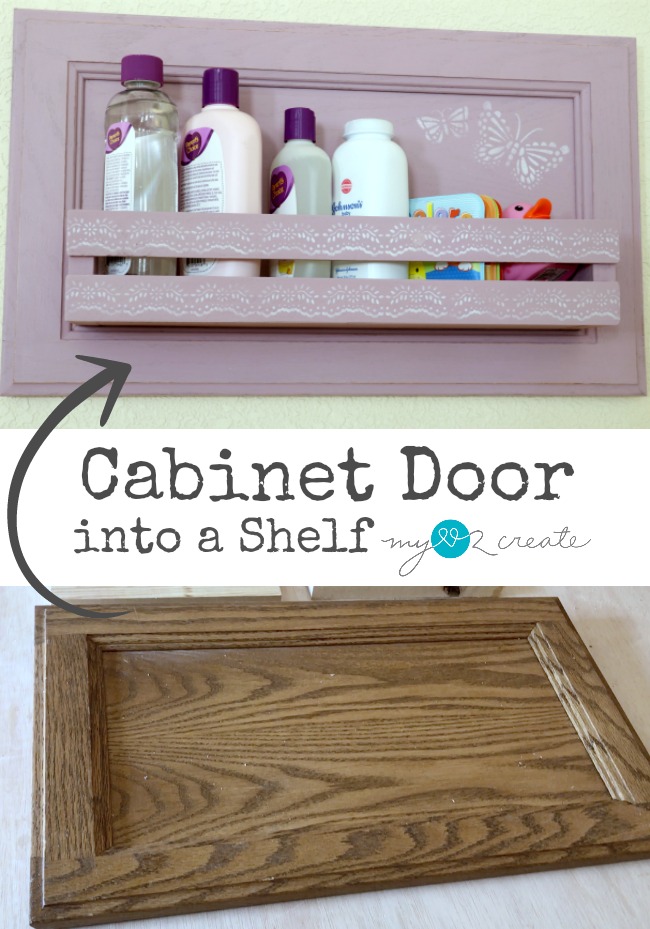
Credit: mylove2create.com
Choosing The Right Bookshelf
Choosing the right bookshelf is key to turning it into a cabinet. The perfect bookshelf makes the project easier and the final product strong and attractive. Think about size, material, and strength before buying or using a shelf.
Pick a bookshelf that fits the space where you want to place the new cabinet. It should be not too big or too small. The right size helps keep the room balanced and the cabinet useful.
Material And Size Considerations
Wood shelves give a classic look and are easy to paint. Metal shelves are strong but may need extra work to cover up. Choose a material that fits your style and skills.
Measure the height, width, and depth. The bookshelf must fit your room and hold cabinet doors and shelves inside. Check if the size matches your storage needs.
Assessing Structural Strength
Look at how the bookshelf is built. Strong joints and thick shelves mean it can hold weight. Thin or weak shelves may bend or break.
Test the shelf by pressing gently on it. It should feel solid and not wobble. A sturdy bookshelf will keep your cabinet safe for years.
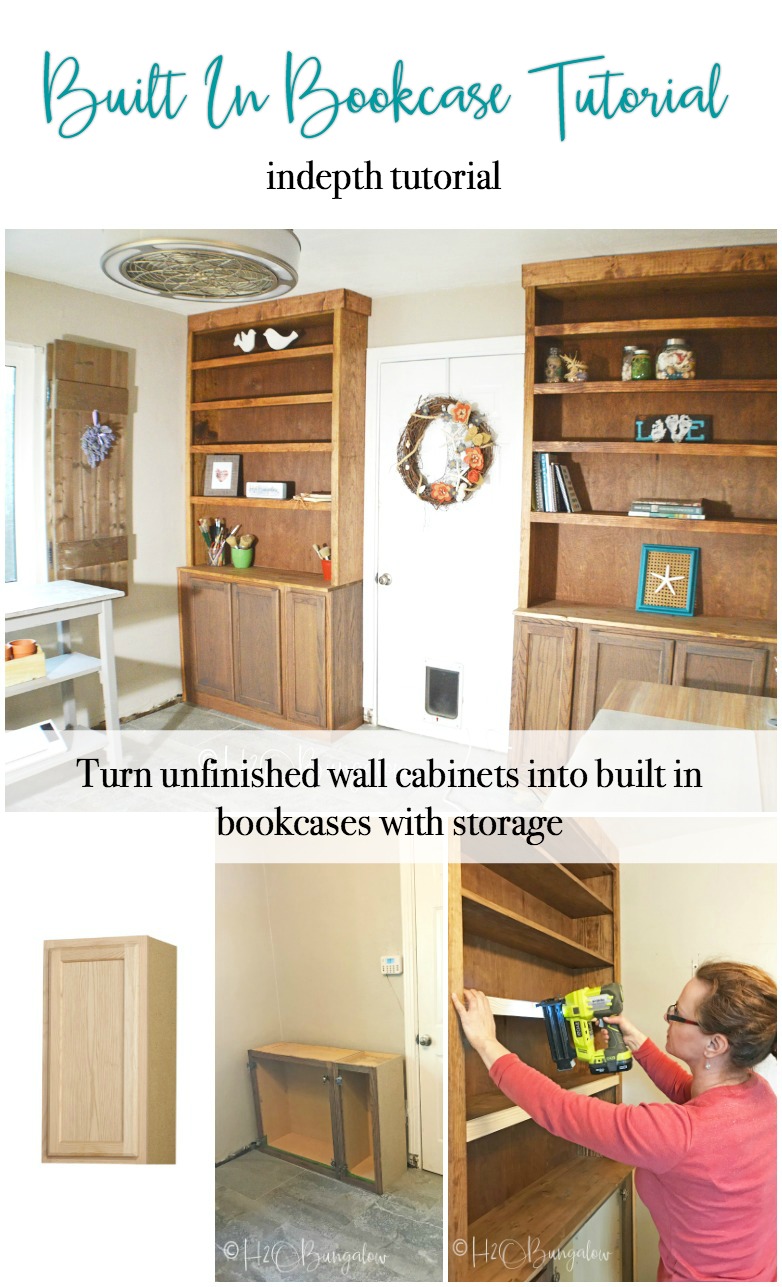
Credit: h2obungalow.com
Gathering Essential Tools And Materials
Transforming a bookshelf into a cabinet starts with gathering the right tools and materials. This step is important for a smooth and safe project. Having everything ready helps avoid delays and frustration. Knowing what you need makes the work more enjoyable and efficient.
Tools Needed For The Project
Prepare basic tools for cutting, measuring, and assembling. A power drill with bits is essential for screws. A screwdriver set helps with smaller adjustments. Measuring tape ensures accurate dimensions. A saw is needed to cut wood or panels. Sandpaper smooths rough edges. Clamps hold pieces firmly while working. A level makes sure your cabinet stands straight. Safety gear like gloves and goggles protects your hands and eyes.
Materials For Cabinet Conversion
Choose strong materials for a durable cabinet. Plywood or MDF boards work well for doors and panels. Hinges attach doors to the shelf frame. Cabinet handles or knobs add style and function. Wood glue strengthens joints. Paint or wood stain gives a finished look. Magnetic catches keep doors closed. Optional shelves can increase storage space inside the cabinet. Select materials that fit your budget and style.
Preparing The Bookshelf
Preparing the bookshelf is the first step in turning it into a cabinet. This step sets the base for a smooth transformation. Careful preparation helps the finished cabinet look neat and last longer.
Cleaning And Sanding Surfaces
Start by cleaning the bookshelf well. Use a damp cloth to remove dust and dirt. Let it dry completely. Then, sand the surfaces with fine sandpaper. Sanding removes old paint or finish. It also makes the surface smooth and ready for new paint or stain. Wipe away dust after sanding for a clean work area.
Removing Or Adjusting Shelves
Check the shelves inside the bookshelf. Remove any shelves that you do not need. Use a screwdriver if shelves are fixed with screws. For adjustable shelves, simply lift and take them out. Adjust the remaining shelves to fit the items you want to store. This step helps create more space and a better layout for your cabinet.
Adding Cabinet Doors
Adding cabinet doors to a bookshelf changes its look and function. It keeps items inside hidden and dust-free. This step makes the piece look like a true cabinet. The process starts with choosing the right door style. Then, it moves to attaching hinges and handles. Both parts are important for the final result.
Selecting Door Styles
Pick a door style that fits your room’s decor. Simple flat panels give a modern look. Glass doors show what’s inside while protecting items. Shaker-style doors add a classic touch. Measure the bookshelf opening carefully before buying doors. Choose lightweight materials for easy use. Match the door color to the bookshelf or wall.
Installing Hinges And Handles
Choose hinges that fit the door size and weight. Concealed hinges keep the look clean. Surface-mounted hinges are easier to install. Mark hinge positions on both the door and shelf frame. Use a drill to make pilot holes for screws. Attach hinges securely for smooth door movement. Pick handles that are comfortable to hold. Handle styles can be knobs or pulls. Install handles at a reachable height on the door.
Enhancing Storage Options
Enhancing storage options transforms a basic bookshelf into a practical cabinet. It helps organize items better and saves space. Customizing storage also makes your furniture more useful for daily needs.
Installing Additional Shelves Or Dividers
Adding extra shelves increases storage space inside the cabinet. You can fit smaller items neatly and avoid clutter. Dividers help separate different items, making it easier to find them. Both shelves and dividers can be adjusted to fit your storage needs.
Incorporating Drawers Or Baskets
Drawers offer hidden storage for smaller things like tools or papers. They keep the cabinet tidy and organized. Baskets provide flexible storage and easy access. You can pull them out quickly to reach items inside. Both options add variety to your cabinet’s storage design.
Finishing Touches
Finishing touches make your bookshelf-turned-cabinet look complete and polished. These final steps improve both style and protection. Focus on painting, staining, and decorative details for the best results. A well-done finish changes the whole appearance and feel.
Painting And Staining Tips
Choose paint or stain that suits your room’s style. Use smooth, even strokes for a clean finish. Light sanding before painting helps the surface hold color better. Apply a primer if the wood is raw or old. Two coats of paint or stain give a richer color. Let each coat dry fully before the next. Use a clear sealant to protect your work from scratches and spills.
Adding Decorative Elements
Decorative items add personality to your cabinet. Attach new handles or knobs for a fresh look. Try molding or trim to frame the doors or shelves. Use wallpaper or fabric inside for a pop of color. Small decals or stencils add design without clutter. Keep decorations simple to avoid overwhelming the piece.
Maintenance And Care
Turning a bookshelf into a cabinet is just the first step. Keeping it in good shape needs regular care. Proper maintenance keeps the cabinet looking fresh and lasting longer. Small efforts make a big difference in preserving its beauty and function.
Cleaning Tips For Cabinet Surfaces
Dust the cabinet weekly using a soft cloth. Avoid harsh cleaners that can damage the finish. Use a mild soap mixed with water for sticky spots. Wipe gently and dry immediately to prevent water marks. Polish wooden surfaces with a suitable wood polish once a month. Clean glass doors with a gentle glass cleaner and a lint-free cloth.
Regular Inspection And Repairs
Check hinges and handles for tightness every few months. Tighten loose screws to avoid damage. Look for chips, cracks, or scratches on the surface. Fill small holes or cracks with wood filler. Sand lightly and repaint or stain the repaired area. Replace broken parts quickly to keep the cabinet sturdy. Early repairs stop small issues from becoming big problems.
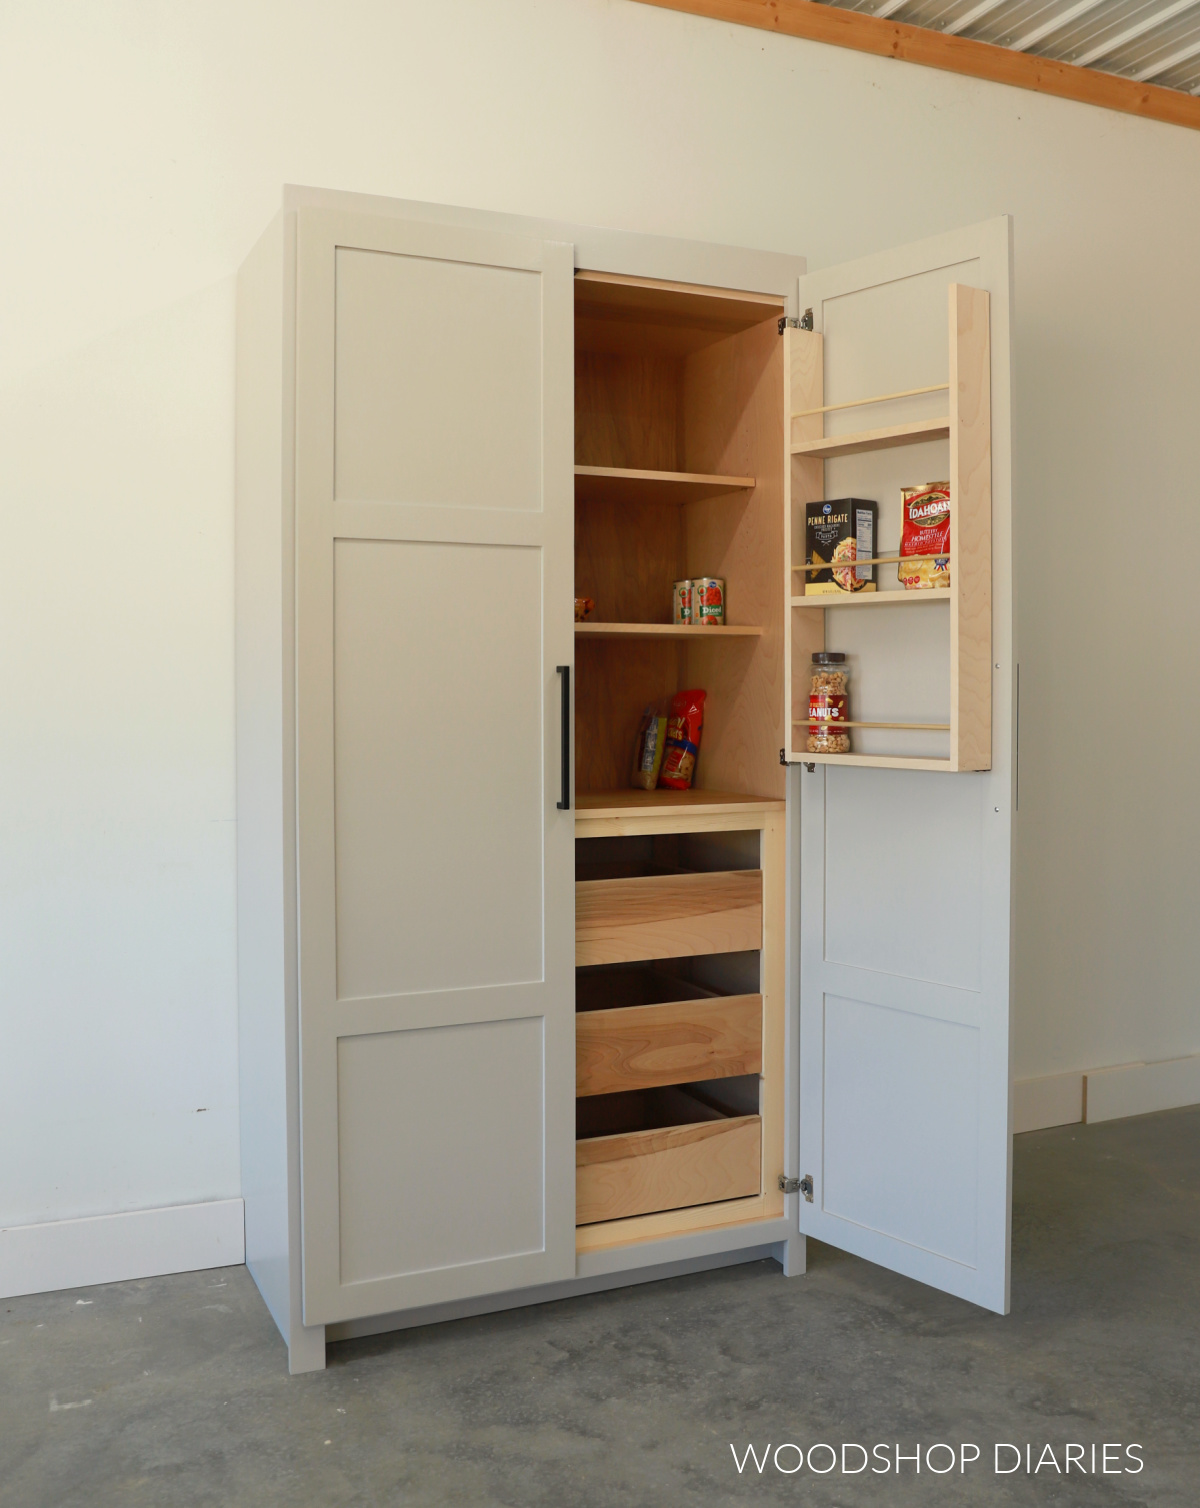
Credit: www.woodshopdiaries.com
Frequently Asked Questions
How Do I Convert A Bookshelf Into A Cabinet?
Start by adding doors to your bookshelf. Install hinges and handles for easy access. Paint or stain it to match your decor. Add shelves or compartments inside for organized storage. This turns an open bookshelf into a functional cabinet.
What Materials Are Needed To Transform A Bookshelf?
You’ll need cabinet doors, hinges, handles, screws, and paint or stain. Optional materials include shelf liners, shelf pins, and decorative molding. Tools like a drill, screwdriver, and measuring tape are also essential for the project.
Can I Make A Cabinet Without Professional Help?
Yes, converting a bookshelf into a cabinet is a DIY-friendly project. Basic woodworking skills and common tools are enough. Follow step-by-step guides and safety tips to ensure a successful transformation without professional help.
How Much Time Does It Take To Complete This Project?
The project typically takes 2 to 4 hours. Time varies based on the bookshelf size and your experience. Allow extra time for painting or staining to dry properly before use.
Conclusion
Transforming a bookshelf into a cabinet can refresh any room. It adds hidden storage and keeps items neat. Simple tools and steps make this project easy. Personalize the cabinet with paint or handles. Small changes create big improvements in your space.
Try this DIY to enjoy a practical, stylish cabinet. You’ll feel proud of your handiwork every day. Give your old bookshelf a new life today.