Are you tired of searching for the perfect bookshelf that fits your space and style? Imagine having a custom-made bookshelf that reflects your personality and holds all your favorite books just the way you want.
Building your own bookshelf DIY is easier than you think, and it gives you full control over size, design, and materials. In this guide, you’ll discover simple steps to create a beautiful, sturdy bookshelf that suits your needs perfectly. Ready to turn your vision into reality?
Let’s dive in and make your dream bookshelf come to life!
Choosing The Right Materials
Choosing the right materials is key to building a sturdy and attractive bookshelf. The materials affect the shelf’s strength, look, and cost. Selecting good wood and supplies makes your DIY project easier and more fun.
Types Of Wood For Bookshelves
Softwoods like pine are easy to cut and affordable. They work well for light to medium loads. Hardwood options like oak and maple offer great strength and durability. They last longer and look elegant.
Plywood is a popular choice. It is strong and resists warping. Choose high-quality plywood with smooth surfaces for a neat finish. Avoid particleboard as it is weak and less durable.
Essential Tools And Supplies
Basic tools include a saw, drill, screwdriver, and measuring tape. A sander or sandpaper helps smooth the wood. Wood glue and screws hold pieces firmly together.
Use clamps to keep parts steady while gluing. Finish with paint or wood stain to protect and beautify the shelf. Safety gear like goggles and gloves is important to wear.
Planning Your Bookshelf Design
Planning your bookshelf design is the first important step in building a DIY bookshelf. It sets the foundation for the entire project. Careful planning helps avoid mistakes and saves time and materials. It also ensures the bookshelf fits perfectly in your space and holds your books well.
Start by thinking about where you want the bookshelf. Consider the size of the room and the space available. Think about what you want to store. Books, decorations, or both? These choices affect the design and size.
Measuring Space And Dimensions
Measure the space where the bookshelf will go. Use a tape measure to get the width, height, and depth. Write down the numbers clearly. Check for any obstacles like vents or outlets. These might limit the size or shape of the shelf.
Think about the size of your books. Tall books need taller shelves. Small books fit on shorter shelves. Leave extra space for decorations or future books. A good rule is to add 1 to 2 inches extra per shelf.
Sketching Your Bookshelf Layout
Draw a simple sketch of your bookshelf design. Use graph paper or a digital tool. Mark the overall dimensions on the sketch. Divide the space into shelves based on your needs.
Decide how many shelves you want. Draw lines for each shelf. Add notes about shelf height and width. Show where supports or dividers will go. This sketch guides you during building and helps buy the right materials.
Cutting And Preparing Wood
Cutting and preparing wood is the first important step to build your own bookshelf. The wood must be cut to the right size before assembling. Careful cutting helps the bookshelf fit together well. Preparing the wood also means making the surfaces smooth and safe to touch.
Safe Wood Cutting Techniques
Use sharp tools to cut wood smoothly. Dull blades can cause splinters or rough edges. Always wear safety glasses and gloves to protect yourself. Measure twice and cut once to avoid mistakes. Clamp the wood firmly so it does not move. Cut slowly and steadily to keep control. Work in a clean, well-lit area to see clearly.
Sanding And Smoothing Edges
After cutting, sand all wood edges gently. Sanding removes splinters and rough spots. Use medium-grit sandpaper first, then fine-grit for smoothness. Move the sandpaper along the grain of the wood. Check edges with your hand to feel for roughness. Smooth edges make the bookshelf safer and look better. Take time to sand well before assembly.
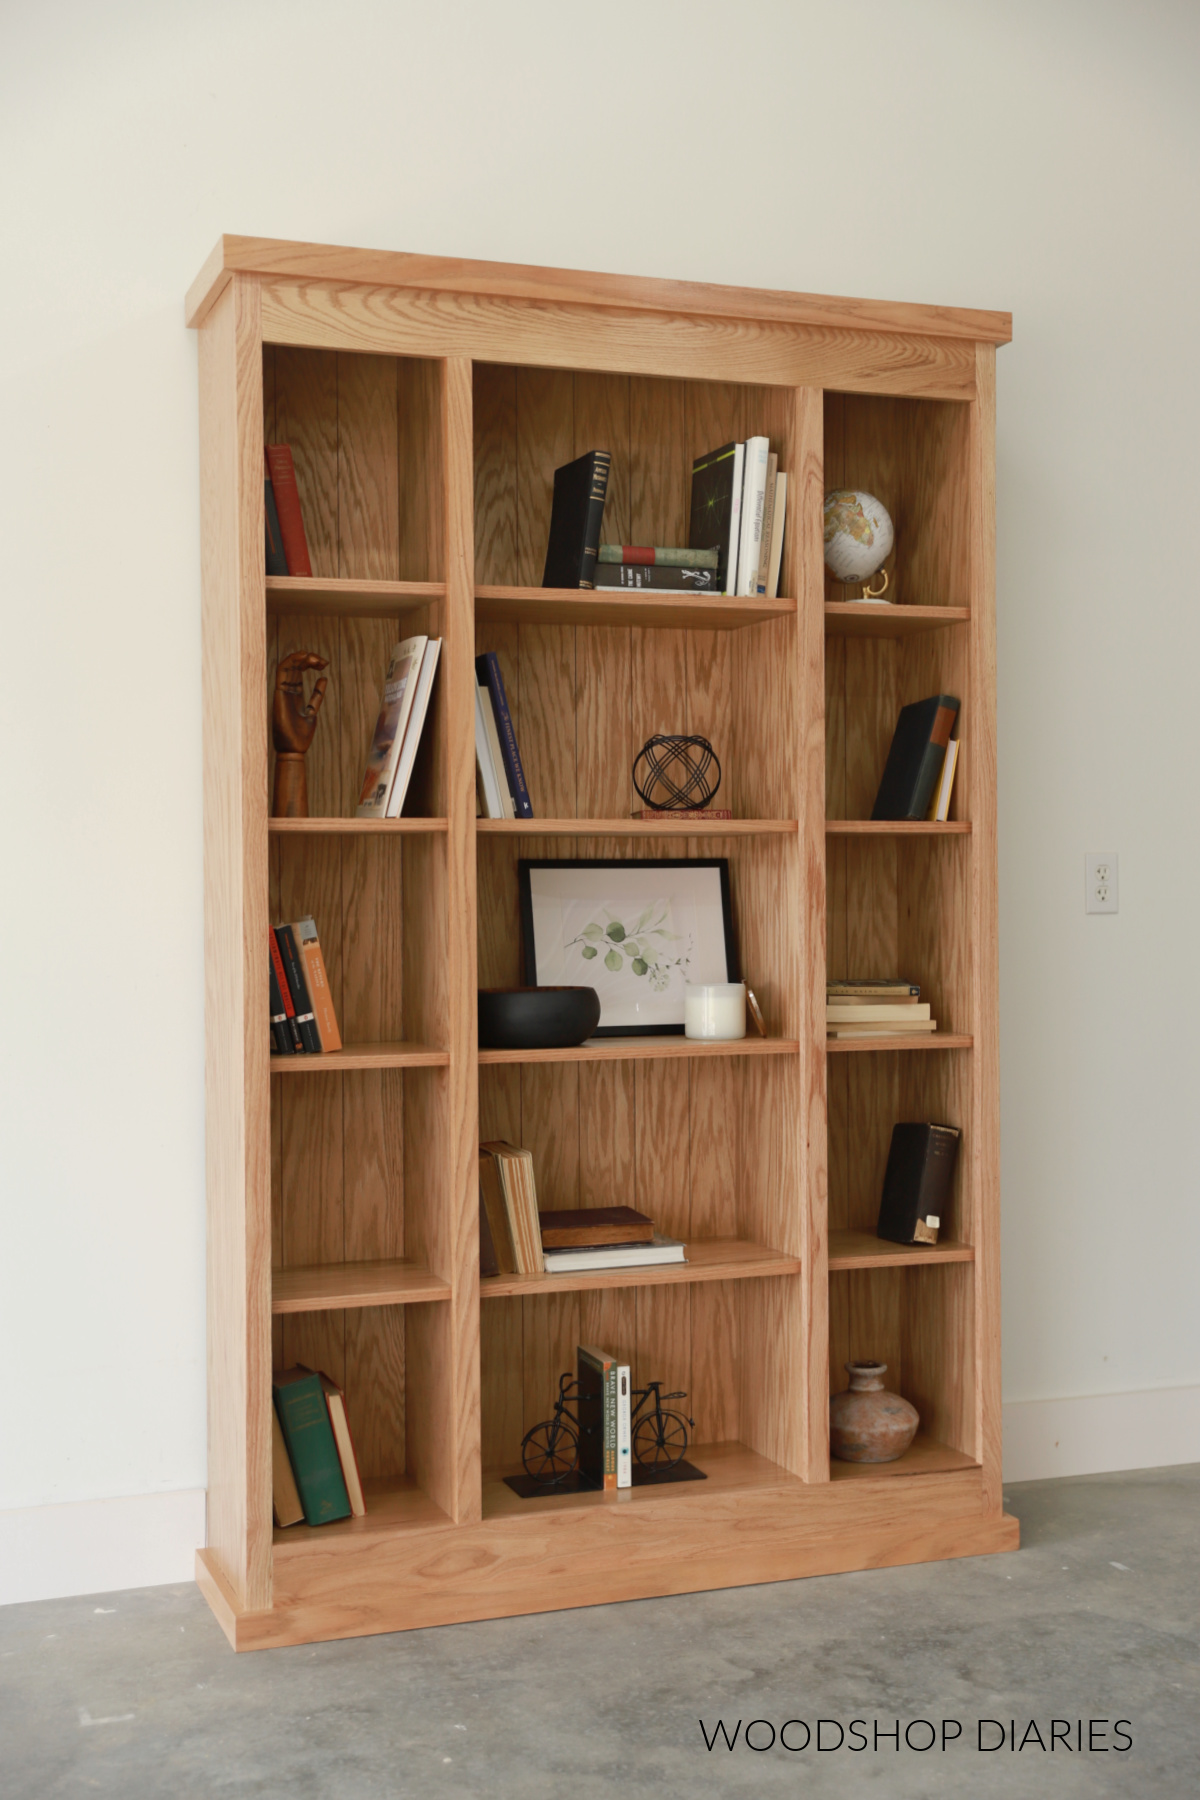
Credit: www.woodshopdiaries.com
Assembling The Bookshelf Frame
Assembling the bookshelf frame is an important step in your DIY project. A strong frame holds the shelves and books safely. Careful assembly ensures your bookshelf lasts a long time. Follow the steps carefully to build a sturdy structure.
Start by arranging all the wooden pieces on a flat surface. Check the measurements and edges before joining. This helps avoid mistakes and wasted materials. Now, get ready to connect the parts with the best joining methods.
Joining Techniques For Stability
Choose joining techniques that keep the frame tight and stable. Butt joints and lap joints are common and easy to make. Use clamps to hold pieces in place during assembly. This prevents slipping and misalignment. Reinforce corners with corner braces for extra strength. Proper joints reduce wobbling and increase shelf durability.
Using Screws, Nails, And Glue
Screws provide strong, long-lasting connections. Drill pilot holes to avoid wood splitting. Nails work well for quick assembly but are less strong. Use finishing nails for a neat look. Wood glue adds extra hold and seals joints. Apply glue evenly and wipe off excess. Combining screws or nails with glue gives the best results. Let glue dry fully before moving the frame.
Adding Shelves And Supports
Adding shelves and supports is a key step in building your own bookshelf. Proper placement ensures your books fit well. Strong supports keep the shelves steady and safe. Follow simple tips to make your bookshelf sturdy and neat.
Spacing Shelves Evenly
Measure the total height of your bookshelf frame first. Divide this height by the number of shelves you want. Leave extra space for tall books or decorations. Mark the shelf positions clearly on the sides. Use a level to keep shelves straight. Even spacing makes your bookshelf look balanced and tidy.
Reinforcing For Weight Capacity
Use strong brackets or wooden cleats under each shelf. Secure them tightly with screws to the frame. Choose thicker wood for shelves that hold heavy books. Add vertical supports in the middle for wide shelves. This stops sagging over time. Reinforcement keeps your bookshelf safe and durable.
Finishing Touches
Finishing touches bring your bookshelf to life. This step adds style and protects the wood. The right finish makes your project look complete and last longer. Choose options that suit your room and taste.
Painting And Staining Options
Painting offers many color choices. It hides wood grain and brightens the shelf. Use primer first for smooth paint. Pick water-based paint for easy cleanup.
Staining shows natural wood patterns. It adds warmth and depth. Apply stain evenly with a cloth or brush. Test stain on scrap wood to see the color.
Protective Coatings For Durability
Protective coatings keep your shelf safe from scratches and spills. Polyurethane is strong and clear. It works well for heavy use.
Wax gives a soft shine and smooth feel. It needs reapplying over time. Choose the coating based on shelf use and look.
Tips For Maintenance And Upkeep
Keeping your DIY bookshelf in good shape takes simple care. Regular maintenance helps it last longer and look great. Small efforts can prevent big problems later.
Follow easy tips to clean, dust, and fix minor damages. These steps keep your bookshelf sturdy and neat.
Cleaning And Dusting
Clean your bookshelf often to stop dust build-up. Use a soft cloth or microfiber duster to wipe shelves gently. Avoid harsh chemicals that can damage wood or paint. A damp cloth works well for sticky spots. Dry the surface after cleaning to prevent moisture damage. Dusting regularly keeps your books safe from dirt and allergens.
Fixing Minor Damages
Check your bookshelf for small scratches or dents. Use wood filler or putty to fix tiny holes or cracks. Sand the area lightly after it dries for a smooth finish. For loose screws or nails, tighten or replace them quickly. Repairing small issues early keeps your bookshelf stable. It also saves money by avoiding major repairs later.
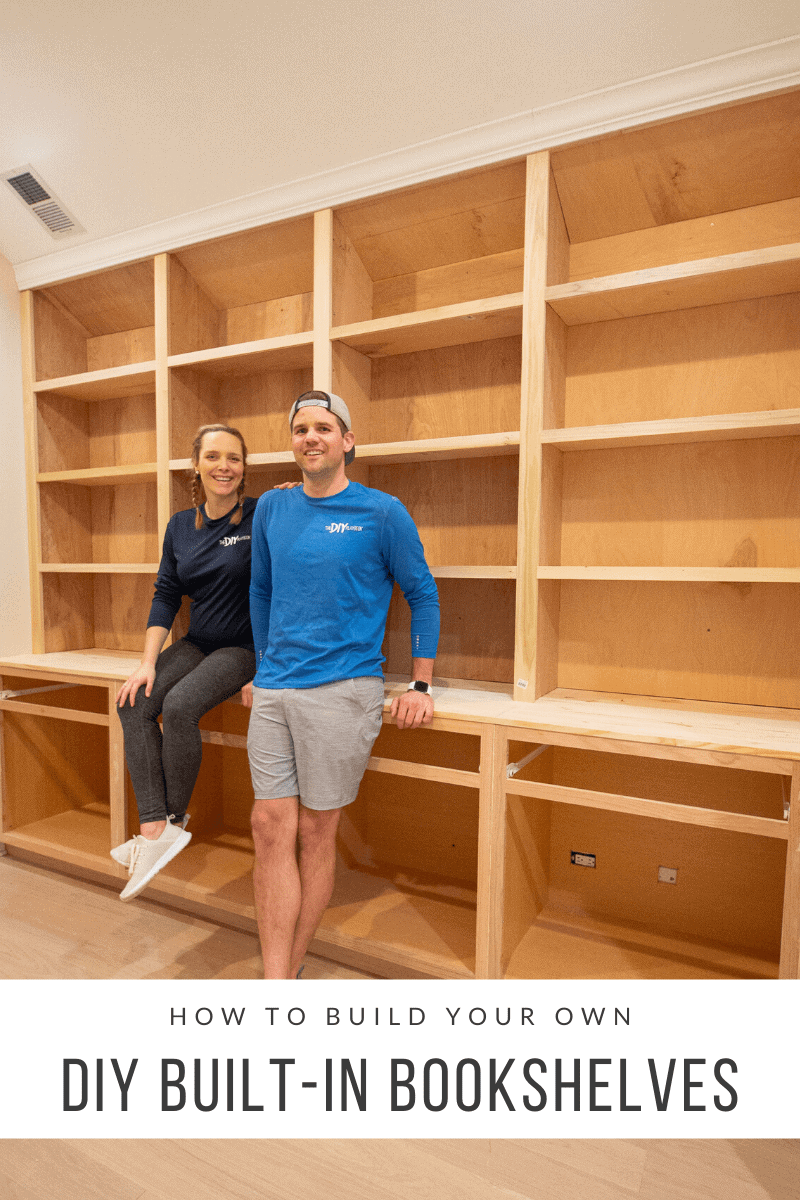
Credit: thediyplaybook.com
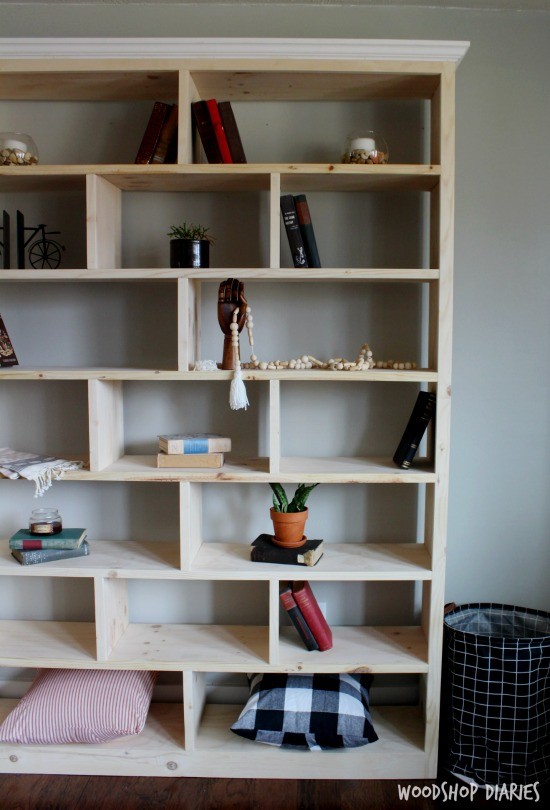
Credit: www.woodshopdiaries.com
Frequently Asked Questions
What Materials Do I Need To Build A Diy Bookshelf?
To build a DIY bookshelf, you need wood boards, screws, wood glue, sandpaper, paint or stain, and basic tools like a saw and drill. Choose sturdy wood for durability and smooth finishes to make your bookshelf long-lasting and attractive.
How Much Time Does Building A Bookshelf Take?
Building a bookshelf typically takes 4 to 6 hours, depending on your skill level and design complexity. Simple designs are quicker, while intricate shelves require more time for cutting, assembly, and finishing.
What Tools Are Essential For A Bookshelf Project?
Essential tools include a saw, drill, screwdriver, measuring tape, level, and clamps. These tools help you cut, assemble, and secure the bookshelf pieces accurately for a sturdy final product.
How Do I Ensure My Bookshelf Is Sturdy And Safe?
Use quality wood, secure all joints with screws and glue, and reinforce shelves with brackets if needed. Always check for stability and avoid overloading shelves to keep your bookshelf safe and durable.
Conclusion
Building your own bookshelf is a fun and useful project. It saves money and fits your space perfectly. You only need basic tools and some patience. Step by step, the process becomes easier to follow. Personalizing your shelf makes it special and unique.
Enjoy the pride of using something you made yourself. Start small, learn as you go, and keep improving. Your new bookshelf will hold your favorite books with style. Simple projects like this boost your confidence and skills. Try it today and see the results for yourself.