Are your VitalSource Bookshelf highlights piling up and cluttering your reading experience? You’re not alone.
When you want a fresh start or simply need to clear out old notes, knowing how to delete all highlights quickly can save you time and frustration. In this guide, you’ll discover simple, step-by-step methods to erase every highlight in your VitalSource Bookshelf, so your digital pages look clean and organized again.
Keep reading—you’re just moments away from reclaiming control over your eBooks.
Credit: support.evantage.ca
Locate Highlights In Bookshelf
Finding your highlights in Vitalsource Bookshelf is simple and fast. This step helps you manage all your notes and marks in one place. It saves time and keeps your study organized.
Use the Bookshelf tools to see all highlighted text easily. This way, you can review important parts without scrolling through the whole book.
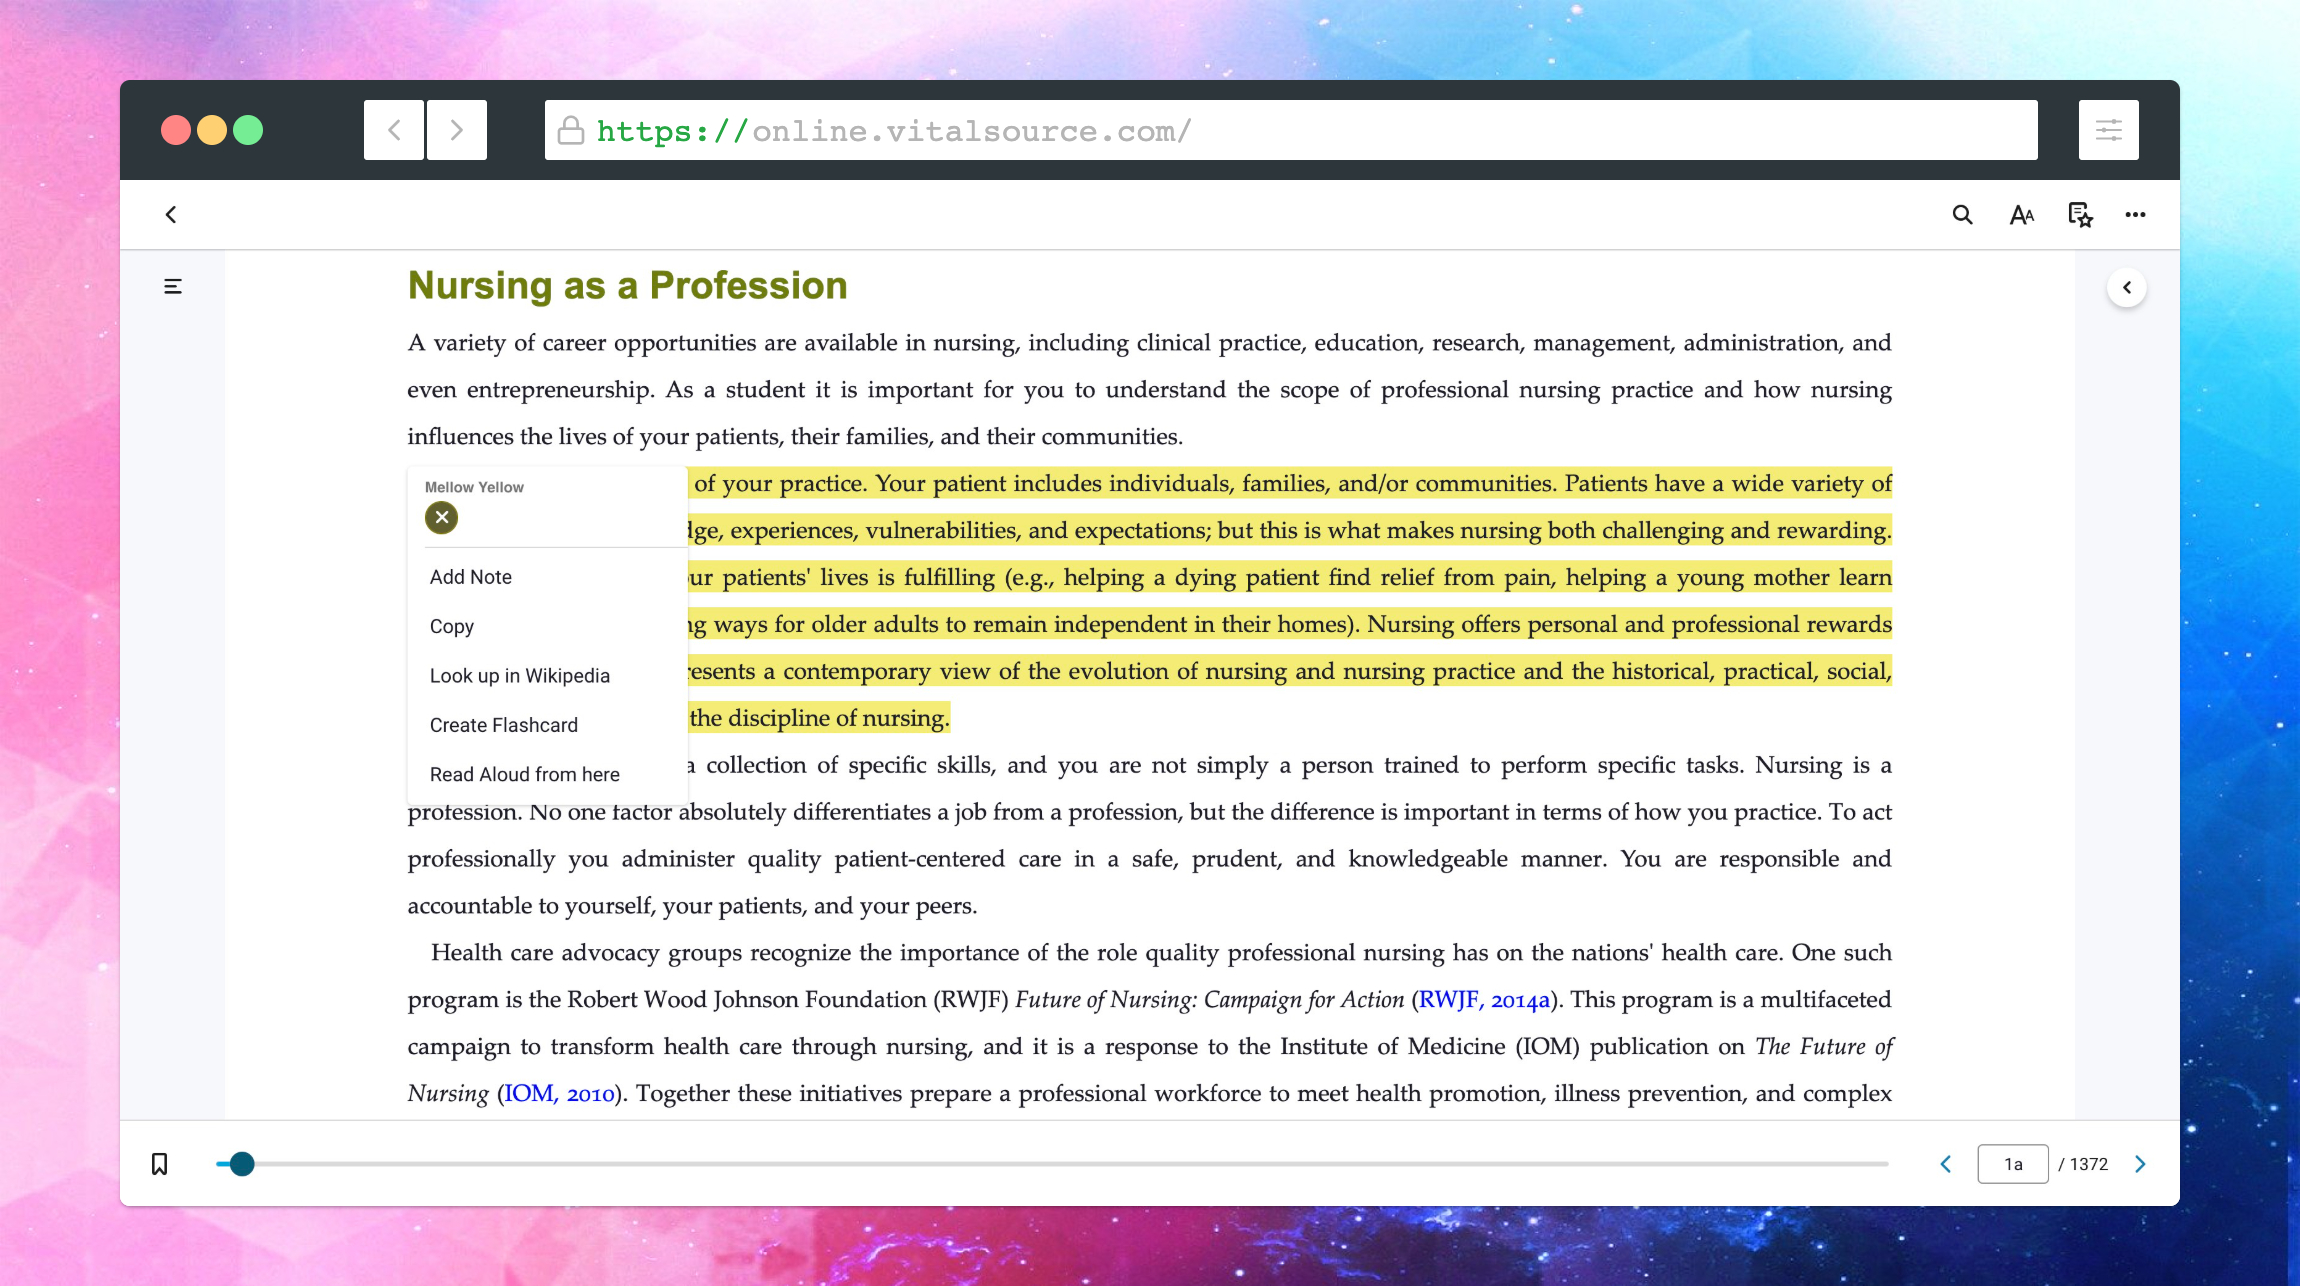
Accessing Your Notes And Highlights
Open Vitalsource Bookshelf on your device. Look for the ‘Notes & Highlights’ tab. This tab holds all your saved highlights and notes.
Click on this tab to see a list of all your highlighted sections. Each note shows the text you marked and the page number. This helps you find your marks quickly.
Navigating Through Highlighted Sections
Use the list in the ‘Notes & Highlights’ tab to jump to any highlight. Click on a note to open the exact page in the book. This saves time and effort.
You can scroll through your highlights to review important ideas. This feature makes studying easier and more effective.
Delete Highlights Individually
Deleting highlights one by one in VitalSource Bookshelf lets you control which notes to keep. This method works well if you want to remove only a few highlights without affecting others. Follow these simple steps to delete highlights individually and keep your book clean and organized.
Selecting A Highlight
Open your VitalSource Bookshelf and go to the book with highlights. Scroll to the page where the highlight appears. Click or tap on the highlighted text you want to delete. The highlight will become active and show editing options.
Using The Delete Option
After selecting the highlight, look for a small menu near it. Find the trash bin icon or the word “Delete.” Click or tap this delete option. The highlight will disappear from the page immediately. Repeat these steps for each highlight you want to remove.
Remove All Highlights At Once
Removing all highlights at once in Vitalsource Bookshelf saves time. Instead of deleting each highlight one by one, this method clears them quickly. It helps keep your reading space clean and organized.
Checking For Bulk Delete Features
First, check if Vitalsource offers a bulk delete option. Open your bookshelf and look for highlight management tools. Some versions have a feature to remove all highlights at once. This option usually appears in settings or highlight menus.
If you do not see a bulk delete button, it means the feature might not be available. You will need to delete highlights manually or use other methods.
Steps To Clear All Highlights
Start by opening the book with highlights you want to remove. Go to the highlights panel or notes section. Look for a menu or icon that manages your highlights.
Select the option to delete or clear all highlights if available. Confirm the action to remove them permanently. If no bulk option exists, delete highlights individually by clicking each one and choosing delete.
Clearing highlights helps you start fresh and reduces clutter in your digital book. Regularly managing highlights improves your reading experience.
Credit: success.vitalsource.com
Syncing Changes Across Devices
Syncing changes across devices is important for managing your highlights in VitalSource Bookshelf. When you delete highlights on one device, you want those changes to appear everywhere. This keeps your reading experience smooth and organized.
VitalSource uses cloud technology to update your notes and highlights. It helps keep your books consistent on phones, tablets, and computers. Understanding how syncing works can save time and avoid confusion.
Ensuring Highlights Are Removed Everywhere
After deleting highlights on one device, open the app on another. Wait a few moments to let it update. Your deleted highlights should no longer show.
Make sure your device is connected to the internet. Syncing cannot happen without a stable connection. If you use multiple devices, check all of them to confirm removal.
Troubleshooting Sync Issues
Sometimes syncing may not work as expected. Start by closing and reopening the app. This can force it to refresh your data.
Clear the app cache or sign out and sign back in. These steps often fix syncing problems. If issues continue, check for app updates. Updated versions usually improve syncing reliability.
Tips To Manage Highlights Efficiently
Managing highlights in VitalSource Bookshelf helps keep your notes clear and useful. Good highlight management saves time and avoids confusion. It also makes studying or reviewing easier. Use simple steps to keep your highlights organized and safe.
Deleting all highlights is easier when you first organize and back up your notes. This prevents losing important information by mistake.
Organizing Highlights For Easy Access
Group your highlights by topic or chapter. This makes finding them faster later. Use different colors for different subjects. It helps to separate ideas visually. Review and clean your highlights regularly. Remove old or unneeded notes. This keeps your library neat and useful.
Backup Options Before Deleting
Always save a copy of your highlights before deleting. Use export features to save notes as files. You can store these files on your computer or cloud. This way, you keep a record of your work. If needed, you can restore highlights easily. Backups protect your study material from accidental loss.

Credit: www.youtube.com
Frequently Asked Questions
How Do I Delete All Highlights In Vitalsource Bookshelf?
To delete all highlights, open the book in VitalSource Bookshelf. Access the notes or highlights panel. Use the “Delete All” option to remove every highlight instantly.
Can I Recover Deleted Highlights In Vitalsource?
No, once highlights are deleted in VitalSource Bookshelf, they cannot be recovered. Always back up important notes before deleting.
Is There A Shortcut To Remove All Highlights?
VitalSource Bookshelf does not offer a keyboard shortcut for deleting all highlights. You must use the menu option manually.
Will Deleting Highlights Affect My Notes Or Bookmarks?
Deleting highlights only removes the colored marks. Your notes and bookmarks will remain intact and accessible.
Conclusion
Deleting all highlights in Vitalsource Bookshelf is simple and quick. Just follow the steps carefully to remove marks from your books. This keeps your reading space clean and helps focus better. Regularly clearing highlights also makes it easier to find new notes.
Try these tips next time you want a fresh start. Enjoy a neat and organized digital library every time you read.