Are you looking for a smart way to divide your space without losing style? A bookshelf to separate rooms is the perfect solution.
It not only creates a clear boundary but also adds storage and a decorative touch. Imagine having your favorite books and décor on display while keeping your rooms organized and cozy. In this guide, you’ll learn simple steps to build your own room-dividing bookshelf that fits your space and style.
Ready to transform your home with a creative and practical project? Let’s get started!
Choosing The Right Bookshelf Style
Choosing the right materials and tools is the first step to build a sturdy bookshelf that divides your room. The material affects the look, strength, and price. Tools make the work easier and safer. Safety gear protects you during the project. Focus on these key areas to prepare well.
Wood Types And Finishes
Wood choice shapes the bookshelf’s style and durability. Pine is affordable and easy to work with. Oak offers strength and a classic look. Plywood is budget-friendly and good for shelves. Select a finish that matches your room. Paint adds color and protection. Stain highlights the wood grain. Choose based on your room’s style and your skill level.
Essential Tools For Diy
Basic tools help you cut, join, and finish the bookshelf. A saw is needed to cut wood to size. A drill makes holes and drives screws. Sandpaper smooths rough edges. A level ensures shelves are even. Clamps hold pieces together while drying. A measuring tape gives precise measurements. These tools simplify the building process.
Safety Gear And Tips
Protect yourself during the project. Wear safety glasses to shield your eyes. Use gloves to avoid splinters. A dust mask stops inhaling sawdust. Work in a well-ventilated area. Keep your workspace clean and organized. Follow tool instructions carefully to prevent accidents. Safety is key to a successful build.
Credit: www.sierralivingconcepts.com
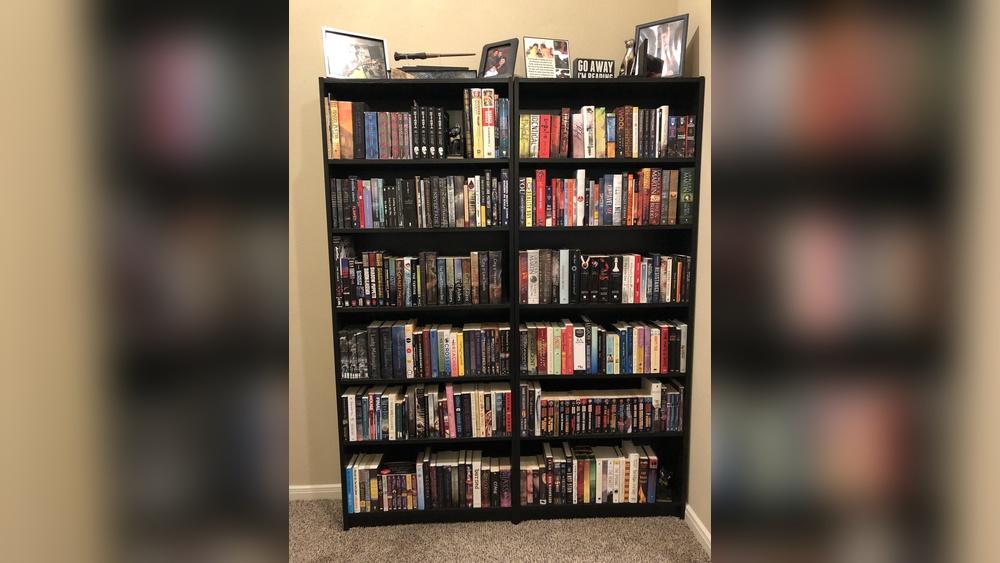
Selecting Materials And Tools
Building a bookshelf to separate rooms is a practical and creative project. It adds storage and divides space without a wall. The process is simple and fun. Follow these steps to build your own room divider bookshelf.
Cutting And Preparing Materials
Start by measuring your space carefully. Choose wood boards for the frame and shelves. Use a saw to cut each piece to the right size. Sand the edges to remove splinters. Make sure all pieces fit well before moving on.
Assembling The Frame
Lay out the frame pieces on a flat surface. Use screws and a drill to join the sides and top. Keep the frame square by checking corners with a carpenter’s square. Tighten all joints for strong support. The frame must be stable to hold shelves.
Installing Shelves
Decide how many shelves you want and their height. Mark shelf positions on the frame. Attach shelf supports at each mark using screws. Place the shelves on the supports. Secure shelves with screws to prevent movement. Check the level of each shelf carefully.
Sanding And Finishing Touches
Sand the entire bookshelf for a smooth surface. Remove dust with a clean cloth. Apply paint or wood stain to protect the wood. Let it dry fully before use. Add felt pads under the bookshelf to protect floors. Your room divider bookshelf is ready to use.
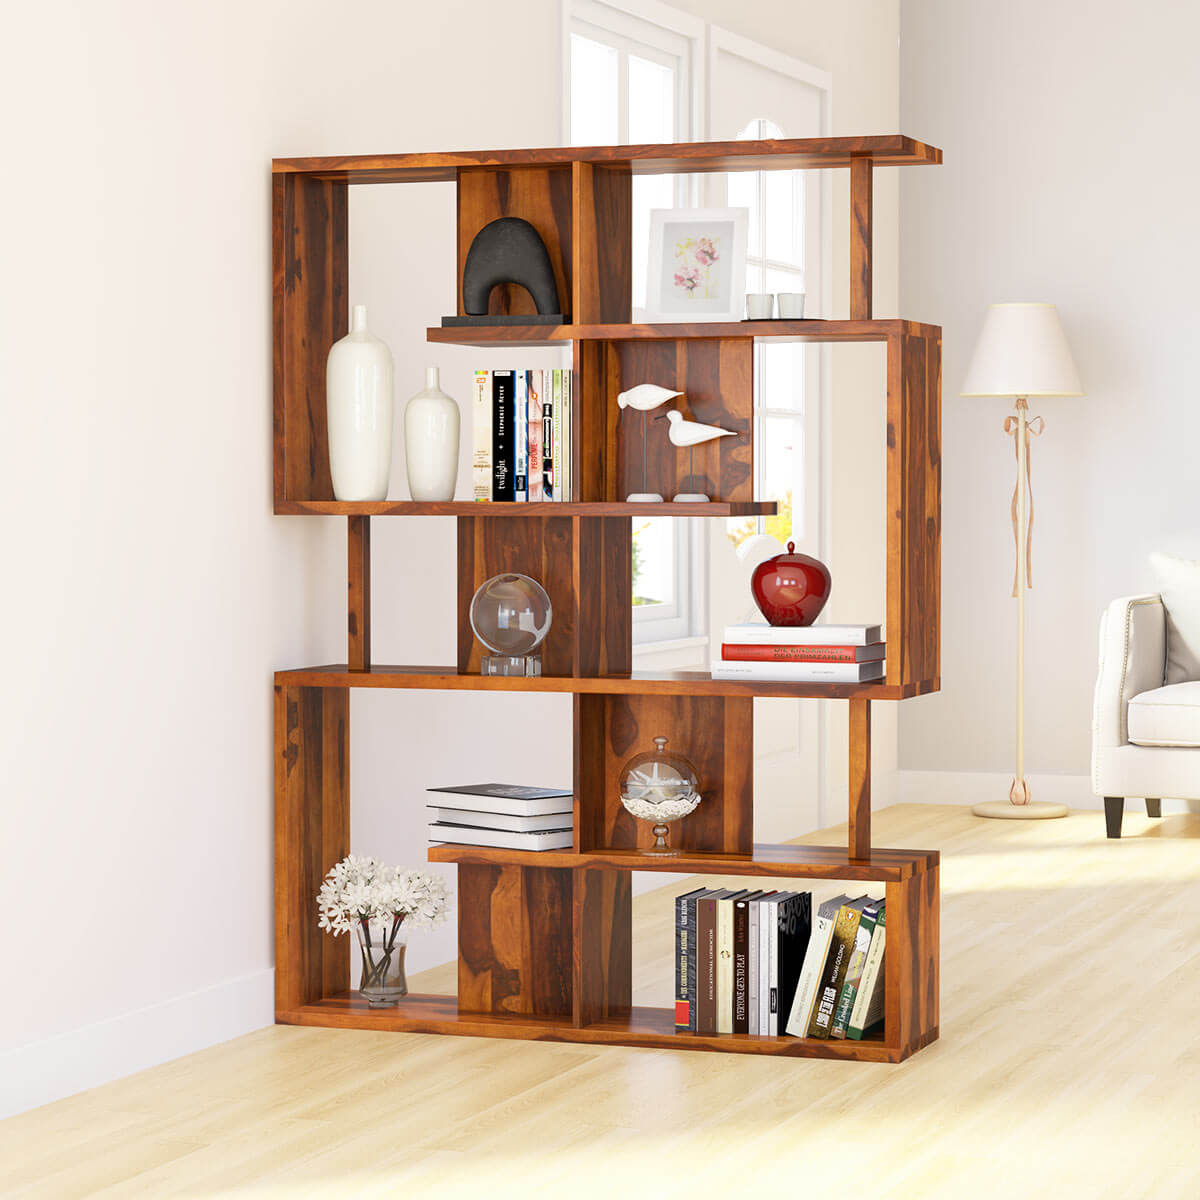
Measuring And Planning Your Space
Using a bookshelf to divide rooms creates a practical and stylish space. It defines areas without building walls. This method keeps the space open and flexible. Positioning the bookshelf carefully makes a big difference in how the room feels and works.
Anchoring And Stability
Secure the bookshelf to avoid tipping risks. Use brackets or wall anchors for safety. Place heavy items on lower shelves for balance. Check the floor surface before positioning. A stable divider prevents accidents and damage.
Maximizing Privacy And Light
Choose shelf height based on privacy needs. Taller shelves block sight lines better. Open shelves let light flow through the room. Use a mix of open and closed storage. This balances privacy and natural brightness.
Decorating The Divider
Add plants or small art pieces on shelves. Use baskets or boxes to hide clutter. Colorful books create visual interest and warmth. Keep decorations simple to avoid crowding. A well-decorated divider enhances both rooms’ style.
Credit: www.organizeit.blog
Step-by-step Building Process
Creating a bookshelf to divide rooms can be simple and fun. There are many ways to build one without buying expensive materials. These alternative DIY bookshelf ideas use common items and add style to your space. They save money and bring a unique touch to any room.
Using Crates And Pallets
Wooden crates and pallets work well for making shelves. Stack crates side by side or on top of each other. Secure them with nails or screws for stability. Sand and paint crates to match your decor. Pallets can be cut and arranged to form shelves. These materials are cheap and easy to find.
Repurposing Old Furniture
Old furniture pieces can turn into bookshelves. Use an unused dresser or cabinet by removing some drawers. Place shelves inside the open space for books. A sturdy ladder also works as a creative shelf. Paint or stain old furniture to fit your room style. This method gives new life to worn items.
Incorporating Plants And Lighting
Add plants and lights to your bookshelf for a fresh look. Small pots on shelves bring color and life. Use string lights or LED strips to brighten dark corners. Lighting highlights books and decor items well. Combining nature and light creates a cozy room divider.
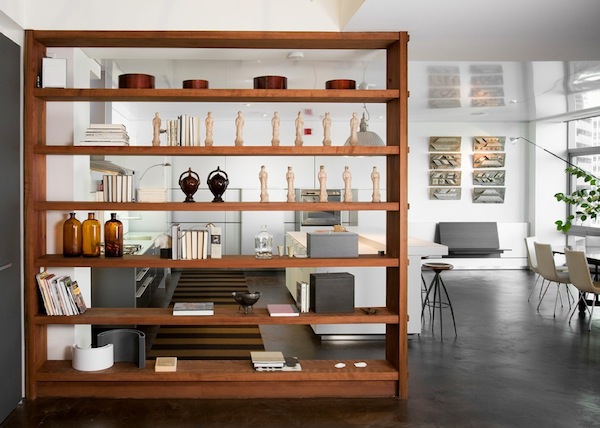
Positioning The Bookshelf As A Room Divider
Maintaining and updating your bookshelf keeps it looking fresh and functional. Regular care helps the shelf last longer. Small updates can change its style and fit your changing needs. This section covers easy ways to clean, refresh, and adjust your bookshelf.
Regular Cleaning Tips
Dust the shelves often with a soft cloth. Use a vacuum with a brush attachment for tight spots. Avoid wet cloths on wood to prevent damage. Clean spills quickly to stop stains. Keep the shelf free from dirt to protect the finish.
Refreshing Paint And Finishes
Paint fades and scratches over time. Sand the surface lightly before repainting. Choose paint that matches your room’s style. Use a clear sealant to protect the new finish. A fresh coat can make the shelf look new again.
Adjusting Shelves For New Needs
Books and items change size over time. Move shelves up or down to fit new things. Remove or add shelves to create more space. Use adjustable brackets for easy changes. Customizing shelf height keeps your storage neat and useful.

Credit: andorwillow.com
Frequently Asked Questions
How Do I Build A Sturdy Bookshelf Room Divider?
To build a sturdy bookshelf room divider, use quality wood and strong screws. Secure shelves evenly and add a back panel for stability. Anchor the bookshelf to the floor or wall to prevent tipping, ensuring safety and durability.
What Materials Are Best For A Bookshelf Room Divider?
Wood, MDF, or plywood are best materials for bookshelf room dividers. Choose durable, lightweight materials for easy assembly and movement. Finish with paint or stain to match your room decor and protect the surface.
Can A Bookshelf Effectively Separate Small Rooms?
Yes, a bookshelf can effectively separate small rooms. It creates distinct zones while providing storage and display space. Choose open or closed shelves to control light flow and maintain an open feel in tight areas.
How Much Space Is Needed For A Bookshelf Divider?
A bookshelf divider typically needs at least 6-12 inches depth. This allows enough room for books and decorative items. Measure your space to ensure the divider fits without overcrowding the room.
Conclusion
Creating a bookshelf to separate rooms adds style and function to your space. It helps organize your books and display items beautifully. You can customize the size and design to fit your room perfectly. This project saves money compared to buying room dividers.
Plus, it makes your home feel cozier and more open at the same time. Start with simple steps and enjoy building something useful. A bookshelf room divider is a smart way to refresh your living area. Give it a try and see the difference it makes!