Are you ready to create a bookshelf that fits your space perfectly and shows off your style? Making a custom bookshelf kit lets you do just that—without the hassle of complex carpentry.
Imagine having a sturdy, beautiful shelf that holds your favorite books and decor exactly how you want it. In this guide, you’ll discover simple steps to build your own custom bookshelf kit, saving money and adding a personal touch to your home.
Keep reading, and you’ll be surprised at how easy and rewarding this project can be. Your ideal bookshelf is just a few steps away!
Choosing The Right Materials
Choosing the right materials is key to building a strong, beautiful bookshelf. The materials affect the shelf’s look, strength, and cost. Careful selection makes your project easier and more satisfying. This section explains the best wood types and hardware choices for custom bookshelf kits.
Types Of Wood For Bookshelves
Wood type affects the bookshelf’s durability and style. Softwoods like pine are cheap and easy to work with. They suit light loads and simple designs. Hardwoods like oak and maple are strong and last longer. They handle heavy books without bending.
Engineered woods like plywood and MDF are budget-friendly options. Plywood resists warping better than MDF. MDF has a smooth surface good for painting. Choose wood based on your budget and shelf use.
Selecting Hardware And Accessories
Hardware holds the shelf parts together and adds style. Use screws and brackets that match the wood type. Metal brackets give extra support for heavy books. Choose finishes like brass or black for a clean look.
Don’t forget shelf pins or clips to hold shelves in place. Adjustable pins offer flexibility for different shelf heights. Add wall anchors to secure the bookshelf safely. Good hardware keeps your bookshelf stable and lasting.

Credit: www.youtube.com
Planning Your Bookshelf Design
Planning your bookshelf design is the first step to creating a custom bookshelf kit that fits perfectly. Careful planning saves time and avoids mistakes. It helps you build a sturdy and attractive bookshelf that meets your needs.
Measuring Your Space
Start by measuring the space where you want the bookshelf. Use a tape measure to get the height, width, and depth. Measure twice to be sure. Note any obstacles like vents, doors, or windows. This helps you avoid building a shelf that does not fit.
Deciding On Shelf Dimensions
Think about what you will put on the shelves. Books need deeper shelves than small decorations. Standard shelves are usually 10 to 12 inches deep. Choose the height between shelves based on your items. Keep some extra space for easy access and air circulation.
Sketching Your Layout
Draw a simple sketch of your bookshelf design. Include the overall size and shelf spacing. Use graph paper or a drawing app for accuracy. A clear layout helps you see the final look. It also guides you during the building process.
Preparing Your Workspace
Preparing your workspace is a key step before building a custom bookshelf kit. A clean and organized area helps you work faster and safer. It also makes the project more enjoyable. Take time to set up everything properly.
Clear enough space to move around freely. Make sure there is good lighting so you can see details clearly. A well-prepared workspace reduces mistakes and speeds up the process.
Gathering Tools
Collect all tools needed before starting your project. Common tools include a screwdriver, hammer, measuring tape, and level. Keep your tools within reach to avoid wasting time searching.
Check if your kit requires any special tools. Having all tools ready prevents delays and frustration. Organize tools in a container or toolbox for easy access.
Setting Up Safety Measures
Safety must be a priority in your workspace. Wear safety glasses to protect your eyes from dust and wood chips. Gloves protect your hands from splinters and cuts.
Keep your work area free of clutter to avoid trips and falls. Ensure good ventilation if you use glue or paint. Always follow safety instructions for each tool you use.
Cutting And Assembling Components
Cutting and assembling components is a key step in building custom bookshelf kits. This process shapes the wood and fits pieces together. Accuracy here ensures a strong and neat bookshelf. Taking your time makes the project easier and more rewarding.
Cutting Wood Pieces Accurately
Start by measuring each piece carefully. Use a tape measure and mark the wood with a pencil. Cut along the lines using a saw suited for your wood type. Keep the saw steady and follow the marks closely. Accurate cuts help the pieces fit perfectly. Check each cut piece against your plans before moving on.
Joining Shelves And Supports
Align the shelves with the supports correctly. Use wood glue on the edges for a tight bond. Secure the pieces with screws or nails for extra strength. Drill pilot holes first to avoid splitting the wood. Make sure everything is square and level before the glue dries. Press the parts together firmly and wipe off extra glue. Proper joining keeps the bookshelf sturdy and neat.
Finishing Touches
Installing your custom bookshelf kit is the final step to creating a functional and attractive space. Proper installation ensures your bookshelf stays secure and lasts a long time. Take your time during this process. Correct installation keeps your books and decor safe.
Anchoring To Walls Safely
Secure your bookshelf to the wall to prevent tipping. Use wall anchors or studs for strong support. Find studs using a stud finder or tap the wall to listen for solid spots. Attach brackets or straps firmly into the studs. Avoid just using drywall screws; they may not hold well. Double-check all screws and anchors before placing items on shelves. Safety comes first, especially if you have kids or pets at home.
Organizing Books And Decor
Arrange books by size or category for easy access. Mix vertical and horizontal stacks to add visual interest. Place heavier books on lower shelves to keep the shelf stable. Add decor items like plants, photos, or small art pieces to break up the rows of books. Leave some empty space to avoid a cluttered look. Change your arrangement occasionally to refresh the room’s feel.

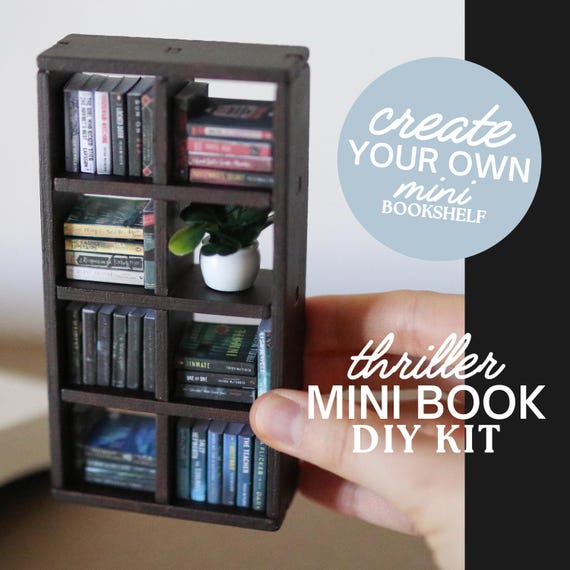
Credit: www.amazon.com
Installing Your Bookshelf
Maintaining your custom bookshelf kit is key to keeping it strong and looking good for years. Simple care steps can stop damage and wear. A well-cared-for shelf holds your books safely and stays beautiful.
Regular Cleaning
Dust your bookshelf often. Use a soft cloth or duster to remove dirt. Avoid wet cloths that can damage the wood. Clean spills right away to stop stains. Regular cleaning keeps the surface smooth and fresh.
Protecting Against Wear And Tear
Place your bookshelf away from direct sunlight to avoid fading. Use coasters or mats under items to prevent scratches. Avoid overloading shelves to stop bending or breaking. Tighten screws and joints regularly to keep the structure solid.
Credit: www.etsy.com
Frequently Asked Questions
What Tools Do I Need For Custom Bookshelf Kits?
You need a drill, screwdriver, measuring tape, level, and hammer. These tools help assemble the kit accurately and efficiently.
How Long Does It Take To Build A Custom Bookshelf Kit?
Most kits take 2 to 4 hours to assemble. Time varies based on complexity and your experience with DIY projects.
Can I Customize The Size Of Bookshelf Kits?
Yes, many kits allow size adjustments. You can modify height, width, or shelf spacing to fit your space perfectly.
Are Custom Bookshelf Kits Durable And Sturdy?
Quality kits use solid wood or metal. Proper assembly ensures durability and sturdiness for holding books and decor safely.
Conclusion
Making a custom bookshelf kit can be fun and useful. You get to choose the size, shape, and color. It fits perfectly in your space and holds your favorite books. Simple tools and clear steps make the project easy. Take your time and enjoy building something unique.
A custom bookshelf adds charm and order to any room. Start with a plan, follow instructions, and see your idea come to life. This project lets creativity and function work together well.