Are you tired of searching for the perfect bookshelf that fits your style and space? Imagine building your own wooden bookshelf, exactly the way you want it.
It’s easier than you think, and you don’t need to be a woodworking expert. In this guide, you’ll learn simple steps to create a sturdy, beautiful bookshelf that will organize your books and add charm to your room. Ready to turn your ideas into a real, hands-on project?
Let’s get started and make your dream bookshelf a reality!
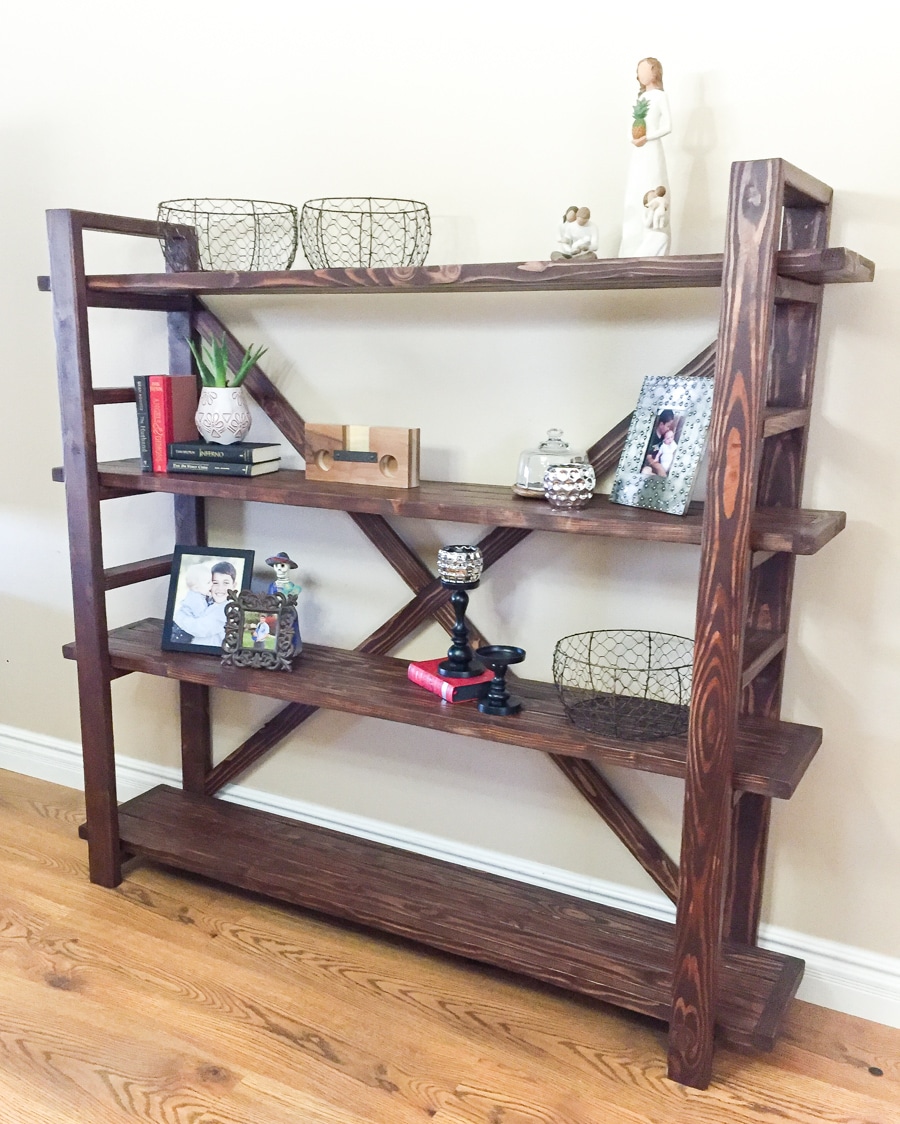
Credit: jenwoodhouse.com
Materials And Tools Needed
Building a wooden bookshelf is a fun and rewarding project. To get started, gather the right materials and tools. This step ensures your bookshelf is strong and looks great. Use quality wood and proper equipment for the best results.
Wood Selection Tips
Choose wood that fits your budget and style. Pine is affordable and easy to work with. Oak and maple offer more durability and a polished look. Check for straight boards without many knots. Avoid wood with cracks or warping. Smooth wood helps your bookshelf last longer.
Essential Tools List
Prepare these tools before you start building. A saw is needed to cut the wood to size. Use a drill to make holes for screws. Sandpaper or a sander smooths rough edges. A tape measure helps with accurate cuts. Screwdrivers or a power driver join the pieces. Clamps hold wood in place while you work.
Safety Gear
Protect yourself during the project. Wear safety goggles to shield your eyes. Use gloves to protect your hands. A dust mask keeps you safe from wood dust. Hearing protection is important when using loud tools. Always work in a well-ventilated area.
Planning Your Bookshelf
Planning your wooden bookshelf is the first step to a successful DIY project. It helps save time, money, and effort. Careful planning ensures the bookshelf fits your space and meets your needs.
Think about what you want before buying materials or cutting wood. Consider size, style, and how you will build it. A clear plan guides you through the project smoothly.
Choosing The Right Size
Measure the wall or space where the bookshelf will go. Note height, width, and depth to avoid mistakes. Think about the types of books or items you will store. Bigger books need taller shelves. Leave some extra space for growth or decoration.
Design And Style Ideas
Decide on the look that fits your room. Simple designs suit modern spaces. Classic styles add charm to traditional rooms. Choose open shelves for easy access or closed ones to hide clutter. Think about colors and wood types that match your decor.
Creating A Simple Blueprint
Draw a basic sketch of your bookshelf on paper. Include all measurements and shelf placements. Mark where screws and supports will go. A clear blueprint helps avoid errors and guides your cutting and assembly. Keep the drawing easy to follow and update it if needed.
Preparing The Wood
Preparing the wood is an important step in making a wooden bookshelf. It ensures the wood fits well and looks great. Taking time here makes building easier and the final shelf stronger. Start with clean, dry wood. Check for any knots or cracks that may weaken the shelves.
Measuring And Marking
Measure the wood pieces carefully. Use a tape measure and pencil for clear marks. Mark the length and width needed for each shelf and side panel. Double-check your measurements before cutting. Precise marks help avoid mistakes and save wood. Draw straight lines using a ruler or square tool.
Cutting Techniques
Cut the wood along your marked lines. Use a handsaw or power saw for clean cuts. Keep your hands steady and follow the lines closely. Cut slowly to avoid splintering the edges. Always wear safety glasses to protect your eyes. Smooth, straight cuts make assembly easier and the shelf stronger.
Sanding For Smooth Surfaces
Sand all cut edges and surfaces with sandpaper. Start with medium-grit sandpaper to remove rough spots. Then use fine-grit sandpaper for a smooth finish. Sand in the direction of the wood grain. This prevents scratches and prepares the wood for paint or stain. Smooth wood feels better to touch and looks more polished.
Assembling The Frame
Assembling the frame is an important step in building your wooden bookshelf. It creates the basic shape and support. A strong frame holds the shelves safely and keeps the bookshelf steady. Take your time and follow the steps carefully for the best results.
Joining The Pieces
Start by arranging the wood pieces in the right order. Make sure the corners fit tightly together. Use wood glue on the edges to add extra strength. Hold the pieces in place with clamps while the glue dries. This helps the frame stay solid during assembly.
Using Screws And Nails
Next, secure the joints with screws or nails. Screws give a stronger hold and are easier to remove later. Drill small pilot holes to prevent the wood from splitting. Drive the screws in gently but firmly. Nails work too but may not hold as well over time.
Ensuring Stability
Check the frame for any wobbling or gaps. Use a level to make sure all sides are even. Add corner brackets or braces if needed for more support. Tighten all screws and nails once the frame is steady. A solid frame is the base for a safe bookshelf.
Adding Shelves
Adding shelves to your wooden bookshelf is a key step. It creates space for your books and decorations. Careful planning and precise work help the shelves fit well and hold weight safely.
Marking Shelf Positions
Start by deciding how many shelves you need. Use a tape measure to find the right height for each shelf. Mark spots on the side panels with a pencil. Double-check these marks to keep shelves level. Even spacing looks neat and helps hold books evenly. Use a level tool to confirm marks are straight.
Securing Shelves Properly
Choose strong screws or brackets to hold shelves firmly. Drill pilot holes before screwing to avoid wood splitting. Attach brackets to the side panels at your marks. Place the shelf boards on brackets and secure with screws. Check each shelf for stability before moving on. Proper securing stops shelves from wobbling or falling.
Finishing Touches
Finishing touches bring your DIY wooden bookshelf to life. They protect the wood and add style. A smooth, well-finished surface feels great to touch and looks neat. These final steps make your bookshelf last longer and fit your room’s style.
Applying Paint Or Stain
Choose paint or stain based on the look you want. Paint covers the wood fully, hiding grain and color. Stain shows the wood’s natural patterns and adds color. Use a brush or cloth to apply evenly. Let each coat dry before adding another. Light sanding between coats helps achieve a smooth finish.
Sealing The Wood
Sealing protects the wood from water and damage. Use clear sealers like polyurethane or varnish. Apply thin coats with a clean brush. Let the sealer dry completely before using your shelf. Sealing keeps the wood strong and easy to clean. It also prevents scratches and stains.
Adding Decorative Elements
Decorative touches make your bookshelf unique. Add trim or molding for a polished look. Use stencils or decals to create patterns. Attach decorative knobs or handles for style and function. Small plants or books also enhance the shelf’s charm. Keep decorations simple to maintain balance and beauty.
Maintenance Tips
Keeping your DIY wooden bookshelf in good shape is easy with simple care steps. Regular maintenance extends its life and keeps it looking nice. Small actions prevent big damage later.
Follow these tips to clean and fix your bookshelf quickly. They help keep the wood strong and smooth.
Cleaning Advice
Dust the shelves often to avoid dirt build-up. Use a soft, dry cloth for gentle cleaning. Avoid wet cloths that can damage the wood. A microfiber cloth works best to catch dust.
For sticky spots, use a damp cloth with mild soap. Wipe gently and dry immediately. Avoid harsh chemicals that can strip the finish. Clean spills right away to prevent stains.
Repairing Minor Damages
Small scratches can be hidden with wood markers or crayons. Choose a color close to your wood tone. Rub gently to fill the scratch and blend it in.
Loose screws or nails should be tightened or replaced. Check the joints often for any wobbling. Use wood glue for small cracks or splits. Clamp the area until the glue dries.
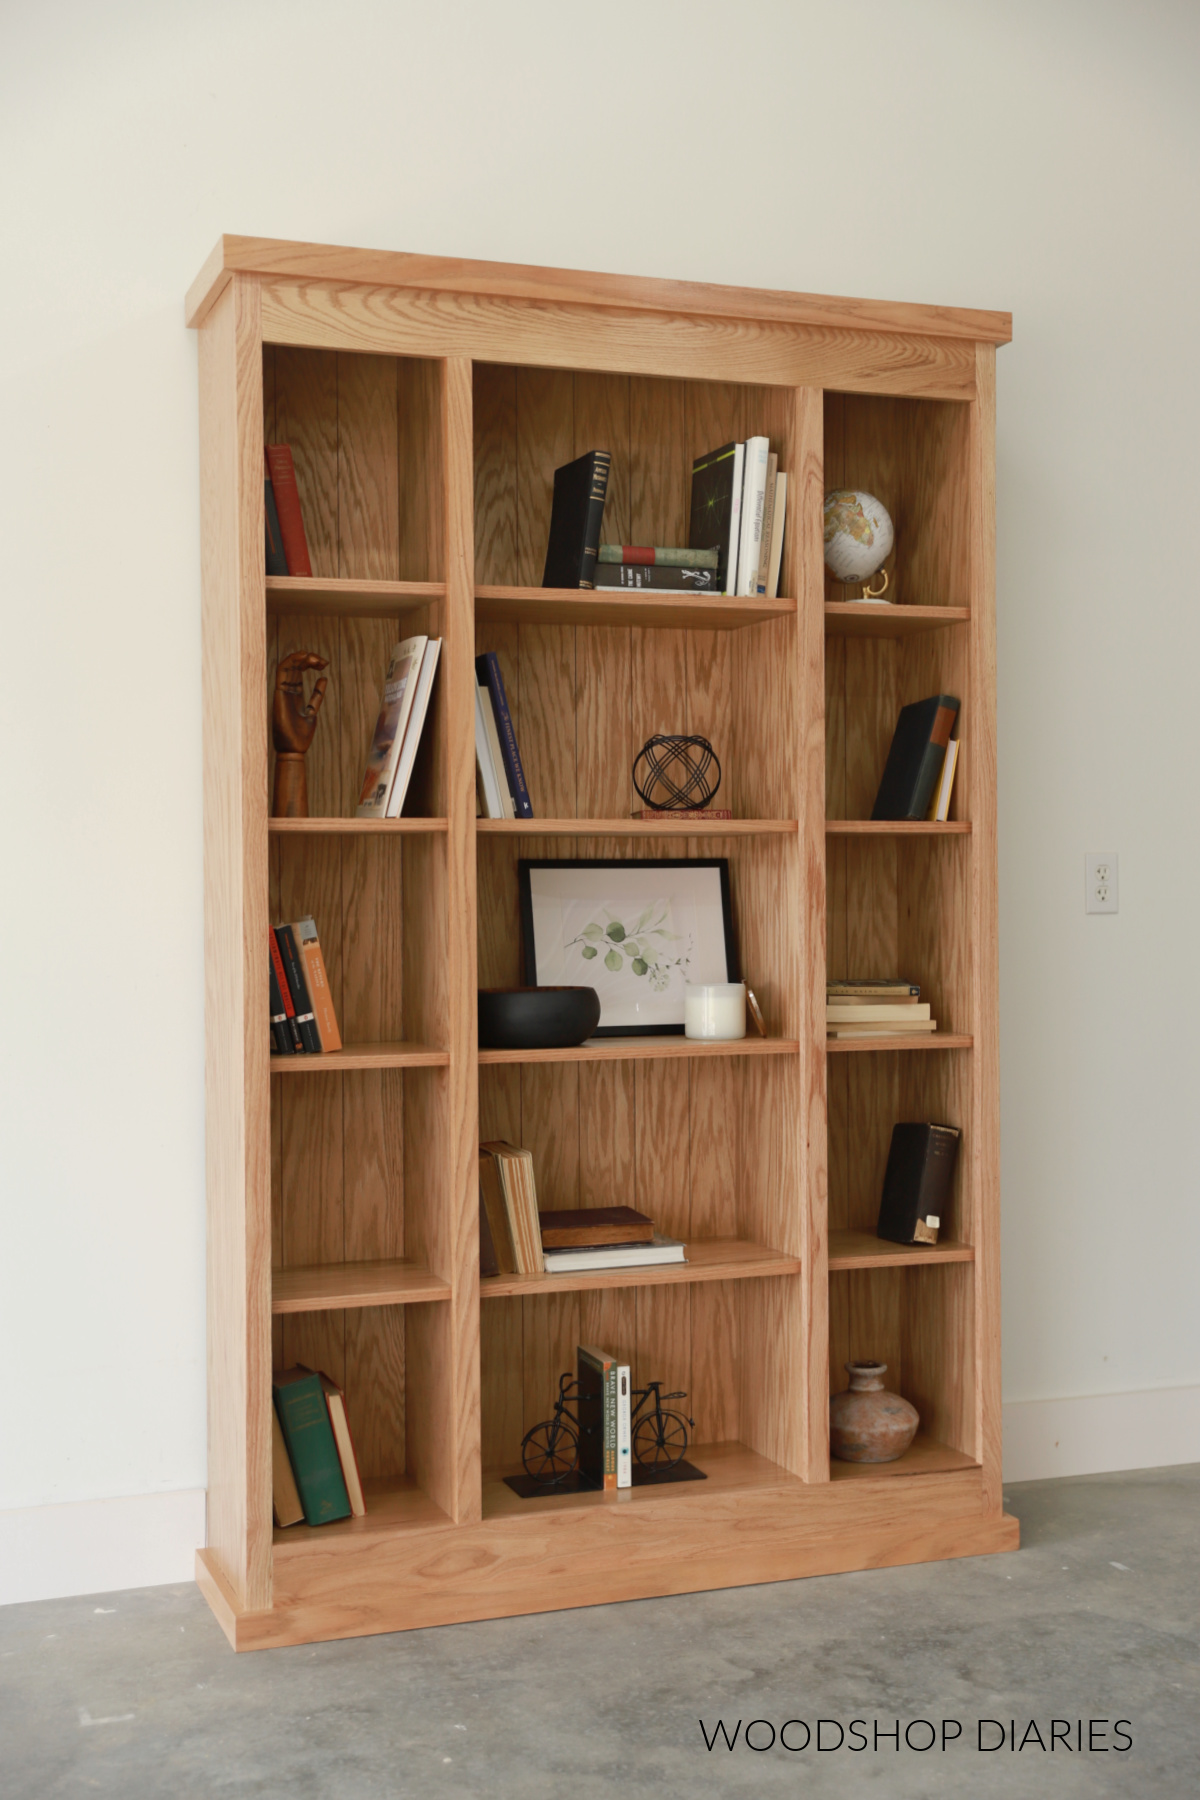
Credit: www.woodshopdiaries.com
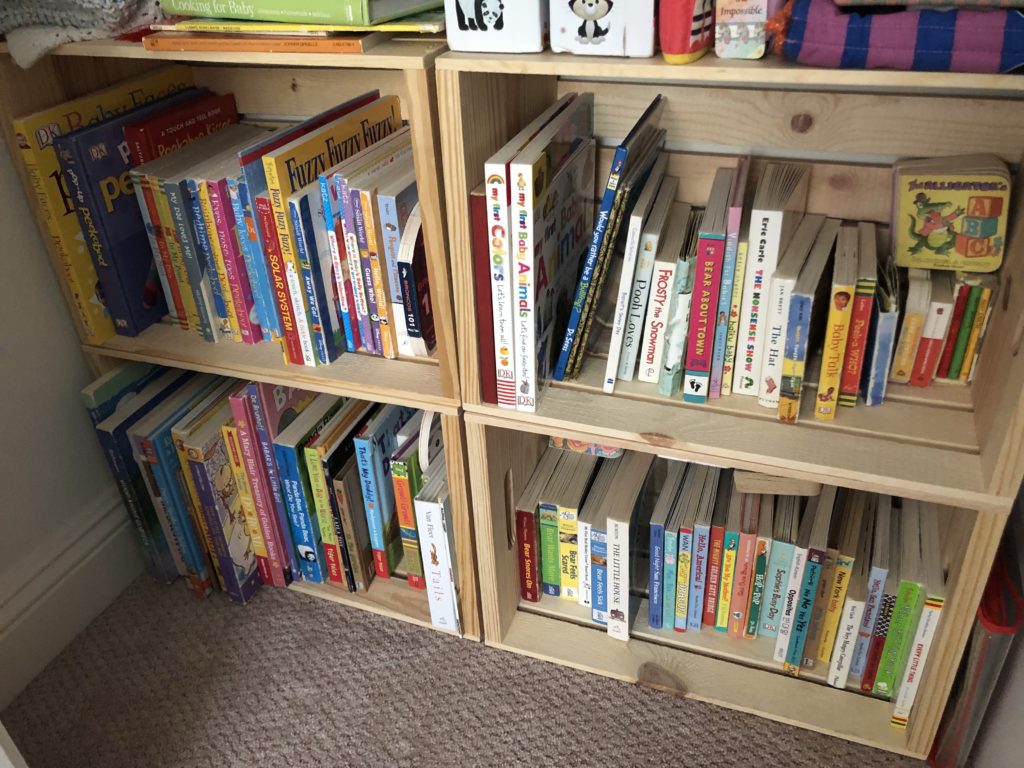
Credit: ecofriendlymama.com
Frequently Asked Questions
What Materials Do I Need To Build A Wooden Bookshelf?
You need wood boards, screws, wood glue, sandpaper, paint or stain, a drill, and measuring tools. Choose sturdy wood like pine or oak for durability. Proper materials ensure a stable and attractive bookshelf.
How Long Does It Take To Make A Diy Bookshelf?
Building a simple wooden bookshelf typically takes 3 to 6 hours. Time varies based on design complexity and your skill level. Preparing materials and finishing the surface may add extra time.
Can I Customize The Bookshelf Size And Design?
Yes, you can customize both size and design to fit your space. Adjust shelf height, width, and depth according to your needs. Custom designs add personal style and functionality.
What Safety Tips Should I Follow While Building?
Always wear safety goggles and gloves when cutting or drilling wood. Work in a well-ventilated area and keep your workspace clean. Follow tool instructions carefully to prevent accidents.
Conclusion
Building a wooden bookshelf yourself is rewarding and fun. You learn new skills and save money. A simple design fits any room and style. Take your time, measure carefully, and enjoy the process. Soon, you will have a sturdy shelf to hold your books.
This project brings both beauty and function to your home. Try it today and see how easy it can be.