Are you looking to add a unique touch to your living space? An arched bookshelf is more than just a place to store your books—it’s a stylish statement piece that can transform any room.
Imagine having a shelf that not only holds your favorite reads but also catches the eye with its elegant curve. In this guide, you’ll learn exactly how to make an arched bookshelf step by step, even if you’re new to woodworking.
By the end, you’ll have the confidence and know-how to create a beautiful, custom piece that fits your style perfectly. Ready to start building something amazing? Let’s dive in!

Credit: www.youtube.com
Choosing Materials
Choosing the right materials is the first step to making an arched bookshelf. The materials affect the strength, look, and durability of your shelf. Picking good wood and the correct tools helps make the project smooth and enjoyable.
This section covers what wood to select, the tools you need, and other supplies to gather before starting.
Selecting The Right Wood
Choose wood that is strong and easy to shape. Pine and plywood are good for beginners. Oak and maple offer extra strength and a nice finish. Avoid soft woods that may bend or break easily. The wood thickness should be at least ¾ inch for stability.
Tools Needed
You will need a jigsaw for cutting curves. A drill helps make holes for screws. Sandpaper or a sander smooths rough edges. Clamps hold pieces steady while gluing or screwing. A measuring tape and pencil ensure accurate cuts.
Additional Supplies
Wood glue joins parts firmly. Screws or nails keep pieces together. Wood filler hides small gaps or holes. Paint or stain protects the wood and adds color. A clear sealant prevents damage from moisture or dust.
Planning Your Design
Planning your arched bookshelf design is the first step to a great project. It helps avoid mistakes and saves time. A clear plan guides you from start to finish. Focus on three main areas: measuring the space, sketching the arch, and deciding shelf placement. Each part matters to build a sturdy, beautiful bookshelf.
Measuring Space And Dimensions
Start by measuring the wall space where the bookshelf will go. Use a tape measure for width, height, and depth. Write down the numbers. Check for obstacles like outlets or switches. Consider the room’s style and size. Accurate measurements ensure the bookshelf fits well and looks balanced.
Sketching The Arch Shape
Draw the arch shape on paper or use a design app. Choose a curve that matches your room’s style. Mark the arch’s height and width clearly. Keep the curve smooth and even. This sketch is your building guide. It helps visualize the final look and keeps your work precise.
Determining Shelf Placement
Plan where each shelf will go inside the arch. Think about what you want to store or display. Space shelves evenly or vary the height for different items. Mark shelf positions on your sketch. Proper placement supports weight and looks good. It also makes the bookshelf functional and easy to use.
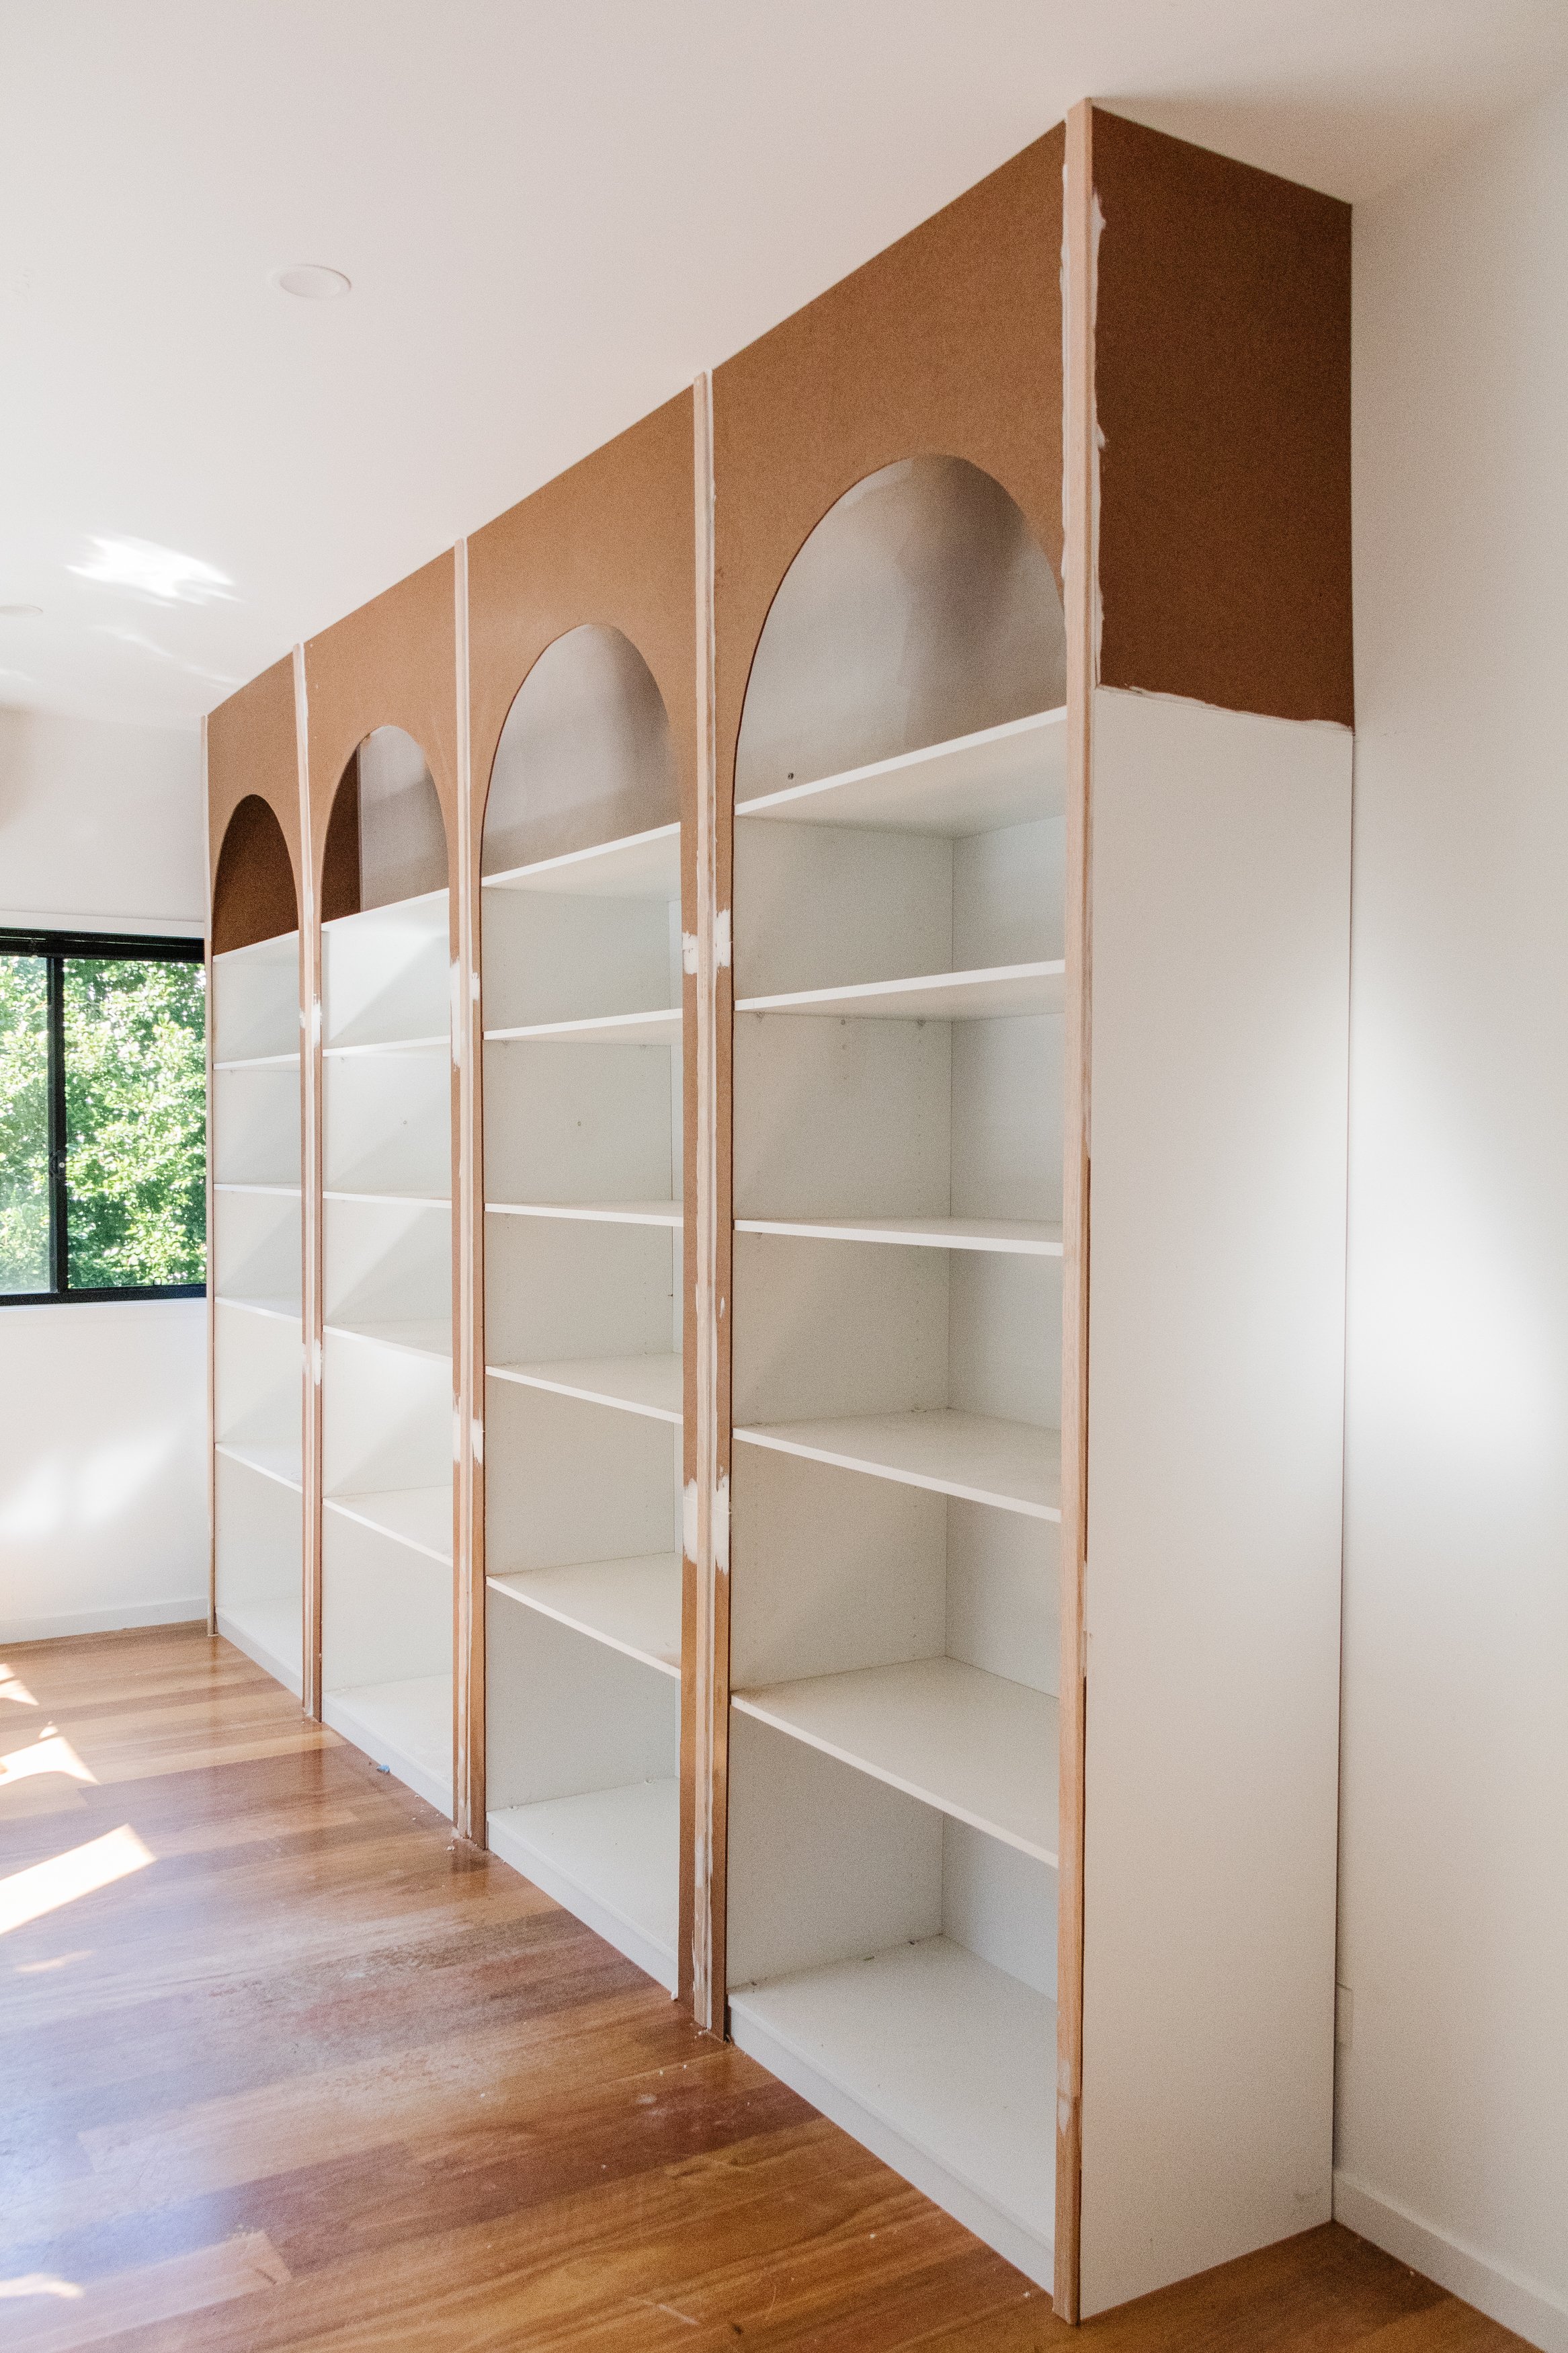
Cutting The Wood
Cutting the wood is a key step in building an arched bookshelf. Accurate cuts ensure the arch looks smooth and the shelves fit perfectly. Take your time and follow the steps carefully. Good preparation makes the whole project easier and more fun.
Marking Cut Lines
Start by measuring the wood pieces carefully. Use a pencil to draw the outline of the arch on the wood. Check all measurements twice. Clear, visible lines help guide your cuts. Use a flexible curve ruler for smooth arch lines. Mark the straight shelf boards too. Precision in marking saves time later.
Cutting The Arch Curve
Use a jigsaw or band saw for the curved cuts. Follow the pencil line slowly and steadily. Keep the saw blade vertical to avoid rough edges. Cut outside the line slightly for a clean finish. Sand the edges after cutting to smooth the curve. Take breaks to avoid mistakes from rushing.
Preparing Shelf Boards
Cut the shelf boards to the correct length and width. Use a table saw or circular saw for straight cuts. Sand all surfaces and edges to remove splinters. Check each board fits well inside the arch frame. Label the boards to keep track of their position. Well-prepared shelves improve the strength and look of your bookshelf.
Credit: www.smorhome.com
Assembling The Frame
Building the frame is the first big step in making your arched bookshelf. It sets the shape and strength for the whole piece. Take your time to fit the parts together well. A strong frame means a sturdy shelf that lasts a long time.
Joining Arch Pieces
Start by connecting the curved parts of the arch. Use wood glue for a tight bond. Clamp the pieces together until the glue dries. Add screws at the joints for extra strength. Check that the arch is smooth and even.
Attaching Shelf Supports
Next, fix the supports where the shelves will sit. Measure carefully to keep each support level. Screw them into the arch frame firmly. These supports hold the weight of your books. Make sure they do not wiggle or shift.
Securing The Structure
Finally, strengthen the whole frame with extra screws or brackets. This stops the bookshelf from wobbling. Tighten all fasteners and check the frame for any gaps. Sand any rough edges to prepare for finishing. A solid frame makes a safe place for your books.
Sanding And Finishing
Sanding and finishing are vital steps in building your arched bookshelf. They give the wood a smooth feel and protect it. These steps help the shelf look great and last longer. Taking time here improves the overall quality and appearance.
Smoothing Edges
Start by sanding all edges and surfaces. Use medium-grit sandpaper first. It removes rough spots and splinters. Then, switch to fine-grit paper for a smooth finish. Sand in the direction of the wood grain. Check for any sharp corners and round them gently. Smooth edges make the shelf safer and nicer to touch.
Applying Paint Or Stain
Choose paint or stain that suits your style. Stain shows the wood’s natural pattern. Paint offers many color options. Apply with a brush or cloth evenly. Let the first coat dry completely. Add a second coat for better coverage. Light sanding between coats helps smooth the surface. This step enhances the shelf’s look and matches your room decor.
Sealing For Durability
Seal the shelf to protect it from damage. Use clear polyurethane or a similar sealant. Apply in thin, even layers. Allow each layer to dry well before adding the next. Sealing stops moisture and dirt from harming the wood. It also keeps the finish fresh for years. A well-sealed bookshelf stays beautiful and strong over time.
Installing The Bookshelf
Installing an arched bookshelf is a key step to enjoy your new piece. It requires care and precision to ensure the shelf is secure and looks great. Follow each step carefully for the best results.
Choosing Wall Placement
Pick a wall that suits your room size and style. Avoid areas with damp or direct sunlight. Measure the space to ensure the shelf fits well. Consider accessibility and how the shelf will be used. A sturdy, flat wall is best for stability.
Mounting Techniques
Use a stud finder to locate wall studs for strong support. Mark the spots to align your shelf brackets. Drill pilot holes to avoid wall damage. Secure the brackets firmly with screws suitable for your wall type. Check that the shelf is level before tightening all screws.
Safety Checks
Double-check all screws and brackets are tight and secure. Test the shelf by gently applying pressure. Confirm the shelf holds weight without wobbling. Keep heavy items on lower shelves for balance. Regularly inspect the shelf to maintain safety over time.
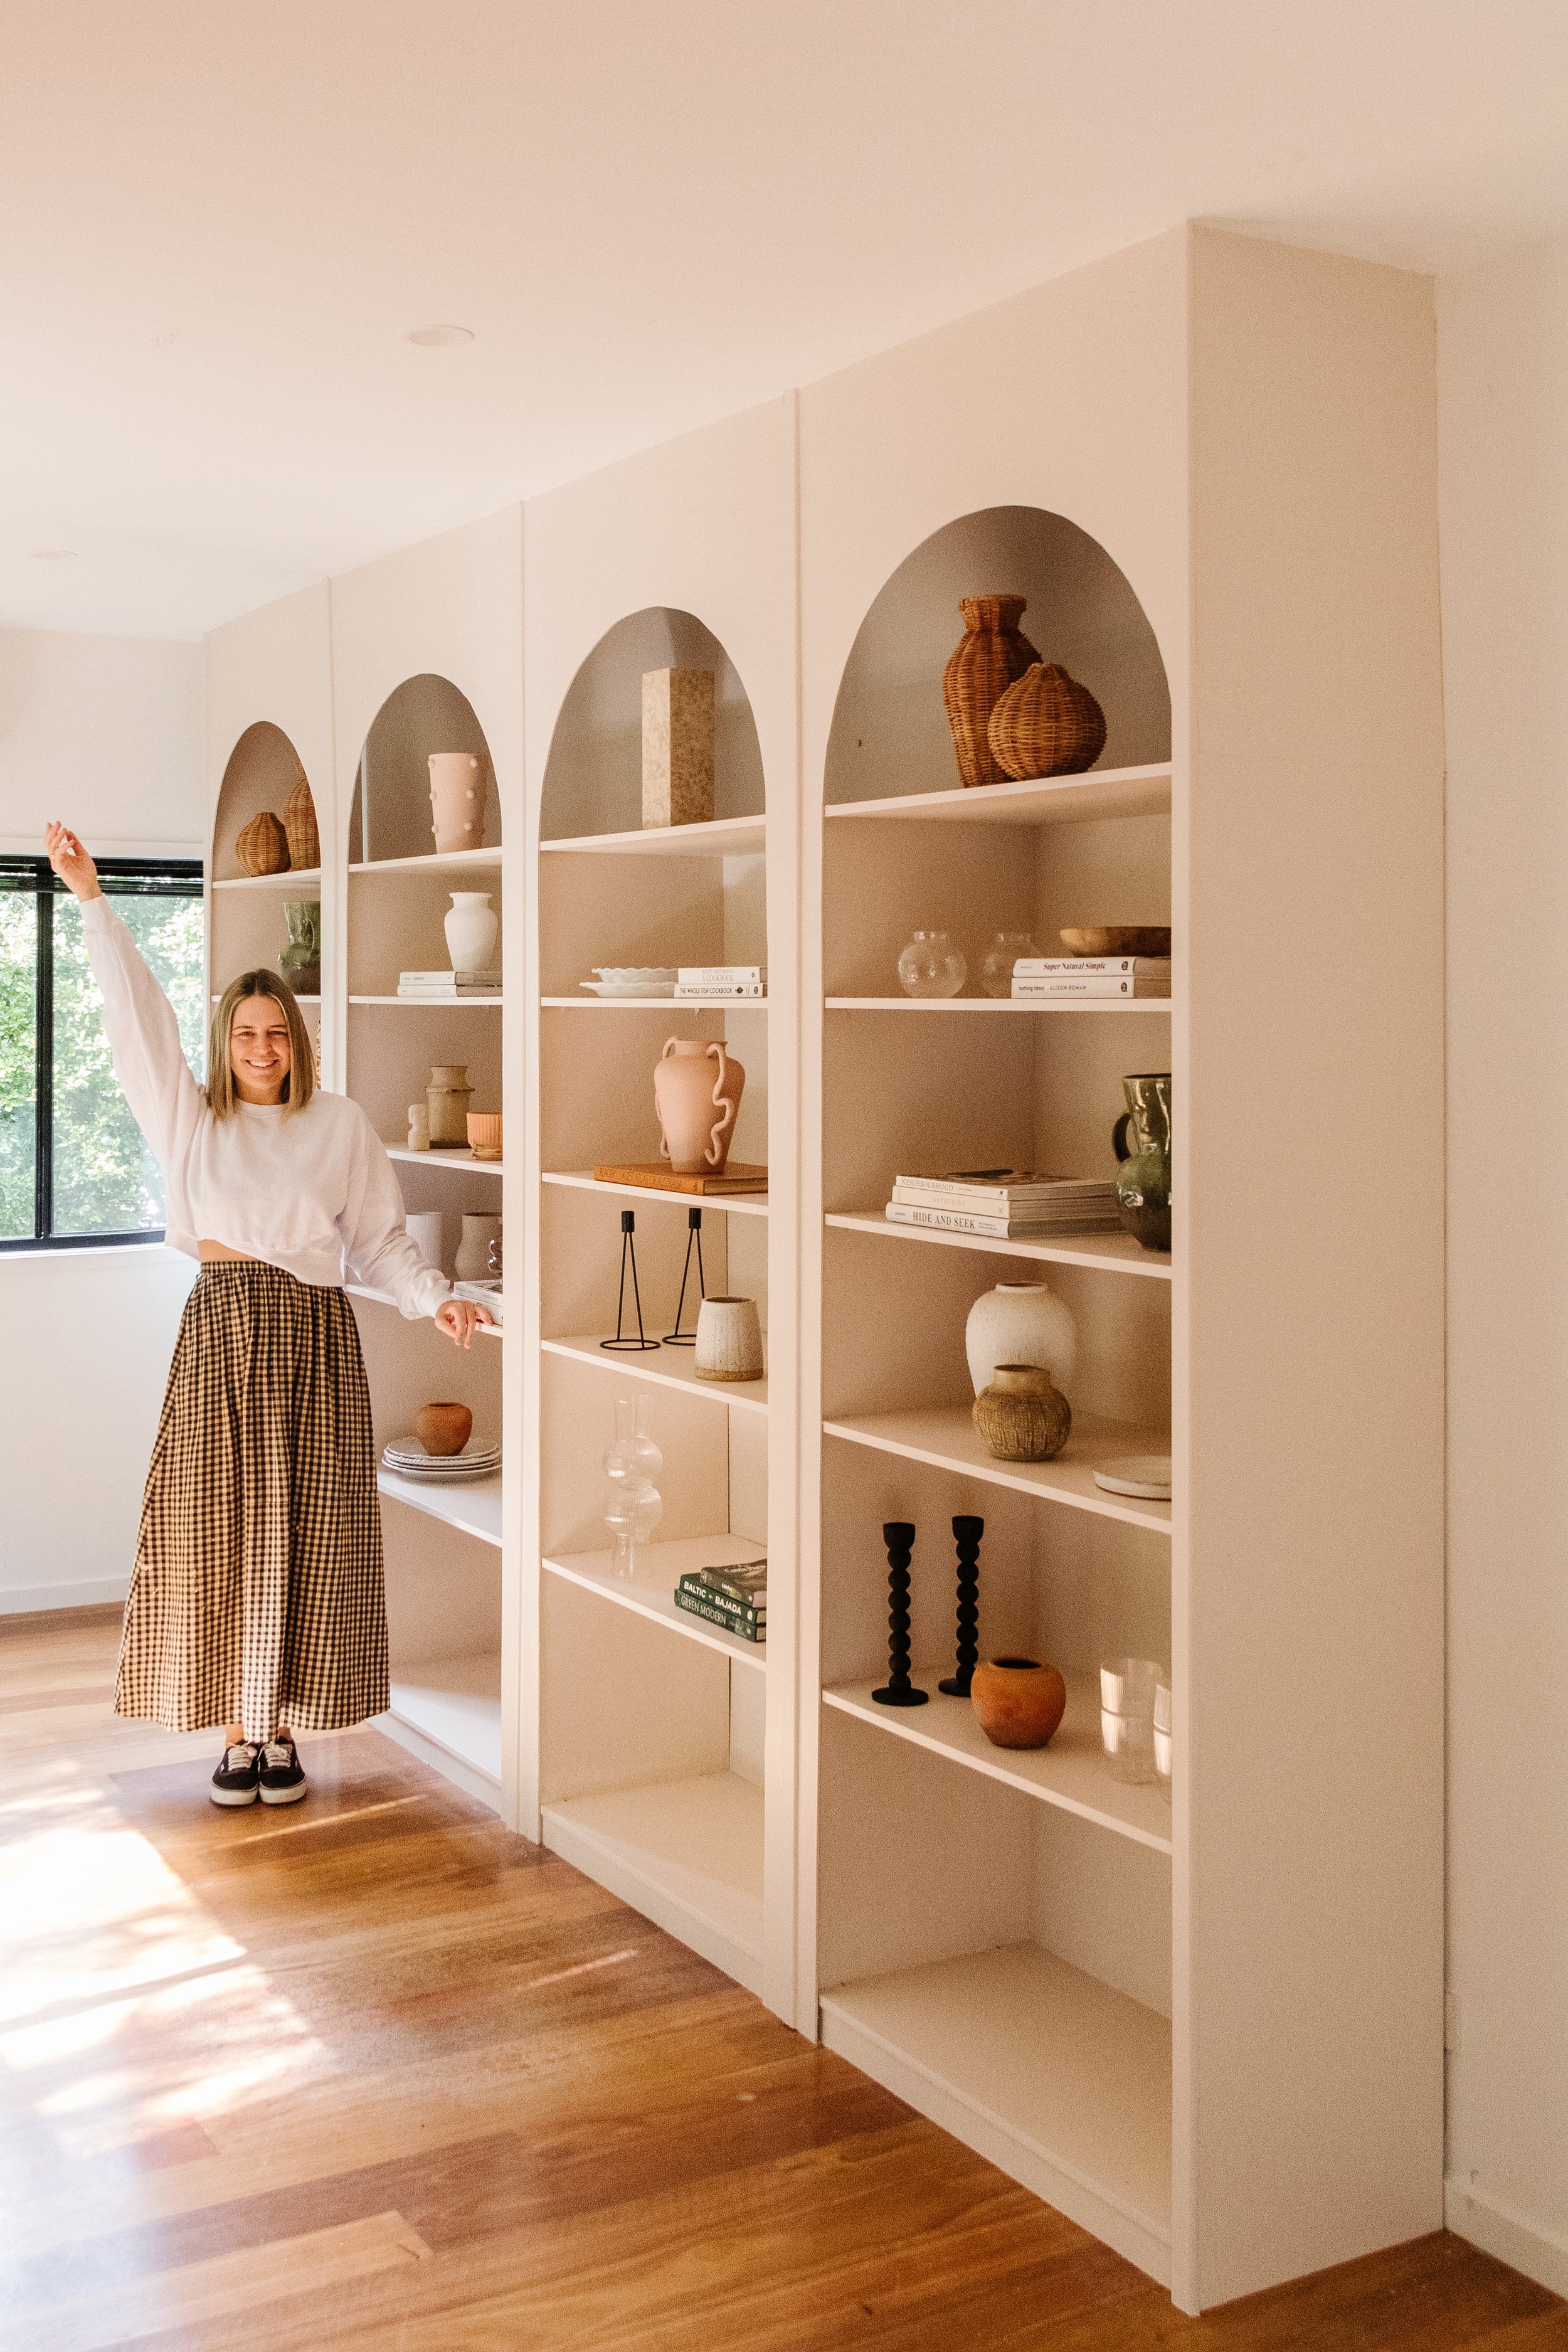
Styling Your Shelf
Styling your arched bookshelf turns it from just storage into a focal point. A well-styled shelf shows your taste and makes your room feel inviting. It balances functionality and beauty.
Arranging Books
Place books by size or color for a clean look. Stack some books horizontally to break up vertical lines. Keep your favorite books at eye level for easy reach. Mix tall and short books to add interest.
Adding Decorative Items
Use small plants or candles to bring life to the shelf. Add photo frames or art pieces for a personal touch. Include unique items like vintage cameras or figurines. Space decorations evenly to avoid clutter.
Maintaining The Shelf
Dust your shelf regularly to keep it fresh and clean. Check for loose screws or damage and fix them quickly. Rotate books and items to prevent wear spots. Keep the shelf away from direct sunlight to protect it.
Credit: www.smorhome.com
Frequently Asked Questions
What Materials Are Needed For An Arched Bookshelf?
You need plywood, wood glue, screws, sandpaper, and paint or stain. Also, gather clamps, a jigsaw, and a drill for assembly. Choose quality materials for durability and smooth finishes.
How Do You Create The Arch Shape On The Bookshelf?
Draw a half-circle on plywood using a compass or string tied to a pencil. Cut the shape carefully with a jigsaw. Sand the edges smooth to perfect the arch before assembly.
What Is The Best Wood Type For An Arched Bookshelf?
Plywood or hardwood like oak or maple works best. They offer strength and a smooth surface for finishing. Choose based on your budget and desired look.
How Long Does It Take To Build An Arched Bookshelf?
It typically takes 4 to 6 hours for beginners. Time varies based on skill level and drying time for glue and paint.
Conclusion
Building an arched bookshelf takes time and care. Follow each step slowly and carefully. Choose the right materials to make it strong and beautiful. Use simple tools and measure twice before cutting. Enjoy the process of creating something unique for your home.
This project adds charm and storage to any room. Try making one yourself and see how it feels. You will learn new skills and have a shelf to be proud of. Keep practicing, and your woodworking will improve with each project.