Are you looking to add a stylish and space-saving feature to your room? A flush mount bookshelf door could be exactly what you need.
Imagine having a hidden bookshelf that blends seamlessly into your wall, giving your space a clean and modern look. In this guide, you’ll learn simple, step-by-step ways to create your own flush mount bookshelf door. Whether you’re a beginner or have some DIY experience, you’ll find tips that make the process easier and more enjoyable.
Ready to transform your space and impress your guests? Let’s dive in and get started!
Choosing Materials
Choosing the right materials is key to building a strong flush mount bookshelf door. The materials affect the door’s look, durability, and ease of installation. Selecting good wood and hardware ensures the door fits well and lasts long. Plan carefully before starting the project.
Selecting Wood Types
Choose wood that matches your room’s style and use. Pine is affordable and easy to work with. Oak offers strength and a classic look. Birch has a smooth finish and is good for painting. Avoid soft wood that can dent easily. Pick wood that is straight and dry to avoid warping.
Gathering Tools And Hardware
Collect all tools before starting your project. You need a saw, drill, screws, and a measuring tape. Hinges and handles should fit flush with the door. Use fine-grain sandpaper for smooth edges. Quality hardware helps the door open and close smoothly. Check the size and style to match your bookshelf.
Measuring And Planning
Creating a flush mount bookshelf door starts with careful measuring and planning. This step ensures your door fits perfectly and looks seamless. Good planning saves time and materials during the build. Take your time to measure and design before cutting any wood.
Taking Accurate Measurements
Use a tape measure to get exact dimensions of the bookshelf opening. Measure the height, width, and depth. Check the wall and shelf edges for any uneven spots. Measure twice to avoid mistakes. Write down all numbers clearly. Remember, small errors can cause big problems later.
Designing The Door Layout
Plan how the door will fit into the bookshelf frame. Decide if the door will cover the entire opening or just part of it. Sketch your door design on paper or use a simple drawing app. Include the thickness of the door and any gaps for hinges. Make sure the door will sit flush with the bookshelf surface. This step helps you visualize the final product and plan the materials needed.
Building The Frame
Building the frame is the first step to create a flush mount bookshelf door. This frame holds the door together and fits it into the bookshelf opening. A strong, precise frame makes the door look clean and work well.
Start with good materials and careful measuring. The frame needs to be square and smooth for the door to sit flush. Let’s break down the process into clear steps.
Cutting Wood Pieces
Measure the bookshelf opening carefully. Write down the height and width. Add a small gap for easy door movement. Choose wood that matches the bookshelf style.
Cut two vertical pieces for the sides. Cut two horizontal pieces for the top and bottom. Use a saw to make straight cuts. Sand edges for a clean finish. Double-check all pieces fit together before moving on.
Assembling The Frame
Lay the wood pieces on a flat surface. Arrange them in a rectangle with edges touching. Use wood glue on the ends to stick pieces together. Clamp the frame to hold it tight while drying.
After the glue dries, reinforce corners with screws or nails. Drill pilot holes to avoid splitting the wood. Check the frame is square using a carpenter’s square. Sand any rough spots for a smooth frame.
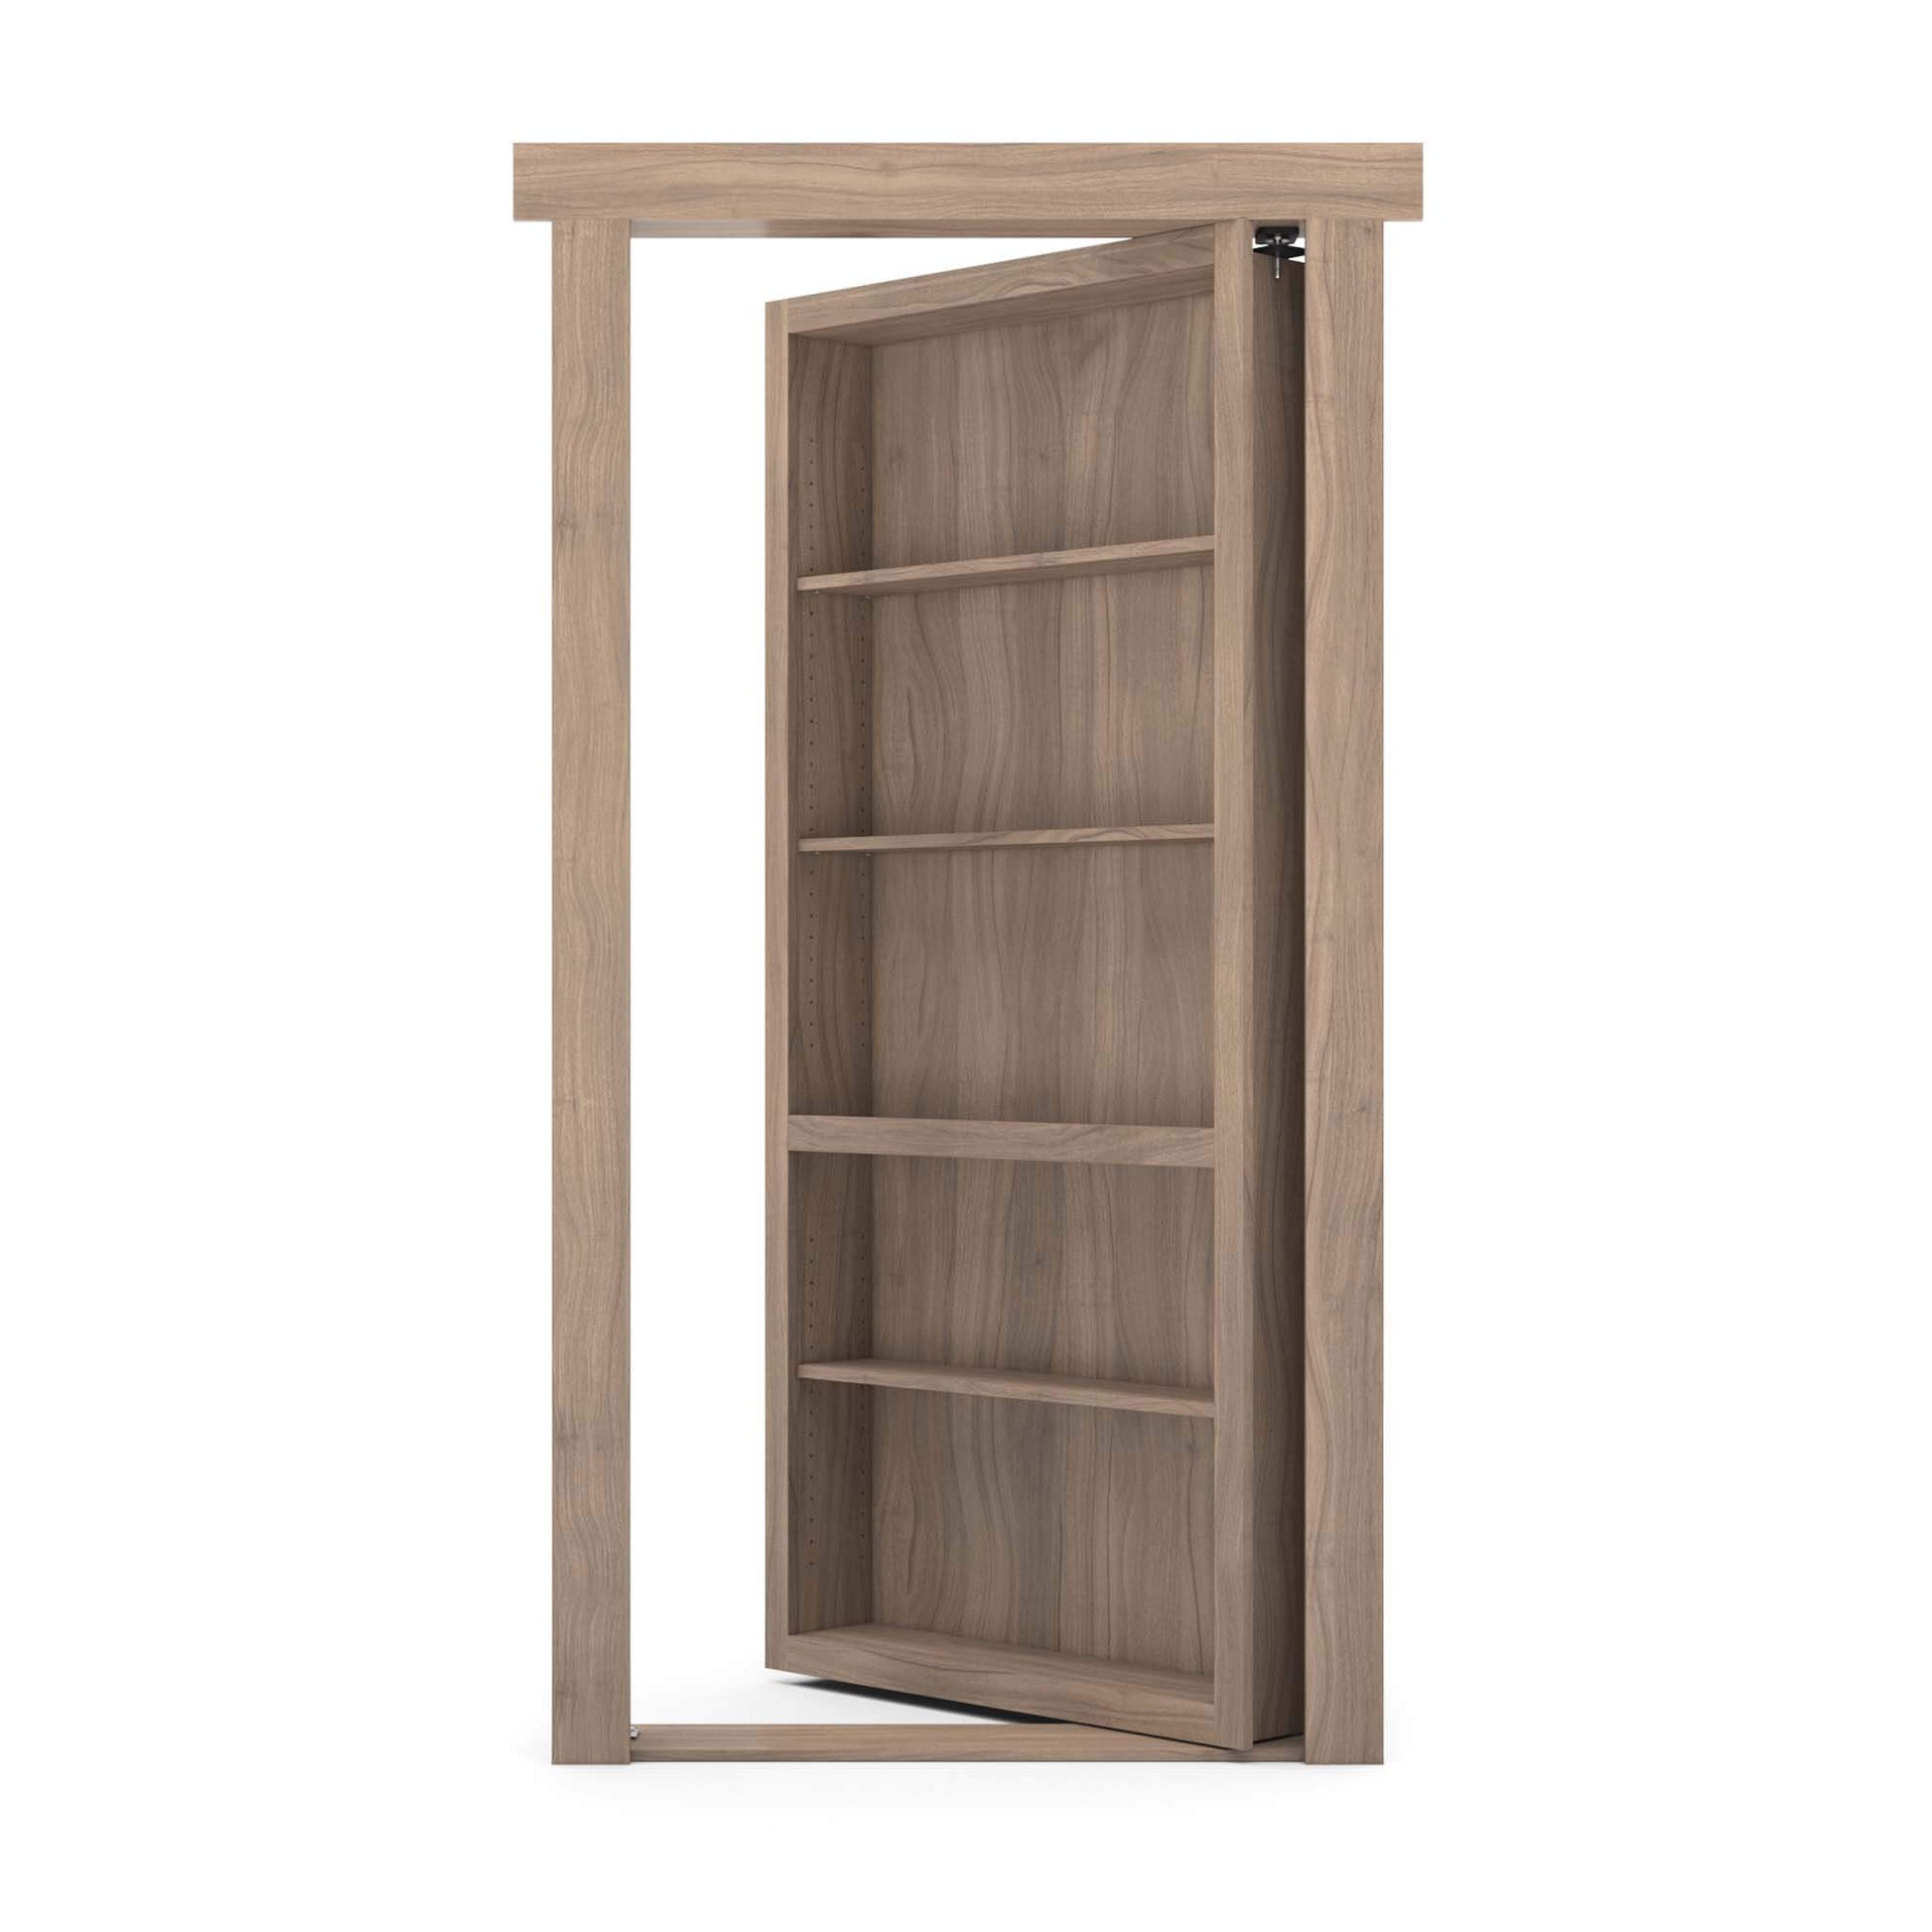
Credit: murphydoor.com
Creating The Flush Mount
Creating a flush mount for your bookshelf door is an important step. It ensures the door sits evenly with the surrounding frame. This creates a clean and modern look. Careful work here improves both function and style.
Precision is key. You need the door and frame to align perfectly. This prevents gaps and uneven edges. Follow each step carefully for the best results.
Routing For Hinges
Start by marking the hinge locations on the door edge. Use a pencil for clear, visible lines. Next, choose a router bit that matches the hinge size. Set the depth to fit the hinge snugly. Rout the door edge slowly and steadily. Check the fit by placing the hinge inside the routed area. Make small adjustments if needed. This step helps the door close flush without sticking out.
Ensuring A Seamless Fit
Test the door in the frame before final assembly. Look for any gaps or misalignments. Sand the edges lightly to smooth any rough spots. Use clamps to hold the door in place while checking the fit. The door should sit even with the frame surface. Adjust the hinges or routing depth if needed. A seamless fit gives a polished, professional look to your bookshelf door.
Installing The Door
Installing the door is a crucial step in creating a flush mount bookshelf door. It ensures the door fits well and works smoothly. Taking time during installation helps avoid problems later.
Attaching Hinges To Bookshelf
Start by choosing strong hinges that hold the door firmly. Mark the spots on the bookshelf where the hinges will go. Use a drill to make small pilot holes for screws. Attach the hinges to the bookshelf using screws. Make sure the hinges sit flush and are straight. Tighten the screws well but do not over-tighten them.
Mounting The Door Properly
Hold the door up to the bookshelf frame carefully. Align the door edges with the bookshelf edges for a perfect fit. Attach the hinges to the door using screws and a drill. Check if the door swings open and closes without gaps. Adjust the hinges slightly if the door doesn’t sit flush. Keep testing until the door fits smooth and tight.
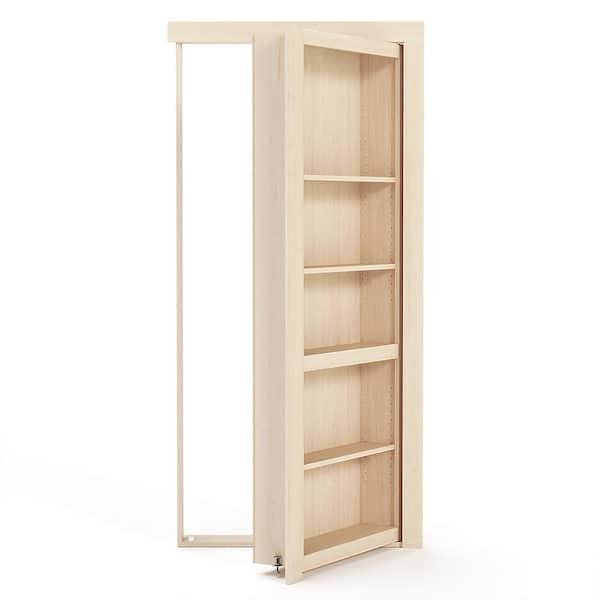
Credit: www.homedepot.com
Finishing Touches
Finishing touches bring your flush mount bookshelf door to life. These final steps make your door look smooth and polished. They also protect the wood and add style. Take your time and work carefully. Small details create a big impact.
Sanding And Smoothing Edges
Start by sanding all edges and surfaces. Use fine-grit sandpaper for a smooth feel. Sand gently to remove rough spots and splinters. Pay close attention to corners and joints. Wipe away dust with a clean cloth before moving on.
Painting Or Staining
Choose paint or stain to match your room decor. Paint gives a solid, colorful finish. Stain shows the wood grain and adds warmth. Apply thin, even coats with a brush or cloth. Let each coat dry completely before adding another. This prevents drips and uneven color.
Adding Handles Or Knobs
Select handles or knobs that fit your style and door size. Measure and mark exact spots for screws. Drill holes carefully to avoid splitting the wood. Attach hardware securely with screws. Handles make opening easier and add a decorative touch.
Maintenance Tips
Maintaining your flush mount bookshelf door keeps it looking neat and working well. Regular care prevents damage and saves you repair costs. Small habits can make a big difference in its lifespan.
Regular Cleaning
Dust the door surface weekly with a soft cloth. Use a damp cloth to remove fingerprints or smudges. Avoid harsh chemicals that can damage the finish. Clean the hinges gently to stop dust buildup. Dry all parts completely after cleaning to prevent moisture damage.
Fixing Common Issues
Check the door alignment often. Tighten loose screws to keep the door secure. If the door sticks, apply a small amount of lubricant to the hinges. Replace any damaged parts quickly to avoid bigger problems. Keep an eye on the paint or stain and touch up when needed.
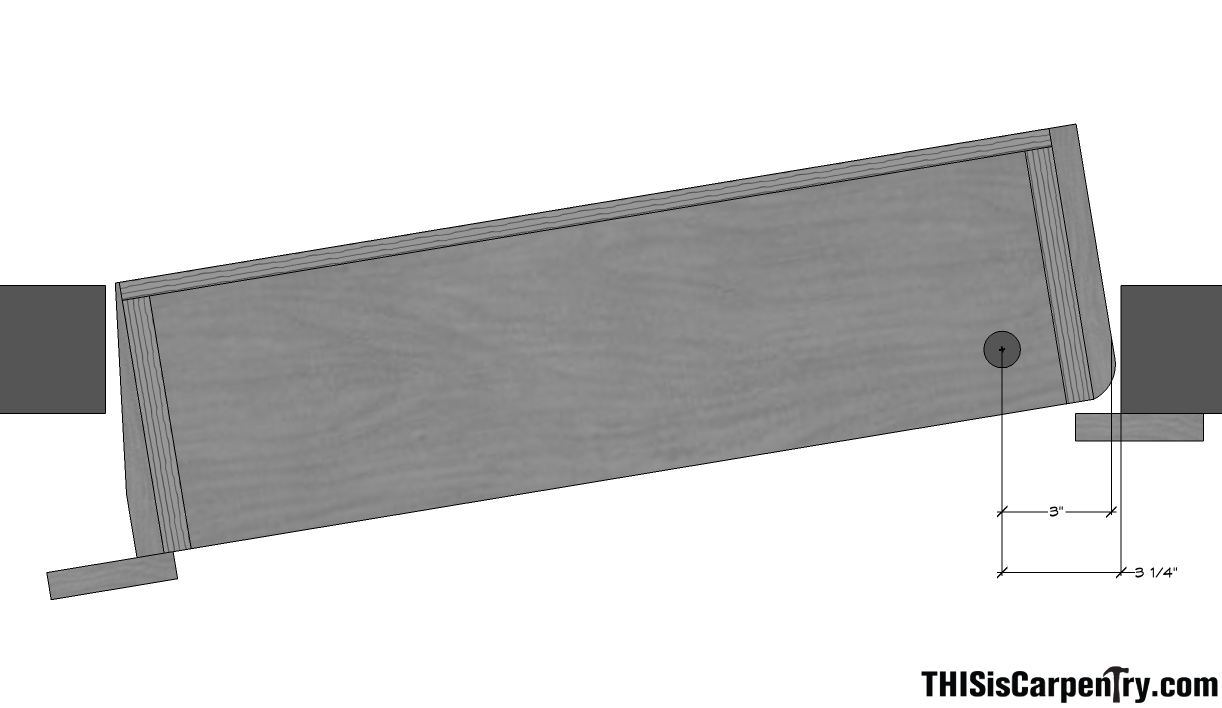
Credit: www.thisiscarpentry.com
Frequently Asked Questions
What Tools Are Needed For A Flush Mount Bookshelf Door?
You need a saw, drill, screws, hinges, clamps, measuring tape, and wood glue. These tools ensure precise cuts and secure assembly for a flush mount door.
How Do I Measure For A Flush Mount Bookshelf Door?
Measure the door opening’s height, width, and depth accurately. Subtract a small gap for smooth door movement and proper fit.
What Wood Type Is Best For Flush Mount Doors?
Choose hardwoods like oak or maple for durability and smooth finishes. Softwoods can work but may dent or wear faster.
How Do You Install Flush Mount Hinges Correctly?
Align hinges flush with the door and frame edges. Use a chisel to recess hinges for a seamless, flush fit.
Conclusion
Creating a flush mount bookshelf door adds style and function to any room. It fits neatly and hides clutter with ease. The steps are simple and clear to follow. Taking your time ensures a smooth, clean finish. This project saves space and looks great.
Try building one to see the difference it makes. A little effort brings big rewards. Enjoy your new, smart storage solution.
