Are you ready to build a unique pipe bookshelf but unsure how to drill holes in the pipes correctly? Drilling holes in pipes might seem tricky at first, but with the right steps, tools, and tips, you can do it safely and accurately.
This guide will walk you through everything you need to know to get the job done right. By the end, you’ll feel confident creating a sturdy, stylish bookshelf that stands out. Let’s dive in and make your pipe bookshelf project a success!

Credit: www.amazon.com
Choosing The Right Pipe
Choosing the right pipe is a key step in building a sturdy pipe bookshelf. The pipe must hold weight well and fit your design. Picking the correct pipe helps make the project safe and strong.
Material Options
Steel pipes are common for bookshelves. They are strong and can hold heavy books. Black iron pipes add a rustic look. Galvanized pipes resist rust, good for damp places. Copper pipes look nice but cost more and are softer.
Sizing And Length
Pipe diameter affects strength and style. A 1/2 inch pipe is good for small shelves. Larger pipes like 3/4 inch handle more weight. Length depends on your shelf size and design. Cut pipes to match your shelf’s height and width. Proper sizing makes the shelf balanced and stable.
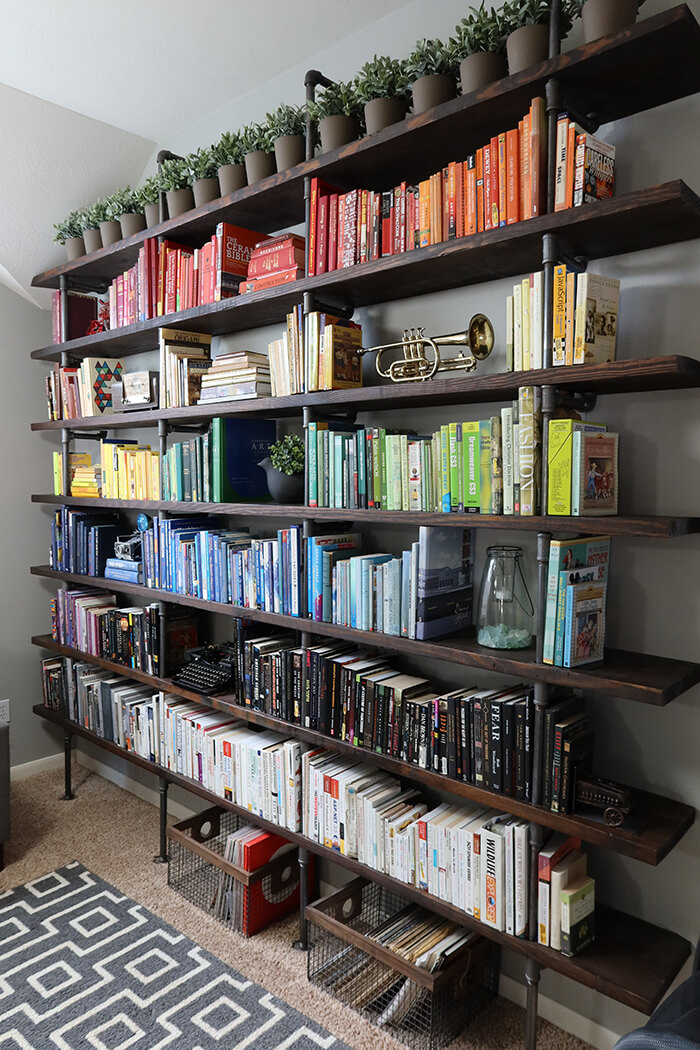
Credit: grayhousestudio.com
Gathering Tools And Materials
Gathering the right tools and materials is the first step to making a pipe bookshelf. Having everything ready saves time and makes the project easier. You will need some basic tools and safety gear. This section explains what to prepare before drilling holes in pipes.
Essential Tools
Start with a power drill. It helps to make clean holes in metal pipes. Use drill bits made for metal to avoid damage. A tape measure is important to mark exact spots for drilling. A marker or pencil helps to make clear marks on the pipe. You may also need a wrench to hold the pipe steady. Sandpaper or a metal file smooths rough edges after drilling.
Safety Gear
Safety is key when working with power tools and metal. Wear safety goggles to protect your eyes from metal chips. Gloves protect your hands from sharp edges and heat. Use ear protection if the drill is very loud. A dust mask stops you from breathing in metal dust. Always work in a well-ventilated area to stay safe.
Marking Drill Points
Marking drill points is a crucial step when building a pipe bookshelf. Precise marks ensure that the holes align perfectly. This helps the pipes fit securely and the shelf stays strong. Take your time to measure carefully before making any marks.
Measuring And Aligning
Start by measuring the exact spots for the drill holes. Use a tape measure or ruler for accuracy. Mark the points with a pencil. Double-check the distance between each mark. Keep the marks straight and evenly spaced. Use a level to make sure everything is aligned. Proper alignment prevents uneven shelves and wobbling.
Using Templates
Templates simplify marking drill points. You can make one with cardboard or thin wood. Cut holes in the template to match pipe fittings. Place the template on the wood and mark through the holes. This method saves time and reduces mistakes. Templates help keep every hole in the right place.
Preparing The Pipe For Drilling
Preparing the pipe for drilling is a key step in building a pipe bookshelf. It sets the stage for clean and precise holes. Taking time here helps avoid mistakes and ensures safety.
Before drilling, the pipe must be stable. It should not move or spin. Also, the right drill bit is essential for a smooth hole. Both securing the pipe and selecting the drill bit matter.
Securing The Pipe
Fix the pipe firmly on a workbench or table. Use clamps or a vise to hold it steady. This stops any slipping during drilling. A moving pipe can cause uneven holes and can be dangerous.
Check that the pipe is level and straight before drilling. Tighten the clamps enough to hold the pipe but not to damage it. Keep your hands away from the drill path.
Selecting The Drill Bit
Choose a drill bit made for metal pipes. A high-speed steel (HSS) bit works well for most pipes. The bit size depends on the hole diameter needed. Pick a bit slightly smaller than the screw or bolt diameter.
Using the correct bit reduces heat and wear on the drill. Sharp bits make cleaner holes and require less force. Avoid dull bits as they can damage the pipe surface.
Drilling The Holes
Drilling holes in a pipe bookshelf requires care and precision. The right technique ensures clean holes without damaging the pipe. This step is crucial for assembling a sturdy and safe shelf.
Drilling Techniques
Start by marking the exact spot for each hole. Use a center punch to create a small dent. This stops the drill bit from slipping.
Choose a drill bit made for metal or the pipe material. Hold the drill steady and start drilling slowly. Increase speed only after the bit grips the pipe well.
Keep the drill straight to avoid angled holes. Drill halfway through, then clean any metal shavings. Continue drilling until the hole is complete.
Preventing Pipe Damage
Use a clamp or vise to hold the pipe steady. This prevents movement that can cause cracks or uneven holes.
Apply light oil or cutting fluid to the drill bit. It reduces heat and friction during drilling.
Do not force the drill. Let it work at its own pace to avoid bending or breaking the pipe.
Finishing Touches
After drilling holes in your pipe bookshelf, the finishing touches make a big difference. These steps improve safety and the overall look. Taking time now saves trouble later.
Focus on making the holes smooth and clean. Check every hole carefully. This ensures your bookshelf stays strong and looks neat.
Deburring The Holes
Drilled holes often have sharp edges and small metal bits. These bits can cause cuts or damage the pipes. Use a deburring tool or sandpaper to smooth the edges. Move the tool around each hole until all rough spots vanish. This step makes the holes safe to handle and helps pipes fit better.
Cleaning And Inspecting
After deburring, clean the pipe surface to remove dust and metal shavings. Use a cloth or brush to wipe the area clean. Inspect each hole closely for cracks or uneven shapes. Fix any problems before assembling the shelf. Clean and smooth holes make sure the pipes connect tightly and the shelf stays sturdy.
Assembling The Bookshelf
Assembling a pipe bookshelf requires careful steps to fit all parts correctly. This process turns separate pipes and shelves into a sturdy, useful piece. The key is to follow each step with attention to detail. Proper assembly ensures the shelf holds your books safely and looks good in your space.
Fitting Pipes And Shelves
Start by arranging the pipes in the order shown in your plan. Insert each pipe into the drilled holes on the shelves. Make sure the pipes fit tightly inside the holes. Use a rubber mallet to gently tap the pipes if needed. Check the alignment so the shelves sit flat and even. This step forms the frame of your bookshelf.
Ensuring Stability
Once all pipes and shelves are connected, test the shelf for wobbling. Tighten any loose connections using pipe fittings or clamps. Place the shelf on a level surface to check balance. Add wall brackets if the shelf feels unstable. Stability keeps your books safe and prevents accidents. A steady shelf lasts longer and looks professional.
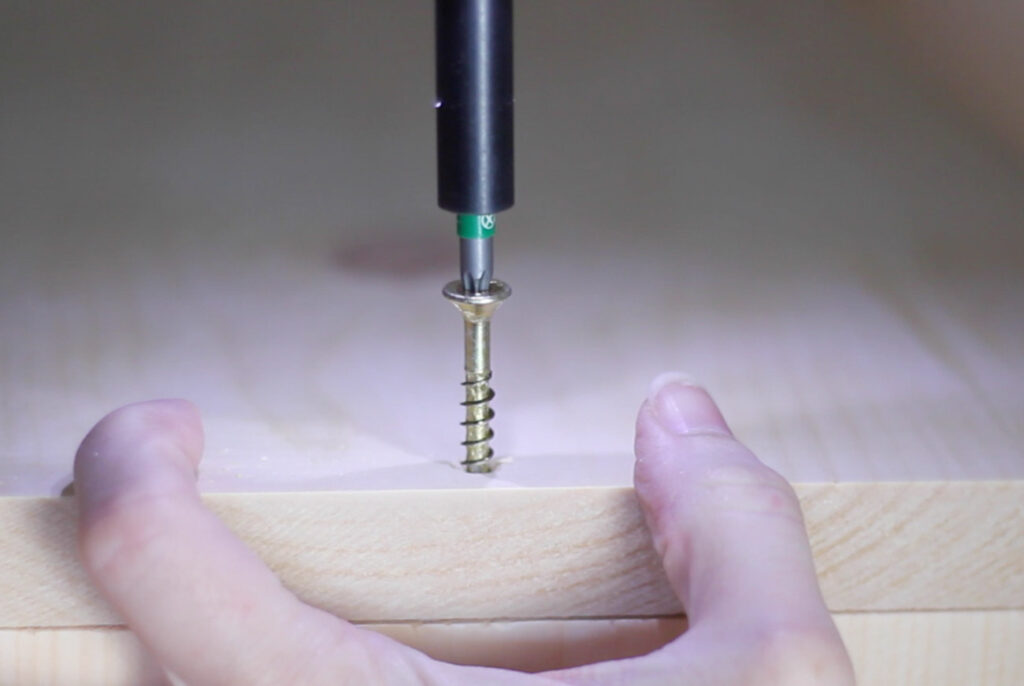
Credit: www.erinspain.com
Frequently Asked Questions
How Do You Safely Drill Holes In A Pipe Bookshelf?
Use a drill with a metal drill bit. Secure the pipe firmly. Wear safety goggles and gloves. Drill slowly to prevent damage and overheating.
What Drill Bit Size Is Best For Pipe Holes?
Choose a drill bit slightly smaller than the pipe’s diameter. This ensures a snug fit for screws or fittings. Measure carefully before drilling.
Can I Drill Holes In Galvanized Pipes For Shelving?
Yes, but use a cobalt or titanium drill bit. Galvanized pipes are coated and harder to drill. Drill slowly to avoid damaging the coating.
How To Prevent Pipes From Slipping While Drilling?
Clamp the pipe securely in a vise or use pipe clamps. This keeps the pipe steady and prevents accidents during drilling.
Conclusion
Drilling holes in a pipe bookshelf is easier than it seems. Start with the right tools and measure carefully. Take your time to keep everything straight and safe. The result will be a sturdy, useful shelf for your space. Enjoy building something practical and simple with your own hands.
This small project can add charm and function to any room. Keep practicing, and your skills will improve quickly.