Have you ever wanted a beautiful, sturdy bookshelf that fits perfectly in your space? Imagine having a place where your favorite books and treasures are neatly organized and easy to find.
Creating your own bookshelf might seem tricky, but with the right steps, you can build one that matches your style and needs. You’ll discover simple, clear instructions that make the process fun and rewarding. Keep reading, and by the end, you’ll have the confidence to craft a bookshelf you’ll be proud of.
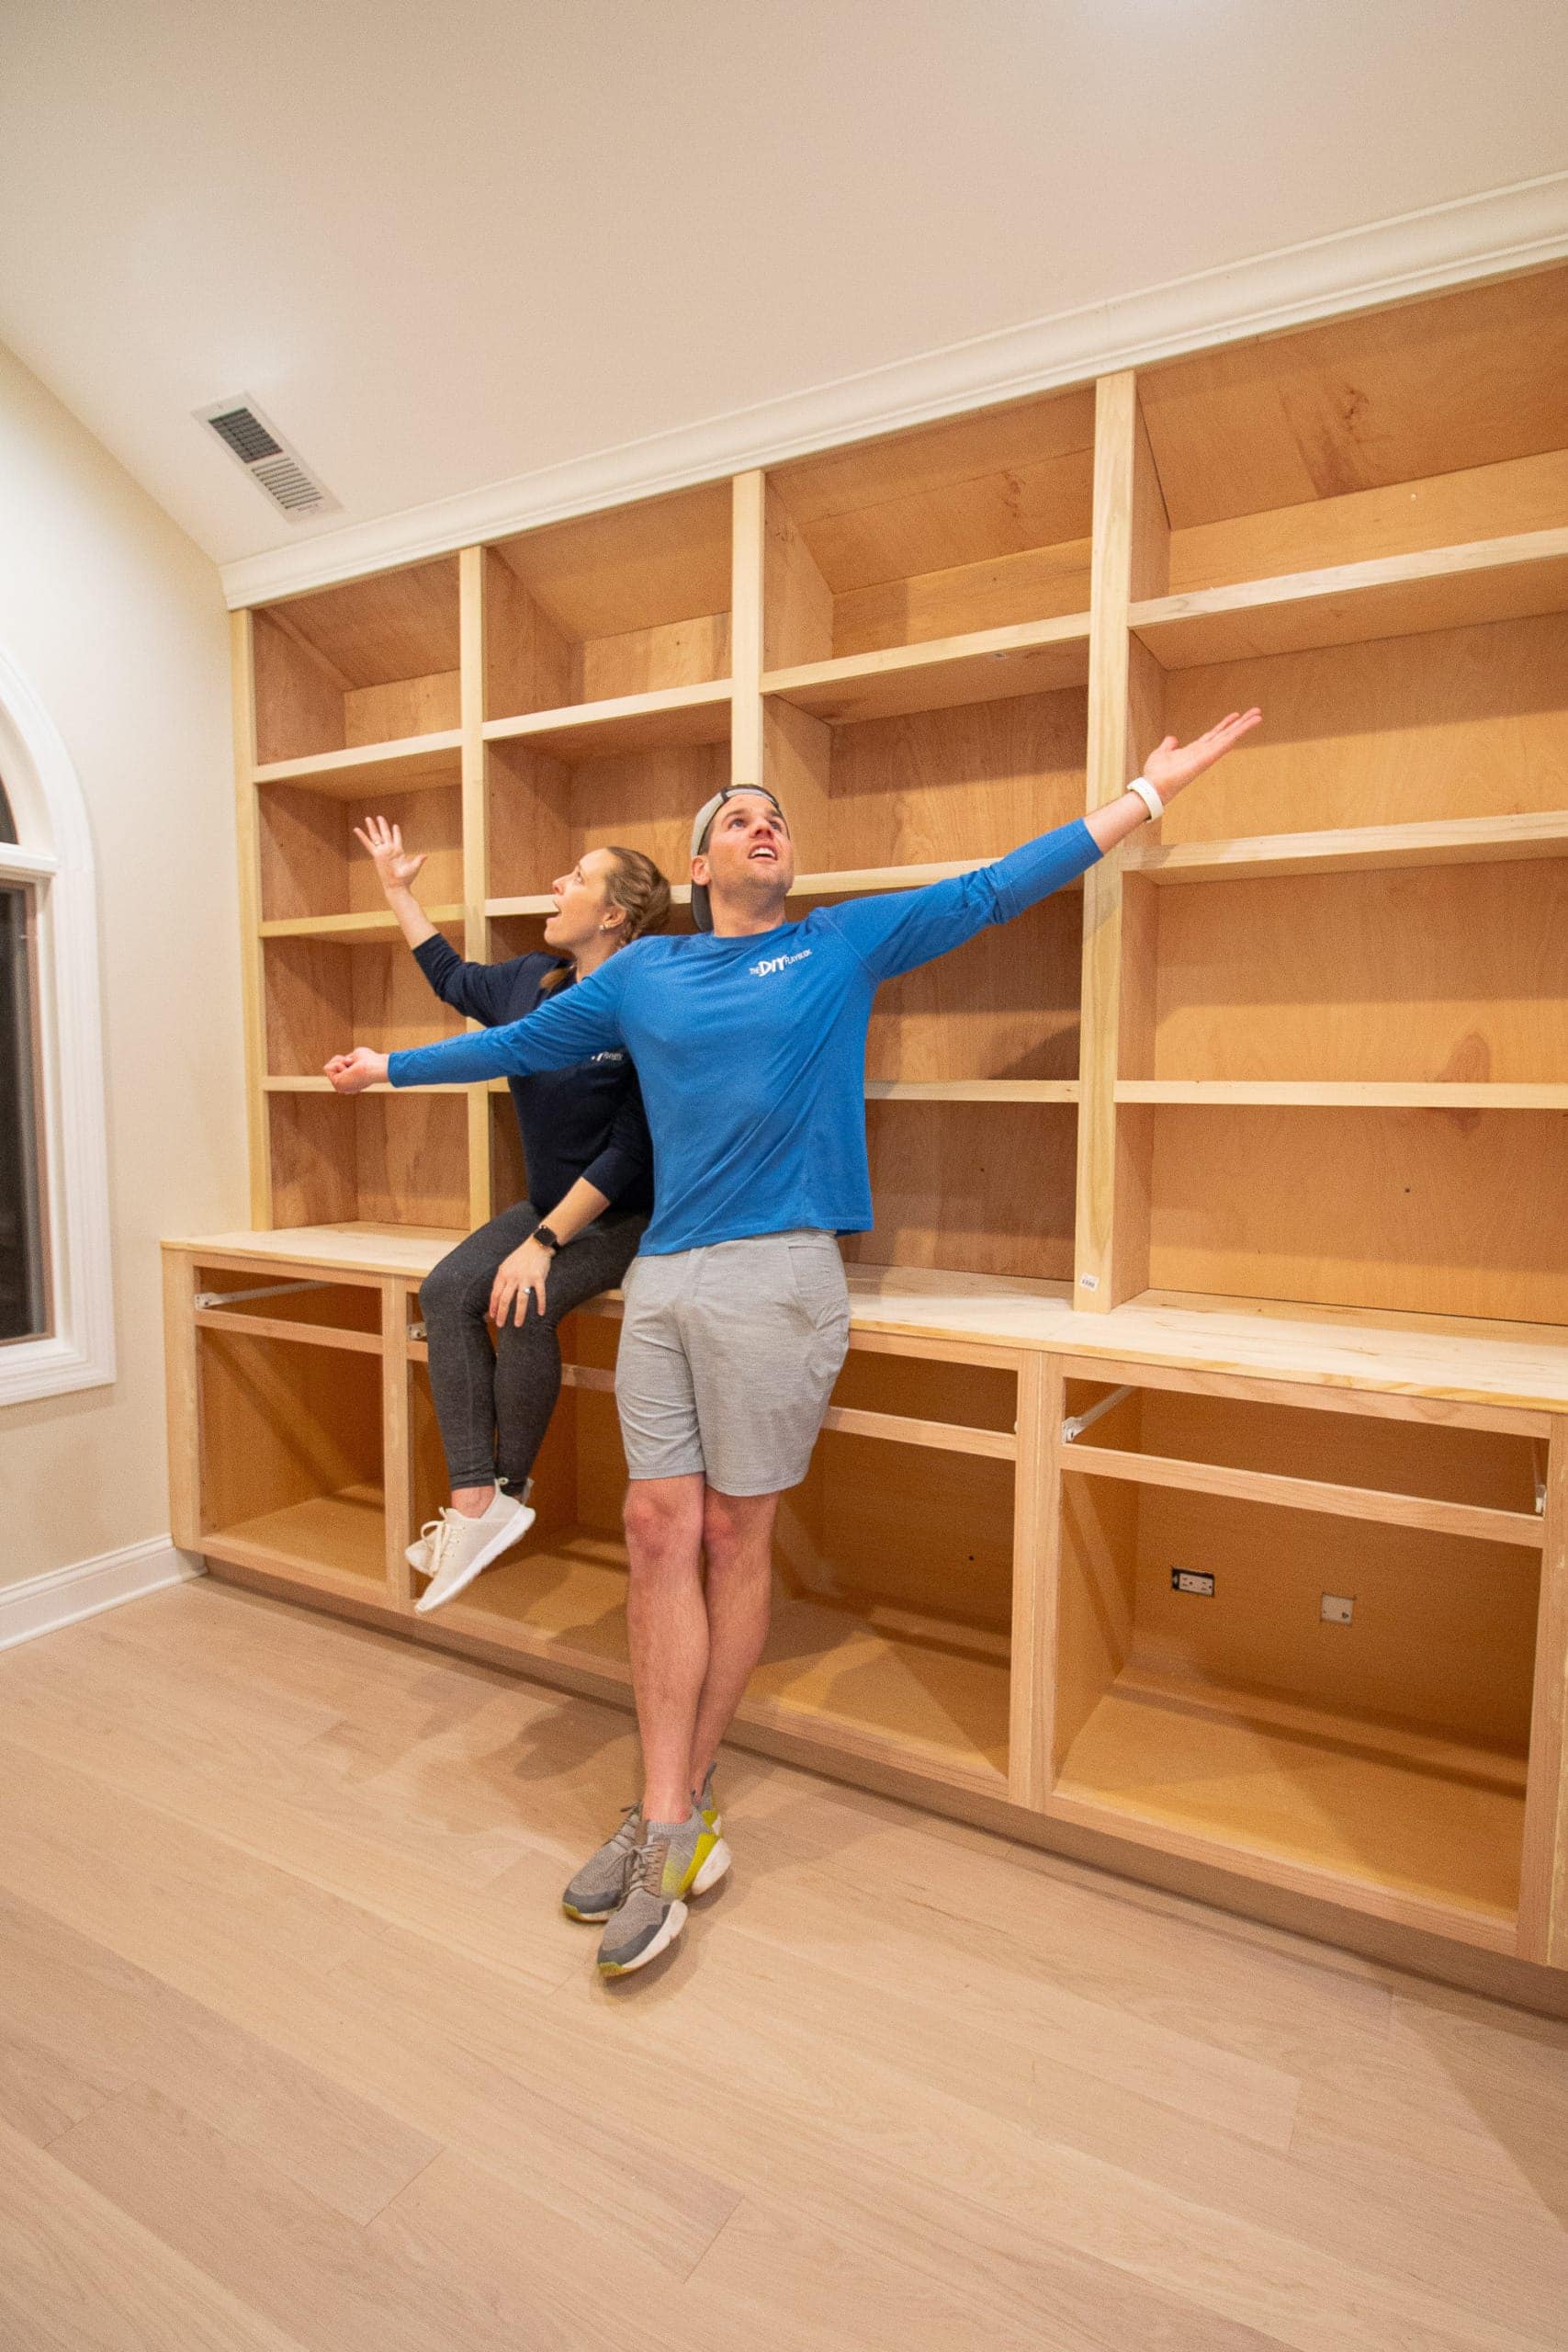
Credit: thediyplaybook.com
Choosing The Right Materials
Choosing the right materials is the first step to build a strong and beautiful bookshelf. The material affects how the shelf looks and how long it lasts. It also changes how easy or hard the project will be. Picking good wood and the right tools makes the job smoother and the result better.
Wood Types For Bookshelves
Wood comes in many types, each with its own strengths. Pine is soft and easy to cut. It costs less and is good for beginners. Oak is hard and very strong. It holds heavy books well but can be harder to work with. Maple is smooth and looks nice. It is also strong and lasts a long time. Plywood is made from layers of wood. It is stable and less likely to warp. It can be cheaper but may need finishing to look good.
Tools And Supplies Needed
Good tools make building a bookshelf easier and safer. Start with a saw to cut the wood. A drill helps to make holes for screws. Sandpaper smooths the wood edges and surfaces. Use screws or nails to hold pieces together. A level ensures shelves are straight. Measuring tape is important for exact cuts. Wood glue adds extra strength to joints. Safety glasses protect your eyes during work.
:max_bytes(150000):strip_icc()/4-513107d89a4a4071b0659d4d24152746.png)
Credit: www.lifewire.com
Planning Your Bookshelf Design
Planning your bookshelf design is a key step before building. It helps fit the shelf perfectly and look great in your space. Careful planning saves time and materials. You can avoid mistakes and create a shelf that meets your needs.
Think about how many books and items you want to store. Consider the style that matches your room. Planning makes the building process easier and more enjoyable.
Measuring Your Space
Start by measuring the area for your bookshelf. Use a tape measure for accuracy. Measure the height, width, and depth of the space. Write down all dimensions clearly.
Check for any obstacles like power outlets or vents. These could limit where the shelf fits. Allow extra space for easy access and cleaning. Accurate measurements help avoid problems later.
Sketching Your Layout
Draw a simple sketch of your bookshelf design. Use graph paper or a digital tool. Mark the overall size and shelf divisions. Plan shelf heights based on the size of your books.
Include space for decorative items or storage boxes. Keep the design balanced and functional. Sketching helps visualize the final product and guides your building steps.
Cutting And Preparing Wood
Cutting and preparing wood is the first big step in building your bookshelf. This stage shapes the wood to fit your design. It also makes sure each piece is safe and smooth. Careful preparation helps your bookshelf last longer and look better.
Safety Tips For Cutting
Always wear safety goggles to protect your eyes from dust and chips. Use ear protection to guard against loud saw noise. Keep fingers away from the blade while cutting. Secure the wood firmly with clamps to prevent slipping. Check that your tools are sharp and in good condition. Work in a well-lit area to see clearly.
Sanding And Smoothing Edges
After cutting, sand all edges to remove splinters and rough spots. Start with coarse sandpaper to shape the wood. Then use finer sandpaper for a smooth finish. Sand along the grain, not against it, to avoid scratches. Check each piece by running your hand over the surface. Smooth edges make assembly easier and safer.
Assembling The Bookshelf Frame
Assembling the bookshelf frame is the first key step in building your own shelf. This step sets the foundation for the entire project. A strong frame holds the shelves and books safely. Taking time here ensures a sturdy and lasting bookshelf.
Joining Techniques
Start by selecting the right joining method for your frame. Screws are common and easy to use. Wood glue adds extra strength when combined with screws. Dowels fit into drilled holes and give a neat look. Pocket holes hide screws inside the wood for a cleaner finish. Choose the technique that suits your tools and skill level. Always clamp pieces together while glue dries.
Ensuring Stability
Check all joints for tightness before moving on. Use a square tool to keep corners at 90 degrees. Add corner braces or metal brackets for extra support. Make sure the frame does not wobble when pushed. A strong base prevents the shelf from tipping over. Stability is key to a safe and functional bookshelf.
Adding Shelves And Supports
Adding shelves and supports is a key step in building a strong bookshelf. It lets you customize space for your books and makes the shelf stable. Proper spacing and secure fixing keep books safe and the shelf long-lasting.
Spacing For Different Books
Books come in many sizes. Some are tall, some are short, and others are wide. Measure your tallest books first. Leave a little extra space above each shelf for easy access. For small books, keep shelves closer together. This saves room and looks neat. Adjustable shelves let you change spacing later. Plan shelf height based on the types of books you own.
Securing Shelves Properly
Strong shelves need solid supports. Use brackets, pins, or cleats to hold each shelf. Fix supports into wall studs or the bookshelf frame. Check that shelves sit level before tightening screws. Use screws that fit well to avoid shelf movement. Test by pressing down gently. A stable shelf keeps books from falling. Secure shelves increase the lifespan of your bookshelf.
Finishing Touches
Finishing touches give your bookshelf a polished look. These steps protect the wood and improve its appearance. Choosing the right finish helps your shelf last longer. It also matches your room’s style. Focus on painting, staining, and protective coatings for a great finish.
Painting And Staining Options
Painting offers many colors to brighten your shelf. Use smooth strokes and thin coats. Let each coat dry before applying the next. Staining shows the natural grain of the wood. It adds warmth and richness to the shelf. Choose a stain color that fits your decor. Test the stain on a small area first. This prevents surprises in the final look.
Protective Coatings
Protective coatings keep your shelf safe from scratches and water. Clear varnish or polyurethane works well. These coatings add shine and strength. Apply thin, even layers with a brush. Sand lightly between coats for a smooth finish. Let the coating dry fully before using the shelf. This step ensures your bookshelf stays beautiful for years.
Styling Your Bookshelf
Styling your bookshelf makes it more than just a storage space. It can become a focal point in any room. The right style adds personality and charm. It also keeps your books and items organized and easy to find.
Arranging Books And Decor
Start by sorting your books. Group them by size, color, or subject. This creates a neat and balanced look. Place some books upright and stack others horizontally. Use horizontal stacks to break up rows and add visual interest.
Add decor items like small plants, photo frames, or art pieces. Spread them evenly across shelves. This prevents the shelf from looking too crowded or empty. Leave some space to let the items breathe.
Incorporating Personal Touches
Show your style with personal items. Add souvenirs from trips or family heirlooms. These pieces tell your story and make the shelf unique. Use decorative boxes or baskets to store small items. This keeps the shelf tidy and adds texture.
Change your display from time to time. Rotating items keeps your bookshelf fresh and interesting. A well-styled bookshelf reflects who you are and invites curiosity.
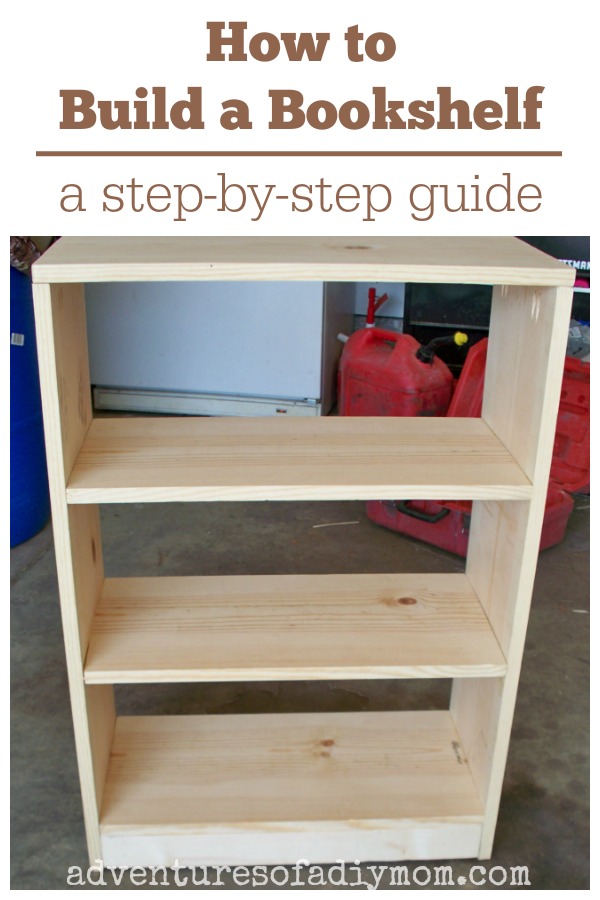
Credit: www.adventuresofadiymom.com
Frequently Asked Questions
What Materials Do I Need To Create A Bookshelf?
To create a bookshelf, you need wood, screws, brackets, a drill, a saw, and sandpaper. These basic materials ensure durability and stability.
How Do I Measure Space For My Bookshelf?
Measure the wall height, width, and depth where you want to place the bookshelf. Accurate measurements help in building the perfect fit.
Can I Build A Bookshelf Without Professional Tools?
Yes, you can use hand tools like a hand saw and screwdriver. Simple tools work well for basic bookshelf projects.
What Type Of Wood Is Best For Bookshelves?
Pine, oak, and plywood are popular choices. They are strong, affordable, and easy to work with for DIY shelves.
Conclusion
Building a bookshelf is easier than it seems. You only need basic tools and materials. Follow the steps carefully to create a sturdy shelf. Choose the right size for your space and books. Take your time with measuring and cutting.
A well-made bookshelf adds style and storage to any room. Enjoy the satisfaction of making something useful by yourself. Keep practicing to improve your skills for future projects. Now, your books have a perfect home to stay organized.