Are you looking to give your small bookshelf a fresh, stylish upgrade? Adding a wood butcher block can instantly transform its look and make it more functional.
Imagine turning your plain shelf into a warm, sturdy piece that stands out in any room. In this guide, you’ll discover simple, step-by-step tips to add a wood butcher block to your small bookshelf—no heavy tools or experience needed. Keep reading to unlock easy tricks that will boost your space’s charm and utility in no time.
Choosing The Right Butcher Block
Choosing the right butcher block is key to a perfect fit and look on your small bookshelf. The right wood piece can add charm and strength. It also helps the shelf hold more weight safely. Focus on wood type, size, and measurements. These details make the project easier and more satisfying.
Types Of Wood Available
Butcher blocks come in many wood types. Maple is strong and light in color. Oak is tough and has a grainy texture. Walnut offers a dark, rich tone that looks elegant. Cherry wood ages to a warm reddish shade. Pine is soft but budget-friendly. Pick wood based on style and use. Hardwoods last longer and resist dents better.
Measuring Your Bookshelf
Measure the width and depth inside the bookshelf. Use a metal tape for accuracy. Check the height of the space to avoid crowding. Note any obstacles like screws or nails. Write down all numbers clearly. Accurate measurements prevent buying the wrong size. Always measure twice to be sure.
Selecting The Best Size
Choose a butcher block that fits well within your bookshelf. Leave a small gap for air flow and expansion. The block should be thick enough to support books without bending. Usually, 1 to 1.5 inches thick works well. Match the width and depth closely to your shelf space. A good fit looks neat and holds weight safely.
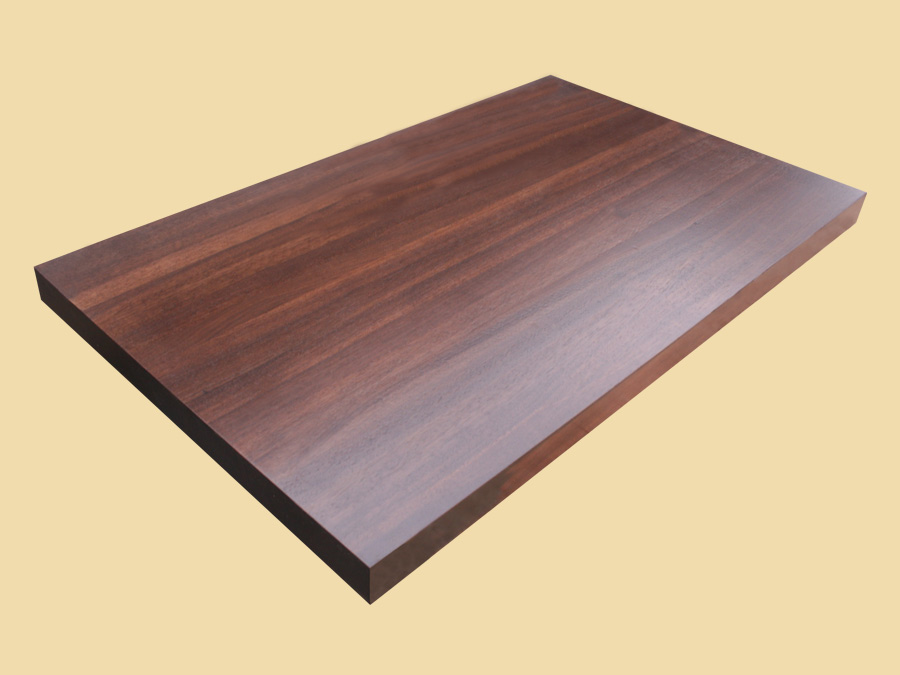
Credit: www.countrymouldings.com
Preparing Your Bookshelf
Preparing your bookshelf is the first step before adding a wood butcher block. This step helps the block fit well and last longer. Careful preparation makes the whole process easier and safer.
Follow these key tasks to get your bookshelf ready for the butcher block.
Cleaning And Sanding The Surface
Start by cleaning the bookshelf surface. Use a damp cloth to remove dust and dirt. Let it dry completely. Sand the surface lightly with fine-grit sandpaper. This helps the butcher block stick better. Wipe away sanding dust with a clean cloth.
Removing Existing Shelves
Remove old shelves that may get in the way. Use a screwdriver to take out screws or nails. Carefully lift the shelves out. Keep the area clear and smooth. This makes space for the new butcher block top.
Ensuring Stability
Check the bookshelf’s frame for sturdiness. Push gently on sides and corners to test strength. Tighten loose screws or add brackets if needed. A stable base holds the butcher block safely. Strong support prevents accidents or damage.
Cutting The Butcher Block
Cutting the butcher block is a key step to fit it perfectly on your small bookshelf. It needs care and the right tools. A clean, accurate cut keeps the wood strong and neat. This section guides you through the cutting process step by step.
Tools Needed For Cutting
Gather these tools before starting:
- A circular saw or handsaw
- Measuring tape
- Pencil for marking
- Clamps to hold the wood
- Safety goggles and gloves
- Sandpaper for smoothing edges
Having these ready makes the cutting easier and safer.
Marking The Cut Lines
Measure the bookshelf space carefully. Mark the butcher block with a pencil. Use a ruler or straight edge for straight lines. Double-check measurements to avoid mistakes. Clear, visible lines guide your saw accurately.
Safe Cutting Techniques
Wear safety goggles and gloves before cutting. Secure the butcher block firmly with clamps. Cut slowly and follow the marked lines. Keep your hands away from the blade. Use steady pressure to avoid splinters. After cutting, sand the edges smooth for a perfect finish.
Attaching The Butcher Block
Attaching the butcher block to a small bookshelf requires care. Proper attachment ensures the block stays secure and stable. This step adds strength and style to your bookshelf. Follow clear steps for a clean and lasting result.
Choosing Adhesives And Fasteners
Select strong glue designed for wood surfaces. Wood glue or construction adhesive works well. Combine glue with screws or brackets for extra hold. Use screws that are short enough to avoid splitting the wood.
Positioning The Block Correctly
Place the butcher block on the shelf carefully. Check that it fits without overhang. Align edges evenly for a neat look. Use clamps to hold the block before fixing it permanently.
Securing The Block Firmly
Apply glue evenly on the contact surface. Press the block down firmly to spread the glue. Fasten the block with screws or brackets. Tighten screws just enough to avoid wood damage. Let the glue dry fully before using the shelf.
Finishing Touches
Finishing touches bring your butcher block upgrade to life. They make the surface safe, smooth, and long-lasting. Paying attention to small details ensures your bookshelf looks polished and professional.
Sanding Edges Smoothly
Start by sanding the edges of the butcher block. Use fine-grit sandpaper for a soft, smooth finish. Round off sharp corners to avoid splinters and rough spots. Sanding helps the wood feel pleasant to the touch and ready for finishing.
Applying Protective Finish
Apply a protective finish to guard against stains and water damage. Choose a wood oil or clear varnish for natural beauty and durability. Use a clean cloth or brush to spread it evenly. Let the finish dry completely before use. This step protects the wood and keeps it looking fresh.
Maintaining Your Upgrade
Keep the butcher block clean with a damp cloth and mild soap. Avoid harsh chemicals that can damage the finish. Reapply oil or finish every few months to maintain shine and protection. Regular care extends the life of your beautiful upgrade.
Credit: www.homedepot.com
Creative Styling Ideas
Creative styling ideas breathe new life into small bookshelves. Wood butcher block adds warmth and charm. It creates a natural look that fits many spaces. Simple changes can make your shelf stand out. Use these ideas to style your bookshelf with wood butcher block.
Decorating The Bookshelf
Start by arranging books in groups. Use the wood block as a base for small plants. Greenery contrasts nicely with the warm wood tones. Add framed photos or small art pieces. Layer items to create depth and interest. Keep some empty space to avoid clutter.
Using The Block As A Display Surface
The butcher block works well as a display platform. Place candles or decorative bowls on top. The wood surface highlights these items beautifully. Use the block to show off collectibles or souvenirs. Its sturdy nature holds heavier objects safely. Change displays often for a fresh look.
Combining Function And Aesthetics
Wood butcher block offers both style and function. Use it as a cutting or crafting surface if near a kitchen. It can also serve as a mini desk area. Store tools or supplies underneath for convenience. The block adds texture while keeping things organized. This blend of form and function suits small spaces well.

Credit: wisconsinwatch.org
Frequently Asked Questions
How Do I Measure For A Wood Butcher Block On A Bookshelf?
Measure the bookshelf’s width, depth, and height precisely. Ensure the butcher block fits snugly without overhanging edges. Accurate measurements prevent installation issues and ensure a clean, professional look.
What Tools Are Needed To Install A Butcher Block Top?
You need a tape measure, drill, screws, clamps, and sandpaper. These tools help secure the butcher block firmly and smooth any rough edges for safety and aesthetics.
Can I Finish The Butcher Block For Durability?
Yes, apply food-safe oil or polyurethane finish. This protects the wood from moisture, stains, and wear, extending its life and maintaining its appearance on the bookshelf.
How Do I Attach The Butcher Block Securely?
Use wood screws or brackets to fix the block to the shelf. Pre-drill holes to avoid splitting and ensure a strong, stable attachment for daily use.
Conclusion
Adding a wood butcher block to a small bookshelf is simple and practical. It gives your shelf a fresh, natural look. You can use it to create extra space or a sturdy surface. Just measure carefully and fix it well for safety.
This small change can improve your room’s style and function. Try it yourself and enjoy the new look and feel. Simple steps, great results.