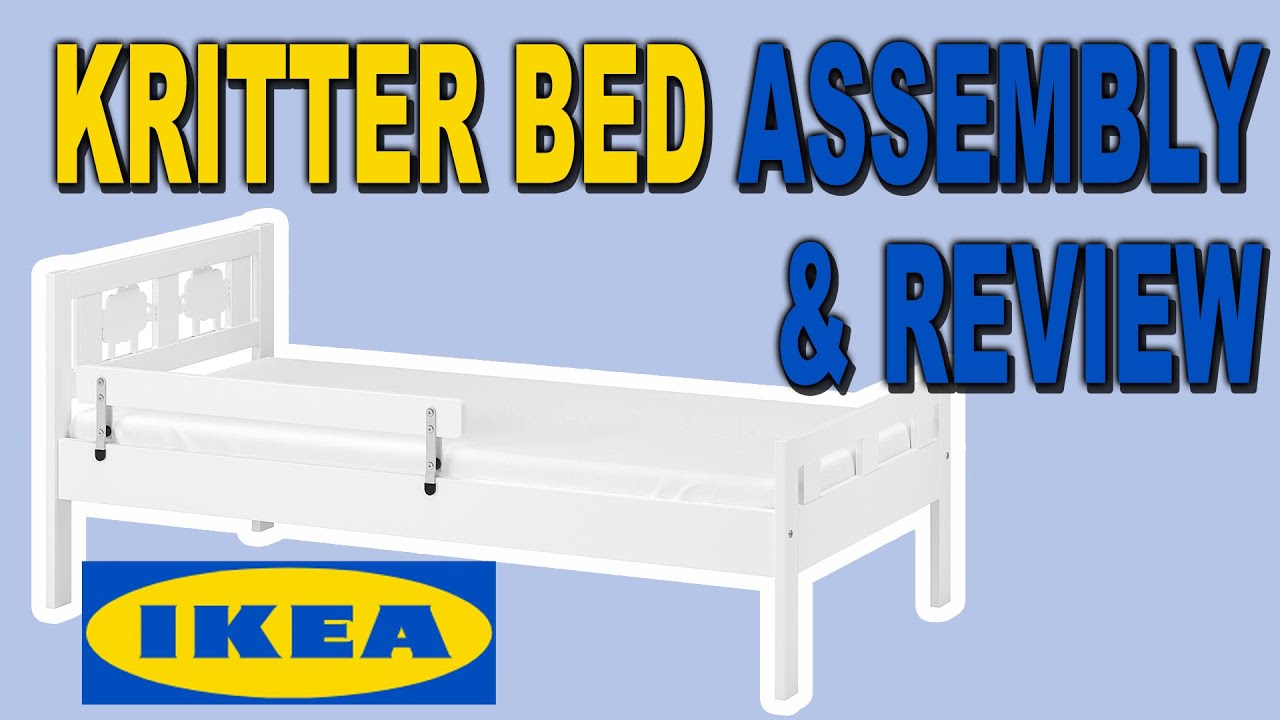
Are you ready to create a cozy and safe sleeping space for your little one? Assembling an Ikea toddler bed might seem tricky at first, but with the right steps, you can have it ready in no time.
This guide will walk you through each part clearly and simply, so you won’t feel overwhelmed. By the end, you’ll not only have a sturdy bed but also the confidence to tackle similar projects yourself. Let’s get started and make your child’s bedtime something to look forward to!
Preparing For Assembly
Preparing for assembly is the first step to building your Ikea toddler bed smoothly. Getting ready helps avoid delays and frustration. It makes the process quicker and safer. Take your time to prepare well before starting.
Tools Needed
Gather all tools before you start assembling. Most Ikea toddler beds need a screwdriver, usually a Phillips head. Sometimes an Allen wrench comes with the bed parts. Have a hammer nearby just in case. Avoid searching for tools mid-assembly.
Checking Parts
Open the box carefully. Lay out all parts on a flat surface. Use the instruction manual to check each piece. Count screws, bolts, and wooden panels. Make sure nothing is missing or damaged. This step prevents problems later.
Choosing The Location
Pick a clean, spacious area to assemble the bed. A carpeted floor helps avoid scratches. Avoid tight spaces that block movement. Ensure good light to see all parts clearly. Keep the bed near where it will be used.

Credit: www.youtube.com
Assembling The Frame
Assembling the frame is the first step in building your Ikea toddler bed. It creates a strong base that holds the mattress and supports your child’s weight. Follow these steps carefully to ensure a safe and sturdy bed.
Attaching Side Panels
Begin by laying the side panels flat on the floor. Align each panel with the holes on the headboard and footboard. Use the screws provided to attach the panels securely. Tighten the screws by hand first, then use a screwdriver for a firm fit. Make sure the panels stand straight and do not wobble.
Securing Headboard And Footboard
Next, connect the headboard and footboard to the side panels. Position the headboard at one end and the footboard at the other. Insert the bolts into the pre-drilled holes and turn them clockwise. Use the Allen key included in the kit to tighten the bolts. Check that both the headboard and footboard are stable and flush with the side panels.
Installing Support Slats
Finally, place the support slats evenly across the bed frame. These slats hold the mattress and distribute weight evenly. Slide each slat into its designated slot or rest it on the ledges inside the frame. Secure the slats with screws if the design requires it. Double-check that all slats lay flat and fit snugly within the frame.
Adding Safety Features
Adding safety features to your Ikea toddler bed is very important. Toddlers move a lot during sleep. Safety parts help protect them from falls and injuries. Follow these steps to make the bed safe and secure for your child.
Installing Guardrails
Guardrails stop your toddler from rolling off the bed. Attach the rails firmly on both sides. Use the screws and parts that come with the bed. Check that the rails do not wobble or move. Make sure the gaps between rails are small. This keeps your child from getting stuck or hurt.
Ensuring Stability
Stability keeps the bed from shaking or tipping. Tighten all screws and bolts after assembly. Place the bed on a flat surface. Test the bed by gently pushing it from different sides. If it moves, adjust or tighten the legs. Use wall anchors if the bed feels unstable.
Checking For Sharp Edges
Sharp edges can cause cuts or scrapes. Run your hand along all bed parts. Sand down any rough or sharp areas. Cover edges with soft pads if needed. Double-check corners and joints for safety. Smooth surfaces make the bed safer for your child.
Final Touches
After assembling the Ikea toddler bed, the final touches make it ready for use. These steps ensure safety and comfort for your child. Proper finishing helps the bed fit well in the room and looks neat.
Placing The Mattress
Choose the mattress that fits the bed frame perfectly. Avoid mattresses that are too thick or too thin. Place the mattress flat on the bed slats. Make sure it sits evenly without gaps.
Check the mattress edges. They should not stick out from the bed frame. This keeps your toddler safe during sleep.
Adjusting Bed Position
Move the bed to the desired spot in the room. Keep it away from windows or cords. This reduces risks and distractions for your child.
Push the bed close to the wall for extra support. Leave enough space to clean around the bed easily. Check that the bed is stable and does not wobble.
Cleaning Up
Remove all packaging materials from the room. Put away tools and extra screws safely. Sweep or vacuum the floor around the bed.
Wipe the bed frame with a soft cloth. This removes dust and fingerprints. A clean bed area creates a fresh space for your toddler.
Troubleshooting Tips
Assembling an Ikea toddler bed can sometimes be tricky. Small mistakes may slow you down or cause parts to feel loose. This section helps you fix common issues quickly. It guides you through common mistakes, how to tighten loose parts, and when to ask for help. These tips make your assembly smoother and safer.
Common Assembly Mistakes
One common mistake is mixing up similar parts. Double-check each piece with the instruction manual. Another error is using the wrong screws or bolts. Always match hardware to the guide. Tightening screws too much can damage the wood. Turn screws firmly but stop before they feel stuck.
Fixing Loose Parts
Loose parts may cause the bed to wobble. First, check if all screws and bolts are tight. Use a screwdriver or Allen key to secure them well. If holes are stripped, add a small wooden plug or toothpick with glue. Let it dry before reassembling. Loose slats can be fixed by repositioning or replacing any broken parts.
When To Seek Help
Some problems need more than just tools. If instructions are unclear, ask a friend or family member for help. Contact Ikea customer service for missing or damaged parts. If the bed feels unstable after assembly, consider professional help. Safety is important, especially for a toddler’s bed.
Credit: www.youtube.com

Credit: device.report
Frequently Asked Questions
How Long Does It Take To Assemble An Ikea Toddler Bed?
Assembling an Ikea toddler bed typically takes 30 to 60 minutes. It depends on your experience and tools available. Following the instructions carefully speeds up the process. Preparing all parts beforehand also helps finish the assembly efficiently.
What Tools Are Needed To Assemble Ikea Toddler Beds?
You generally need a Phillips screwdriver, an Allen key (usually included), and a hammer. Some models may require a wrench. Having these tools ready before starting makes the assembly smoother and faster.
Are Ikea Toddler Beds Safe And Sturdy After Assembly?
Yes, Ikea toddler beds are designed to meet safety standards. Proper assembly ensures stability and safety for your child. Always follow the instructions carefully and check all screws and parts are secure.
Can I Convert An Ikea Toddler Bed To A Crib Or Twin Bed?
Some Ikea toddler beds offer conversion options. Check your model’s manual to see if it can convert to a crib or twin bed. Conversion kits may be required, available separately from Ikea.
Conclusion
Assembling an Ikea toddler bed can be simple and quick. Follow each step carefully for best results. Use the tools Ikea provides and keep parts organized. Take your time and double-check all connections. A sturdy bed keeps your child safe and happy.
Enjoy the satisfaction of building something yourself. This guide helps you create a cozy space for your toddler. Now, your little one has a comfortable place to sleep.