Are you ready to transform your outdoor space with Truchas furniture but worried about the assembly? You’re not alone.
Putting together outdoor furniture can feel overwhelming, especially when you want it done right and fast. This guide breaks down every step clearly and simply, so you can enjoy your new setup without stress or confusion. Keep reading, and by the end, you’ll have your Truchas outdoor furniture ready to impress friends and family in no time.
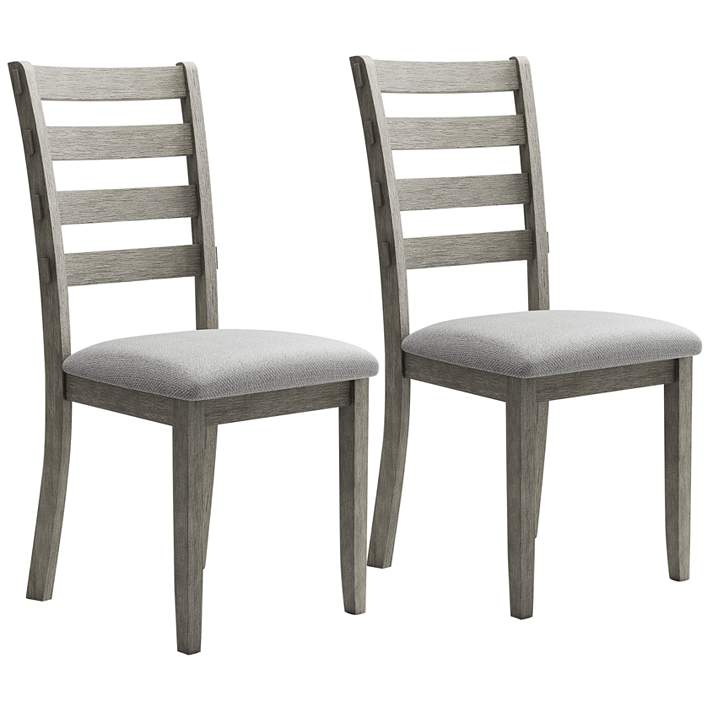
Credit: www.lampsplus.com
Tools Needed
Gathering the right tools makes assembling Truchas outdoor furniture smooth and easy. Using proper tools saves time and reduces frustration. Prepare your workspace and have everything ready before you start.
Basic Screwdriver
A basic screwdriver is essential. Most furniture parts use screws that fit Phillips or flathead screwdrivers. Choose one with a comfortable grip for better control.
Allen Wrench (hex Key)
Many Truchas pieces include bolts needing an Allen wrench. These often come in the package. Keep it handy for tightening and loosening hex screws.
Rubber Mallet
A rubber mallet helps fit parts together without damage. It applies gentle force without scratching the furniture. Use it to tap pieces into place.
Measuring Tape
Use a measuring tape to check spacing and alignment. It ensures parts fit perfectly and the furniture sits evenly on the ground.
Adjustable Wrench
An adjustable wrench tightens nuts and bolts securely. It adapts to different sizes, reducing the need for multiple tools.
Unpacking The Furniture
Unpacking Truchas outdoor furniture is the first step in your assembly journey. Taking time here saves effort later. Handle each piece carefully to avoid damage.
Prepare a clean, flat space to open the boxes. This helps keep parts organized and easy to find.
Check The Package Contents
Start by looking at the packing list. Make sure all parts and tools are included. Missing pieces can delay assembly.
Compare the parts with the instructions. Identify each piece by its shape and size.
Open Boxes Carefully
Use scissors or a box cutter to open the packaging. Cut along the tape gently to avoid scratching the furniture.
Remove protective coverings slowly. Keep any foam or wrapping for later use in case of storage or moves.
Organize All Parts
Lay out all parts in groups. Keep screws, bolts, and small tools in a container. This prevents losing tiny pieces.
Group similar parts together. This makes it easier to follow the assembly steps.
Identifying Parts
Before assembling your Truchas outdoor furniture, identifying all parts is crucial. Knowing each piece helps avoid confusion during assembly. It saves time and ensures a smooth build process.
Take all parts out of the box and place them on a flat surface. Compare them with the instruction manual parts list. Check each piece carefully for any damage or missing parts.
Frames And Panels
The frame forms the furniture’s main structure. Usually made of metal or wood, it supports the entire piece. Panels can be seat bases, backs, or armrests. They often attach to the frame with screws or bolts.
Fasteners And Hardware
Fasteners include screws, bolts, nuts, and washers. These hold parts together firmly. Each type has a specific size and shape. Keep them organized and separate to find them easily.
Cushions And Fabric Covers
Cushions add comfort and style. They may come with removable covers for easy cleaning. Identify cushion sizes and match them to the correct furniture part.
Tools Provided And Needed
Some kits include basic tools like Allen wrenches. Check what tools you have and what you need to add. Having the right tools ready speeds up assembly and prevents damage.
Assembling The Frame
Assembling the frame is the first step in building your Truchas outdoor furniture. A strong frame ensures the furniture stays stable and lasts long. Follow the steps carefully to connect each part securely. Use the tools provided or recommended in the manual.
Connecting The Legs
Start by identifying the legs from the parts list. Position each leg upright on a flat surface. Align the holes on the legs with the holes on the base frame. Insert the screws or bolts through the holes. Tighten them using a screwdriver or wrench. Make sure the legs are straight and firm. Avoid over-tightening to prevent damage to the material.
Attaching Support Bars
Locate the support bars in the package. These bars add strength and stability to the frame. Align each support bar between the legs. Match the holes and insert the screws or bolts. Tighten all fasteners evenly for balanced support. Check that the frame does not wobble. Adjust the screws if necessary to ensure a solid fit.
Installing The Seating
Installing the seating on your Truchas outdoor furniture is a key step. It ensures comfort and stability. This process involves placing cushions and securing seat panels properly. Follow these easy steps to make your furniture ready for use.
Placing Cushions
Start by arranging the cushions on the seat frames. Match each cushion to its seat size and shape. Place them evenly, so they fit well. Make sure the cushion fabric faces upward and looks neat.
Check for any tags or markings that help with positioning. Press down gently on each cushion to settle it in place. This step adds comfort and prevents cushions from moving.
Securing Seat Panels
Next, secure the seat panels to the furniture frame. Use screws or clips provided in the package. Align the panels carefully with the frame edges.
Tighten the screws evenly to avoid gaps or wobbling. Avoid overtightening to protect the material. Test the stability by pressing gently on the seat panels.

Credit: www.vrbo.com
Adding Table Components
Adding table components is a key step in assembling Truchas outdoor furniture. A strong, stable table makes your outdoor space more inviting. Focus on two main parts: the tabletop and the legs. Each part needs careful attention to fit perfectly.
Follow the instructions closely. This ensures your table is safe and durable. Let’s break down the process into simple steps.
Assembling The Tabletop
Start by placing the tabletop on a clean, flat surface. Check all pieces for damage before assembly. Align the boards or panels as shown in the manual. Use the screws or bolts provided to join the parts. Tighten them but avoid over-tightening. This keeps the wood from cracking. Make sure the surface is smooth and even. The tabletop must be sturdy and balanced.
Mounting Table Legs
Turn the tabletop upside down carefully. Position each leg at the marked spots. Use the correct screws or bolts to attach the legs. Tighten them firmly to avoid wobbling. Check that all legs touch the ground evenly. Adjust as needed for balance. Test the table’s stability before flipping it over. A steady table will last longer and feel safer.
Final Adjustments
Final adjustments are important for a safe and sturdy Truchas outdoor furniture setup. This step ensures your furniture looks good and lasts longer. Take your time to check every part and fix any loose or uneven pieces.
Tightening Screws
Start by tightening all screws and bolts. Use the right tools for a secure fit. Do not over-tighten. Over-tightening can damage the wood or metal parts. Check each connection point carefully. This prevents wobbling and keeps the furniture strong.
Checking Stability
Place the furniture on a flat surface. Gently push and shake each piece. Look for any movement or unevenness. Adjust legs or supports if needed. Stability keeps the furniture safe for use. It also helps prevent accidents outdoors.
Maintenance Tips
Maintaining your Truchas outdoor furniture keeps it looking fresh and lasting longer. Regular care prevents damage and preserves its beauty. Follow these simple tips to care for your furniture effectively.
Cleaning Guidelines
Clean your furniture regularly with mild soap and water. Use a soft cloth or sponge to avoid scratches. Rinse well to remove soap residue. Dry with a clean towel to prevent water spots. Avoid harsh chemicals that can damage finishes. Clean spills immediately to stop stains. For stubborn dirt, use a gentle brush. Keep cushions clean by spot washing with mild detergent.
Protecting Against Weather
Cover furniture during heavy rain or snow to avoid rust and wear. Store cushions indoors when not in use to prevent mold. Place furniture in shaded areas to reduce sun damage. Use waterproof covers for long-term protection. Check for loose screws or bolts after storms. Move furniture away from frost or ice. Proper protection helps maintain color and strength.
Credit: www.homedepot.com
Frequently Asked Questions
What Tools Are Needed To Assemble Truchas Outdoor Furniture?
You need a screwdriver, Allen wrench, and possibly a small hammer. Most packages include an Allen wrench. Having these tools ensures a smooth assembly process without extra trips.
How Long Does It Take To Assemble Truchas Furniture?
Assembly typically takes between 30 to 60 minutes. The exact time depends on your experience and furniture type. Following instructions carefully speeds up the process.
Can One Person Assemble Truchas Outdoor Furniture?
Yes, one person can assemble it, but two are recommended. Having a partner helps with lifting and aligning pieces. It makes assembly safer and faster.
Are The Assembly Instructions For Truchas Furniture Easy To Follow?
Yes, instructions are clear and include diagrams. They guide step-by-step through the process. Reading the entire manual before starting is helpful.
Conclusion
Assembling Truchas outdoor furniture is simple with clear steps. Take your time and follow each instruction carefully. Use the right tools to avoid mistakes. Check all parts before starting to save time later. Enjoy the process and watch your outdoor space transform.
Your new furniture will offer comfort and style for years. Keep the assembly guide handy for future reference. Now, relax and enjoy your beautiful outdoor setup.

