Are you worried about your bunk bed tipping over or moving too much? Securing your bunk bed to the wall can give you peace of mind and keep your kids safe.
But how do you do it the right way? You’ll learn simple, step-by-step instructions to attach your bunk bed to the wall securely. By the end, you’ll feel confident that your bed is stable and safe, making your space more comfortable and worry-free.
Keep reading to discover easy tips that anyone can follow!
Choosing The Right Wall
Choosing the right wall is key to safely attaching a bunk bed. The wall must hold the bed firmly. A weak wall can cause accidents. Take time to find a strong, stable wall. This ensures the bunk bed stays secure. Follow simple steps to check your wall before starting.
Identifying Wall Types
Walls come in different types. Common ones are drywall, plaster, and concrete. Drywall is light and easy to damage. Plaster is harder but can crack. Concrete walls are very strong. Knowing your wall type helps pick the right tools. It also guides you on how to fix the bed safely.
Checking Wall Condition
Look closely at the wall’s surface. Avoid walls with cracks or holes. Check for signs of water damage or mold. These weaken the wall’s strength. Tap the wall gently. A hollow sound means a weak spot. Use a stud finder to locate wooden studs. These studs are the best place to attach the bed.
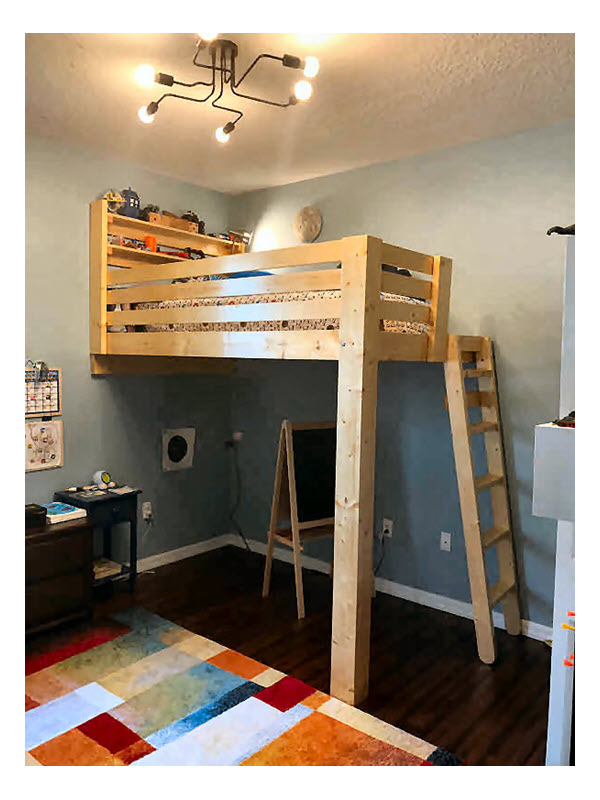
Credit: www.collegebedlofts.com
Gathering Necessary Tools
Before attaching a bunk bed to the wall, gather all necessary tools. This step helps ensure a smooth, safe installation. Having the right items ready saves time and prevents frustration. Focus on tools that secure the bed firmly and keep safety in mind.
Essential Hardware
Start with the right hardware to attach the bunk bed. You will need wall anchors or toggle bolts for strong support. Heavy-duty screws are important for stability. Brackets designed for bunk beds help hold the frame tightly. Check that all hardware fits the bed and wall type. Use a stud finder to locate wall studs for secure mounting.
Safety Equipment
Protect yourself during the installation process. Wear safety glasses to shield your eyes from dust and debris. Use gloves to avoid splinters and sharp edges. A dust mask keeps particles out of your lungs. Keep a first aid kit nearby in case of minor injuries. Use a sturdy ladder or step stool to reach high areas safely.
Preparing The Bunk Bed
Preparing the bunk bed is a crucial step before attaching it to the wall. It ensures safety and stability. Taking time now prevents problems later. Start with a thorough check of the bed. Then, mark the exact points where you will attach it to the wall. Proper preparation saves effort and keeps the bed secure.
Cleaning And Inspecting
Clean the bunk bed carefully. Remove dust, dirt, and debris from all surfaces. Check every part for damage or weakness. Look for cracks, loose screws, or broken slats. Tighten any loose bolts or screws. Replace parts that seem weak or worn out. A strong bed is safer to attach to the wall.
Marking Attachment Points
Find the best spots to attach the bed to the wall. Usually, these points are on the bed’s frame. Use a pencil to mark these spots clearly. Make sure the marks align with wall studs for firm support. Measure twice to avoid mistakes. Clear and correct marks guide you during installation.
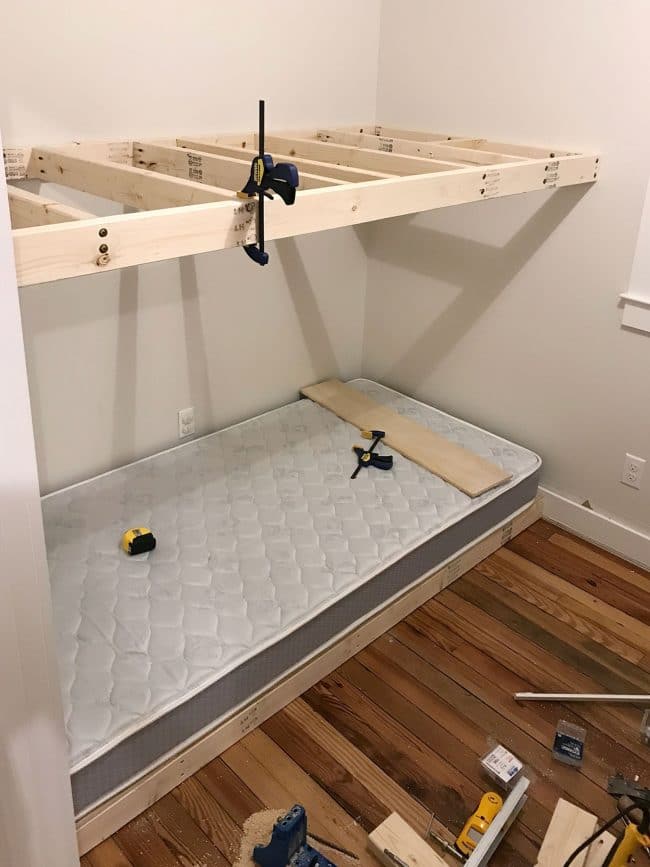
Credit: www.younghouselove.com
Locating Wall Studs
Attaching a bunk bed to the wall requires finding the wall studs first. Studs are the wooden beams behind the drywall. They hold the weight and keep the bed safe and steady. Knowing where the studs are helps you screw the bed frame tightly. This step stops the bed from moving or falling.
Using A Stud Finder
A stud finder is a small tool that detects wood behind walls. Turn it on and slowly move it across the wall surface. It beeps or lights up when it finds a stud. Mark the spot with a pencil. Check several points to confirm the stud’s location. Stud finders make this process quick and easy.
Alternative Methods
If you don’t have a stud finder, try other ways. Tap the wall gently with a hammer. A hollow sound means no stud, a solid sound means a stud. Look for electrical outlets or light switches; they are often attached to studs. Measure 16 or 24 inches from these spots to find more studs. Use a small nail to test the spot before drilling.
Mounting Brackets Setup
Setting up mounting brackets is a key step to safely attach a bunk bed to the wall. Proper setup keeps the bed steady and prevents accidents. This process includes choosing the right brackets and positioning them correctly on the wall and bed frame. Follow the steps carefully to secure the bunk bed firmly.
Selecting Suitable Brackets
Choose brackets made of strong metal like steel. They should hold the weight of the bunk bed and its users. Look for brackets designed for heavy furniture or specifically for bunk beds. Avoid cheap or thin brackets that can bend or break easily. Check the size to make sure it fits the bed frame and wall studs. Pick brackets with multiple screw holes for better support.
Positioning And Aligning
Place the brackets near the bed frame’s strongest points. Usually, the corners or where the bed meets the wall. Use a level tool to align brackets straight and even. Mark the wall where screws will go. Find wall studs with a stud finder for secure anchoring. Attach brackets tightly to the bed and wall to stop any movement. Double-check the alignment before tightening all screws.
Securing The Bunk Bed
Securing the bunk bed to the wall is important for safety. It stops the bed from moving or tipping. Proper attachment keeps children safe and gives peace of mind. This process involves careful steps to make sure the bed is stable and strong.
Start by preparing the wall and bed. Use the right tools and parts. Follow each step to secure the bed firmly to the wall.
Drilling Pilot Holes
Mark the spots on the wall where the brackets will go. Use a pencil to make clear marks. Choose a drill bit smaller than the screws. Drill pilot holes at the marked spots. These holes guide the screws and prevent wood or drywall from cracking. Drill slowly and straight to keep holes neat.
Attaching Brackets To Wall And Bed
Hold the bracket over the pilot holes on the wall. Insert screws into the holes and tighten them with a screwdriver. Do not over-tighten to avoid damage. Next, attach the other side of the bracket to the bunk bed frame. Use screws that fit the bed frame material. Check that all screws are secure. The bed should feel steady and not wobble.
Testing Stability
Testing the stability of your bunk bed after attaching it to the wall is essential. It ensures safety and peace of mind. This step helps find weak points that need fixing. Follow these simple checks to confirm the bed is secure.
Applying Pressure
Press down firmly on different parts of the bunk bed. Focus on the frame and the points where the bed meets the wall. Apply steady force to test strength. Use hands or feet to push gently but firmly. Notice if the bed holds firm or shifts.
Checking For Movement
Look closely for any wiggle or sway in the bed. Try to move the bed side to side and front to back. Small movements can signal loose attachments. Tighten screws or bolts if you spot any movement. Repeat the pressure test after adjustments.
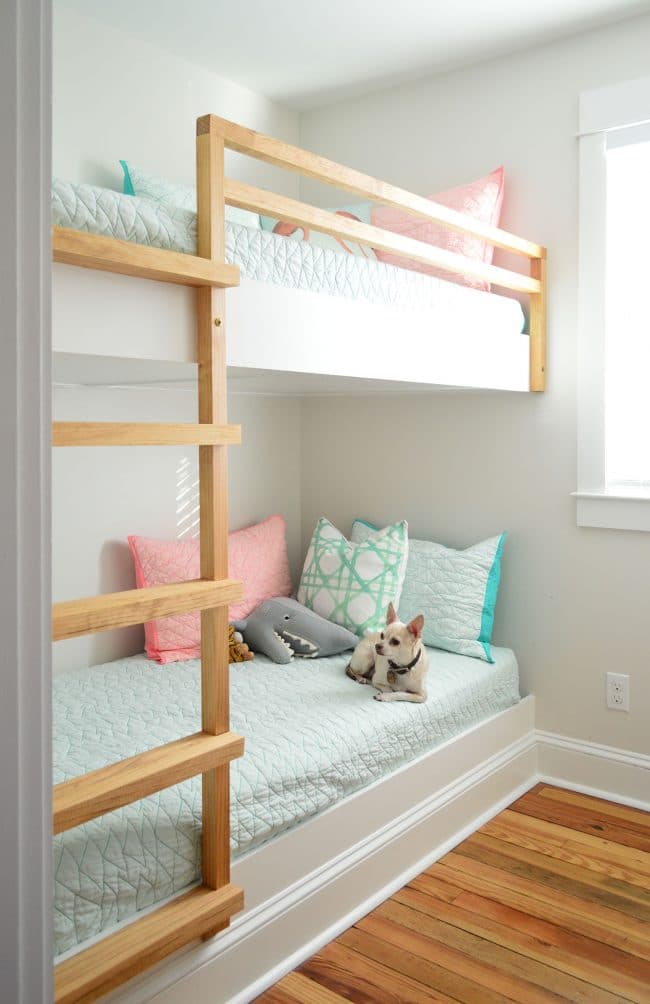
Credit: www.younghouselove.com
Safety Tips
Attaching a bunk bed to the wall improves safety significantly. It stops the bed from tipping or moving unexpectedly. Following safety tips helps protect children and others using the bed.
Regular Inspections
Check the wall attachments often. Look for loose screws, bolts, or brackets. Tighten anything that feels weak. Inspect the wall itself for cracks or damage. Early fixes prevent accidents.
Weight Limits And Usage
Follow the bunk bed’s weight limit exactly. Avoid allowing more weight than recommended. Only one person should use the top bunk at a time. Keep heavy items off the top bunk.
Frequently Asked Questions
How Do I Secure A Bunk Bed To The Wall Safely?
Use strong brackets or L-brackets to anchor the bunk bed frame to wall studs. Ensure screws are long and sturdy. Check for stability after installation. This prevents tipping and enhances safety, especially for children.
What Tools Are Needed To Attach A Bunk Bed To The Wall?
You need a drill, screwdriver, stud finder, level, measuring tape, and strong mounting brackets. These tools help ensure precise, secure attachment. Using the right tools improves safety and stability of the bunk bed.
Can I Attach A Bunk Bed To Drywall Only?
No, attaching a bunk bed directly to drywall is unsafe. Always anchor to wall studs. Use a stud finder to locate studs behind drywall. Studs provide the necessary support for secure attachment.
How High Should I Mount The Bunk Bed Brackets?
Mount the brackets at the same height as the bed frame’s side rails. Ensure they are level and aligned to hold the bed securely. Correct height prevents wobbling and maintains bed stability.
Conclusion
Attaching a bunk bed to the wall keeps it safe and steady. Secure the bed firmly using the right tools and anchors. Always check for wall studs before drilling holes. Tighten all screws and bolts to avoid wobbling. This simple step helps prevent accidents and injuries.
A well-secured bunk bed gives peace of mind at night. Take your time and follow each step carefully. Safety matters most when setting up a bunk bed. Now, you can enjoy a strong, stable sleeping space.
