
Are you tired of cluttered spaces and piles of books everywhere? Building your own bookshelf can be the perfect solution to organize your favorite reads and add a personal touch to your room.
Imagine having a sturdy, stylish shelf that fits exactly where you want it—crafted by your own hands. In this guide, you’ll discover simple steps to build a bookshelf that suits your style and space, even if you’re new to DIY projects.
Ready to transform your room and showcase your books like never before? Let’s get started!
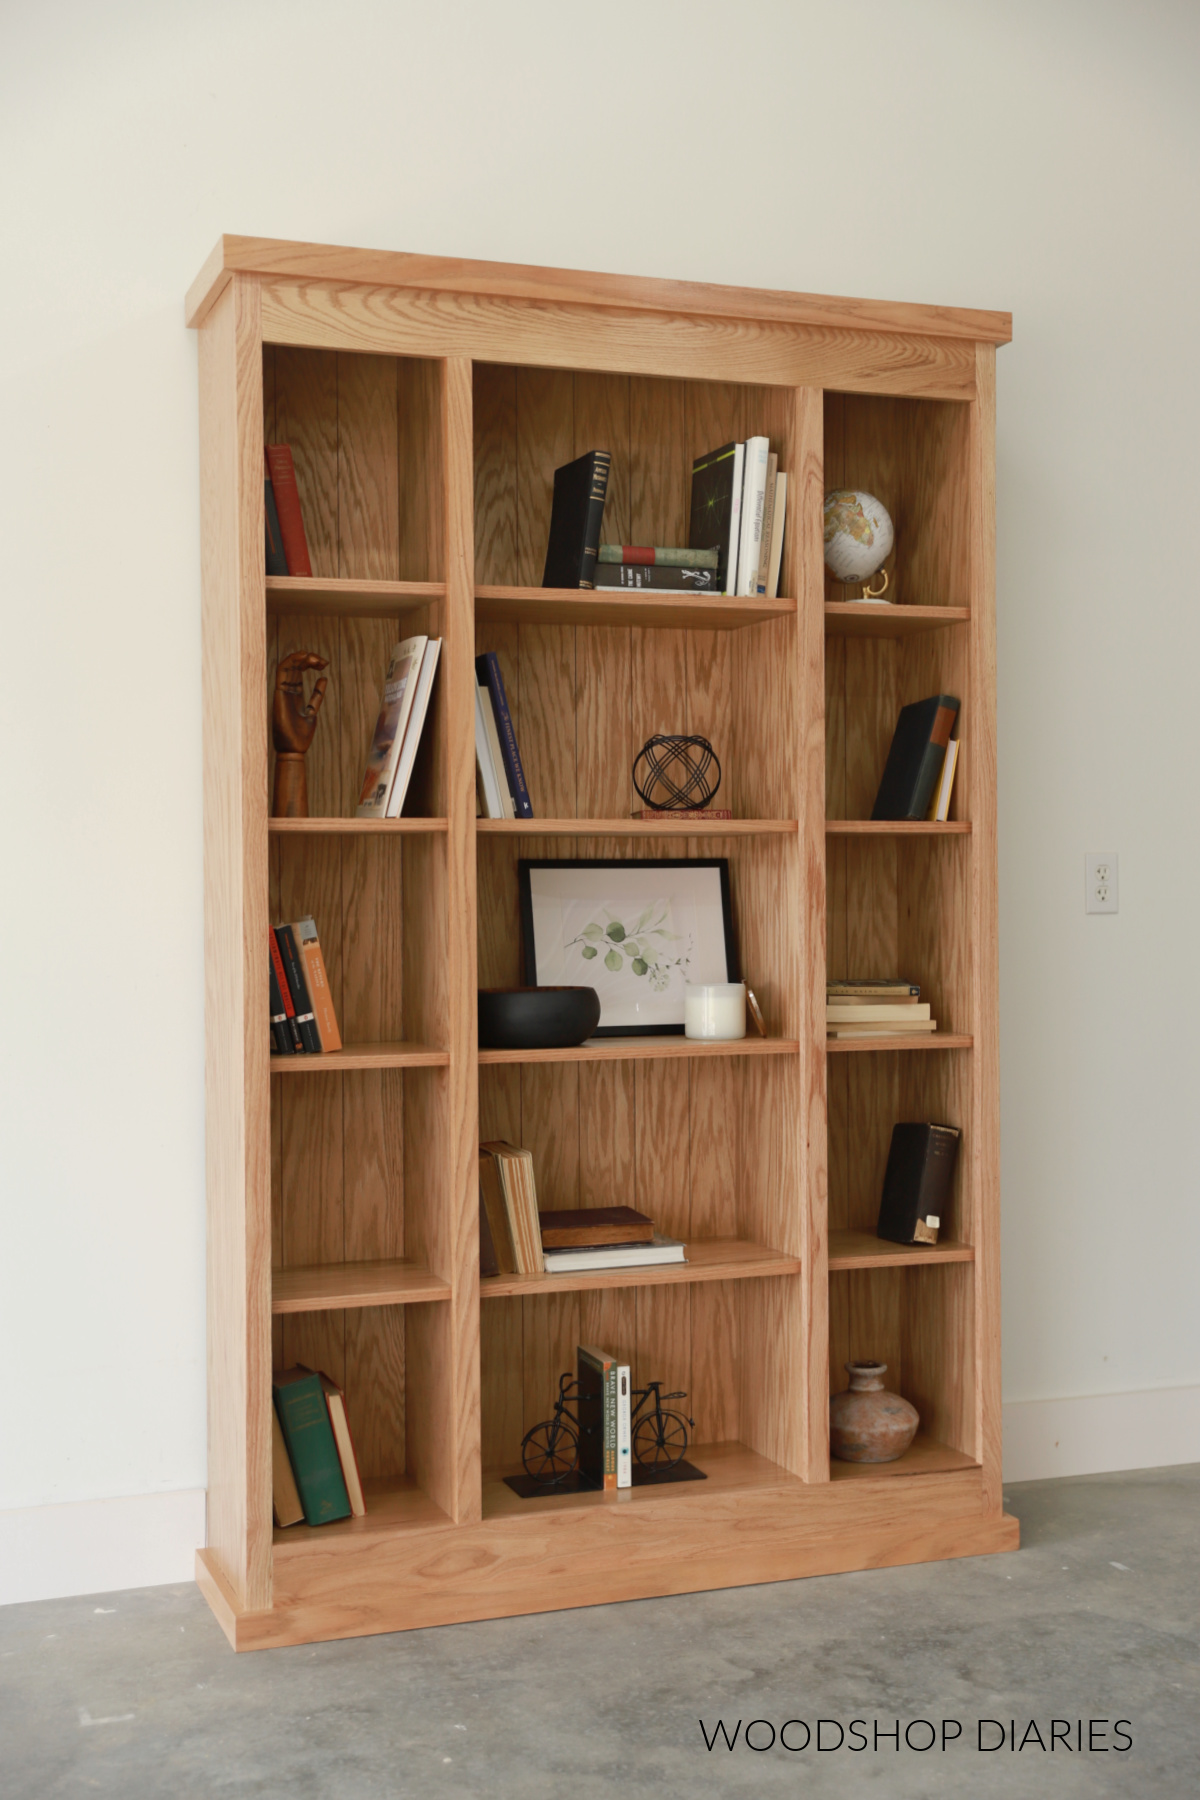
Credit: www.woodshopdiaries.com
Choosing The Right Materials
Choosing the right materials is key to building a strong and beautiful bookshelf. The materials affect how the shelf looks and how long it lasts. Picking the right wood and tools makes the project easier and the end result better.
Good materials save time and money. They also help create a safe shelf that holds your books well. Take time to understand what materials work best for your design and use.
Types Of Wood
Wood comes in many types. Each has different strength and appearance.
Pine is soft and easy to work with. It is also affordable. Pine suits simple bookshelf projects.
Oak is hard and strong. It lasts a long time. Oak has a nice grain pattern. It fits classic or modern styles.
Maple is smooth and sturdy. It is good for heavier shelves. Maple looks clean and bright.
Plywood is made from layers of wood glued together. It is stable and less likely to warp. Plywood is good for shelves with a smooth finish.
Tools And Supplies Needed
Use the right tools to build a safe bookshelf. Common tools include a saw, drill, screwdriver, and measuring tape.
Sanding paper or a power sander smooths rough edges. Wood glue adds extra strength to joints. Screws hold the pieces tightly.
Paint or wood stain finishes the shelf and protects the wood. Brushes or rags apply these finishes evenly.
Having all tools ready helps the work go fast and easy. Safety gear like gloves and goggles protects your hands and eyes.
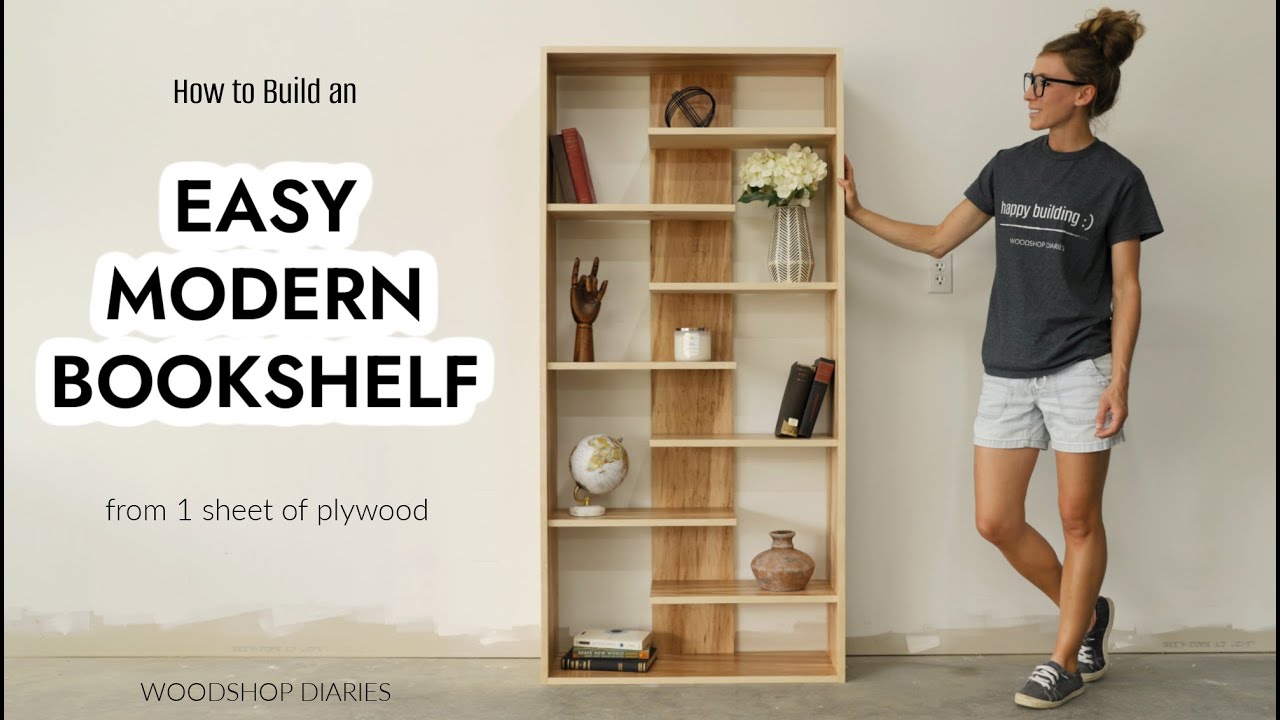
Credit: www.youtube.com
Planning Your Bookshelf Design
Planning your bookshelf design is a key step before starting the build. Good planning saves time and avoids mistakes. It helps you create a shelf that fits your space and needs perfectly.
Think about the size, style, and materials you want. A clear plan guides you through each step with confidence.
Measuring Your Space
First, measure the area where the bookshelf will go. Use a tape measure to find the height, width, and depth. Write down these numbers.
Check for any obstacles like outlets or vents. Make sure the shelf will fit without blocking them. Double-check your measurements for accuracy.
Sketching The Layout
Draw a simple sketch of your bookshelf on paper. Mark the dimensions and shelf placements. This visual helps you see the design clearly.
Plan how many shelves you need and their spacing. Consider what items you will store. Adjust the layout to fit books and decorations well.
Cutting And Preparing Wood
Cutting and preparing wood is a key step in building a sturdy bookshelf. It shapes the wood pieces to fit perfectly. This step needs care and precision. The right cuts make assembly easier and the final product stronger.
Before cutting, measure carefully. Mark the wood clearly. Use the right tools and safety gear. These practices help avoid mistakes and accidents.
Marking Measurements
Start by measuring your wood pieces accurately. Use a tape measure for exact lengths. Mark lines with a pencil where you will cut. Double-check all measurements to prevent errors. Clear marks guide your cutting tools smoothly. Mark both sides of the wood for better visibility.
Safe Cutting Techniques
Wear safety glasses and gloves before cutting. Use clamps to hold the wood steady. Cut slowly and follow the marked lines. Choose the right saw for the wood type. Keep your fingers away from the blade. Stop if the saw binds or slips. A clean, safe cut protects both you and the wood.
Assembling The Frame
Assembling the frame is the next big step in building your bookshelf. It creates the base structure that will hold everything. Take your time to fit the parts correctly. A strong frame means a strong bookshelf. Proper assembly helps avoid wobbles or weak spots.
Focus on aligning the wood pieces properly. Check each corner and edge carefully. Use clamps to hold pieces steady if needed. This step sets the foundation for the whole project.
Joining Pieces Together
Start by lining up the side panels with the top and bottom pieces. Make sure the edges meet squarely. Use wood glue on the contact surfaces. It adds extra strength to the joints. Press the pieces tightly together. Wipe away any excess glue that squeezes out.
Use clamps to keep the parts in place. Let the glue dry before moving on. This prevents the frame from shifting. Dry glue forms a strong bond. Check that all corners form right angles.
Securing With Screws And Nails
After the glue dries, use screws to lock the pieces. Pre-drill small holes to avoid splitting the wood. Drive screws slowly and straight. Use screws long enough to grip both pieces well.
For extra hold, add finishing nails. These keep the frame tight and stable. Countersink the nails slightly below the surface. Fill the holes later for a smooth finish. Avoid overdriving nails to prevent wood damage.
Adding Shelves
Adding shelves is a key step in building a sturdy bookshelf. Shelves hold your books and decorations. They must be strong and well-placed. Proper shelf installation keeps the bookshelf balanced and attractive.
Spacing And Alignment
Decide the distance between each shelf. Think about the size of your books or items. Measure carefully and mark the spots on the side panels. Use a level tool to keep the shelves straight. Uneven shelves can make the bookshelf look messy and unstable.
Attaching Shelf Supports
Shelf supports hold the shelves in place. You can use brackets, pins, or cleats. Attach supports firmly to the side panels. Check that each support is at the right height and straight. Secure screws tightly to avoid wobbling. Strong supports prevent shelves from sagging under weight.
Sanding And Finishing
Sanding and finishing are key steps to make your bookshelf look great and last long. These steps protect the wood and give it a smooth, clean surface. A well-finished bookshelf feels nicer and resists damage from daily use.
Take your time with sanding and finishing. This helps avoid rough spots and uneven color. A smooth finish also makes it easier to clean your bookshelf later.
Smoothing Surfaces
Start sanding with medium-grit sandpaper to remove rough areas. Sand in the direction of the wood grain. This prevents scratches that go across the grain.
After the first sanding, use fine-grit sandpaper for a smooth finish. Wipe the dust off with a damp cloth. Make sure the surface feels even and soft to touch.
Applying Paint Or Stain
Choose paint or stain that fits your style and room decor. Use a brush or cloth to apply thin, even coats. Let each coat dry before adding the next one.
Paint covers the wood and gives solid color. Stain shows the wood’s natural grain with color. Both protect the wood and make your bookshelf look good.
Installing The Bookshelf
Installing the bookshelf is a key step to complete your project. It requires care to keep the shelf stable and safe. Follow these steps to place and secure your bookshelf properly.
Positioning Safely
Choose a flat, even surface for your bookshelf. Avoid placing it near doors or heavy foot traffic. Check the wall space to ensure the shelf fits well. Leave enough room for easy access and cleaning. Keep the shelf away from heat sources or damp areas.
Anchoring To The Wall
Secure the bookshelf to the wall to prevent tipping. Use strong anchors suitable for your wall type. Mark the wall where the shelf meets it. Drill holes and insert anchors carefully. Attach brackets to the shelf and wall tightly. Double-check the stability before placing items on it.
Decorating And Styling Tips
Decorating and styling a bookshelf makes it more than storage. It turns the shelf into a key part of your room’s look. Good styling balances books and decorative items. This balance creates a space that feels lively and neat. Keep the style simple and organized. Choose items that reflect your personality. Use these tips to make your bookshelf stand out.
Arranging Books And Decor
Place books both vertically and horizontally for variety. Stack some books flat to create different heights. Use bookends to keep books upright and tidy. Mix books with decor pieces like plants or candles. Choose decor that matches the room’s color scheme. Leave some empty space to avoid clutter. Group similar items together to create a theme. Change the arrangement often to keep it fresh.
Maintaining Your Bookshelf
Dust your bookshelf regularly to keep it clean. Check for loose screws or wobbly shelves often. Remove items you no longer need or use. Keep the shelf dry to avoid damage or mold. Organize books by size, color, or subject for easy finding. Avoid overloading shelves to keep them safe. Take time to rearrange and refresh the look every few months.
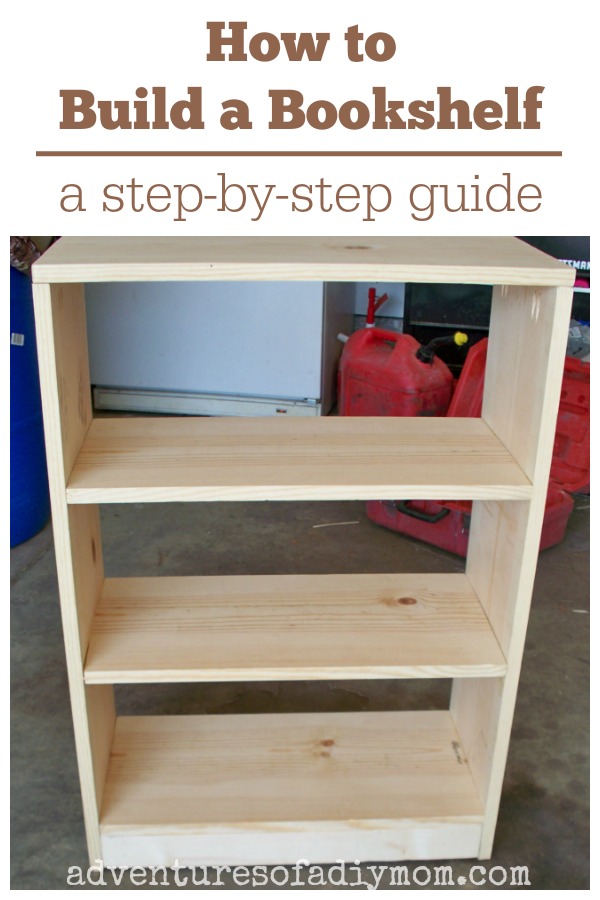
Credit: www.adventuresofadiymom.com
Frequently Asked Questions
What Materials Do I Need To Build A Bookshelf?
To build a bookshelf, you’ll need wood boards, screws, wood glue, sandpaper, a saw, a drill, and a measuring tape. Choose wood type based on your budget and style preference. These materials ensure sturdy and durable construction.
How Long Does It Take To Build A Bookshelf?
Building a bookshelf typically takes 3 to 6 hours, depending on complexity and skill level. Simple designs can be completed faster, while intricate shelves may require more time. Proper planning speeds up the process.
What Tools Are Essential For Bookshelf Construction?
Essential tools include a saw, drill, screwdriver, measuring tape, level, and sander. These tools help cut, assemble, and finish the bookshelf accurately. Using the right tools ensures safety and quality.
Can I Customize The Bookshelf Size And Design?
Yes, bookshelves can be customized to fit any space or style. Adjust height, width, and shelf spacing to suit your needs. Personalizing your bookshelf adds functionality and aesthetic appeal.
Conclusion
Building a bookshelf is a simple and rewarding project. With basic tools and clear steps, anyone can do it. Choose the right wood and measure carefully for a perfect fit. Take your time with each part to ensure strength and beauty.
Soon, you will have a useful shelf to hold your books and treasures. Enjoy the satisfaction of creating something with your own hands. Start your bookshelf project today and add a personal touch to your space.