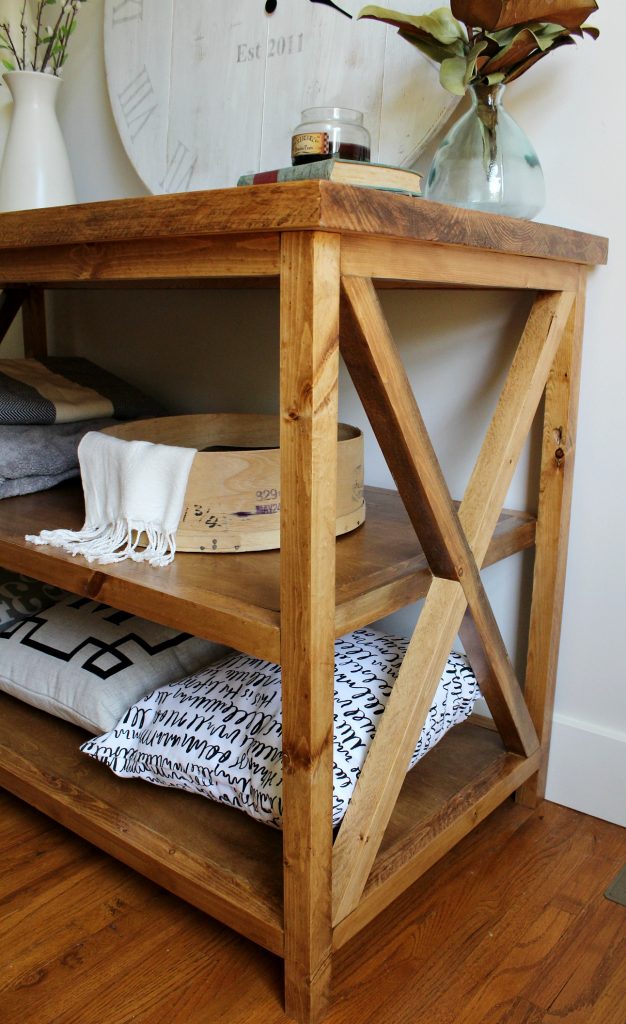
Are you looking to add style and extra storage to your home without spending a fortune? Building a console table with shelves is a smart and satisfying way to do just that.
Imagine having a beautiful piece of furniture that fits perfectly in your space, holds your favorite items, and shows off your personal touch. In this guide, you’ll discover simple steps to create your own console table, even if you’ve never built anything before.
Ready to transform your space and impress your guests? Let’s get started!
Materials And Tools Needed
Building a console table with shelves needs the right materials and tools. Using good wood and proper tools makes the project easier and the table strong. Prepare everything before starting to save time and avoid problems.
Wood Types And Sizes
Choose wood that fits your style and budget. Pine and oak are common choices. Pine is soft and easy to cut. Oak is hard and lasts long. For the table top, use a solid board about 1 inch thick. Shelves can be thinner, around 3/4 inch. Cut wood pieces to the size you want for your table.
Essential Tools
You need some basic tools to build your table. A saw will cut the wood to size. A drill helps make holes and drive screws. Sandpaper smooths rough edges. A measuring tape ensures correct dimensions. A screwdriver or drill driver tightens screws. Clamps hold pieces steady while you work. A level keeps the table even.
Optional Supplies
Some extra supplies make your work easier and improve the finish. Wood glue adds strength to joints. Wood filler hides small holes and cracks. Paint or stain changes the color and protects wood. Brushes or rags apply paint and stain. Safety gear like gloves and goggles protect your hands and eyes.
Design And Measurements
Design and measurements form the foundation of building a console table with shelves. Proper planning ensures the table fits your space and serves its purpose well. Taking time to design helps avoid mistakes during construction. Clear measurements guide the cutting and assembling of materials. This section covers key steps to create a functional and stylish table.
Choosing The Right Dimensions
Start by measuring the space where the table will stand. Consider the length, width, and height that suit the room. Typical console tables range from 30 to 48 inches wide. Height usually falls between 28 and 36 inches. Keep in mind doorways and walking paths around the table. Make sure the size matches your needs and available space.
Planning Shelf Placement
Decide how many shelves you want under the tabletop. Shelves provide extra storage and display space. Think about what you will store or show on them. Space shelves evenly or adjust for taller items. Leave enough room between shelves for easy access. Plan shelf depth to match the table width without crowding the area.
Sketching Your Table
Draw a simple sketch of your console table with shelves. Include all dimensions and shelf positions in the sketch. Use pencil and ruler for clear, straight lines. Label each part to avoid confusion later. A detailed sketch helps visualize the final product. It also guides cutting and assembling pieces accurately.
Preparing The Wood
Preparing the wood is a key step before you start building your console table. Proper preparation helps the wood fit together well. It also makes the table look smooth and strong. Taking time to prepare the wood saves effort later.
Cutting To Size
Measure the wood pieces carefully. Mark the wood with a pencil. Use a saw to cut the wood to the right size. Cut slowly to keep the edges straight. Check each piece after cutting to be sure it fits your plan.
Sanding For Smoothness
Use sandpaper to smooth all wood surfaces. Sand in the direction of the wood grain. Start with rough sandpaper, then use finer grit for a smooth finish. Sand edges and corners well to avoid splinters. Smooth wood helps paint or stain stick better.
Pre-drilling Holes
Mark spots for screws on the wood pieces. Use a drill with a bit smaller than the screw size. Drill holes carefully to avoid splitting the wood. Pre-drilling makes screwing easier and keeps the wood strong. Check that holes line up for a perfect fit.

Credit: www.remodelaholic.com
Assembling The Frame
Assembling the frame is a key step in building your console table with shelves. This part gives the table its shape and strength. Follow clear steps to make sure the frame is sturdy and fits well.
Building The Tabletop
Start by choosing the wood pieces for the tabletop. Cut them to the exact size needed. Arrange the pieces side by side for a smooth surface. Use wood glue along the edges to join them. Clamp the pieces tightly and let the glue dry fully.
Once dry, sand the tabletop to remove rough spots. This step ensures a flat and even surface. The tabletop is now ready to be attached to the frame.
Constructing The Legs
Cut the legs from solid wood. The height depends on your table design. Sand each leg to smooth out rough edges. Drill holes for screws to attach the legs later. Make sure all legs are the same length for balance.
Check each leg for sturdiness. Properly shaped legs support the table well.
Attaching The Frame
Lay the tabletop upside down on a soft surface. Position the legs at each corner. Use screws to fix the legs to the tabletop. Make sure the legs are straight and tight. Add cross supports between legs if needed. This adds extra strength to the frame.
Double-check all screws and joints. A solid frame is key for a durable table.
Adding Shelves
Adding shelves to your console table boosts both style and storage. Shelves hold books, plants, or decorative pieces. They make your table more useful and attractive.
Proper shelf installation ensures stability and durability. Follow each step carefully for the best results.
Measuring Shelf Supports
Start by measuring where the shelves will sit. Measure the height and width inside the table frame. Mark these spots clearly on the inside walls. Ensure the shelves will be level and even. Accurate measurements help avoid wobbly shelves later.
Installing Shelf Brackets
Select sturdy brackets that fit your shelf size. Hold each bracket at the marked spots. Drill pilot holes for screws to prevent wood splitting. Screw brackets tightly to the frame. Double-check brackets are aligned and level before moving on.
Securing The Shelves
Place the shelves onto the brackets carefully. Check the shelves fit snugly and sit flat. Screw the shelves into the brackets from underneath. This keeps shelves steady and safe to use. Test by pressing lightly to confirm stability.
Credit: www.woodshopdiaries.com
Finishing Touches
Finishing touches bring your console table to life. These steps protect and beautify the wood. They also ensure your table lasts for years. Take your time to do this part well. It makes all the difference in the final look and durability.
Applying Paint Or Stain
Choose paint or stain that suits your style. Use a brush or cloth to apply evenly. Work in smooth, long strokes for best results. Allow the first coat to dry completely. Apply a second coat if needed for deeper color. Always paint or stain in a well-ventilated area.
Sealing And Protecting
Seal the wood to guard against scratches and spills. Use a clear polyurethane or varnish for protection. Apply thin, even coats with a clean brush. Let each coat dry fully before adding the next. Sand lightly between coats for a smooth finish. This step keeps your table looking fresh longer.
Final Assembly And Inspection
Attach any remaining shelves or hardware carefully. Tighten screws and bolts to ensure stability. Check for rough spots and sand them smooth. Wipe the table clean to remove dust or debris. Test the table’s sturdiness and balance. Your console table is ready to use and enjoy.
Maintenance Tips
Maintaining your console table with shelves keeps it looking great and working well. Simple care steps help avoid damage and wear. Regular upkeep extends the life of your furniture. Follow these tips to keep your table in top shape.
Cleaning Advice
Dust the table often with a soft cloth. Use a damp cloth for sticky spots. Avoid harsh cleaners that can damage the finish. Dry the surface immediately after cleaning to stop water marks. Clean shelves gently to keep them looking fresh.
Repairing Minor Damage
Fix small scratches with a matching wood marker or crayon. Use wood filler for tiny dents or chips. Sand lightly after applying filler to smooth the surface. Tighten loose screws or bolts to keep the table steady. Quick fixes stop small problems from growing bigger.
Extending Table Longevity
Keep the table away from direct sunlight to prevent fading. Avoid placing heavy objects on shelves to prevent bending. Use coasters to stop water rings and heat damage. Check joints regularly and tighten if needed. These steps help your console table last for years.
Credit: www.woodshopdiaries.com
Frequently Asked Questions
What Materials Do I Need For A Console Table With Shelves?
You need wood boards, screws, wood glue, sandpaper, paint or stain, brackets, and tools like a saw and drill. Choose sturdy wood for durability and good finish to enhance appearance.
How Long Does It Take To Build A Console Table?
Building a console table usually takes 4 to 6 hours. This depends on your skill level and preparation. Allow extra time for drying paint or stain if applied.
Can I Customize The Size Of The Console Table?
Yes, you can customize the table size to fit your space. Adjust the length, width, and shelf height according to your needs before cutting materials.
What Type Of Wood Is Best For Console Tables?
Hardwoods like oak, maple, or walnut are best for durability and appearance. Softwoods like pine are affordable but may dent easily. Choose based on budget and style.
Conclusion
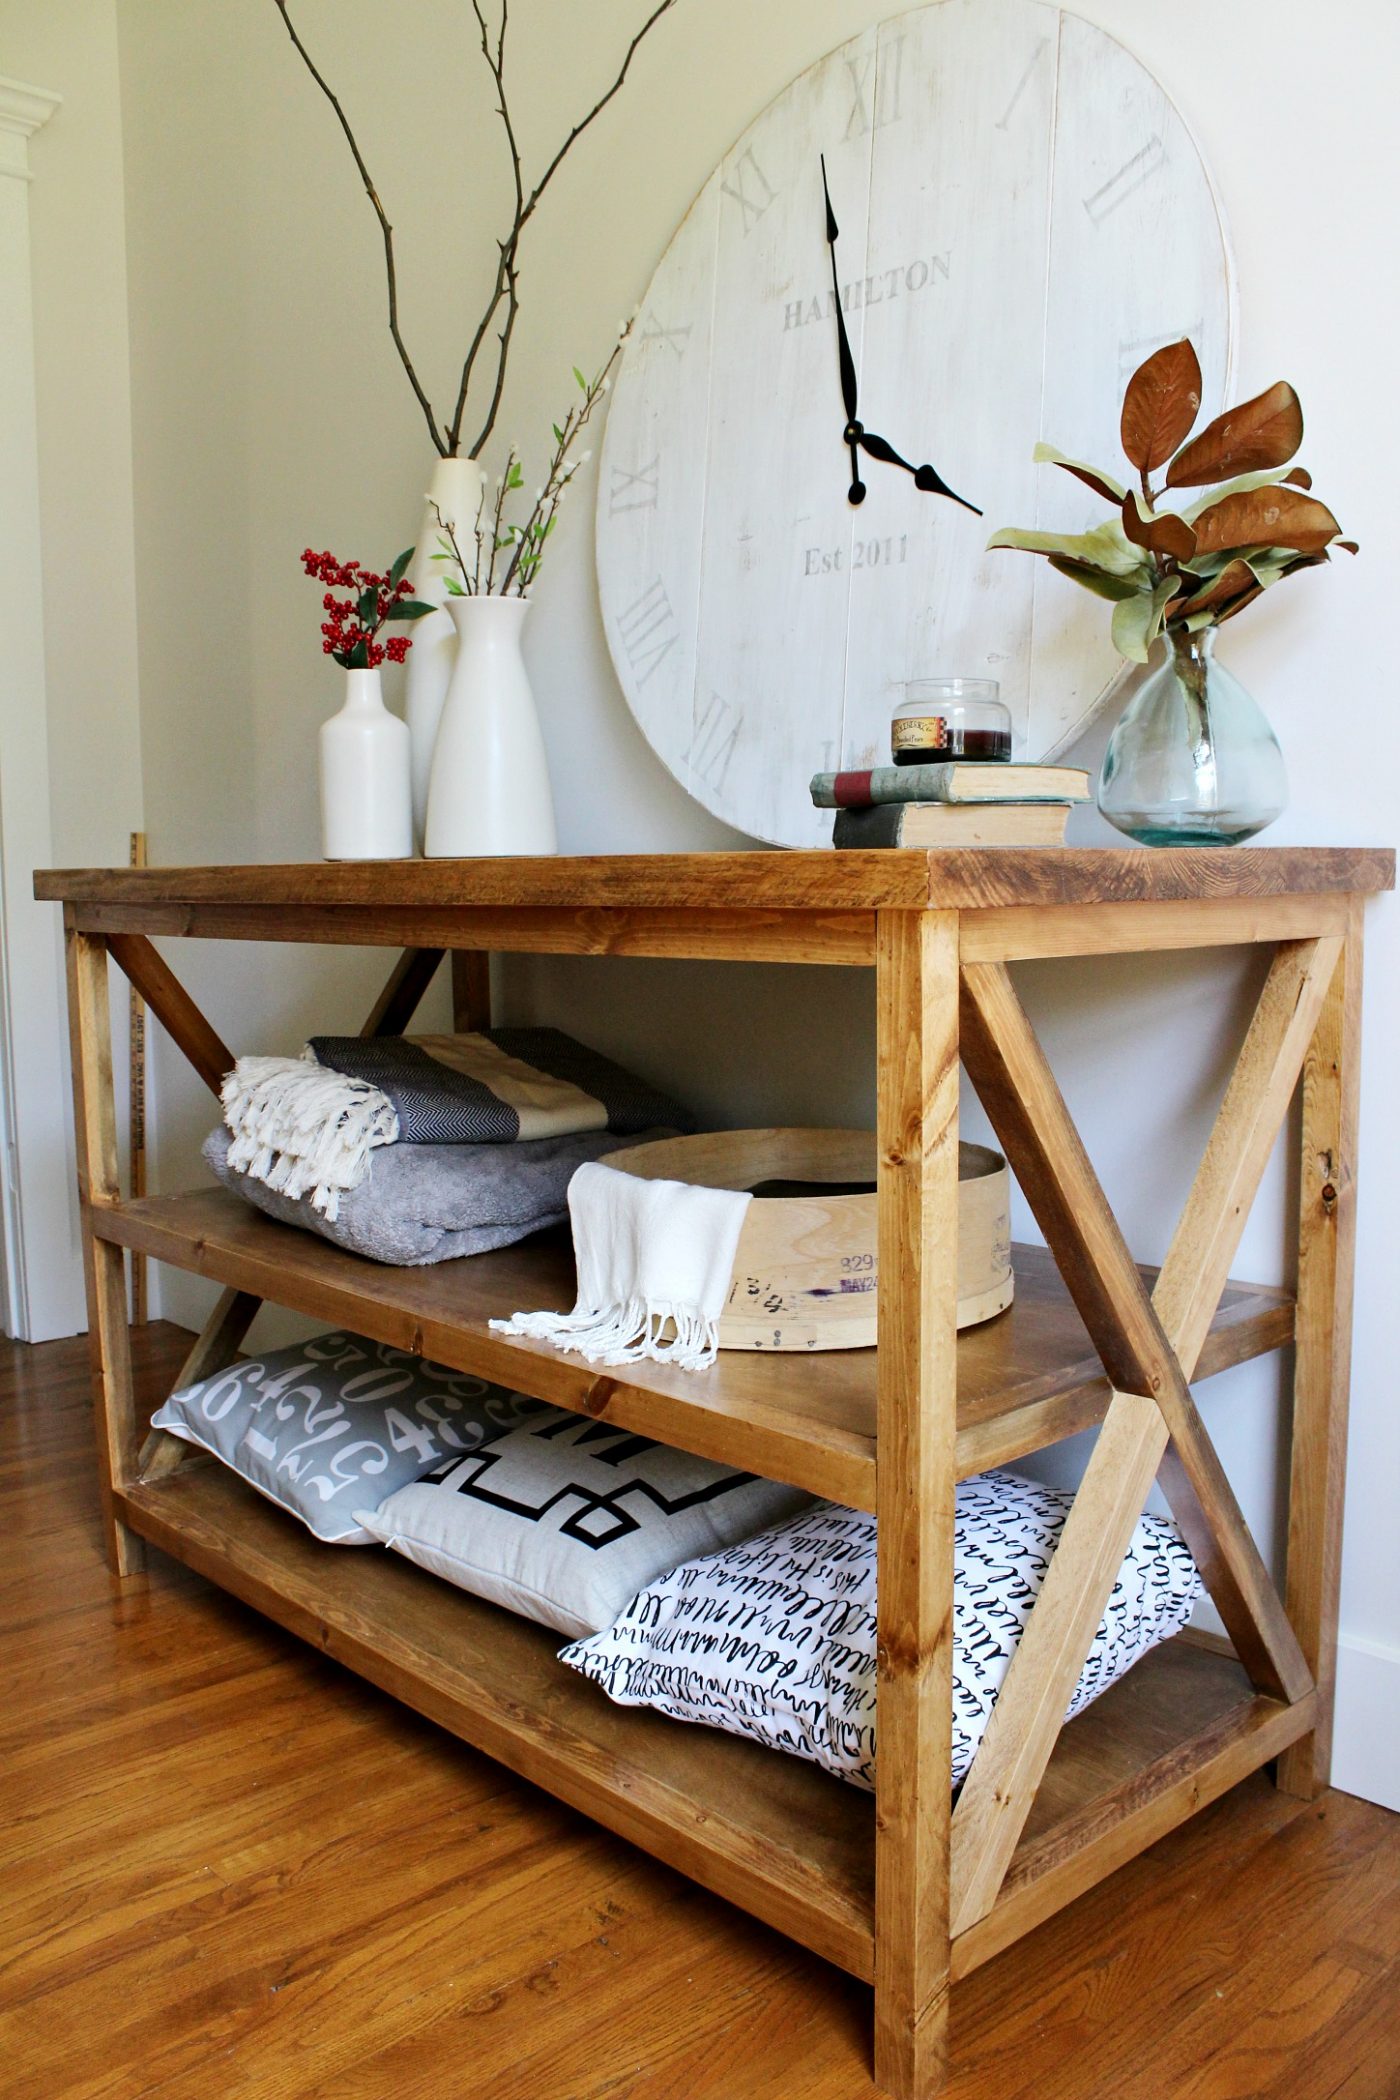
Building a console table with shelves is a fun and useful project. It adds storage and style to any room. Follow the steps carefully, and take your time. Use the right tools and materials for best results. Enjoy the process of creating something with your own hands.
This table will be a great addition to your home. Simple, sturdy, and made by you. Ready to hold your books, plants, or keys. A practical piece that fits your space perfectly. Start building today and see the difference!
