Are you tired of cluttered towels and sheets taking over your bathroom or bedroom? A corner linen cabinet could be the perfect solution to organize your space efficiently.
Imagine having a stylish, custom-built cabinet that fits snugly into an unused corner, giving you plenty of storage without eating up your room. In this guide, you’ll discover simple, step-by-step instructions to build your own corner linen cabinet—even if you’ve never worked with wood before.
By the end, you’ll have the skills and confidence to create a beautiful piece that transforms your home. Ready to make your space neat and inviting? Let’s get started!
Planning Your Cabinet
Planning your corner linen cabinet is the first step to a successful build. Good planning saves time and money. It helps avoid mistakes and ensures the cabinet fits well in your space. Focus on three key areas: choosing the right corner, measuring the space, and selecting materials.
Choosing The Right Corner
Pick a corner that is easy to reach. Check if the corner has enough room to open cabinet doors fully. Avoid corners with pipes or electrical outlets inside. Choose a corner that does not block walking paths or other furniture. Think about lighting and how it affects the cabinet’s use.
Measuring The Space
Use a tape measure to get exact dimensions of your corner. Measure the height from floor to ceiling. Note the wall lengths on both sides of the corner. Check for any baseboards or moldings that affect cabinet size. Write down all numbers clearly before starting the build.
Selecting Materials
Choose wood that is strong and easy to work with. Plywood is a good choice for cabinet boxes. Solid wood works well for doors and shelves. Pick materials that match your room’s style and color. Consider moisture resistance for bathrooms or laundry rooms.
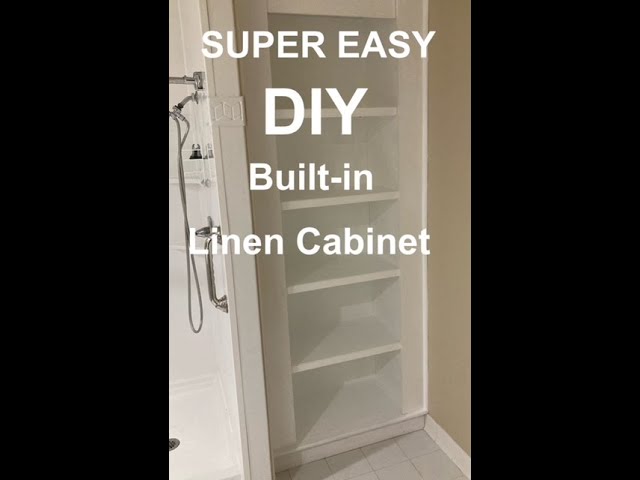
Credit: www.youtube.com
Gathering Tools And Supplies
Before starting your corner linen cabinet project, gather all tools and supplies. This step saves time and avoids frustration. Having everything ready ensures smooth progress and better results. Focus on quality tools and materials for a sturdy cabinet. Below are the essential tools and recommended materials for the job.
Essential Tools
- Measuring tape – for accurate dimensions
- Power drill – for screws and holes
- Level – to keep cabinet straight
- Clamps – to hold pieces together
- Saw (circular or jigsaw) – to cut wood
- Screwdriver – for assembling parts
- Sanding block or electric sander – for smooth surfaces
- Pencil – for marking measurements
- Square – to ensure right angles
Recommended Materials
- Plywood or hardwood panels – for cabinet structure
- Wood screws – for strong joints
- Wood glue – adds extra hold
- Hinges – for cabinet doors
- Paint or wood stain – for finishing
- Handles or knobs – for easy door opening
- Wood filler – to cover nail holes
- Sandpaper – for smooth finishing
- Backing board – to close the cabinet back
Cutting And Preparing Wood
Cutting and preparing wood is an important step in building a corner linen cabinet. This process ensures all pieces fit perfectly. Accurate cuts and smooth surfaces make assembly easier and improve the cabinet’s look. Taking time to measure and cut carefully saves effort later.
Marking Measurements
Start by measuring the wood panels carefully. Use a tape measure and pencil to mark each cut line. Double-check measurements before marking. Mark the edges clearly for easy cutting. Precise markings prevent mistakes and wasted wood. Take your time with this step.
Cutting Panels And Shelves
Use a saw to cut along the marked lines. A circular saw or handsaw works well for straight cuts. Cut slowly and steadily to keep lines clean. Cut the cabinet’s side panels, shelves, and backing. Make sure each piece matches the measurements exactly. Clean cuts help the cabinet fit together tightly.
Sanding And Smoothing
After cutting, sand all wood pieces. Use medium-grit sandpaper to smooth rough edges. Sand corners and surfaces until they feel smooth to touch. Sanding removes splinters and prepares wood for finishing. Clean wood looks better and lasts longer. Spend enough time on this step for a neat result.
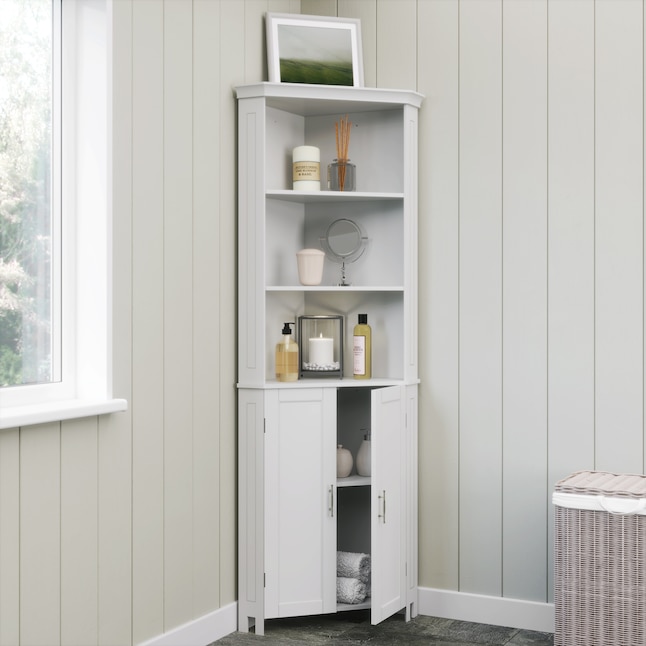
Credit: www.lowes.com
Assembling The Frame
Assembling the frame is a key step in building your corner linen cabinet. This step shapes the cabinet and ensures it stands strong. Focus on creating a sturdy base, solid sides, and secure joints. Take your time and follow each part carefully for the best results.
Building The Base
Start by cutting the base pieces to size. Use strong wood to support the cabinet’s weight. Lay the pieces flat on a clean surface. Join the edges using wood glue and screws. Make sure the base is square by measuring diagonals. Adjust if needed before the glue dries.
Constructing The Sides
Cut the side panels to fit the corner shape. Sand the edges to smooth rough spots. Attach the sides to the base using screws and glue. Keep the panels straight and flush with the base. Use clamps to hold everything tight while drying. Double-check the corners are right angles.
Joining The Frame
Now connect the sides and base to form the frame. Use corner brackets or wood blocks inside for extra strength. Drill pilot holes before screwing to avoid splitting wood. Tighten screws evenly to keep the frame square. Let the glue set fully before moving on. A strong frame supports the whole cabinet.
Installing Shelves And Doors
Installing shelves and doors is a key step in building your corner linen cabinet. It shapes the cabinet’s functionality and look. Proper installation ensures durability and ease of use. Follow clear steps for fitting shelves, hanging doors, and adding hardware.
Fitting Shelves
Start by measuring the inside width and depth of the cabinet. Cut shelves to fit snugly inside the frame. Use shelf pins or brackets to hold shelves in place. Space shelves evenly for balanced storage. Check shelf level with a spirit level. Adjust pins or brackets if needed for stability.
Hanging Doors
Attach hinges to the cabinet frame first. Mark hinge placement on the door edges. Screw hinges onto the doors carefully. Align doors with the cabinet opening. Adjust hinge screws to ensure doors open smoothly. Test doors by opening and closing several times.
Adding Hardware
Select handles or knobs that match your cabinet style. Mark spots for screws on the door fronts. Drill small pilot holes for screws. Attach handles or knobs firmly with screws. Check that hardware is secure and straight. Hardware adds function and enhances cabinet appearance.
Finishing Touches
Finishing touches give your corner linen cabinet a polished look. These final steps protect the wood and make the cabinet last longer. Take time to do them well for a beautiful result.
Painting Or Staining
Choose paint or stain to match your room style. Paint offers bright colors and smooth coverage. Stain highlights the natural wood grain. Apply thin, even coats for best results. Let each coat dry fully before adding the next.
Sealing The Surface
Seal the cabinet to protect it from moisture and dirt. Use a clear sealant like polyurethane or varnish. Apply with a clean brush in long, smooth strokes. This step keeps your finish looking fresh and strong.
Final Adjustments
Check doors and drawers for smooth opening and closing. Tighten any loose screws or hinges. Add felt pads to protect floors and walls. Small fixes make your cabinet work better every day.
Tips For Maintenance
Maintaining your corner linen cabinet keeps it looking fresh and lasting longer. Simple care steps help protect the wood and finish. Clean regularly and handle with care to avoid damage. Follow these easy tips to keep your cabinet in great shape.
Cleaning Advice
Use a soft cloth to dust your cabinet often. Avoid rough cloths that can scratch the surface. For stains, use a mild soap mixed with water. Wipe gently and dry with a clean cloth. Do not use harsh chemicals or abrasive cleaners. These can damage the finish and wood.
Preventing Damage
Place the cabinet away from direct sunlight. Sunlight can fade the wood and cause cracks. Keep it away from heaters or vents to avoid drying out. Use coasters or mats under items to stop scratches. Open and close doors gently to protect hinges. Check screws and handles regularly and tighten them if loose.
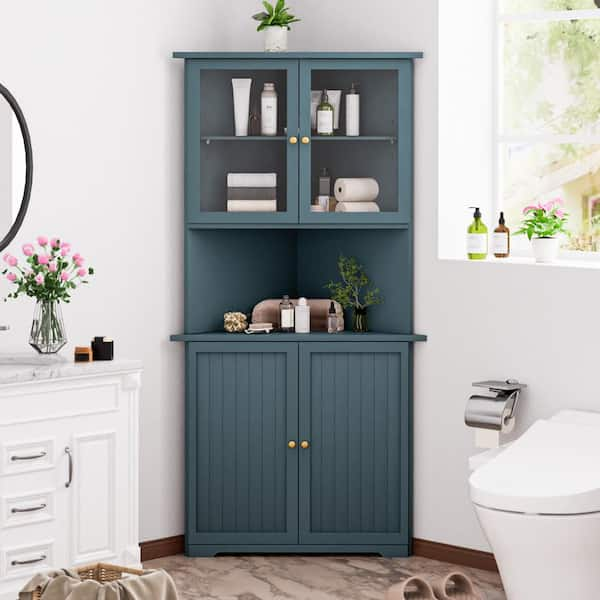
Credit: www.homedepot.com
Frequently Asked Questions
What Materials Do I Need For A Corner Linen Cabinet?
You need plywood or MDF, wood glue, screws, hinges, paint, and finishing materials. Choose moisture-resistant wood for durability in bathrooms or laundry rooms.
How Do I Measure Space For A Corner Linen Cabinet?
Measure the corner width and depth accurately. Consider door clearance and shelf height for optimal storage and easy access.
What Tools Are Essential For Building This Cabinet?
Basic tools include a saw, drill, screwdriver, measuring tape, level, and clamps. These ensure precise cuts and sturdy assembly.
How Do I Ensure The Cabinet Fits Perfectly In A Corner?
Use a carpenter’s square and level during assembly. Dry-fit pieces before final fastening to avoid misalignment.
Conclusion
Building a corner linen cabinet adds useful storage to your home. It saves space and keeps linens organized. Follow each step carefully for best results. Use good materials to ensure the cabinet lasts long. Personalize it with paint or handles to match your style.
Enjoy your new cabinet that fits perfectly in your corner. This project brings both function and charm to your room. Try it and see how easy and rewarding it can be.
