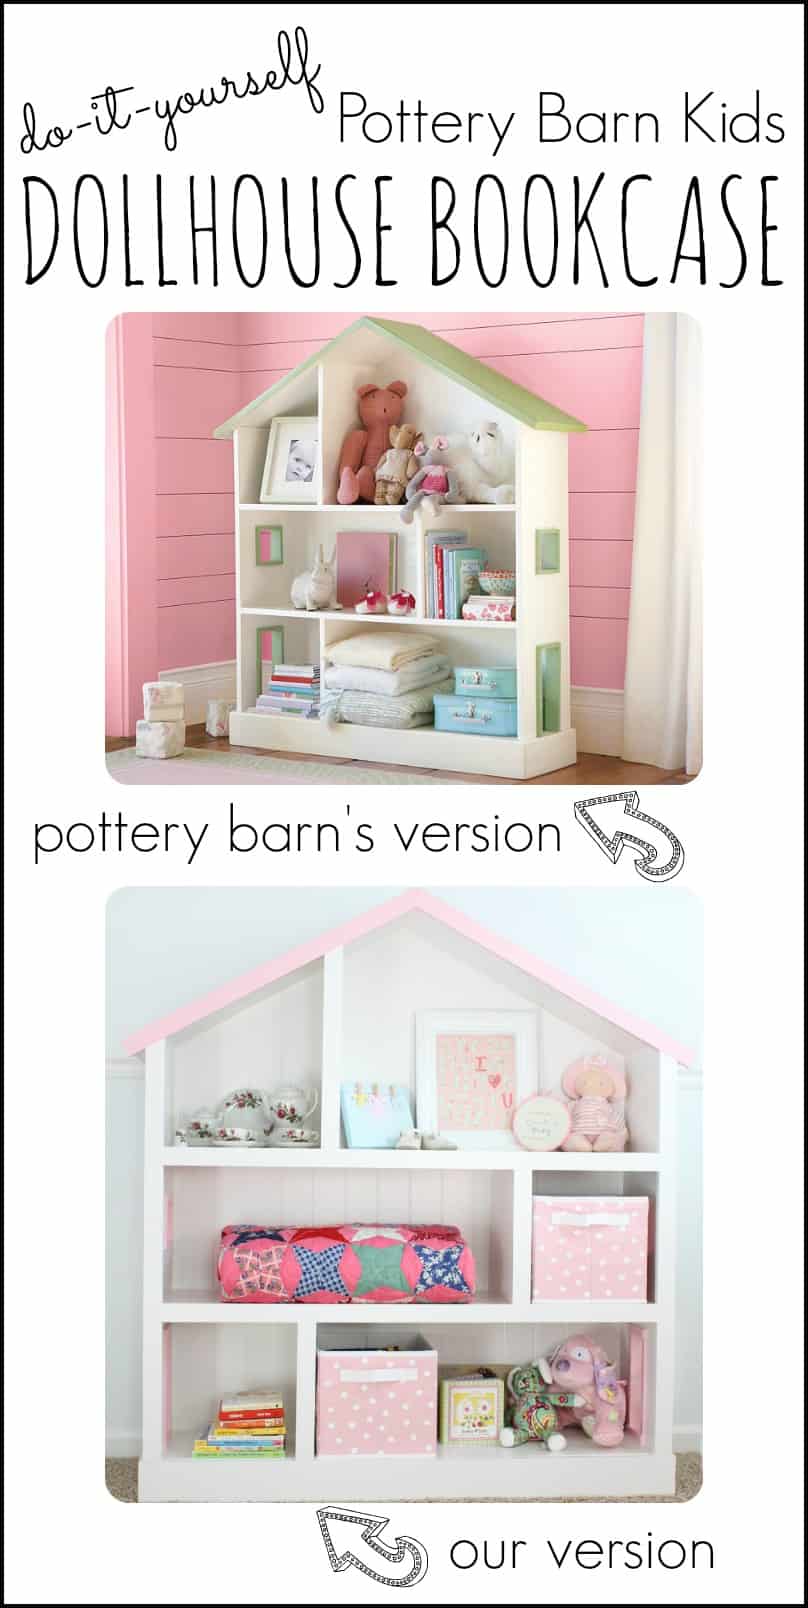
Imagine having a unique bookshelf that not only holds your favorite books but also looks like a charming dollhouse. Wouldn’t that be a fun and creative addition to your room?
Building a dollhouse bookshelf is easier than you might think, and you don’t need to be a woodworking expert to do it. In this guide, you’ll discover simple steps to create a beautiful, personalized bookshelf that can brighten up any space.
Ready to turn your bookshelf into a mini home for your books and treasures? Let’s get started!
Planning Your Bookshelf
Planning your dollhouse bookshelf is the first step to a successful build. Careful planning saves time and avoids mistakes. It helps you create a design that fits your space and style. This section guides you through essential steps to plan well.
Choosing The Right Design
Pick a design that matches your room and dollhouse theme. Simple shapes suit beginners and look neat. Complex designs need more skill but add charm. Consider the size of books and dolls you want to store. Balance style and function for the best result.
Selecting Materials
Choose materials that are easy to work with and sturdy. Wood, plywood, and MDF are popular choices. Wood offers a classic look and lasts long. MDF is smooth and good for painting. Avoid materials that are too heavy or fragile for shelves.
Measuring And Sketching
Measure your space carefully before cutting any material. Write down exact height, width, and depth. Sketch your bookshelf on paper or use a simple app. Include shelves, dividers, and decorative parts. Clear sketches guide your building and keep dimensions correct.
Gathering Tools And Supplies
Gathering the right tools and supplies is the first step to building a dollhouse bookshelf. Having everything ready helps the project go smoothly. It saves time and keeps you focused. This section lists what you need to start your build.
Essential Tools List
- Measuring tape for accurate dimensions
- Pencil to mark cutting lines
- Hand saw or jigsaw for cutting wood
- Hammer for nails or small brads
- Screwdriver for screws
- Clamps to hold pieces steady
- Sandpaper to smooth edges
- Wood glue for strong joints
- Level to keep shelves straight
Recommended Materials
- Lightweight plywood or MDF sheets
- Wooden dowels for support
- Small nails or finishing brads
- Wood filler for gaps and holes
- Primer and paint for finishing
- Clear varnish to protect surface
Safety Equipment
- Safety glasses to protect eyes
- Dust mask to avoid inhaling sawdust
- Work gloves to protect hands
- Ear protection if using power tools
- First aid kit nearby for emergencies
Cutting And Preparing Wood
Cutting and preparing wood is a key step to build a dollhouse bookshelf. It sets the base for a strong and neat final piece. Careful measuring, cutting, and sanding make sure all parts fit well. A precise start helps avoid problems later.
Marking Measurements
Start by measuring each piece of wood carefully. Use a pencil and a ruler for clear lines. Mark the exact lengths needed for shelves and sides. Double-check your marks to prevent mistakes. Precise marks guide smooth cutting and reduce waste.
Cutting Techniques
Choose the right saw for your wood type and size. A handsaw works well for small cuts. Use steady hands and cut along the marks slowly. Keep the wood steady with clamps or a workbench. Clean, straight cuts make assembly easier and stronger.
Sanding For Smooth Edges
After cutting, edges can be rough or splintered. Use sandpaper or a sanding block to smooth them. Sand in one direction for best results. Smooth edges prevent splinters and help paint stick better. This step adds a polished look to your bookshelf.
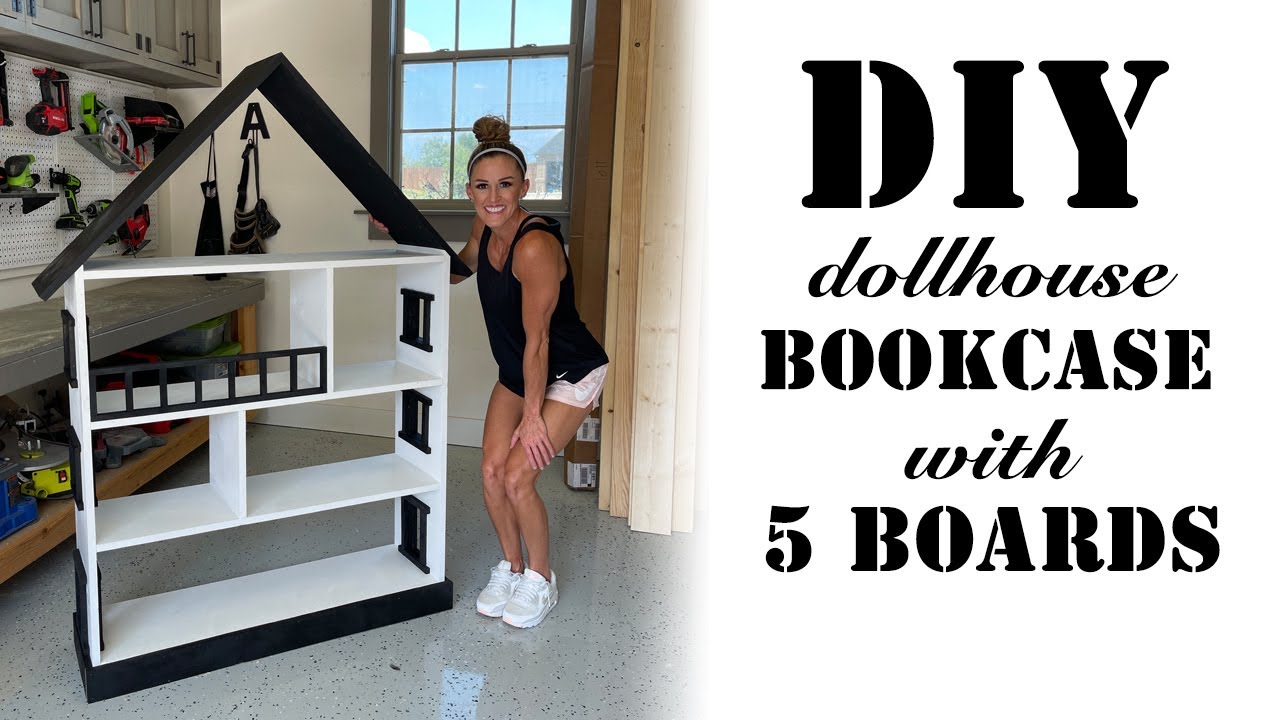
Credit: www.youtube.com
Assembling The Frame
Assembling the frame is the first big step in building your dollhouse bookshelf. This step sets the shape and strength of the whole piece. Taking your time here helps the bookshelf stay strong and look great.
Joining Pieces Securely
Start by fitting the side panels to the top and bottom boards. Make sure edges line up perfectly. Hold the pieces tight together. Use clamps if you have them. This keeps the boards steady while you work. Secure joints prevent wobbling later.
Using Wood Glue And Nails
Apply wood glue along the edges before joining the pieces. The glue adds extra hold and keeps the frame solid. After gluing, gently tap finishing nails into the joints. Nails add strength and help the glue dry in place. Use a hammer carefully to avoid splitting the wood.
Checking For Square And Stability
Use a carpenter’s square to check corners. Each corner should form a perfect right angle. Adjust as needed before the glue dries. Press on the frame to test stability. It should feel firm and not wobble. Fix any loose spots before moving on.
Adding Shelves And Details
Adding shelves and details brings your dollhouse bookshelf to life. Shelves hold your tiny books and toys. Details make it look special and unique. This section guides you through each step clearly. Follow simple instructions to create a beautiful, functional piece.
Installing Shelf Supports
Start by measuring the space inside the dollhouse. Mark where each shelf will go. Use small shelf supports or brackets for strength. Attach supports evenly on both sides with screws. Make sure they are level and secure. Proper support keeps shelves steady and safe for items.
Attaching Shelves
Cut shelves to fit the marked spaces perfectly. Sand edges smooth to avoid splinters. Place each shelf on the supports carefully. Use small nails or wood glue to fix shelves in place. Check shelves are level before the glue dries. Strong shelves hold books without bending or falling.
Decorative Elements
Add charm with simple decorations. Paint the bookshelf in bright or soft colors. Use tiny knobs or trims for a classic look. Small stickers or decals add fun patterns. Attach miniature plants or dolls for personality. These details make your dollhouse shelf unique and inviting.
Credit: www.icanteachmychild.com
Painting And Finishing
Painting and finishing your dollhouse bookshelf brings the project to life. This step adds color, protects the wood, and makes your shelf look polished. A well-painted bookshelf lasts longer and fits your room’s style.
Choosing Paint Types
Pick paint that works well on wood. Acrylic paint dries fast and cleans up easily with water. It is safe and comes in many colors. Latex paint also works well and offers a smooth finish. Avoid oil-based paint because it takes longer to dry and has strong smells.
Consider the finish you want. Matte paint hides flaws but may stain easily. Glossy paint shines bright and is easier to clean. Satin paint offers a balance between matte and glossy. Choose based on your style and how much wear the shelf will get.
Applying Primer And Paint
Start with a primer. Primer helps paint stick to the wood and covers any dark spots. Use a brush or roller to apply a thin, even layer. Let it dry completely before painting.
Apply paint in thin coats. Thick coats can drip and take longer to dry. Use smooth, even strokes with a brush or small roller. Let each coat dry fully before adding the next. Two or three coats usually give the best color and coverage.
Sealing For Durability
Seal the paint to protect your work. A clear sealant keeps paint from chipping and helps resist water damage. Use a water-based polyurethane for a safe, easy finish. Apply thin coats with a clean brush.
Let the sealant dry between coats. Two coats give good protection. This step makes your dollhouse bookshelf last longer and stay beautiful.
Final Touches
After building your dollhouse bookshelf, the final touches bring everything together. These small details make your project look complete and charming. Focus on decoration, placement, and care to keep it looking great for years.
Adding Dollhouse Accessories
Choose small accessories that fit the shelves well. Tiny furniture, mini books, or small plants add a cozy feel. Use glue dots to keep items in place. Avoid overcrowding to keep the look neat and tidy. Small lights can add warmth and charm, too.
Placement Tips
Place the bookshelf where it is easy to see and reach. Avoid direct sunlight to protect colors from fading. Keep it away from damp areas to stop damage. Make sure the shelf is stable and level to prevent tipping. Position near a reading spot for extra use.
Maintenance And Care
Dust the bookshelf regularly with a soft cloth. Check for loose accessories and fix them quickly. Use mild cleaner on wood parts if needed. Avoid harsh chemicals that can damage paint or finish. Inspect the shelf for wear and repair small cracks early.

Credit: www.charlestoncrafted.com
Frequently Asked Questions
What Materials Are Needed To Build A Dollhouse Bookshelf?
You need plywood, wood glue, nails, paint, sandpaper, and screws. These materials ensure sturdy construction and a smooth finish. Quality wood and proper tools make assembly easier and increase durability.
How Long Does It Take To Build A Dollhouse Bookshelf?
Building a dollhouse bookshelf typically takes 4 to 6 hours. This includes measuring, cutting, assembling, and painting. Time may vary based on skill level and design complexity.
Can I Customize The Size Of The Dollhouse Bookshelf?
Yes, you can customize the size to fit your space and needs. Adjust measurements before cutting wood. Custom sizing allows for better room integration and personalized storage.
What Tools Are Essential For This Woodworking Project?
Essential tools include a saw, drill, hammer, measuring tape, and screwdriver. These tools help with accurate cutting, assembling, and finishing the bookshelf. Proper tools improve safety and project quality.
Conclusion
Building a dollhouse bookshelf takes time and care. Each step adds to the final result. You can create a charming and useful piece. This project helps improve your skills and creativity. Enjoy the process and make it your own. Soon, you will have a special shelf to display books or toys.
Keep practicing and try new designs. Your effort will show in the finished product. Start your project today and have fun building!