Are you looking to add a charming, rustic touch to your home? Building a farmhouse console table might be just what you need.
Imagine having a beautiful, sturdy piece that not only fits perfectly in your space but also shows off your personal style. This project is easier than you think, even if you’re new to woodworking. By the end of this guide, you’ll have the confidence and know-how to create a farmhouse console table that stands out.
Ready to transform your home with a unique, handcrafted piece? Let’s dive in and get started!
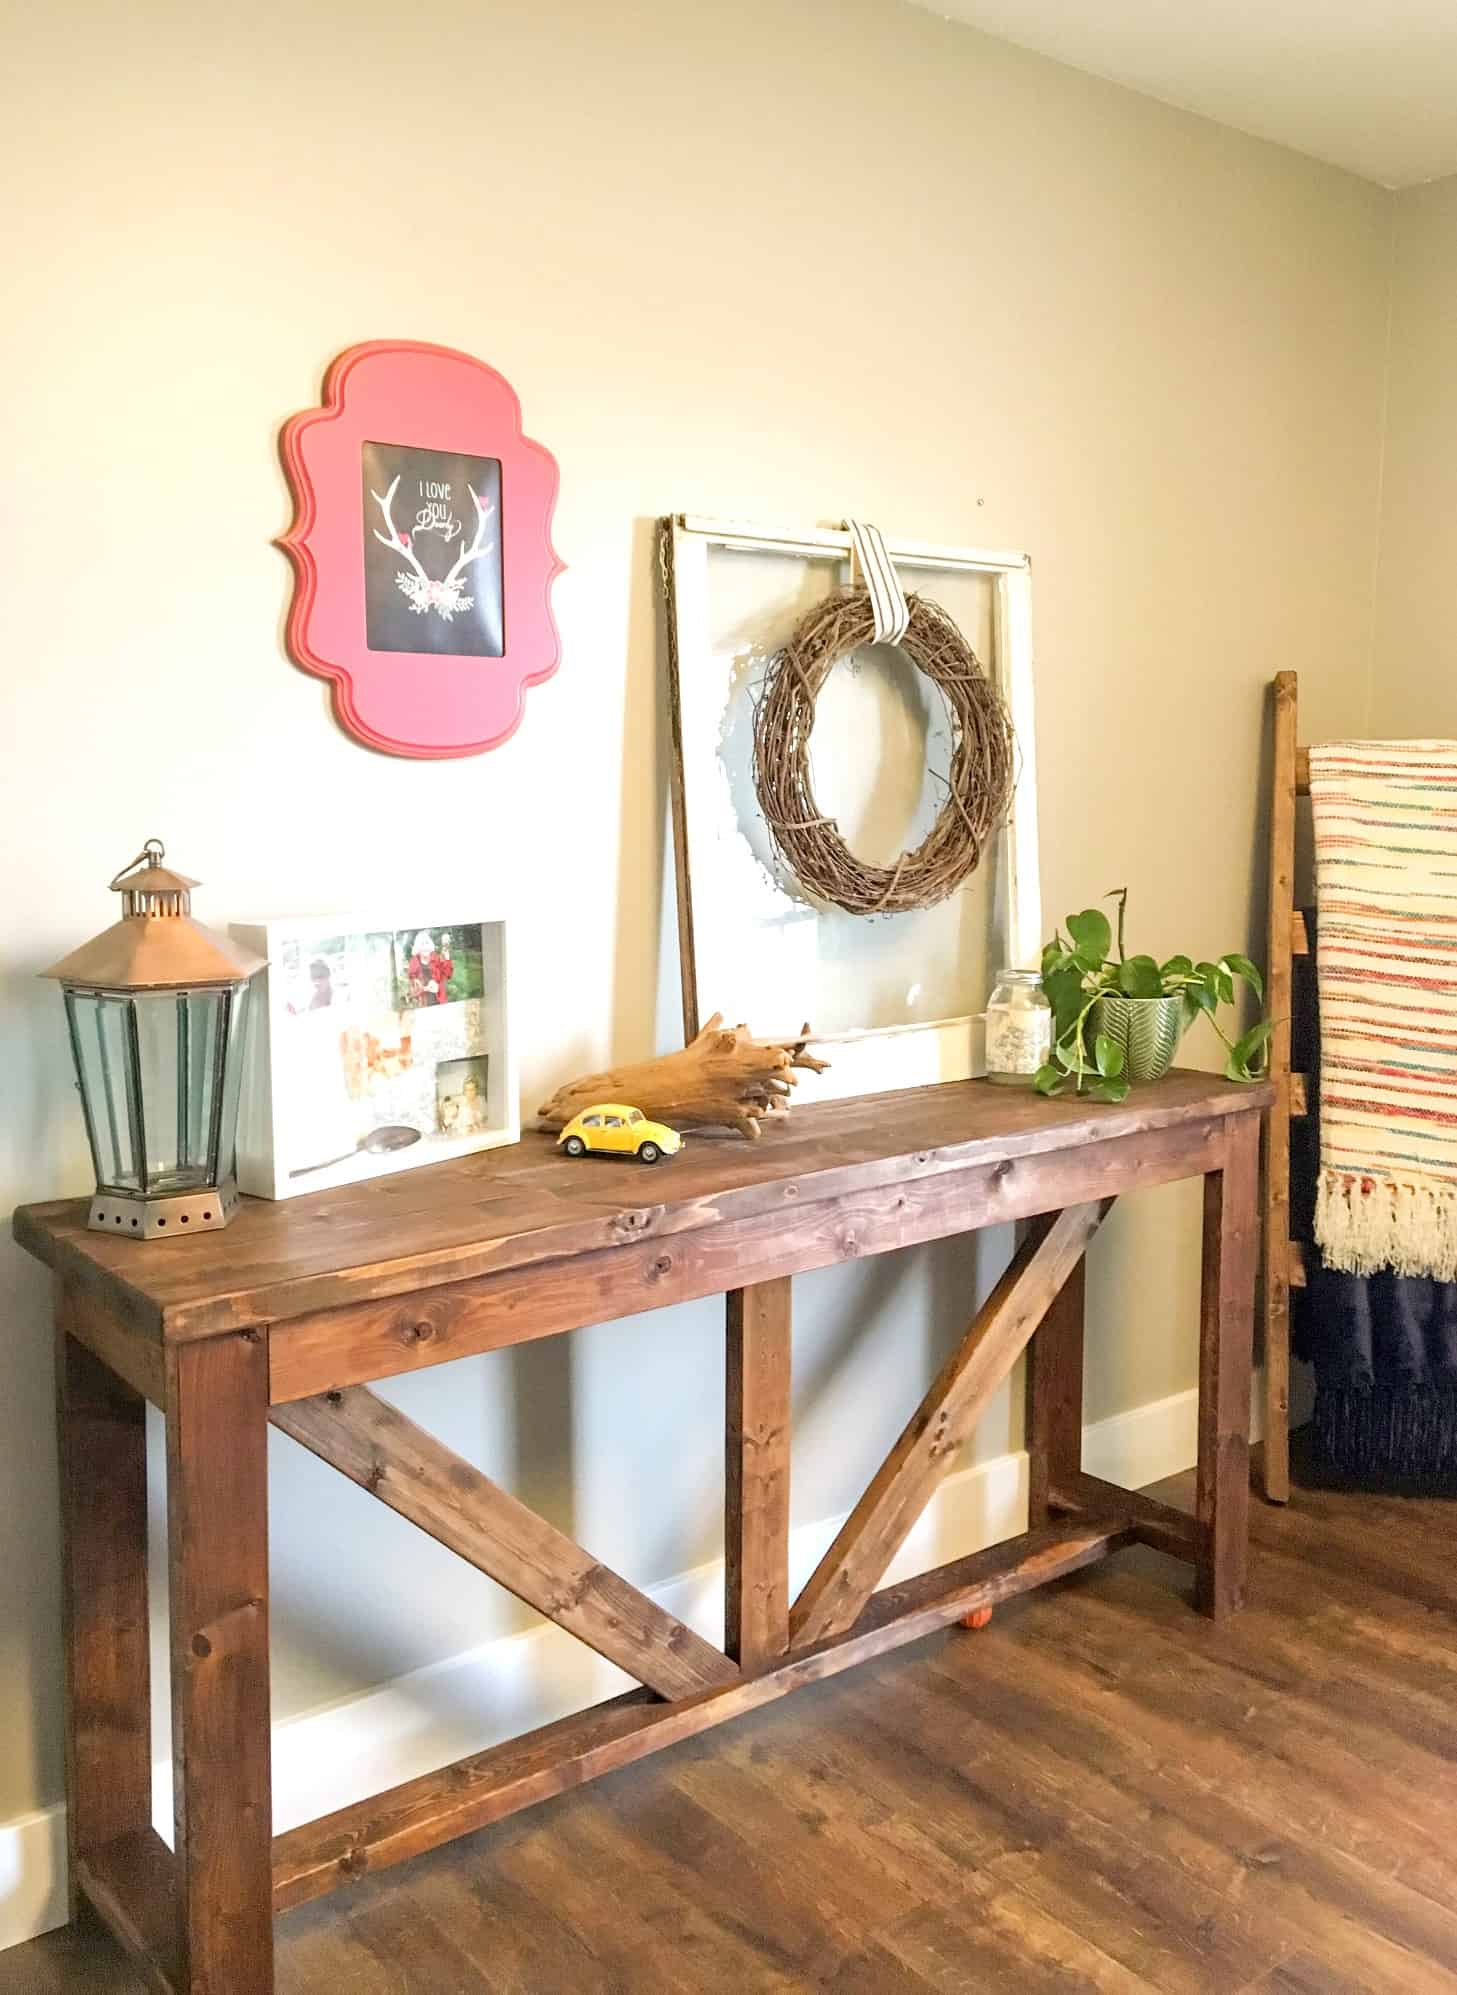
Credit: aturtleslifeforme.com
Materials And Tools Needed
Building a farmhouse console table starts with gathering the right materials and tools. Having quality supplies helps you create a strong, beautiful table. This step sets the foundation for your project. Below, we discuss the wood types, tools, and extra supplies needed to build your console table.
Selecting The Right Wood
Choose wood that is sturdy and easy to work with. Pine and oak are popular choices for farmhouse tables. Pine is soft and affordable. Oak is harder and more durable. Make sure the wood is smooth and free of cracks. Pick boards that are straight and not warped. These qualities make cutting and assembling easier.
Essential Tools For The Project
You need a few basic tools to build your console table. A saw is necessary to cut the wood to size. A drill helps make holes and drive screws. Sandpaper or a sander smooths rough edges. A measuring tape and square ensure accurate cuts. Clamps hold pieces together while gluing or screwing. These tools keep your work precise and safe.
Additional Supplies
Besides wood and tools, gather some extra supplies. Wood screws hold the pieces firmly. Wood glue adds extra strength to joints. Paint or stain finishes the table and protects the wood. Brushes or rags apply the finish evenly. Safety gear like gloves and goggles protect you during work. Having these ready makes the building process smooth.
Designing Your Console Table
Designing your farmhouse console table is the first step to creating a beautiful piece. This part is about planning size, style, and shape. Good design makes building easier and results in a table you will love.
Focus on simple ideas. Clear plans save time and reduce mistakes. Think about where you want to place the table and how much space you have. Let’s explore the key parts of designing your farmhouse console table.
Choosing Dimensions
Measure the space where the table will go. Common farmhouse console tables are 30 to 36 inches high. Width can vary from 36 to 60 inches. Depth usually stays between 12 and 18 inches.
Keep room for walking and other furniture. Make sure the size fits your needs. A bigger table can hold more items, but it should not block the path.
Simple Farmhouse Style Features
Farmhouse style means clean lines and natural wood. Use straight edges and avoid fancy curves. Choose wood with visible grain to add character.
Add features like a lower shelf or simple drawers. Use basic hardware like black metal handles. These small details make the table look rustic and cozy.
Sketching Your Plan
Draw your table on paper or use a digital app. Start with a rectangle for the top surface. Add legs and any shelves or drawers below.
Include measurements and notes on materials. This sketch helps you picture the final piece. It also guides you during building and cutting wood.
Preparing The Wood
Preparing the wood is the first step to building a beautiful farmhouse console table. It sets the foundation for a strong and attractive piece. Taking time to prepare the wood carefully helps avoid problems later.
Good preparation means measuring, cutting, and sanding the wood properly. Each step is important to get the right size and smooth finish. This section explains how to prepare the wood with simple, clear steps.
Measuring And Marking
Start by measuring the wood pieces for your table. Use a tape measure for accuracy. Mark the wood clearly with a pencil.
Measure twice to avoid mistakes. Mark the cut lines straight and clear. Accurate marks make cutting easier and better.
Cutting Wood Pieces
Use a saw to cut the wood along the marked lines. A handsaw or power saw works well. Cut slowly to follow the marks closely.
Keep your hands steady and watch your cutting line. Clean cuts make the table look neat and fit better.
Sanding For Smoothness
Sand each wood piece with sandpaper or a power sander. Start with coarse grit and move to finer grit. Sanding removes rough edges and splinters.
Take time to smooth all surfaces. Smooth wood feels good to touch and looks professional. Good sanding prepares the wood for painting or staining.
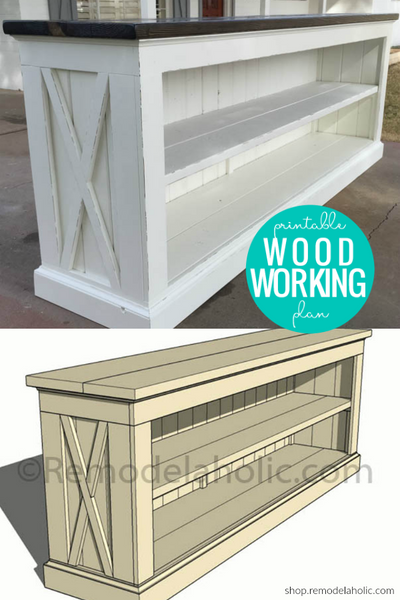
Credit: shop.remodelaholic.com
Assembling The Frame
Assembling the frame is an important step in building your farmhouse console table. It creates the strong base that holds the entire table together. Careful work here ensures your table will be sturdy and last a long time.
Focus on making sure each part fits well. Take your time to measure and align every piece before fixing them together. This way, your table will look neat and balanced.
Building The Table Legs
Start with the table legs as they support the whole structure. Cut four legs from solid wood, all the same size. Sand the edges smooth to avoid splinters. Legs should be thick enough to hold weight but not too heavy.
Mark where the legs will connect to the frame. Drill pilot holes to prevent the wood from splitting. Attach the legs with wood screws or strong wood glue. Check that all legs stand straight and level.
Constructing The Tabletop
Use wide wooden boards for the tabletop to create a rustic look. Join the boards side by side, making sure edges line up tightly. Apply wood glue along the seams for extra strength.
Clamp the boards together and let the glue dry fully. Sand the surface smooth to remove rough spots. The tabletop should be flat and even before attaching to the frame.
Joining Frame Components
Connect the legs and tabletop supports to form the frame. Use corner braces or wood blocks inside for added support. Secure each joint with screws for a tight fit.
Double-check all corners are square using a carpenter’s square tool. Tight joints prevent wobbling and keep the table steady. Once assembled, the frame should feel solid and firm.
Adding Farmhouse Details
Adding farmhouse details gives your console table a warm, inviting look. These details make the table feel cozy and timeless. Simple touches can create a charming farmhouse style that fits any home. Small changes bring out the rustic character and add personality.
Attaching Decorative Trim
Decorative trim adds depth and style to the console table. Choose trim with simple patterns like beads or grooves. Cut the trim pieces to fit the table edges. Use wood glue and small nails to secure the trim. This step highlights the table’s shape and adds farmhouse charm.
Creating A Rustic Finish
A rustic finish makes the wood look aged and natural. Start by sanding the table lightly to smooth rough spots. Apply a stain or paint in soft, muted colors. Wipe off excess to keep the wood grain visible. This finish adds warmth and a lived-in feel to your piece.
Distressing Techniques
Distressing gives the table an authentic worn look. Use sandpaper to rub edges and corners gently. Lightly tap the surface with a hammer or chain for small dents. These marks mimic years of use and give character. Finish with a clear coat to protect while keeping the rustic style.
Finishing Touches
Finishing touches bring your farmhouse console table to life. These final steps protect the wood and add style. Take your time to make the table look its best. Each step matters for a strong, beautiful piece.
Applying Stain Or Paint
Choose a stain or paint that suits your style. Stain highlights the natural wood grain. Paint offers a solid, colorful look. Use a brush or cloth for even coverage. Apply thin coats to avoid drips. Let each coat dry fully before the next. Light sanding between coats creates a smooth finish.
Sealing For Durability
Seal your table to protect it from damage. A clear polyurethane or wax works well. This step guards against scratches and spills. Apply sealant evenly with a brush or cloth. Allow the sealant to dry completely. Multiple coats add extra strength. Sand lightly between coats for the best result.
Final Assembly And Inspection
Put all parts together carefully. Tighten screws and check for stability. Make sure the table stands level. Inspect the surface for smoothness and even color. Fix any rough spots or missed areas. Your farmhouse console table is ready to use and admire.
Tips For Customization
Customizing your farmhouse console table makes it truly yours. Small changes can create big differences. Personal touches help the table fit your space and style perfectly. Here are some simple tips to make your table unique and practical.
Incorporating Storage Options
Adding storage helps keep your room tidy. Consider drawers for small items like keys or mail. Shelves under the table hold baskets or books. Open storage adds charm and function. Choose the type of storage that fits your needs.
Using Hardware And Accents
Hardware changes the look fast. Pick knobs or handles that match your decor. Metal, wood, or ceramic choices give different feels. Add accents like decorative brackets or trim. These small details make the table stand out.
Adjusting Size And Style
Adjust the size to fit your room. A narrow table works well in tight spaces. Wider tables suit bigger rooms and add presence. Change the style by sanding edges smooth or leaving them rough. Paint or stain to match your color scheme.
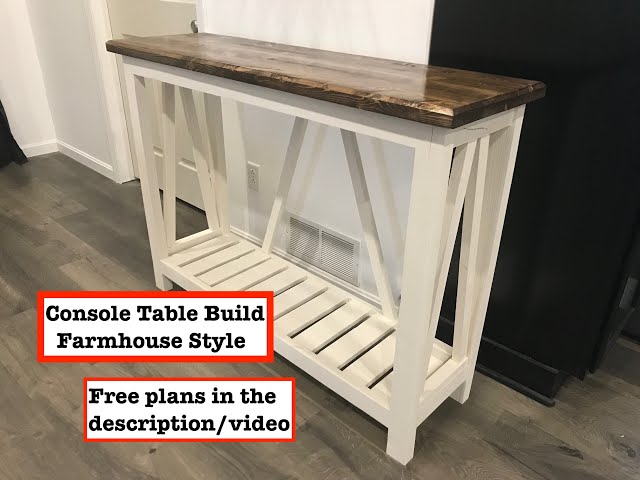
Credit: www.youtube.com
Frequently Asked Questions
What Materials Are Needed For A Farmhouse Console Table?
You need wood boards, screws, wood glue, sandpaper, stain, and a protective finish. Choose pine or oak for durability. Gather tools like a saw, drill, clamps, and measuring tape for precise cuts and assembly.
How Long Does It Take To Build A Console Table?
Building a farmhouse console table typically takes 4 to 6 hours. This includes cutting, assembling, sanding, and finishing. Time may vary based on skill level and drying times for paint or stain.
Can Beginners Build A Farmhouse Console Table?
Yes, beginners can build it with proper instructions. Start with basic woodworking skills and follow step-by-step guides. Use simple tools and take safety precautions to ensure a smooth building process.
How Do You Finish A Farmhouse Console Table?
Apply wood stain or paint evenly for the desired look. After drying, add a clear protective coat like polyurethane. This protects the wood and enhances durability for everyday use.
Conclusion
Building a farmhouse console table brings charm to any space. You can create a sturdy, beautiful piece with basic tools. Follow clear steps and take your time for best results. Enjoy the process and add your personal touch. This project offers both function and style to your home.
Try it yourself and see how rewarding it feels. A handmade table can brighten any room instantly. Crafting furniture is simple with patience and care. Your farmhouse console table will be a lovely, lasting addition.

