Are you looking to add fun and excitement to your child’s bunk bed? Building a slide for your bunk bed is a fantastic way to do just that.
Imagine the joy on your child’s face as they zip down every morning, turning a simple bed into an adventure zone. You might think this project is complicated, but with the right steps, you can create a safe and sturdy slide yourself.
Keep reading, and you’ll discover easy-to-follow tips that will help you build a slide your kids will love—and you’ll feel proud of the work you did. Ready to make bedtime the best part of the day? Let’s get started!
Choosing The Right Slide Type
Choosing the right slide type for a bunk bed is key to making playtime fun and safe. The slide must fit the space and match the child’s needs. Think about the room size, the child’s age, and how often the slide will be used. These factors guide your decision on slide design, material, and size.
Straight Vs Curved Slides
Straight slides are simple and take up less space. They offer a quick, direct ride down. Curved slides add excitement with gentle turns. They need more room but can be safer by reducing speed. Choose based on available space and the thrill level you want.
Material Options
Plastic slides are smooth and easy to clean. They work well indoors and are gentle on skin. Wood slides look nice and feel sturdy but need more care. Metal slides are strong but can get hot or cold fast. Pick a material that fits your budget and room environment.
Slide Length And Angle
Longer slides give a longer ride but need more space. Short slides fit small rooms and are easier to climb. The angle affects speed; steep angles mean faster slides. A gentle slope keeps the ride safe and fun. Measure your space carefully before deciding.
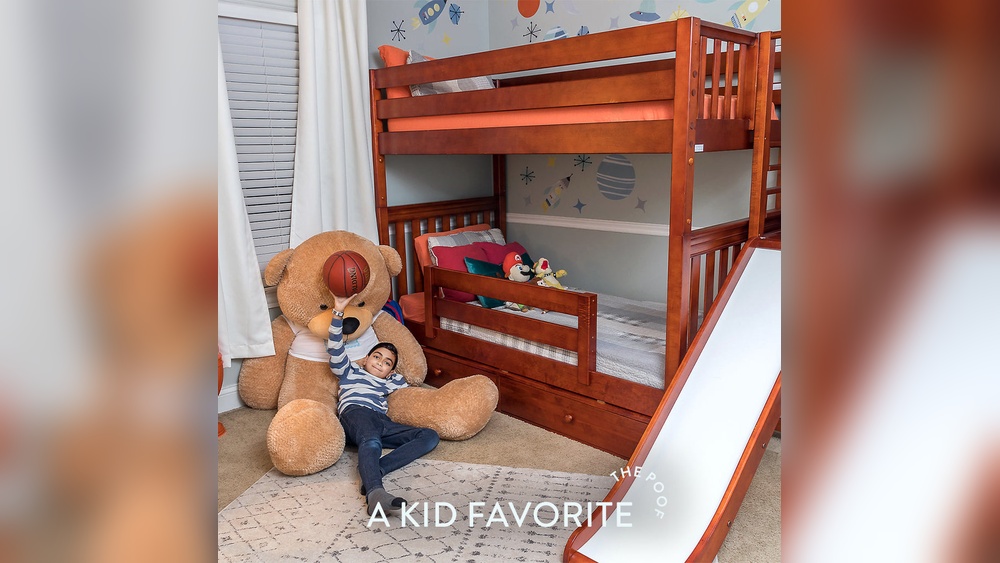
Credit: www.reddit.com
Measuring And Planning
Measuring and planning are the first steps to build a safe and fun slide for a bunk bed. Careful measurements help the slide fit well. Planning ensures the slide is strong and safe for kids to use. Take your time and check every detail before starting to build.
Assessing Bunk Bed Dimensions
Measure the height of the top bunk from the floor. Note the width of the bed frame. Check the length of the side where the slide will attach. Record all measurements to guide your slide design. This helps make sure the slide fits perfectly.
Space Requirements
Clear space is needed around the bunk bed for the slide. Measure the area next to the bed where the slide will go. Leave enough room for kids to slide down safely. Also, check for any nearby furniture or walls. Plan enough space for a smooth landing.
Safety Considerations
Safety is the most important part of building a slide. Measure the slide’s angle to keep it gentle and safe. Avoid making it too steep or long. Check that the slide edges are smooth and free of sharp corners. Plan to secure the slide firmly to the bed frame to prevent wobbling.
Gathering Materials And Tools
Building a slide for a bunk bed is fun and rewarding. Start by gathering all materials and tools. This step saves time and avoids mistakes. Prepare everything before you begin the project.
Essential Materials List
Use strong wood like plywood or pine. You need smooth boards for the slide surface. Sandpaper helps to smooth edges. Screws and nails keep pieces together. Safety rails need sturdy wood. Paint or varnish protects the wood and adds color. Use non-toxic paint for kids’ safety.
Tools Needed
A saw cuts wood to size. A drill makes holes for screws. Screwdrivers help secure screws tightly. A measuring tape ensures correct dimensions. Sandpaper smooths rough edges. A level keeps the slide straight. Clamps hold wood while working.
Budget Tips
Check local hardware stores for discounts. Use leftover wood from other projects. Borrow tools from friends or family. Buy only what you need to avoid waste. Simple tools often work as well as expensive ones. Plan carefully to reduce extra costs.

Credit: www.youtube.com
Building The Slide Frame
Building the slide frame is the first step to create a safe and fun slide for the bunk bed. The frame supports the slide and keeps it steady. It must be strong and well-built. Start by measuring and cutting the wood pieces carefully. Then, put the pieces together to form the frame. Finally, add reinforcements to make sure the slide stays stable during use.
Cutting The Wood Pieces
Use quality wood for durability and safety. Measure the length of the slide and add extra for the frame. Cut two long side pieces for the slide’s edges. Cut several shorter pieces for the cross supports. Sand all edges to avoid splinters. Accurate cuts make assembly easier and stronger.
Assembling The Frame
Lay the two long side pieces flat on the floor. Place the shorter cross pieces evenly between them. Use wood glue on each joint for extra hold. Secure the pieces with screws for a tight fit. Check that the frame is square by measuring diagonals. A square frame ensures the slide will fit properly.
Reinforcing For Stability
Add extra wood blocks at the corners where stress is highest. Attach braces along the sides to prevent wobbling. Use strong screws or bolts for all reinforcements. Test the frame by pressing on different areas. Reinforcing the frame keeps the slide safe for kids to enjoy.
Installing The Slide Surface
Installing the slide surface is a key step in building a safe and fun bunk bed slide. This part must be smooth and strong. It will carry weight and provide a fast, enjoyable ride for kids. Careful attention makes the slide both safe and durable.
Choosing Slide Surface Material
Select a material that is smooth and sturdy. Plywood and plastic sheets work well. Choose something thick enough to hold weight without bending. The surface should be slick to help kids slide down easily. Avoid rough or sharp materials that can cause injuries.
Smoothing Edges
Edges can be sharp and dangerous. Sand all sides of the slide surface carefully. Use fine-grit sandpaper to make edges round and soft. This step prevents cuts and scratches. Smooth edges also help the slide look neat and finished.
Attaching The Surface Securely
Secure the slide surface tightly to the frame. Use strong screws or bolts for stability. Make sure the slide does not wobble or shift. Double-check all fasteners for safety. A firmly attached surface keeps the slide safe for kids to use.
Mounting The Slide To The Bunk Bed
Mounting the slide to the bunk bed is a key step in building a fun and safe addition. It needs care and the right tools to ensure the slide fits well. A poorly mounted slide can be unsafe or wobble during use. Follow clear steps to position and secure the slide firmly. Then test its stability before use.
Positioning The Slide
Choose the side of the bunk bed where the slide will go. Make sure there is enough space for the slide to extend safely. The top of the slide should align with the bed’s top rail. Check that the slide’s angle is not too steep or too flat. Mark the spots on the bed frame where the slide will attach.
Securing The Slide
Use strong screws or bolts to attach the slide to the bed frame. Drill pilot holes first to avoid splitting the wood. Attach brackets or supports for extra strength if needed. Tighten all fasteners so the slide is firmly fixed. Avoid loose parts that could move or come off.
Testing Stability
Push the slide gently to check for any movement. Sit on the slide and shift your weight to test strength. Look for wobbling or loose spots around the mount. Tighten screws again if needed for better stability. The slide should feel safe and steady before kids use it.
Adding Safety Features
Adding safety features to a bunk bed slide is very important. It helps prevent accidents and keeps children safe. Safety measures make the slide more fun and worry-free. Simple additions can protect kids while they play.
Side Rails And Barriers
Side rails guide children down the slide. They stop kids from falling off the edges. Barriers at the top prevent slips before sliding. Use smooth, rounded edges to avoid scrapes. Make sure rails are sturdy and well fixed.
Soft Landing Area
A soft landing area cushions the end of the slide. Use foam mats or thick rugs to reduce impact. This area should be clear of hard objects. Soft landings lower the risk of injuries. Check the landing surface often for wear and tear.
Non-slip Treatments
Non-slip treatments improve safety on the slide surface. Apply grip tape or a textured paint to prevent slipping. Non-slip steps help children climb safely to the slide. Keep these surfaces clean and dry for best grip. These treatments make sliding safer and more secure.
Finishing Touches
Finishing touches give your bunk bed slide a complete, polished look. They protect the slide and make it fun to use. Small details can make a big difference in safety and style.
Painting And Decorating
Choose paint that is safe for children and wood. Bright colors make the slide inviting and cheerful. Use non-toxic, water-based paint for easy cleaning. Let the paint dry fully before use. Add simple patterns or shapes for extra fun. Keep the design clear and simple to avoid distractions.
Weatherproofing Options
Seal the wood to protect it from moisture and wear. Use a clear, child-safe sealant to keep the natural wood look. For outdoor slides, apply a waterproof coating. This prevents damage from rain and sun. Check the sealant regularly and reapply if needed. Proper weatherproofing extends the slide’s life and safety.
Personalizing The Slide
Add your child’s name or favorite characters with stencils. Use stickers made for wood surfaces to decorate. Attach small, soft grips to help children hold on safely. Personal touches make the slide special and encourage use. Keep decorations smooth to avoid scratches or splinters.
Maintenance And Safety Checks
Building a slide for a bunk bed is fun, but keeping it safe is important. Regular maintenance and safety checks keep the slide strong and secure. This helps prevent accidents and keeps kids happy while playing.
Regular Inspections
Look over the slide every week. Check for cracks, loose parts, or sharp edges. Make sure the slide is clean and dry. Dirt or water can make the slide slippery and unsafe.
Tightening And Repairs
Check all screws and bolts often. Tighten any that are loose. Replace broken pieces quickly. Small repairs stop big problems from growing. Use the right tools to avoid damage.
Encouraging Safe Use
Teach kids to slide carefully. One at a time is best. No pushing or rough play. Show them how to sit properly on the slide. Good habits make the slide fun and safe for all.
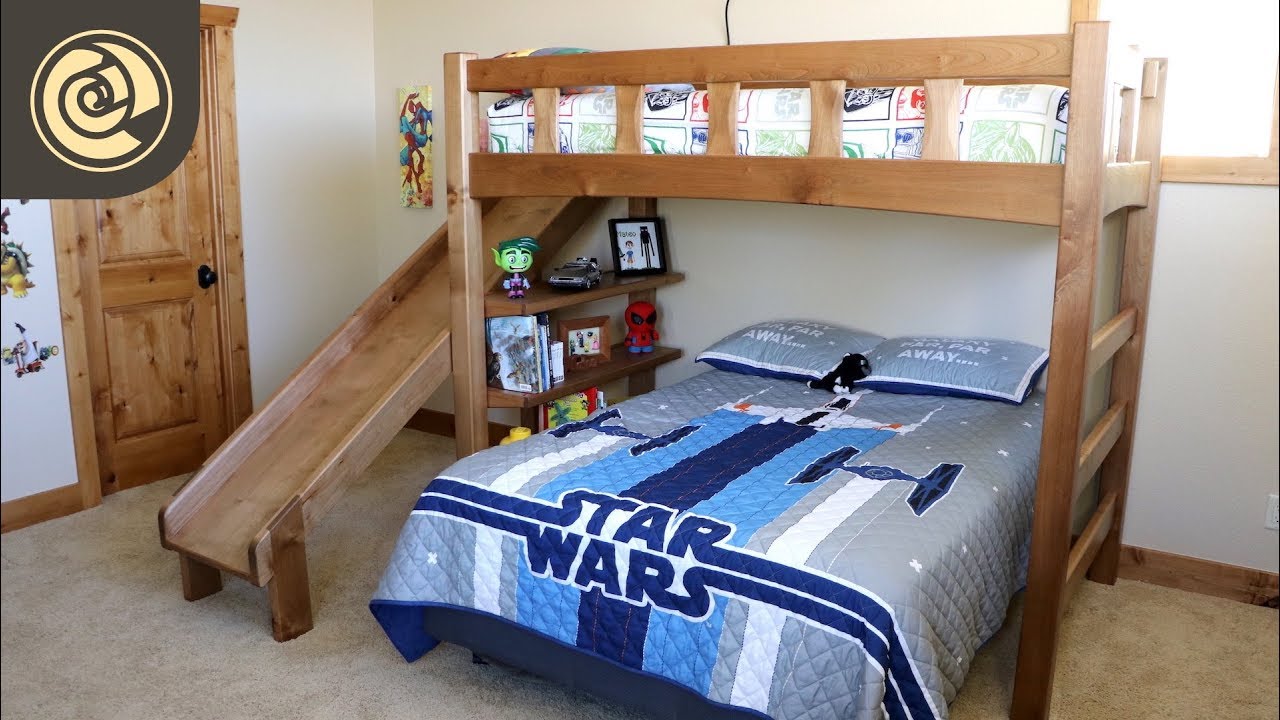
Credit: www.youtube.com
Frequently Asked Questions
How Do I Start Building A Slide For A Bunk Bed?
Begin by measuring the bunk bed height and space available. Choose durable materials like plywood and smooth wood for the slide surface. Plan the slide angle carefully for safety and fun.
What Tools Are Needed To Build A Bunk Bed Slide?
You need a saw, drill, screws, measuring tape, sandpaper, and clamps. A level and safety gear like gloves and goggles are essential too. These tools ensure accurate cuts and secure assembly.
How Do I Ensure The Slide Is Safe For Kids?
Smooth all edges and corners to prevent injuries. Use sturdy materials and secure the slide firmly to the bunk bed. Test the slide’s stability and angle before use.
Can I Customize The Slide Design For My Bunk Bed?
Yes, customize the slide length, width, and color to fit your space and style. Adding handrails or non-slip surfaces enhances safety and usability. Personal touches make the slide unique and fun.
Conclusion
Building a slide for a bunk bed can be fun and safe. Follow the steps carefully and use strong materials. Take your time to measure and cut properly. Always check that the slide is steady and secure. This project adds joy and excitement to any room.
Kids will love having a slide to play on. Enjoy creating something useful and playful at home.