Are you ready to transform your bathroom with a beautiful, custom-built vanity cabinet? Building your own vanity cabinet with Dr. Can save you money, give you full control over the design, and add a unique touch to your space.
Imagine having a piece that fits perfectly, meets your storage needs, and reflects your style. In this guide, you’ll discover simple, step-by-step instructions that anyone can follow—even if you’ve never built furniture before. Keep reading, and by the end, you’ll have the confidence and know-how to create a vanity cabinet you’ll be proud of.
Credit: www.hakesbrothers.com
Choosing The Right Materials
Choosing the right materials is key to building a strong and beautiful vanity cabinet. The materials affect how long your cabinet lasts and how it looks. This section helps you pick good wood and hardware. These choices make your project easier and the result better.
Selecting Wood Types
Wood is the main material for your vanity cabinet. Choose wood that is strong and can handle moisture. Plywood is a popular choice. It resists warping and is cost-effective. Solid hardwoods like oak or maple offer great durability and a classic look.
Softwoods like pine are easier to cut but less durable. Consider the wood’s finish too. Some woods take paint or stain better than others. This helps you match your bathroom style.
Picking Hardware And Accessories
Hardware includes handles, hinges, and drawer slides. Pick hardware that fits your cabinet size and style. Metal hardware is strong and lasts longer. Brushed nickel and chrome are common finishes for bathrooms.
Choose soft-close hinges and slides for quiet use. Accessories like towel bars or soap holders add function. Match these with your hardware for a unified look. Good hardware makes your vanity cabinet both useful and attractive.

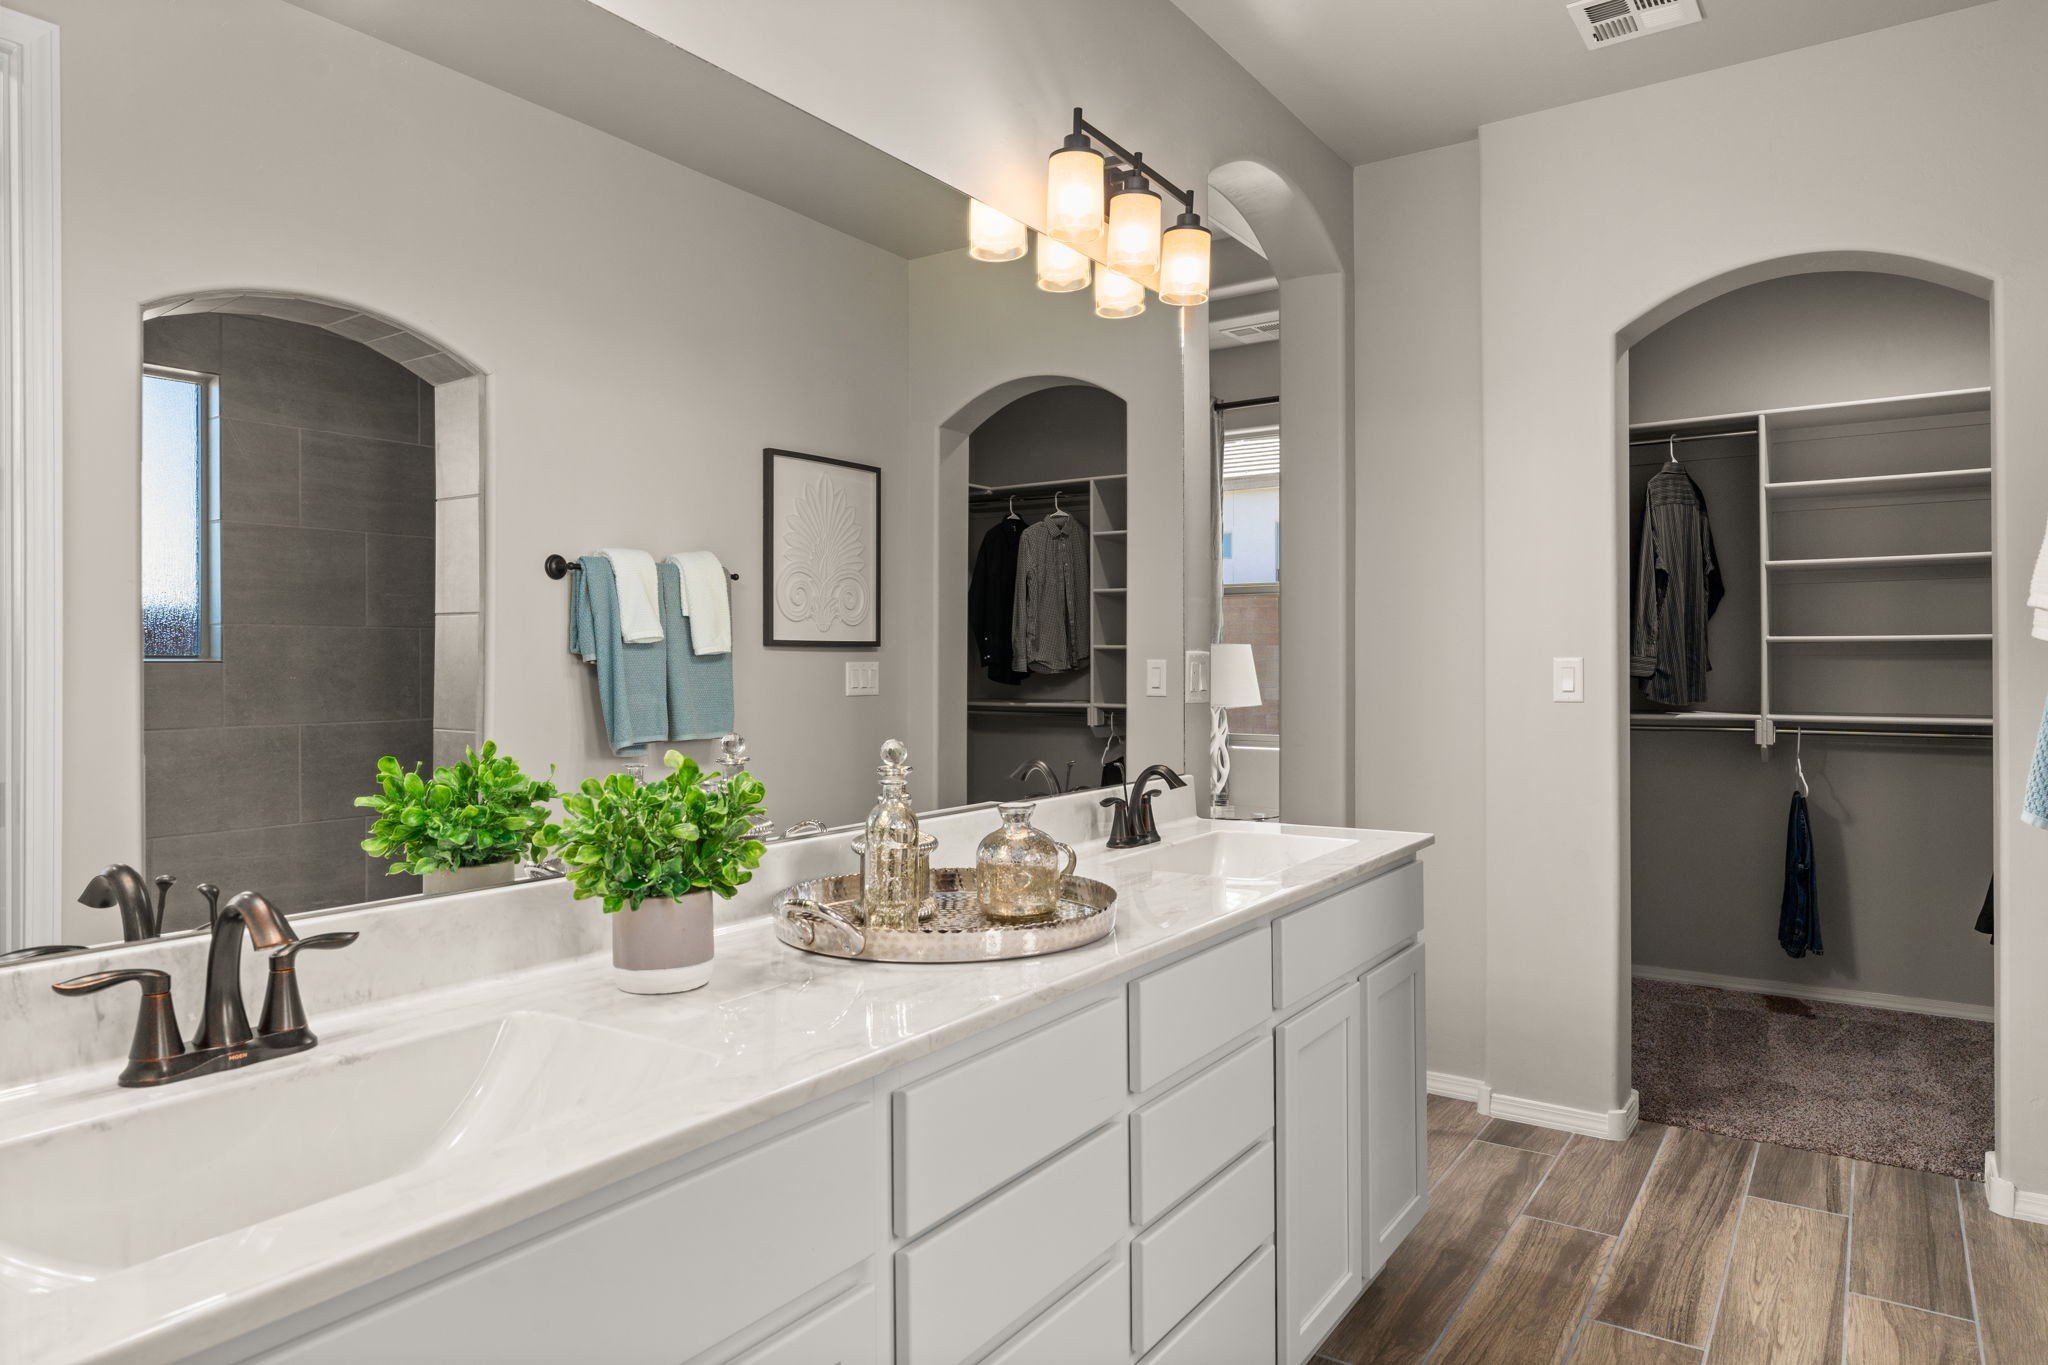
Credit: www.norfolkkitchenandbath.com
Measuring And Planning
Measuring and planning are the first steps to build a vanity cabinet with dr. These steps ensure the cabinet fits well and works perfectly. Careful measuring avoids mistakes and saves time.
Planning the layout helps you organize space and storage. It also guides you in choosing materials and tools. Start with clear measurements and a simple design.
Taking Accurate Measurements
Use a tape measure to get the exact width, height, and depth of the space. Measure twice to avoid errors. Note any obstacles like pipes or electrical outlets.
Write down all numbers clearly. Include wall thickness and floor height. Check for level surfaces using a level tool. Accurate measurements make cutting and assembling easier.
Designing The Cabinet Layout
Sketch a simple drawing of the cabinet based on your measurements. Decide how many drawers and shelves you want. Plan the door style and handle positions.
Think about how you will use the cabinet daily. Leave enough space for plumbing and cleaning. Keep the design balanced and practical. A clear plan guides your building process smoothly.
Cutting And Preparing Pieces
Cutting and preparing pieces is a key step in building a vanity cabinet with Dr. It sets the stage for a smooth assembly. Accurate cuts ensure all parts fit well. Proper preparation makes the wood ready for finishing and use.
Take your time to measure twice and cut once. This approach saves wood and effort. Clean, smooth edges give the cabinet a professional look. Let’s explore how to cut and prepare wood pieces correctly.
Cutting Wood To Size
Start by measuring each piece carefully. Use a tape measure and mark wood clearly. Double-check the measurements before cutting. Use a saw suitable for your wood type. A circular saw works well for straight cuts. Cut slowly and steadily to avoid mistakes. Keep your hands away from the blade. Make sure the wood is supported while cutting. This prevents splintering and keeps cuts even.
Sanding And Smoothing Edges
After cutting, smooth all edges with sandpaper. Start with medium grit to remove rough spots. Follow with fine grit for a smooth finish. Sand along the grain to avoid scratches. Check edges for splinters or uneven parts. Smooth edges help paint or stain stick better. Wear a mask to avoid breathing dust. Clean wood dust off before moving to the next step.
Assembling The Frame
Building the frame is the first big step in making your vanity cabinet. This part sets the shape and strength of the cabinet. A strong frame means your cabinet will last long and hold well. Let’s break down how to put the frame together, step by step.
Joining Side Panels
Start by preparing the two side panels. These panels form the sides of your cabinet. Use wood glue on the edges to help hold them tight. Then, join the panels with screws or nails for extra strength. Make sure the panels are square and line up correctly. Use clamps to keep the panels steady while the glue dries. This step creates the main skeleton of your vanity cabinet.
Attaching The Bottom And Back
Next, add the bottom panel to the frame. This piece supports the weight inside the cabinet. Apply wood glue along the edges where the bottom meets the side panels. Secure it with screws to keep it steady. After the bottom, attach the back panel. The back adds stability and stops the frame from wobbling. Use screws spaced evenly along the edges. Check that all corners are square before the glue sets. This completes the strong base of your vanity cabinet.
Installing Doors And Drawers
Installing doors and drawers is a key step in building your vanity cabinet. This step shapes the cabinet’s look and function. Proper fitting ensures smooth use and a neat finish. Take your time to align and adjust each part carefully. Follow clear steps for best results.
Hanging Cabinet Doors
Start by attaching hinges to the doors. Mark the spots evenly for balance. Use a drill to make pilot holes. Fix the hinges tightly but avoid overtightening.
Next, hold the door against the cabinet frame. Check if it aligns with the edges. Adjust hinge screws to level the door. Make small movements and test frequently. The door should open and close smoothly.
Leave a small gap between doors or cabinet sides. This prevents rubbing and damage. Repeat the process for each door. Consistency creates a professional look.
Fitting Drawer Slides And Pulls
Install drawer slides inside the cabinet first. Measure carefully for even spacing. Use screws to secure slides firmly. Check the slides move without resistance.
Attach the drawer box to the slides. Slide it in gently and test the motion. Adjust screws if the drawer sticks or wobbles. The drawer should glide easily in and out.
Lastly, fix pulls to the drawer fronts. Mark the position before drilling holes. Align pulls for a balanced appearance. Secure them tightly but gently.
Finishing Touches
Finishing touches give your vanity cabinet a polished look. These final steps protect the wood and enhance its beauty. Proper finishing makes the cabinet last longer and look great in your bathroom.
Applying Paint Or Stain
Choose paint or stain that matches your bathroom style. Paint offers solid color and hides imperfections. Stain highlights the wood grain and adds warmth. Use a brush or cloth to apply evenly. Apply thin coats and let each dry fully. Light sanding between coats helps smooth the surface. Avoid thick layers to prevent drips and uneven spots.
Sealing For Durability
Seal your cabinet to protect it from water and wear. A clear sealant or varnish works well. Use a brush to apply a thin, even layer. Allow the sealant to dry completely before use. Sealing prevents moisture damage and stains. It also keeps the cabinet looking fresh longer. For best results, apply two or three coats.
Mounting The Vanity Cabinet
Mounting the vanity cabinet is a key step in your bathroom project. It keeps the cabinet stable and ensures everything fits perfectly. This part requires care and patience. Follow each step closely for a smooth installation.
Securing To The Wall
First, find wall studs behind the cabinet space. Use a stud finder for accuracy. Mark the stud locations on the wall. Align the vanity cabinet with these marks. Use a level to check the cabinet is straight. Drill pilot holes through the cabinet back panel. Then, screw the cabinet securely into the studs. Use long screws for a strong hold. Avoid screwing only into drywall to prevent damage.
Connecting Plumbing Fixtures
After securing the cabinet, connect the plumbing fixtures. Attach the water supply lines to the faucet. Tighten connections with a wrench but not too tight. Connect the drain pipe to the sink drain. Use plumber’s tape on threaded connections to avoid leaks. Check all fittings for tightness before testing water flow. Turn on the water and look for leaks. Fix any leaks by adjusting connections as needed.
Tips For Maintenance
Keeping your vanity cabinet in great shape takes some effort. Regular care helps it last longer and look better every day. Follow these simple tips for maintenance. They help protect your investment and keep your bathroom neat.
Cleaning And Care
Use a soft cloth to wipe the cabinet’s surface often. Avoid harsh chemicals that can damage wood or paint. A mild soap with water works best for cleaning. Dry the surface quickly to stop water damage. Keep the cabinet away from direct sunlight to prevent fading. Check for dust in corners and clean it out regularly.
Handling Repairs
Fix small scratches with a matching wood marker or touch-up pen. Tighten loose screws or hinges to keep doors steady. Replace broken handles or knobs as soon as possible. For water damage, dry the area and apply wood filler if needed. Act fast to stop damage from spreading. Call a professional if repairs seem too hard.
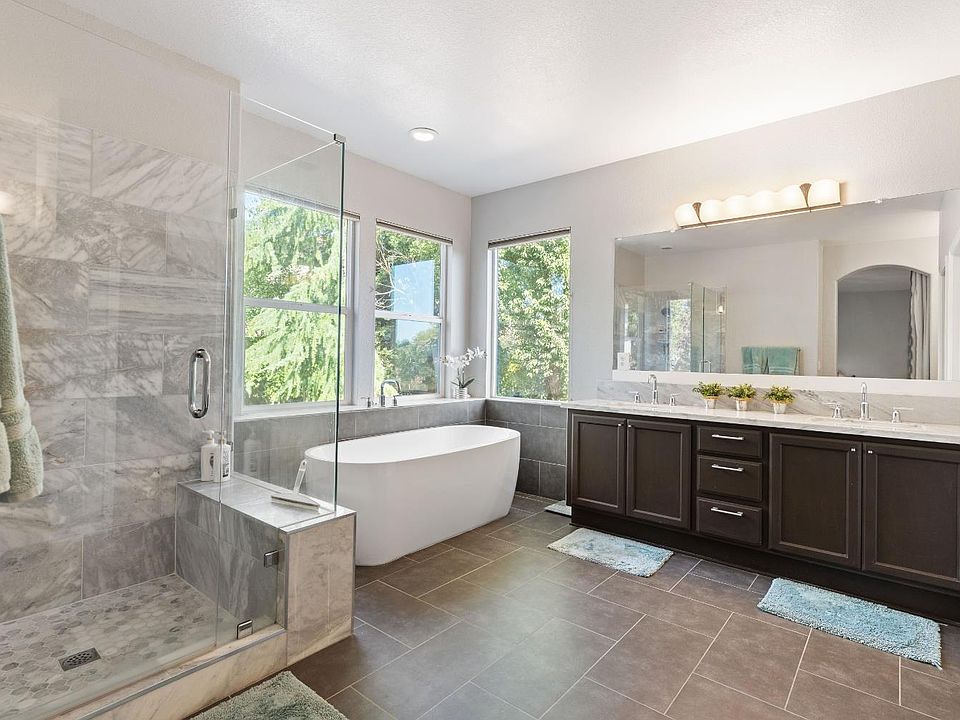
Credit: www.zillow.com
Frequently Asked Questions
What Materials Do I Need To Build A Vanity Cabinet With Drawers?
You need plywood or MDF, drawer slides, screws, wood glue, handles, and paint or finish. Quality materials ensure durability and smooth drawer operation.
How Do I Measure Space For A Vanity Cabinet With Drawers?
Measure the width, height, and depth of the space. Account for plumbing and clearance for drawer movement to fit perfectly.
What Tools Are Essential For Building A Vanity Cabinet?
Basic tools include a saw, drill, screwdriver, measuring tape, level, and clamps. These tools help ensure accuracy and ease during construction.
How Do I Install Drawer Slides In A Vanity Cabinet?
Attach slides to the cabinet frame and drawer sides, aligning them evenly. Follow manufacturer instructions for smooth drawer function and durability.
Conclusion
Building a vanity cabinet with Dr is simple and rewarding. Follow each step carefully and take your time. Use the right tools and materials for best results. Your new cabinet will add style and storage to your space. Enjoy the satisfaction of creating something with your own hands.
Remember, practice makes perfect. Keep improving your skills with every project. This guide helps you start your DIY journey confidently.