Looking for a simple way to organize your entryway and keep your coats, hats, and bags within easy reach? Building a wall-mounted coat rack might be the perfect solution for you.
Not only does it save space, but it also adds a personal touch to your home. In this guide, you’ll discover easy steps to create a stylish and sturdy coat rack that fits your style and needs. Ready to transform your cluttered wall into a neat and functional space?
Let’s get started!
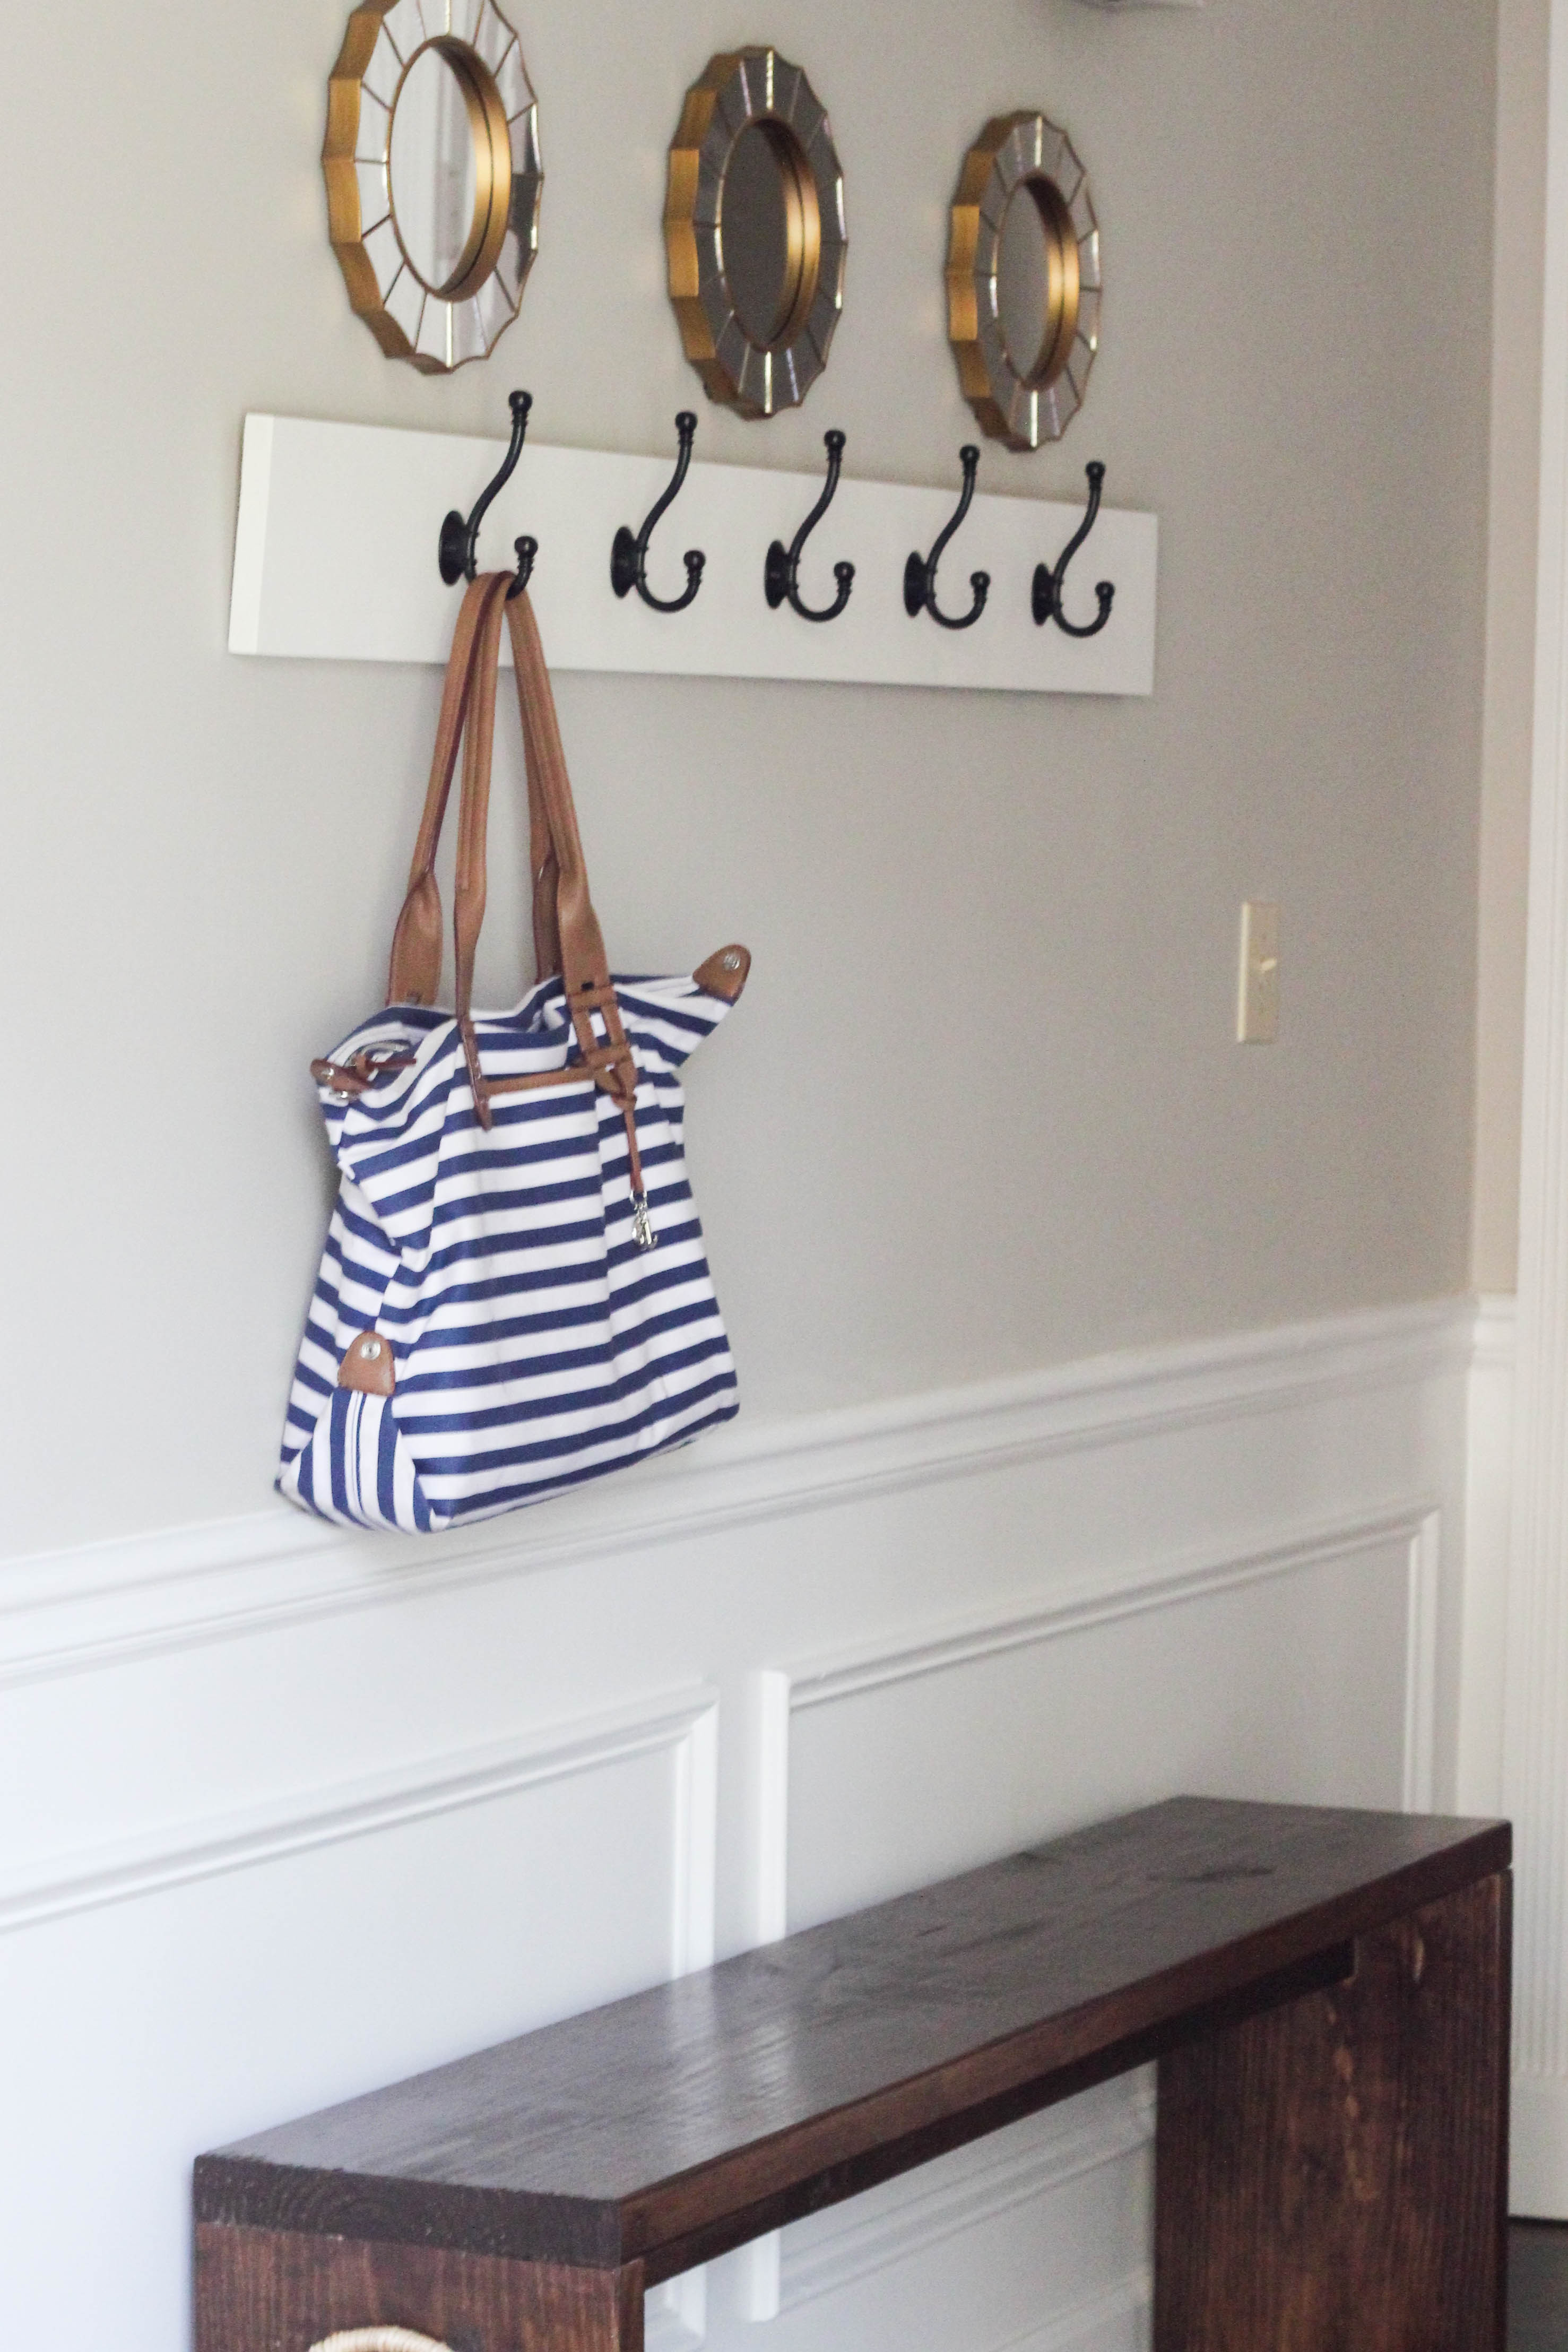
Credit: www.erinspain.com
Materials And Tools Needed
Building a wall mounted coat rack is a simple and fun project. Having the right materials and tools helps the work go smoothly. This section covers what you need to gather before starting. Planning ahead saves time and effort.
Choosing The Right Wood
Pick wood that is strong and looks good. Pine and oak are popular choices. Pine is soft and easy to cut. Oak is harder but lasts longer. Consider the color and grain of the wood. Smooth wood makes painting or staining easier. Avoid wood with many knots or cracks.
Selecting Hooks And Hardware
Hooks hold coats and bags securely. Choose metal hooks for strength and durability. You can find hooks in different styles and sizes. Pick ones that match your room’s look. Make sure screws and anchors fit your wall type. Good hardware keeps the rack stable and safe.
Essential Tools For The Project
Gather basic tools to make the job easier. A drill helps to make holes and fix screws. A saw cuts wood to the right size. Sandpaper smooths rough edges and surfaces. A tape measure ensures correct measurements. A screwdriver is needed to attach hooks and hardware. Having these tools ready speeds up the work.
Planning Your Coat Rack
Planning your coat rack is the first step in building a useful and attractive piece. Proper planning helps you avoid mistakes and saves time. It makes the whole process smooth and enjoyable.
Measuring Wall Space
Start by measuring the wall space where the rack will hang. Use a tape measure for accuracy. Note the width and height available. Check for obstacles like light switches or outlets. This ensures the rack fits perfectly.
Deciding On Size And Style
Think about how many coats or bags you want to hang. Choose a size that fits your needs and wall space. Pick a style that matches your room décor. Simple, modern, or rustic styles work well for many homes.
Sketching Your Design
Draw a rough sketch of your coat rack on paper. Include the number of hooks and their placement. Mark the dimensions based on your measurements. This visual helps guide your building process and keeps you on track.
Preparing The Wood
Preparing the wood is an important step in building a wall mounted coat rack. It ensures the rack looks good and lasts a long time. Proper preparation protects the wood from damage and gives it a clean finish. This process includes cutting the wood to the right size, smoothing the surface, and applying a finish or paint. Each step helps create a strong and attractive coat rack.
Cutting To Size
Measure the wood carefully before cutting. Use a saw to cut the wood into pieces that fit your design. Make straight cuts to keep the edges clean. Cutting wood to the right size helps the coat rack fit well on your wall. Always wear safety gear while cutting to avoid accidents.
Sanding For Smoothness
Sand the wood pieces to remove rough spots and splinters. Use medium-grit sandpaper first, then fine-grit for a smooth finish. Sanding makes the surface safe to touch and ready for painting or staining. Take your time to get every edge smooth and even.
Applying Finish Or Paint
Choose a finish or paint that protects and beautifies the wood. Apply a thin, even coat with a brush or cloth. Let the first coat dry completely before adding more layers. The finish will keep the wood safe from moisture and wear. It also gives your coat rack a polished look.
Attaching Hooks
Attaching hooks is a key step in building a wall-mounted coat rack. Hooks hold your coats and bags. Proper placement and secure installation make the rack strong and useful. This part needs care and attention. Follow clear steps to ensure hooks are fixed well and look neat.
Marking Hook Positions
Start by deciding where each hook will go. Even spacing makes the rack look balanced. Use a tape measure to find equal distances along the board. Mark spots lightly with a pencil. Check the marks twice before drilling or screwing. Make sure hooks are high enough for coats but not too high to reach.
Installing Hooks Securely
Use a drill to make small pilot holes on the marked spots. This stops the wood from splitting. Place each hook over the hole. Use screws that fit the hook holes well. Tighten screws firmly but do not over-tighten. Loose hooks wobble. Too tight screws can damage the rack. Test each hook by pulling gently. All hooks should feel steady and strong.
Mounting The Coat Rack
Mounting the coat rack securely is key to its function and durability. A properly mounted rack holds weight without damage. Follow these steps to fix your rack firmly on the wall.
Finding Wall Studs
Locate studs behind the wall for strong support. Use a stud finder tool for accuracy. Mark the stud positions with a pencil. Mounting on studs prevents the rack from falling.
Using Anchors For Stability
Use wall anchors if studs are not in the right place. Choose anchors that fit your wall type. Insert anchors into drilled holes for extra hold. This method keeps the rack stable and safe.
Leveling And Securing
Use a level tool to keep the rack straight. Mark the spots for screws carefully. Drill pilot holes to avoid splitting the wood. Tighten screws firmly to secure the rack in place.
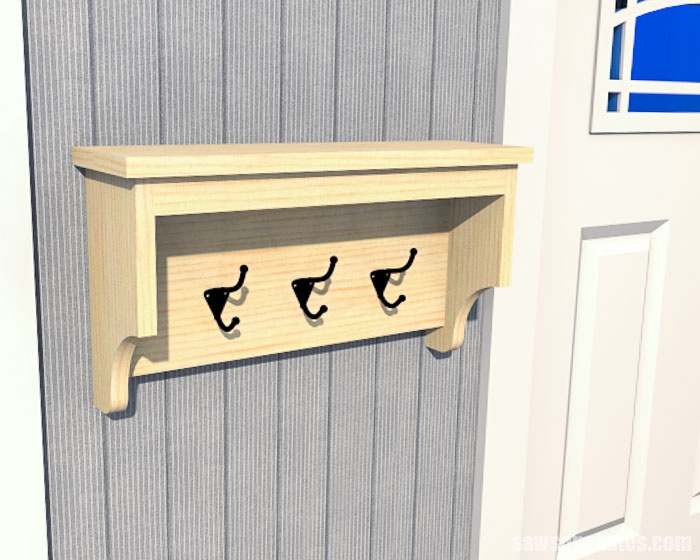
Credit: www.osons-a-stmalo.com
Styling And Maintenance Tips
Styling and maintaining your wall mounted coat rack keeps it both useful and attractive. A well-styled rack adds charm to any room. Proper care helps the rack last longer and stay clean. Small touches can change the whole look. Regular cleaning prevents damage and wear.
Adding Decorative Elements
Choose hooks that match your room’s style. Wooden or metal hooks add character. Paint the rack in colors that suit your decor. Use small plants or artwork nearby for a fresh look. Attach labels or tags for a personal touch. Keep the area tidy and clutter-free. Balance function with style for a neat look.
Cleaning And Upkeep
Dust the rack weekly using a soft cloth. Wipe spills immediately to avoid stains. For wooden racks, use a mild wood cleaner. Metal racks benefit from a damp cloth and dry fast. Check hooks for looseness and tighten as needed. Avoid harsh chemicals that damage finishes. Regular care keeps the rack looking new and sturdy.
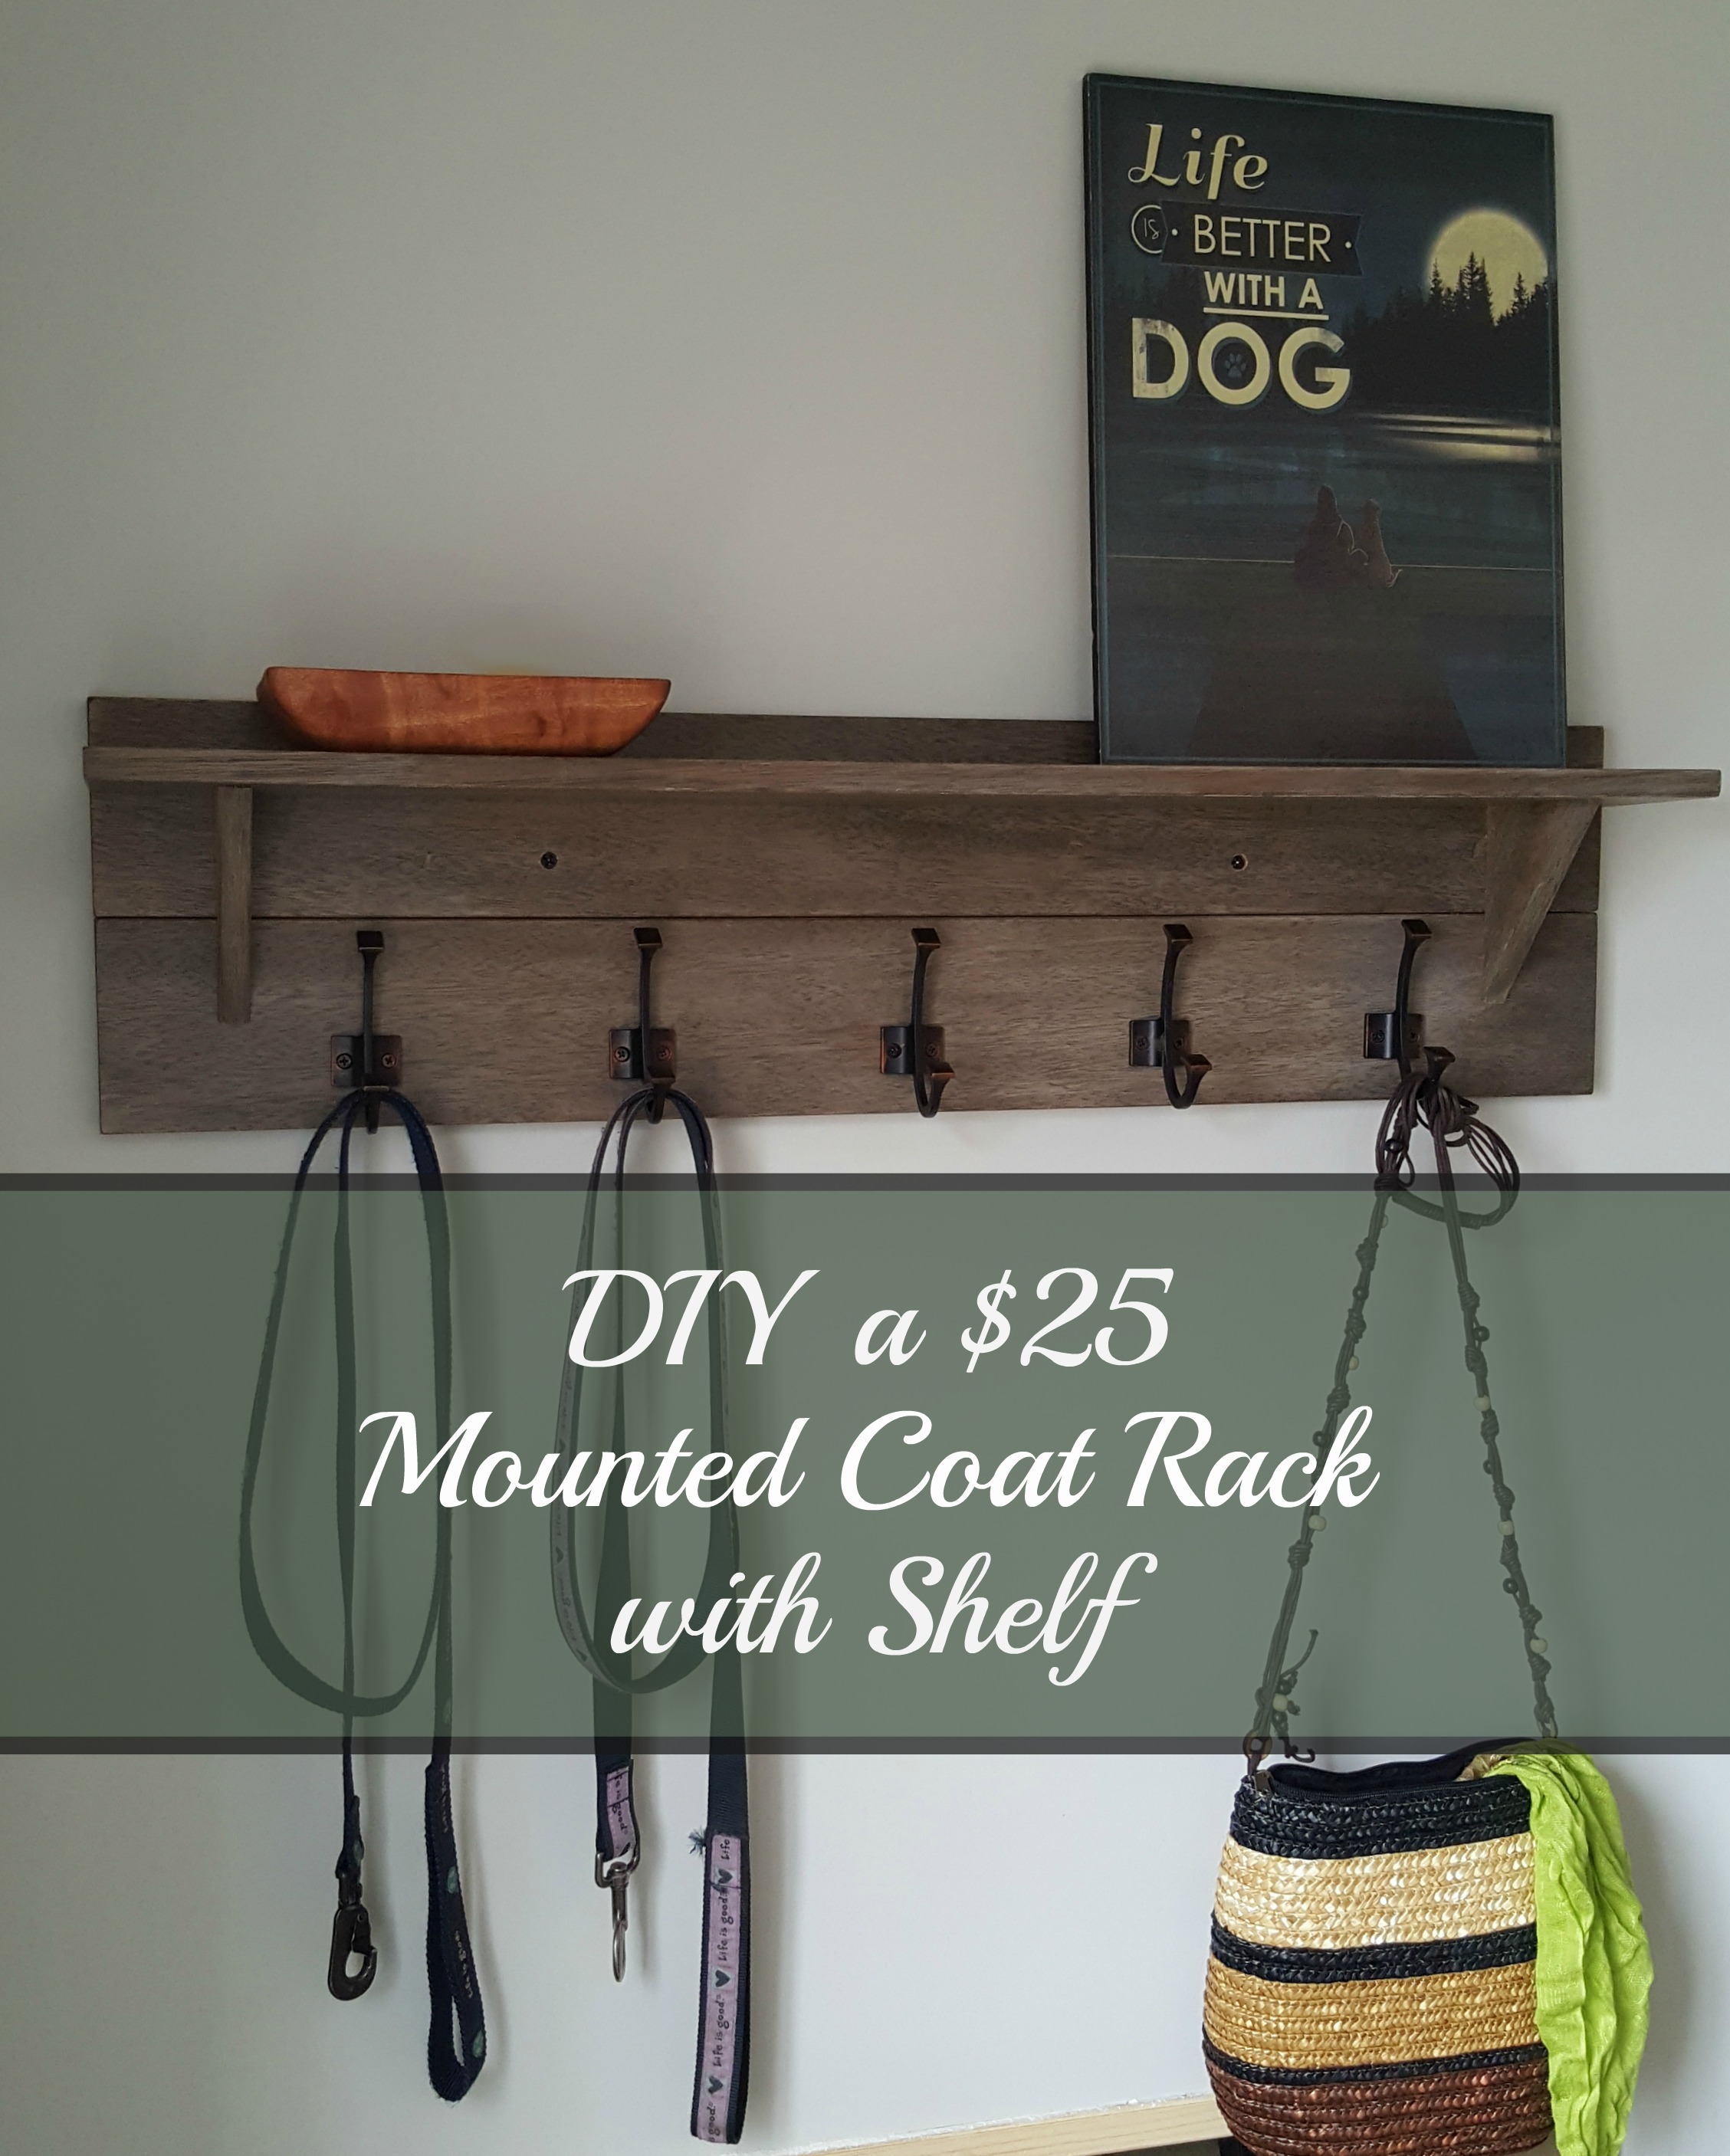
Credit: sawsonskates.com
Frequently Asked Questions
What Materials Are Needed For A Wall Mounted Coat Rack?
You need wood planks, screws, wall anchors, hooks, a drill, a measuring tape, and a level. Quality materials ensure durability and safety for your coat rack installation.
How Do I Choose The Right Wall For Mounting?
Select a sturdy wall like drywall with studs or solid wood. Avoid weak surfaces to ensure the rack holds weight safely.
Can I Customize The Coat Rack Design?
Yes, customize by choosing different wood types, paint colors, and hook styles. Personalizing enhances both function and decor appeal.
How Do I Securely Mount The Coat Rack To The Wall?
Use a stud finder to locate studs. Drill pilot holes, use wall anchors if necessary, and tighten screws firmly for stability.
Conclusion
Building a wall-mounted coat rack is simple and practical. You need just a few tools and materials to start. Measure carefully and choose a good spot on your wall. Secure the rack firmly to hold coats and bags. This project saves space and keeps your home tidy.
Plus, it adds a personal touch to your entryway. Try making one today and enjoy the neat, organized look it brings. Small projects like this make daily life easier and more pleasant.

