Are you ready to add a safe and sturdy ladder to your bunk bed? Building a bunk bed ladder yourself might sound tricky, but with the right steps, you can create one that fits perfectly and lasts for years.
Imagine having a ladder designed just for your space—strong, reliable, and easy to climb. In this guide, you’ll discover simple tips and clear instructions that make the whole process straightforward. Keep reading, and you’ll soon have the confidence to build a ladder that not only looks great but keeps you and your family safe every night.

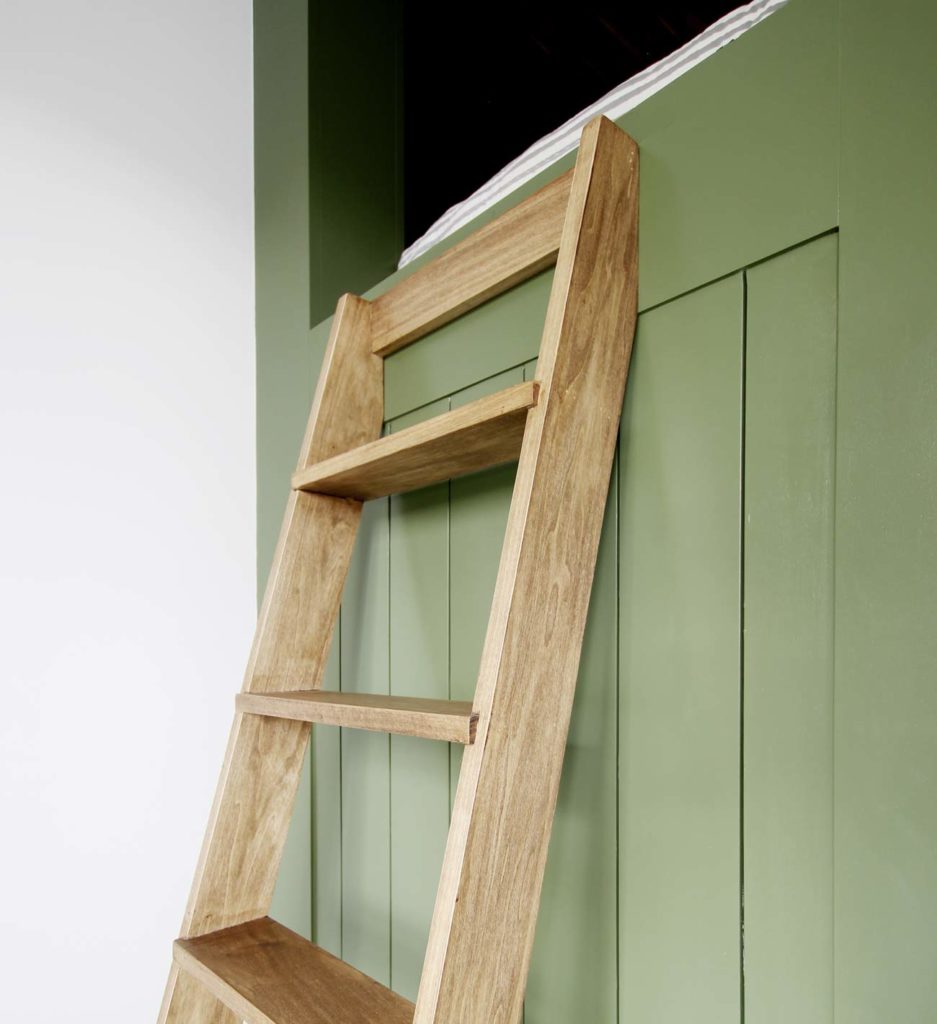
Credit: episas.at
Choosing Materials
Choosing the right materials is key to building a strong bunk bed ladder. Good materials make the ladder safe and long-lasting. Careful selection helps the ladder hold weight and resist wear. Focus on quality wood and strong hardware for the best results.
Selecting The Right Wood
Choose wood that is sturdy and easy to work with. Pine and oak are popular choices. Pine is soft and light, making it easy to cut. Oak is harder and lasts longer. Avoid wood with knots or cracks. Smooth surfaces prevent splinters and ensure safety. Pick wood with straight grain for strength and a neat look.
Necessary Tools And Hardware
Gather tools before starting to save time. A saw, drill, screwdriver, and measuring tape are essential. Use screws instead of nails for better hold. Sandpaper smooths rough edges. Wood glue adds extra strength. Get brackets or metal plates for added support. These tools and hardware create a sturdy, safe ladder.
Measuring And Planning
Measuring and planning are the first steps to build a safe bunk bed ladder. Take your time to get the measurements right. Careful planning helps avoid mistakes and ensures the ladder fits perfectly. Accurate measurements make the building process smoother and faster.
Determining Ladder Height And Width
Measure the height from the floor to the top bunk. This height decides how tall your ladder must be. Next, check the space where the ladder will go. Measure the width available so the ladder fits well. Make sure the ladder is wide enough for safe climbing. A good width is about 15 to 18 inches. Narrow ladders can feel unstable, while very wide ladders may not fit the bed.
Sketching The Design
Draw a simple sketch of your ladder design. Include the height and width measurements on the sketch. Mark where each step or rung will go. Space the steps evenly, about 10 to 12 inches apart. This spacing helps with easy climbing. Use the sketch to plan the materials you need. A clear plan helps avoid mistakes during building.
Cutting And Preparing Wood
Cutting and preparing wood is the first step in building a sturdy bunk bed ladder. Precise cuts ensure the ladder fits well and holds strong. Taking time to measure and cut carefully helps avoid mistakes later. Properly prepared wood also makes the ladder safer to use.
Use quality wood that is smooth and free of cracks. Measure twice, cut once. This rule saves wood and effort. Always wear safety gear like goggles and gloves while cutting.
Cutting Side Rails
Side rails hold the ladder steps in place. Measure the height of the bunk bed first. Cut two long pieces of wood to match this height. Use a saw to make straight cuts. Check the length with a tape measure after cutting. Smooth any rough ends before moving on.
Cutting Steps
Steps must be wide enough for safe climbing. Cut several pieces of wood to a uniform width. Each step should be about 10 to 12 inches long. Use a square tool to mark straight lines before cutting. Make sure all steps are the same size for balance.
Sanding Edges
Sanding removes splinters and sharp edges. Use sandpaper or a sanding block. Smooth all edges of the side rails and steps. Sand until the wood feels soft to touch. This makes the ladder safer and more comfortable to use. Wipe off dust after sanding.

Credit: www.youtube.com
Assembling The Ladder
Assembling the ladder is a key step in building a bunk bed. It requires care and precision. This ensures the ladder is safe and strong. Follow each step closely for the best results.
Start by preparing all parts and tools. Keep everything within reach. This speeds up the process and avoids mistakes. A well-assembled ladder supports weight and lasts long.
Attaching Steps To Rails
Lay the side rails flat on a clean surface. Measure equal spaces for each step. Mark the spots clearly on both rails. This keeps the steps level and balanced.
Place each step between the rails. Align the edges with the marks. Use clamps to hold the steps in place. This prevents movement during fastening.
Drill pilot holes through the rails into the steps. Use screws to secure the steps tightly. Avoid over-tightening to prevent wood damage. Check each step for firmness before moving on.
Ensuring Secure Joints
Inspect all connections between steps and rails. Look for gaps or loose parts. Apply wood glue to joints for extra strength. Wipe off any excess glue immediately.
Tighten all screws once more after glue dries. Test the ladder by applying gentle pressure on each step. Confirm no wobbling or creaking sounds. Secure joints keep the ladder safe during use.
Use corner braces if needed for added support. This is helpful for wider or taller ladders. Follow manufacturer instructions for brace placement. A sturdy ladder makes climbing easier and safer.
Adding Safety Features
Adding safety features to your bunk bed ladder is very important. It helps prevent falls and injuries. Safe ladders give peace of mind for both kids and parents. Simple steps make the ladder easier and safer to use. Focus on steady grips and secure steps.
Installing Handrails
Handrails give users something to hold while climbing. They improve balance and reduce slipping risks. Use smooth, rounded wood for comfort. Attach rails firmly to the ladder frame with screws. Place handrails at a comfortable height for easy reach. Check they do not block the steps or narrow the climbing space.
Non-slip Step Treatment
Non-slip steps stop feet from sliding off. Use grip tape or non-slip paint on each step. These materials add friction without changing the ladder look. Make sure each step is clean before applying any treatment. Replace worn-out tape or repaint regularly. This simple fix helps keep every climb safe and secure.
Credit: plankandpillow.com
Finishing Touches
Finishing touches make your bunk bed ladder look great and last long. This step protects the wood and ensures safety. Taking time here adds a professional feel to your project.
Painting Or Staining
Choose paint or stain to match your room’s style. Paint covers the wood fully and offers many colors. Stain keeps the wood’s natural look but adds color and protection.
Use a brush or cloth to apply evenly. Let it dry completely before using the ladder. Apply a second coat for extra strength and color depth.
Final Inspection
Check every part of the ladder carefully. Look for loose screws or rough edges that could cause harm. Sand any sharp spots until smooth.
Test the ladder by pressing on each step firmly. Make sure it feels steady and safe. Fix any issues before the ladder goes into daily use.
Installing The Ladder
Installing the ladder is a crucial step in building a safe bunk bed. The ladder provides easy access to the top bunk. It must be placed and secured correctly for stability and safety.
Positioning The Ladder
First, choose the side of the bunk bed for the ladder. Make sure it fits the room space and bed design. The ladder should be easy to reach and climb. Align the ladder’s top with the bed frame’s edge. Check that the ladder’s bottom rests firmly on the floor. The angle of the ladder should not be too steep or flat.
Securing To The Bunk Bed
Use strong screws or bolts to attach the ladder to the bed frame. Fix the ladder at the top and middle points for extra support. Tighten all fasteners to avoid any wobbling. Test the ladder by applying weight before use. Add brackets or braces if the ladder feels loose. Proper securing keeps the ladder steady and safe for climbing.
Frequently Asked Questions
How Do I Build A Safe Bunk Bed Ladder?
Start with sturdy wood and secure each step firmly. Use non-slip materials on steps. Follow precise measurements and check stability before use.
What Tools Are Needed To Build A Bunk Bed Ladder?
You’ll need a saw, drill, measuring tape, screws, sandpaper, and a level. Safety gear like goggles and gloves is essential.
How Long Does It Take To Build A Bunk Bed Ladder?
Building a simple bunk bed ladder takes around 3 to 5 hours, depending on your skill level and materials.
What Type Of Wood Is Best For Bunk Bed Ladders?
Hardwoods like oak or maple are best. They offer strength and durability, ensuring the ladder can support weight safely.
Conclusion
Building a bunk bed ladder can be simple and fun. Follow each step with care and patience. Use the right tools and materials for safety. Check your work often to avoid mistakes. A strong ladder keeps everyone safe and happy.
Enjoy the feeling of making something useful yourself. This project adds value and comfort to your home. Keep practicing, and your skills will grow over time. Ready to climb up? Your new ladder awaits.
