Are you looking to add a warm, rustic touch to your home? Building your own farmhouse console table is easier than you might think—and it’s a project you’ll be proud of.
Imagine having a unique piece that perfectly fits your style and space, crafted by your own hands. In this guide, you’ll discover simple steps and tips that make the process smooth and enjoyable. Ready to transform your living space with a beautiful, handcrafted table?
Let’s get started!

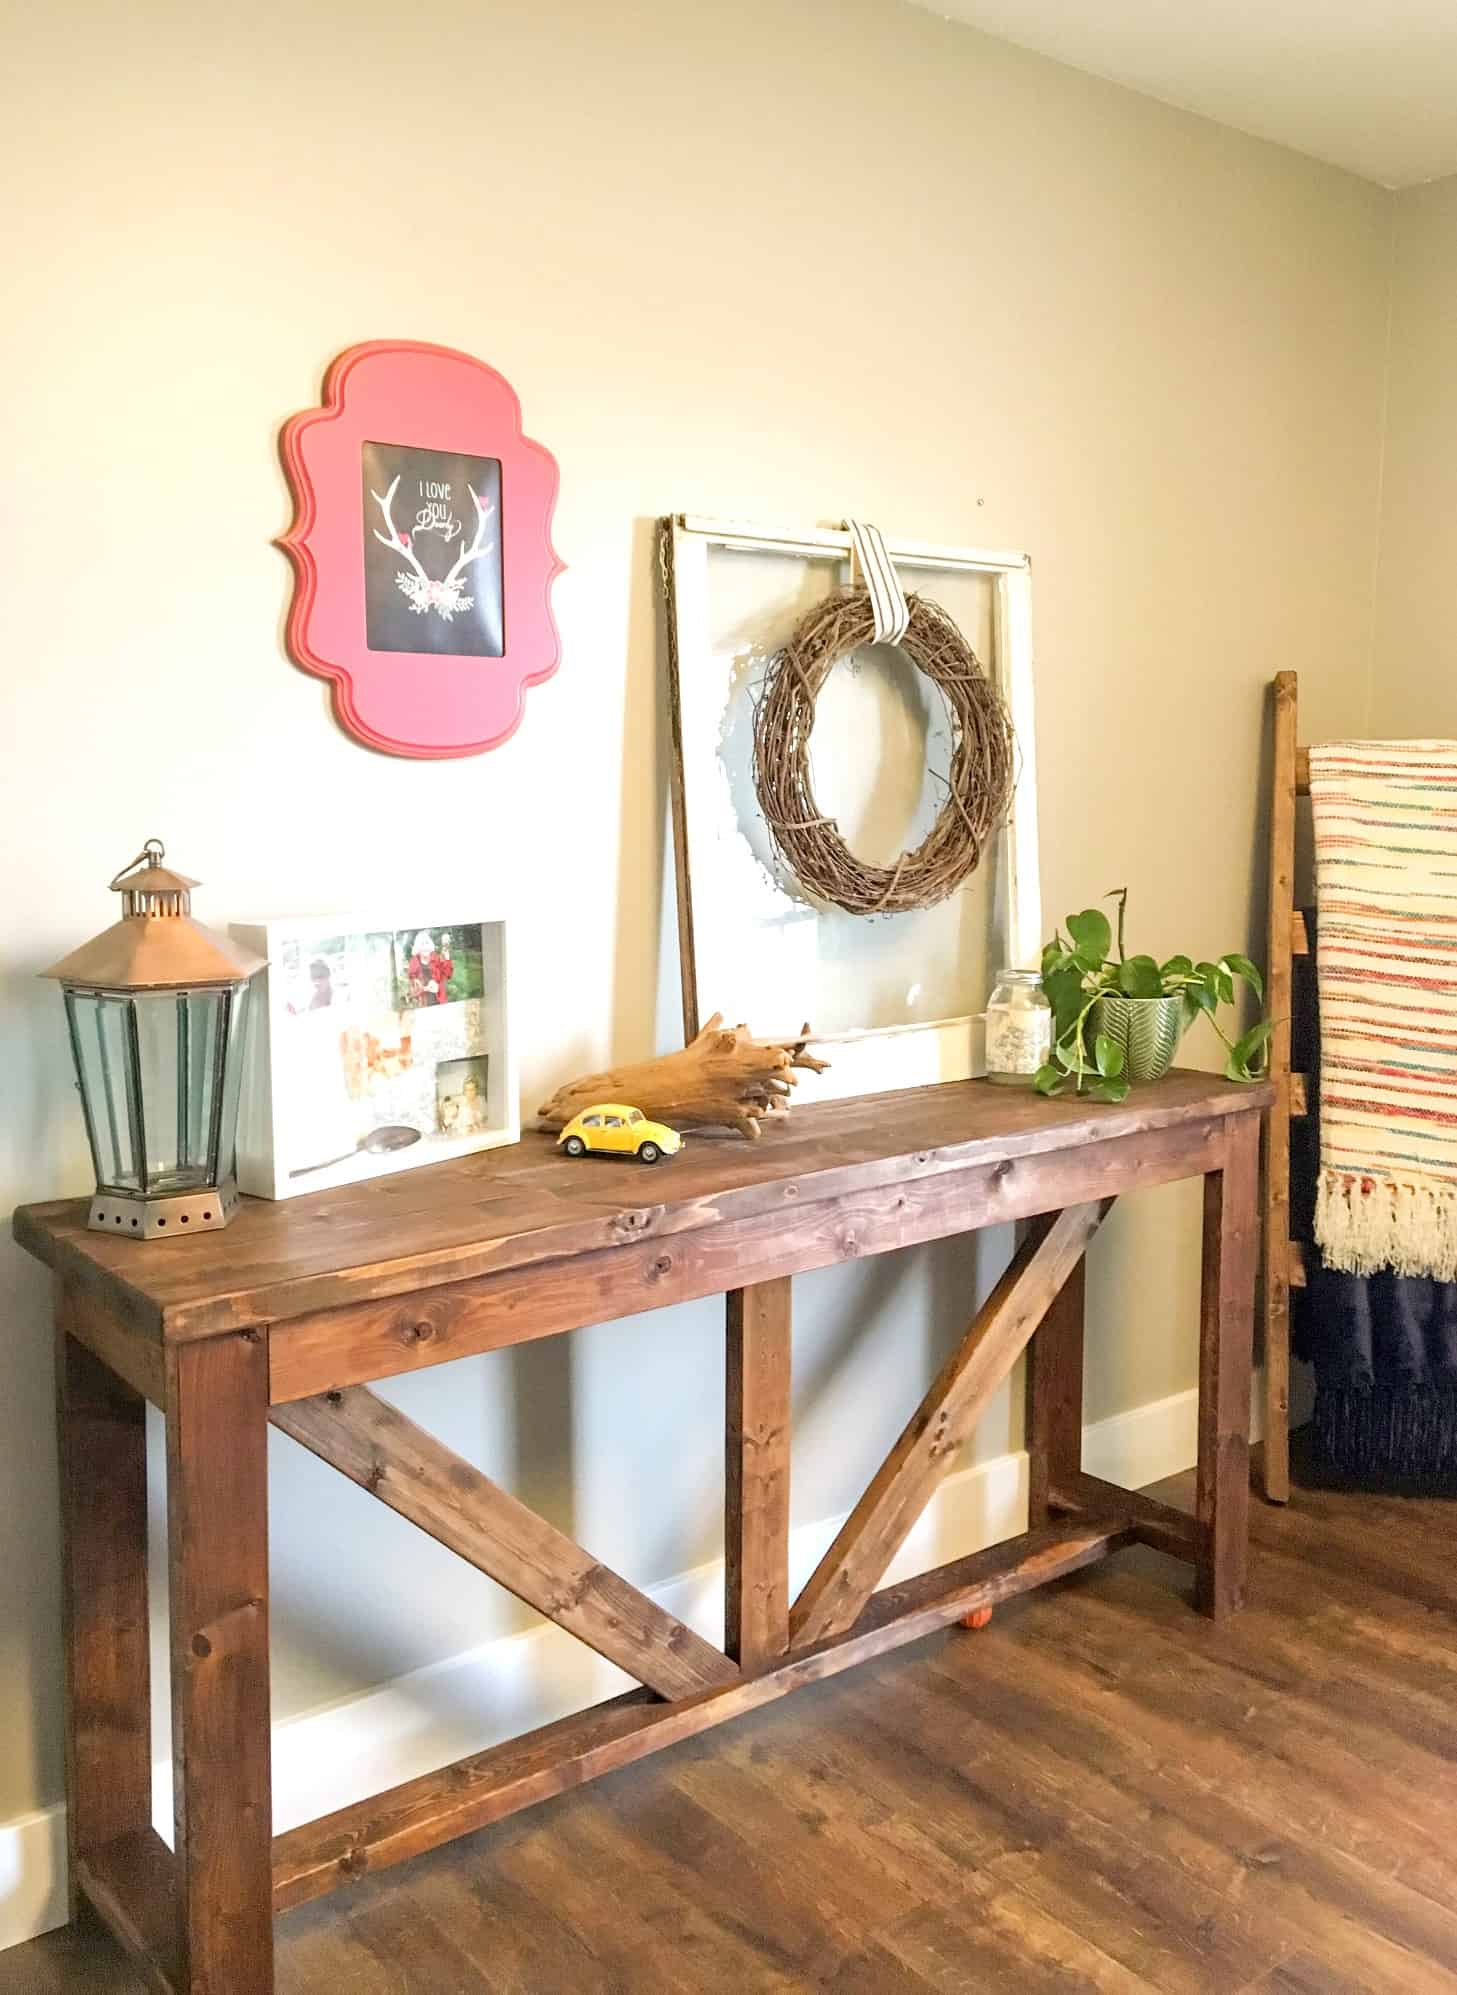
Credit: handmade-haven.com
Choosing Materials
Choosing the right materials is the first step to build a sturdy farmhouse console table. The materials affect the table’s look and strength. Select items that fit your budget and style. Focus on quality to ensure your table lasts long. Preparing well helps the building process go smoothly.
Selecting Wood Types
Pick wood that is strong and easy to work with. Pine and oak are popular choices for farmhouse tables. Pine is soft and affordable. Oak is harder and lasts longer. Cedar and maple also work well for a rustic look. Avoid wood with many knots or cracks. Smooth surfaces make sanding and finishing easier.
Gathering Tools And Supplies
Collect all tools before starting your project. You will need a saw, drill, measuring tape, and screwdriver. Sandpaper or a power sander helps smooth the wood. Wood glue and screws hold pieces firmly together. Finish supplies like paint or stain give the table a nice touch. Keep safety gear like gloves and goggles nearby.
Design Planning
Design planning is the first step in building a farmhouse console table. It helps you create a clear idea of how your table will look and fit in your space. Planning saves time and prevents mistakes during construction. Start by thinking about the style and function of your table.
Measuring And Sketching
Measure the area where the console table will go. Note the width, height, and depth available. Sketch a simple drawing of your table. Include the top, legs, and shelves if any. Sketching helps visualize the project and guides you during building. Use a ruler or graph paper for accuracy.
Deciding On Dimensions
Choose dimensions that fit your space and needs. Common farmhouse tables are about 30 inches high. The width depends on the wall or space size. Depth usually ranges from 12 to 18 inches. Keep enough space around the table for easy movement. Adjust dimensions based on your room and purpose.
Cutting Wood Pieces
Cutting wood pieces is a key step in building a farmhouse console table. The right cuts create a strong, beautiful piece of furniture. Take time to prepare and cut carefully. This helps to avoid mistakes and wasted wood. Follow safety rules and measure accurately. These small steps make a big difference in your project.
Safety Tips For Cutting
Always wear safety glasses to protect your eyes from wood chips. Use ear protection to guard against loud saw noises. Keep your hands away from the blade at all times. Use clamps to hold wood steady while cutting. Make sure your work area is clean and well-lit. Check that your saw blade is sharp and in good condition. Stop and unplug the saw before making adjustments.
Accurate Measuring Techniques
Measure twice, cut once. Use a tape measure or a ruler for precise measurements. Mark the cut line clearly with a pencil. Use a square tool to draw straight, right angles. Double-check measurements before cutting each piece. Hold the wood firmly while marking to avoid slips. Accurate measuring helps your console table parts fit perfectly together.
Assembling The Frame
Assembling the frame is the key step in building your farmhouse console table. This step creates the basic shape and structure. A strong frame ensures your table stays stable and durable. Focus on joining the parts carefully and securely. Use the right tools and materials for the best results.
Joining Legs And Supports
Start by attaching the legs to the support beams. Align each leg with the corner of the supports. Check that the legs stand straight and even. Use clamps to hold pieces in place. This prevents movement while you work. Make sure the frame forms a perfect rectangle. This keeps your table balanced and sturdy.
Using Screws And Wood Glue
Apply wood glue to the edges before joining. This creates a strong bond between the parts. Next, drill pilot holes for the screws. Pilot holes stop the wood from splitting. Insert screws into the holes and tighten them firmly. Avoid over-tightening to prevent damage. Wood glue and screws together make the frame solid and long-lasting.
Adding The Tabletop
Adding the tabletop is an important step in building your farmhouse console table. The tabletop gives the table its character and function. It must be sturdy and smooth to hold items safely and look great.
This part of the project involves attaching the boards firmly and then sanding the surface. Both steps ensure your tabletop lasts long and feels nice to touch.
Attaching Boards Securely
First, gather your tabletop boards. Check they are straight and clean. Lay them flat side by side on a work surface. Use clamps to keep boards tightly together. Apply wood glue along the edges to join boards firmly.
Next, screw the boards from underneath using long wood screws. This keeps the top smooth without visible screw heads. Make sure screws go in straight and do not split the wood. Let the glue dry completely before moving on.
Sanding For Smooth Finish
Start sanding with coarse sandpaper to remove rough spots and glue residue. Sand evenly across all boards. Change to finer sandpaper for a smooth feel. Sand edges and corners carefully to avoid sharp spots.
Wipe off dust with a clean cloth. The smooth surface helps paint or stain stick well. It also makes the table safe for daily use.
Credit: aturtleslifeforme.com
Applying Rustic Finishes
Applying rustic finishes gives your farmhouse console table its warm, aged look. This step makes the wood feel lived-in and cozy. It brings out the natural beauty of the wood. Two main techniques help you achieve this look: staining and sealing, and distressing for character.
Staining And Sealing
Staining adds color and depth to the wood. Choose a stain that matches the rustic style you want. Apply the stain evenly with a brush or cloth. Let it soak into the wood for a few minutes. Wipe off the extra stain to avoid blotches.
After staining, sealing protects the wood. Use a clear matte or satin finish for a natural look. Seal the table with a brush in thin coats. Let each coat dry before adding another. Sealing keeps the wood safe from spills and wear.
Distressing For Character
Distressing makes the table look naturally aged. Use tools like sandpaper, hammers, or chains to create small dents and scratches. Focus on edges and corners where wear would naturally happen. Be gentle to avoid overdoing it.
Light sanding smooths rough spots while keeping the worn look. This step adds charm and personality to your table. Each mark tells a story, making your piece unique.
Final Touches
Final touches bring your farmhouse console table to life. They add character and ensure the table works well. Small details make a big difference in style and function. Focus on these last steps to finish your project perfectly.
Adding Decorative Hardware
Choose hardware that matches the farmhouse style. Look for handles and knobs with a rustic or vintage look. Attach them carefully to avoid damage. Hardware gives your table charm and personality. It also makes drawers and doors easier to use.
Ensuring Stability And Balance
Check the table on a flat surface. Make sure it does not wobble or tilt. Tighten all screws and bolts firmly. Add felt pads or small shims under the legs if needed. Stability keeps the table safe and durable for daily use.

Credit: restoringhandmade.com
Frequently Asked Questions
What Materials Are Needed To Build A Farmhouse Console Table?
You need wood planks, screws, wood glue, sandpaper, paint or stain, and finishing nails. Choose rustic wood for an authentic farmhouse look.
How Long Does It Take To Build A Farmhouse Console Table?
Building takes about 4 to 6 hours for beginners. Time varies based on skill level and drying time for paint or stain.
Can I Customize The Size Of The Farmhouse Console Table?
Yes, adjust the length, width, and height to fit your space. Custom sizes ensure the table suits your needs perfectly.
What Tools Are Essential For Building This Console Table?
Basic tools include a saw, drill, screwdriver, measuring tape, and clamps. These tools help cut, assemble, and secure the wood pieces efficiently.
Conclusion
Building a farmhouse console table can be a fun and rewarding project. It adds charm and function to any room. Using basic tools and simple steps makes the process easy. Personal touches make your table unique and special. Take your time and enjoy each step along the way.
Soon, you will have a beautiful piece that fits your style. Try it yourself and see the difference handmade furniture brings.