Are you looking for a stylish and practical way to organize your books and display your favorite items? Building your own ladder bookshelf might be the perfect project for you.
Not only will it add charm to any room, but it’s also easier to make than you might think. Imagine having a unique piece that fits your space perfectly and shows off your personality. In this guide, you’ll discover simple steps to create a ladder bookshelf that looks great and holds everything you love.
Ready to transform your space and boost your DIY skills? Keep reading—you’re about to make something amazing.
Credit: www.woodshopdiaries.com
Materials And Tools
Gathering the right materials and tools is the first step to build a sturdy ladder bookshelf. Choosing quality wood and having proper tools ensures your project goes smoothly. Prepare everything before starting to save time and avoid mistakes.
Wood Selection
Pick wood that is strong and easy to work with. Pine and poplar are good choices for beginners. Oak and maple offer durability but cost more. Use boards that are straight and free of cracks. Choose wood thickness around ¾ inch for shelves and sides.
Required Tools
Basic tools include a saw, drill, and measuring tape. A circular saw or handsaw can cut wood pieces. Use a drill to make holes and drive screws. A level helps keep shelves straight. Sandpaper smooths rough edges for a clean finish.
Additional Supplies
Grab wood screws to hold parts together firmly. Wood glue adds extra strength at joints. Painter’s tape can help hold pieces while gluing. Finish with paint or stain to protect wood. Use brushes or rags to apply the finish evenly.
Planning Your Bookshelf
Planning your ladder bookshelf is the first step to a successful build. Careful preparation helps avoid mistakes and saves time. It ensures your bookshelf fits perfectly in your space and meets your needs. This section guides you through key planning stages.
Measuring Space
Start by measuring the area where the bookshelf will go. Measure width, height, and depth accurately. Note any obstacles like vents, outlets, or baseboards. Check the floor surface for stability. Write down all measurements for reference.
Choosing Dimensions
Decide how tall and wide your ladder bookshelf should be. Consider the size of books or items you want to store. Choose shelf depth to hold larger books or decorations. Keep proportions balanced for a strong, stable design. Plan spacing between shelves for easy access.
Design Variations
Explore different ladder bookshelf styles before building. You can choose open shelves, closed backs, or angled sides. Some designs include extra features like drawers or hooks. Select a style that fits your room and personal taste. Simple designs often work best for beginners.
Cutting The Wood
Cutting the wood is a key step in building a ladder bookshelf. This stage shapes your materials and sets the base for assembly. Precision and care are important to ensure all pieces fit well. Follow clear steps to cut your wood properly and safely.
Marking Measurements
Start by measuring the wood pieces accurately. Use a tape measure and pencil for clear marks. Mark twice to avoid mistakes. Draw straight lines where cuts will go. Double-check measurements to match your design. This step helps create balanced shelves and sides.
Safe Cutting Techniques
Wear safety glasses and gloves before cutting. Use a stable surface like a workbench. Cut slowly and steadily to keep control. Choose the right saw for your wood type. Follow the marked lines carefully. Keep fingers away from the blade at all times.
Preparing Pieces
After cutting, smooth the edges with sandpaper. Remove any splinters or rough spots. Group pieces by their role in the bookshelf. Check each piece against your plan. This preparation makes assembly easier and safer. Well-prepared parts improve the bookshelf’s look and strength.
Credit: www.woodshopdiaries.com
Assembling The Frame
Assembling the frame is the first big step in building your ladder bookshelf. It sets the base for the entire structure. A strong frame means a sturdy bookshelf that will last for years. Follow these simple steps to put your frame together correctly and easily.
Joining Side Rails
Start by laying out the two side rails on a flat surface. These rails form the sides of your ladder bookshelf. Align the rails so the pre-drilled holes match. Use wood glue for extra hold before screwing them together. Insert screws into each hole to firmly join the rails. Tighten screws but avoid over-tightening to prevent wood damage.
Attaching Shelves
Next, position the shelves between the side rails. Each shelf should fit into the slots or holes on the rails. Use clamps to hold shelves in place if needed. Screw the shelves into the rails from the outside. Check that each shelf is level before fully tightening the screws. Proper shelf placement ensures the bookshelf stays balanced and strong.
Securing Joints
Secure all joints by reinforcing them with corner braces or wood glue. Place braces at each corner where rails and shelves meet. Screw the braces tightly to add stability. Wipe off any extra glue immediately. Double-check each joint to make sure everything is tight. Strong joints keep your ladder bookshelf solid and safe for use.
Finishing Touches
Finishing touches make your ladder bookshelf look complete and polished. These steps protect the wood and improve its appearance. Taking time here helps your project last longer and look better.
Sanding Surfaces
Start by sanding all wooden surfaces. Use medium-grit sandpaper to smooth rough areas. Then, switch to fine-grit sandpaper for a soft finish. Sanding removes splinters and prepares wood for paint or stain. Always sand along the wood grain to avoid scratches.
Applying Paint Or Stain
Choose paint or stain based on your style preference. Paint adds color and covers imperfections well. Stain highlights the wood’s natural beauty and grain. Apply with a brush or cloth in thin, even coats. Let each coat dry completely before adding another layer.
Adding Protective Coating
Seal your bookshelf with a clear protective coating. Polyurethane or varnish works well to guard against scratches and moisture. Use a clean brush to apply thin coats. Allow drying time between coats for best results. This step keeps your ladder bookshelf durable and easy to clean.
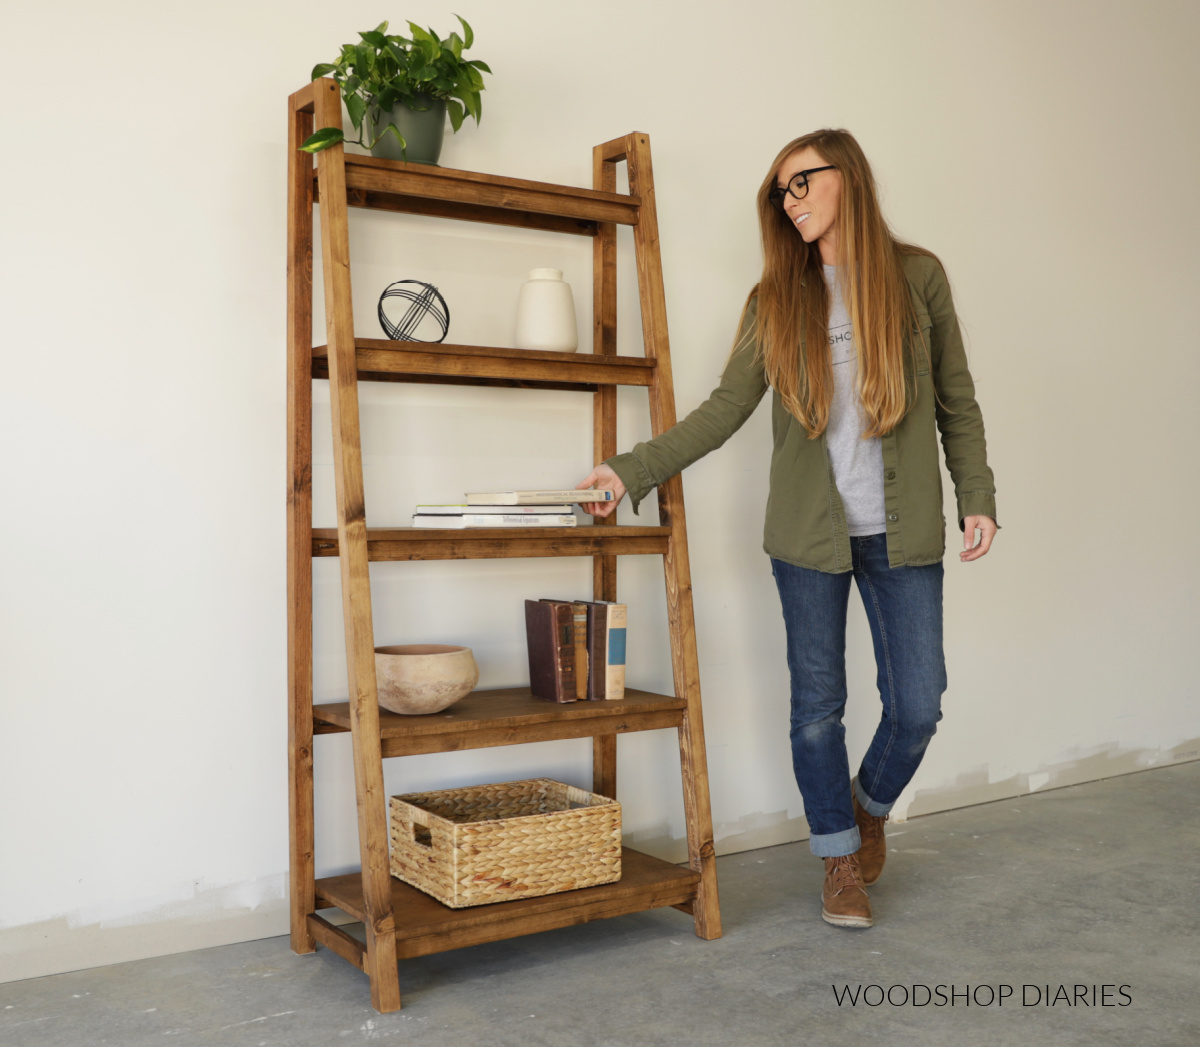
Placement And Styling
Placement and styling are key to making your ladder bookshelf both useful and attractive. Proper positioning helps the shelf blend with your room. Thoughtful styling turns it into a focal point. Both affect how you enjoy your space.
Optimal Positioning
Place the ladder bookshelf where it fits the room size. Avoid blocking windows or walkways. A corner spot works well to save space. Keep it near seating areas for easy access. Make sure it stands on a flat, stable floor. Good lighting shows off your items nicely.
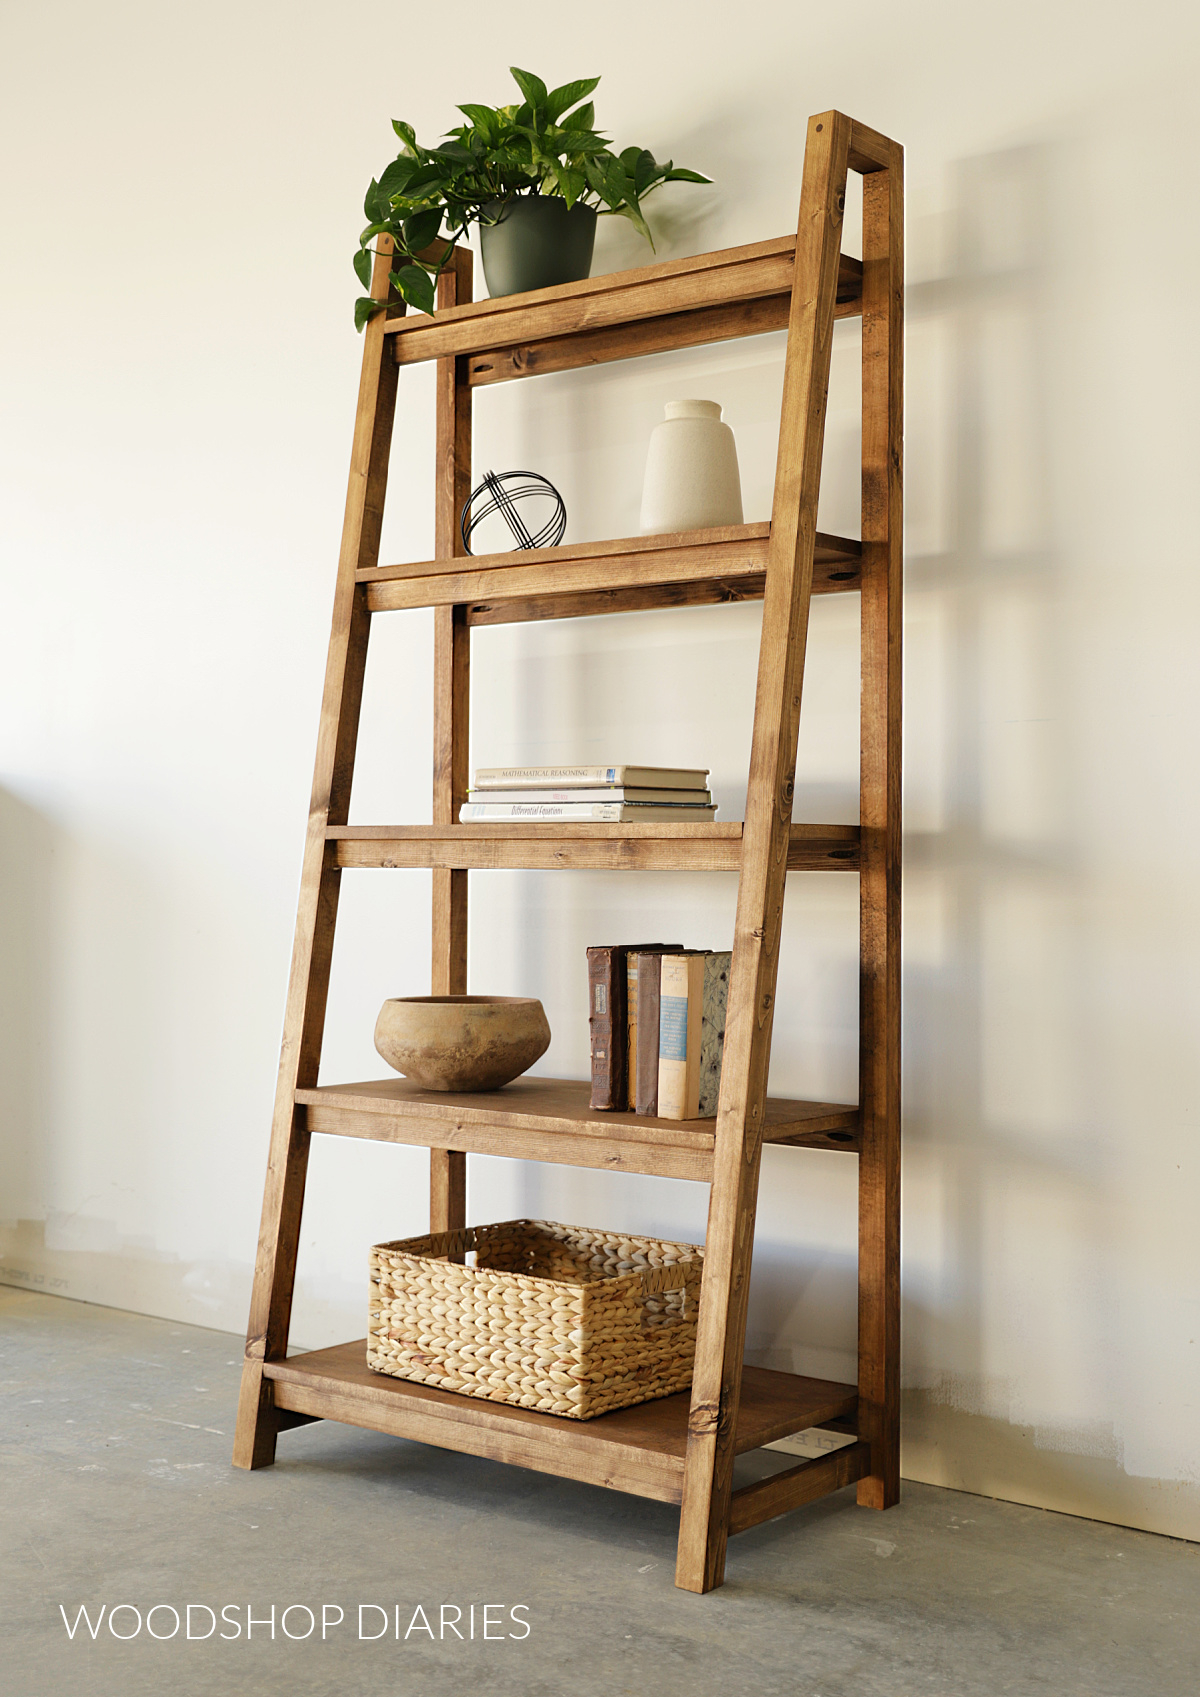
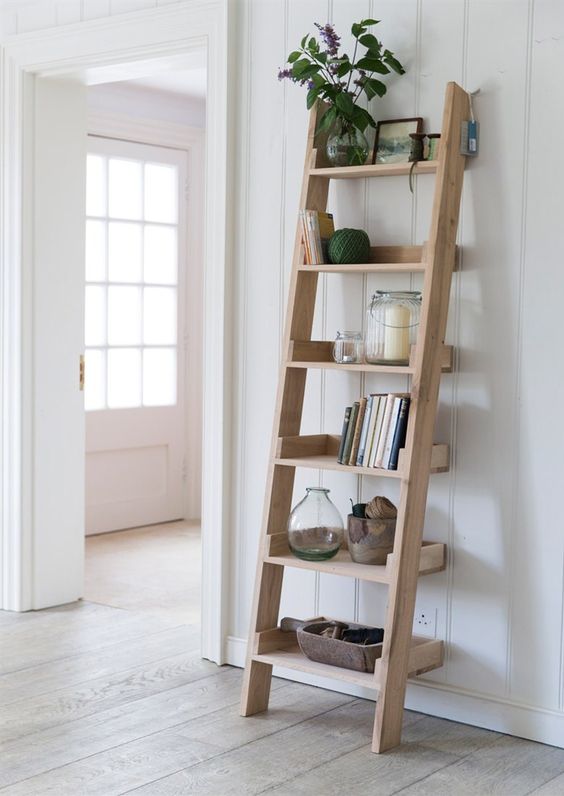
Decorating Ideas
Mix books with decorative items for balance. Use plants to add life and color. Picture frames make the shelf personal. Small baskets keep loose items tidy. Change decorations by season for fresh looks. Keep heavier items on lower shelves for safety.
Maintenance Tips
Dust the shelf regularly to keep it clean. Use a soft cloth to avoid scratches. Tighten screws every few months for stability. Avoid placing it in damp areas to prevent damage. Fix any chips or cracks quickly. This keeps your bookshelf looking new longer.
Credit: www.brepurposed.com
Frequently Asked Questions
What Materials Are Needed To Build A Ladder Bookshelf?
You need wood planks, screws, wood glue, sandpaper, paint or stain, and brackets for support. Choose quality materials for durability and aesthetics.
How Long Does It Take To Build A Ladder Bookshelf?
Building a ladder bookshelf typically takes 4 to 6 hours. Time varies with skill level and design complexity.
What Tools Are Required For Ladder Bookshelf Assembly?
Common tools include a saw, drill, screwdriver, measuring tape, level, and clamps. These ensure precise cuts and sturdy construction.
Can I Customize The Size Of My Ladder Bookshelf?
Yes, you can adjust height, width, and shelf spacing. Custom sizes fit different spaces and storage needs.
Conclusion
Building a ladder bookshelf is simple and rewarding. You only need basic tools and some wood. Follow clear steps and take your time. This project adds style and storage to any room. You can customize it to fit your space.
Try different finishes or colors for a personal touch. Enjoy your new shelf filled with books and decor. A handmade ladder bookshelf brings charm and function together. Start your project today and see the results!

