Are you ready to transform your space with something fun and unique? Building a Lego bookshelf isn’t just a cool project—it’s a chance to create a personalized storage solution that shows off your creativity.
Imagine a colorful, sturdy shelf made entirely from Lego bricks, designed by you and for you. Whether you’re a Lego fan or just looking for a fresh way to organize your books, this guide will walk you through every step.
Keep reading, and by the end, you’ll have the skills to build a Lego bookshelf that’s both practical and eye-catching. Let’s get started!
Choosing The Right Lego Bricks
Choosing the right Lego bricks is key to building a strong and attractive bookshelf. The bricks must fit well together and hold weight. Picking the right types, colors, and sizes helps create a sturdy shelf. It also makes your bookshelf look nice and match your style.
Types Of Bricks To Use
Select bricks that provide stability. Standard rectangular bricks are perfect for the main structure. Plates and tiles add smooth surfaces and details. Use larger bricks at the bottom for strong support. Smaller bricks work well for decoration and fine adjustments. Avoid fragile or thin pieces for load-bearing parts.
Color And Size Selection
Choose colors that match your room or personal taste. Bright colors can make your bookshelf fun and lively. Neutral shades give a clean and modern look. Use different sizes to create balance and interest. Mix large and small bricks to avoid a blocky appearance. Consistent color patterns improve the overall design.
Designing Your Bookshelf
Designing your Lego bookshelf is the first step to a great project. It helps you plan and build something that fits your space and needs. Good design saves time and makes the building process smoother.
Start with clear ideas about size and shape. Think about how many books you want to store and the space available. A well-designed bookshelf looks good and holds your items safely.
Measuring Space And Dimensions
Measure the area where you want the bookshelf. Use a tape measure for accuracy. Write down the height, width, and depth of the space. Check for any obstacles like power outlets or vents. Leave some extra room for easy access and future changes.
Think about the size of your Lego bricks too. This helps in planning the shelf size and strength. Accurate measurements avoid surprises during building.
Sketching Your Layout
Draw a simple sketch of your bookshelf design. Use graph paper or a digital tool for precision. Mark the overall size and shelf levels. Plan where each section will go. This visual guide helps you organize your Lego pieces.
Keep shelves evenly spaced for books of different sizes. Add extra support if the shelves will hold heavy items. A clear layout makes building easier and faster.
Preparing The Base
Preparing the base is a key step in building a Lego bookshelf. It sets the stage for a strong and steady structure. A well-made base keeps the bookshelf balanced and supports the weight of books. Take your time to build a solid foundation before moving on.
Building A Stable Foundation
Start by choosing a large, flat Lego plate for the base. This plate acts like the floor of your bookshelf. Use wide plates to cover enough area. Connect smaller bricks tightly to avoid gaps. Make sure the base is level and does not wobble. Test stability by pressing gently on different parts.
Reinforcing For Strength
Add extra layers of bricks on top of the base plate. Use long bricks that span across the base for better support. Attach bricks in a staggered pattern to lock them in place. Reinforce corners with sturdy blocks to prevent bending. Double-check connections to ensure everything fits tightly. This step helps your shelf hold heavier books safely.
Constructing The Shelves
Constructing the shelves is a key step in building a Lego bookshelf. It shapes the storage space and holds your books safely. Careful planning and precise building ensure strong, even shelves. This part focuses on layering techniques and adding support structures. These methods keep the shelves stable and durable.
Layering Techniques
Start by placing Lego bricks flat to form the base layer. Use long, flat pieces for smooth surfaces. Build up by stacking bricks in a staggered pattern. This pattern spreads the weight evenly across the shelf. Avoid stacking bricks directly on top of each other. Layering this way increases shelf strength and prevents wobbling.
Keep the layers level. Check with a small ruler or flat edge. This ensures books sit evenly without tipping. Use thin plates between layers for extra stability. Plates help lock bricks together firmly. Layering creates a solid shelf ready to hold weight.
Adding Support Structures
Support structures prevent shelves from bending or breaking. Add vertical columns under each shelf at regular intervals. Use sturdy Lego bricks for these supports. Place supports near the edges and the middle. This balances the shelf’s load and keeps it steady.
Cross braces help strengthen the structure. Build diagonal or horizontal braces between supports. These braces stop the shelf from twisting or leaning. Attach braces securely to the main frame. Strong support structures extend the life of your Lego bookshelf.
Incorporating Creative Elements
Incorporating creative elements makes your Lego bookshelf unique and fun. It transforms a simple storage piece into a personal art project. Creativity adds color, style, and personality. It reflects your taste and imagination.
Using Decorative Bricks
Decorative bricks come in many shapes and colors. Use them to create patterns on your bookshelf. Mix bright and soft colors for a lively look. Try bricks with textures to add depth and interest. Place them on edges or corners for a bold effect. Small details make a big difference in design.
Personalizing With Themes
Choose a theme that fits your style or room decor. Themes could be nature, space, or favorite movies. Use bricks that match the theme colors and shapes. Add small Lego figures or objects related to the theme. Themes make your bookshelf more meaningful and special. They tell a story with every shelf you build.
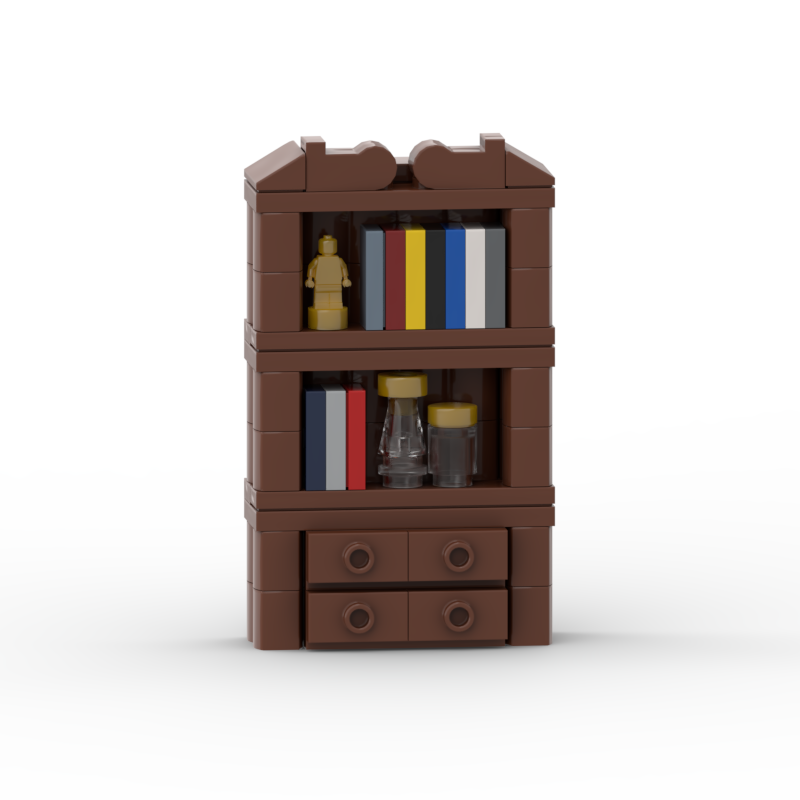
Credit: allurelakestorey.com
Securing And Finishing Touches
Securing and finishing touches make your Lego bookshelf safe and neat. These steps help keep the structure strong and protect your creation from damage. A stable and smooth finish also improves the look of your bookshelf. Follow simple tips to complete your project with confidence.
Ensuring Stability
Check all Lego bricks fit tightly together. Loose bricks can cause the shelf to wobble or fall. Use extra Lego plates to reinforce weak spots. Attach the bookshelf to a wall with brackets for added safety. This prevents tipping and keeps the shelf steady. Test the shelf by gently shaking it to confirm stability.
Adding Protective Coating
Apply a clear sealant to protect your Lego bookshelf. This coating stops dust and dirt from settling on the bricks. Choose a non-yellowing, water-based sealant for the best results. Use a soft brush to spread the coating evenly. Let it dry completely before placing items on the shelf. This step keeps your bookshelf looking fresh and clean longer.
Maintaining Your Lego Bookshelf
Maintaining your Lego bookshelf keeps it strong and looking good. Regular care helps avoid damage and wear. Simple steps will keep your bookshelf safe and neat for a long time.
Cleaning Tips
Dust your Lego bookshelf often with a soft cloth. Use a small brush to clean between the bricks. Avoid water that soaks the Lego pieces. A dry cloth or compressed air works best. Clean spills quickly to stop stains. Keep cleaning gentle to avoid loosening pieces.
Repairing Damages
Check your bookshelf for loose or missing bricks. Replace damaged pieces with new Lego parts. Use a firm press to reconnect loose bricks. For cracks, remove the affected part and rebuild it. Fix problems early to prevent bigger damage. Handle repairs carefully to keep the shelf stable.
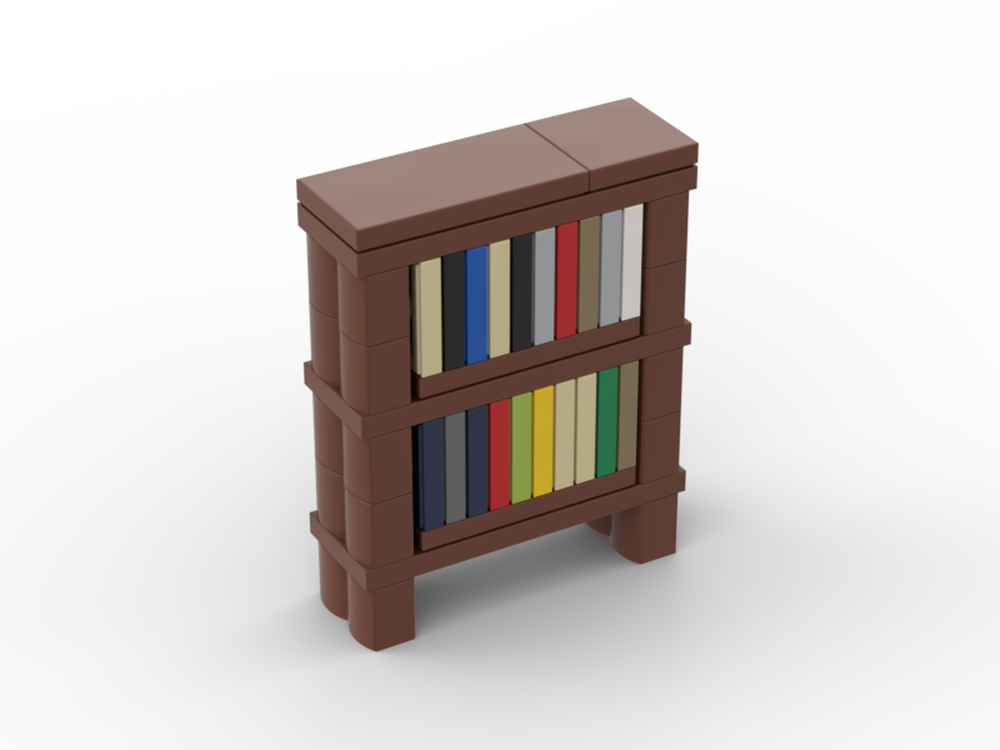
Credit: rebrickable.com

Credit: www.youtube.com
Frequently Asked Questions
What Materials Do I Need To Build A Lego Bookshelf?
You need Lego bricks in various sizes, a baseplate, and optional adhesive for stability. Choose colors to match your room decor.
How Long Does It Take To Build A Lego Bookshelf?
Building time varies by design complexity but typically ranges from 2 to 6 hours. Planning and sorting bricks speed up the process.
Can A Lego Bookshelf Hold Heavy Books Safely?
A well-built Lego bookshelf can hold light to medium-weight books. Avoid placing very heavy books to prevent structure damage.
How Do I Make My Lego Bookshelf More Stable?
Use larger baseplates and interlock bricks tightly. Adding internal supports or using a strong adhesive improves overall stability.
Conclusion
Building a Lego bookshelf is fun and creative. It lets you design a shelf that fits your space. You can choose colors and shapes you like. The steps are simple and easy to follow. You only need basic Lego pieces and some patience.
This project brings joy and a sense of pride. Start building today and enjoy your unique Lego bookshelf. It’s a great way to add style and storage to any room. Give it a try and see your ideas come alive.