Are you ready to create more space and add a fun touch to your room? Building a loft bunk bed could be the perfect solution for you.
Imagine having a cozy sleeping area above, while freeing up valuable floor space below for a desk, storage, or play area. This guide will walk you through simple steps to build your own loft bunk bed, even if you don’t have much experience.
By the end, you’ll have a sturdy, stylish bed that fits your needs perfectly. Keep reading, and let’s make your room smarter and more comfortable together!
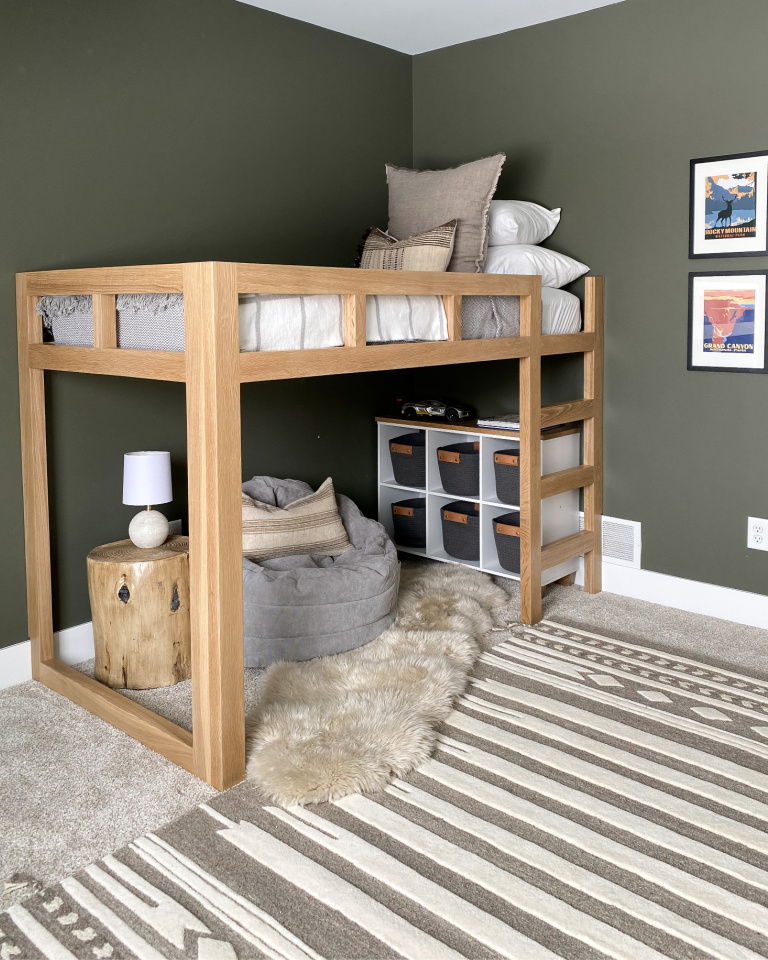
Credit: joinerydesignco.com
Planning Your Loft Bunk Bed
Planning your loft bunk bed is the first step to a successful build. It helps avoid mistakes and saves time. Careful planning ensures safety and comfort. Think about the room, users, and style. Clear plans make the building process smooth and enjoyable.
Choosing The Right Design
Start with a design that fits your needs and space. Decide between a simple loft bed or a bunk bed with a desk or storage. Choose a style that matches the room’s decor. Check online for ideas and sketches. Pick a design that is safe and sturdy.
Selecting Materials And Tools
Use strong wood like pine or oak for the bed frame. Avoid soft or weak materials. Choose screws and bolts for better support. Gather all tools before starting. You will need a saw, drill, screwdriver, measuring tape, and sandpaper. Quality tools make the build easier and safer.
Measuring Your Space
Measure the room carefully. Check ceiling height to ensure enough headroom. Measure the floor space for the bed’s footprint. Allow space for ladders and movement around the bed. Accurate measurements prevent fitting problems later. Write down all dimensions before cutting materials.
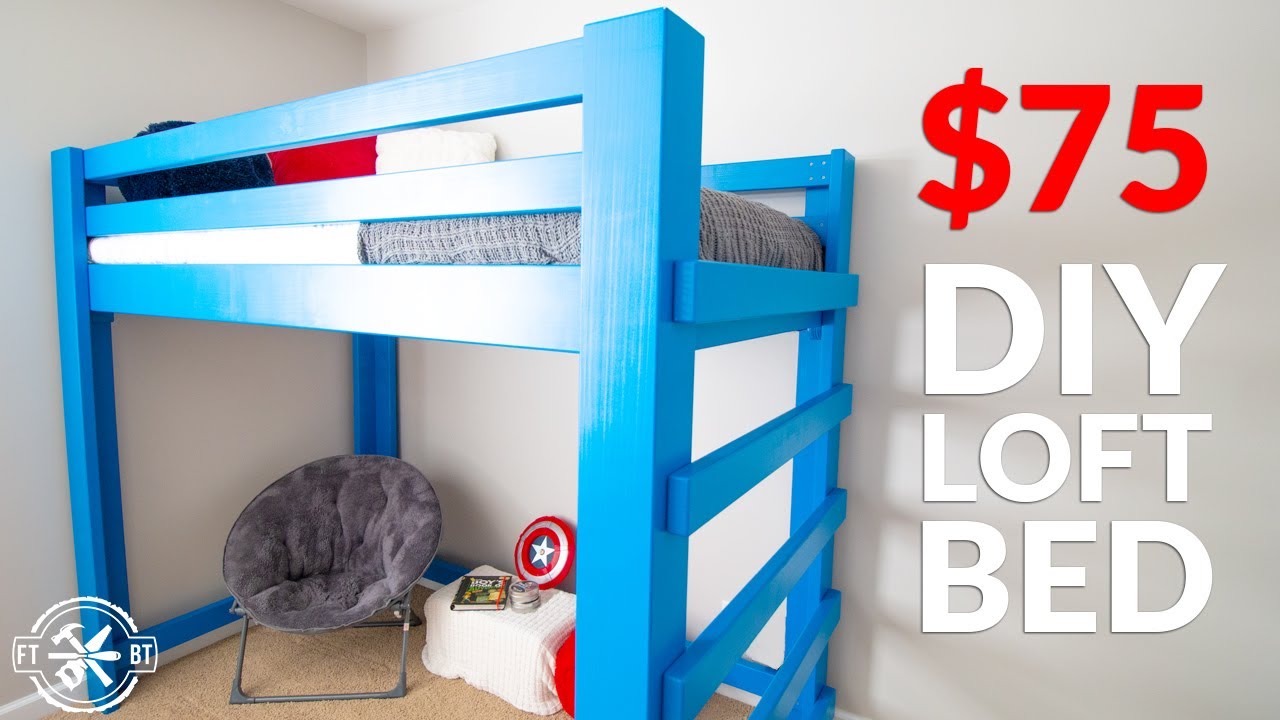
Credit: www.youtube.com
Preparing The Workspace
Preparing the workspace is the first step in building a loft bunk bed. A clean, organized area helps you work faster and safer. Taking time to prepare saves effort later. It also reduces mistakes and accidents.
Gathering Supplies
Collect all tools and materials before starting. You will need wood, screws, a drill, a measuring tape, and sandpaper. Check if you have a level and a screwdriver. Having everything ready prevents interruptions. It keeps the project moving smoothly.
Setting Up A Safe Work Area
Choose a spacious spot with good light. Clear the floor of any clutter or obstacles. Place a soft mat or cloth to protect wood pieces. Keep children and pets away from the area. Wear safety glasses and gloves for protection. Safety should be your top priority during the build.
Cutting And Preparing Wood
Cutting and preparing wood is a key step in building a loft bunk bed. It ensures that all parts fit well and the bed is strong. This process involves measuring, cutting, and smoothing the wood pieces. Taking time here leads to a safe and neat final product.
Measuring And Marking
Start by measuring the wood carefully. Use a tape measure for accuracy. Mark the wood with a pencil where you need to cut. Double-check each measurement before marking. Clear marks make cutting easier and prevent mistakes.
Cutting Wood Pieces
Use a saw to cut along the marked lines. Cut slowly to keep the edges straight. Follow safety rules and wear protective gear. Keep the wood steady while cutting for clean cuts. Cut all pieces needed for the bed frame and supports.
Sanding And Finishing
Sand each wood piece to remove rough edges. Use medium-grit sandpaper first, then fine-grit for smoothness. Smooth wood protects against splinters and looks better. Wipe off dust after sanding to prepare for finishing. Apply a wood finish to protect and enhance the wood.
Building The Frame
Building the frame is the first step in creating a sturdy loft bunk bed. The frame supports the mattress and ensures safety. It must be strong and well-assembled. Use quality wood and precise measurements for best results. Follow each step carefully to avoid mistakes.
Assembling Side Rails
Start by cutting the side rails to the bed’s length. These rails hold the mattress and connect the bed’s ends. Attach the rails to the bed posts using screws or bolts. Check that the rails are level and firmly fixed. Tighten all fasteners to avoid movement later.
Constructing Bed Supports
Next, build the supports that hold the mattress platform. Use thick wooden slats or plywood sheets. Space the slats evenly to distribute weight well. Secure each support tightly to the side rails. Make sure they are straight and strong to prevent sagging.
Securing The Frame
Finally, join all frame parts firmly. Double-check all corners for tight connections. Use brackets or corner braces for extra strength. Test the frame by applying pressure to each side. Fix any loose parts before proceeding to the next steps.
Adding The Ladder And Guardrails
Adding the ladder and guardrails is a key step in building a loft bunk bed. These parts make the bed safe and easy to use. The ladder helps climb up and down. Guardrails keep you from falling while sleeping. Both need careful planning and strong attachment.
Designing The Ladder
Choose a ladder style that fits your space. Straight ladders are simple and save space. Angled ladders are easier to climb. Use sturdy wood or metal for strength. Make sure steps are wide and flat. Space steps evenly for safe climbing. Sand edges smooth to avoid splinters. Attach non-slip pads to the bottom for grip.
Attaching Guardrails For Safety
Guardrails must be tall enough to prevent falls. Attach guardrails on both sides of the bed. Use strong screws and brackets for secure fixing. Place guardrails close to the mattress edge. Leave a small gap for comfort and movement. Check that no gaps are wide enough to trap fingers. Test guardrails by applying pressure to ensure stability.
Final Assembly And Inspection
The final assembly and inspection of your loft bunk bed is the last step before use. This stage ensures the bed is strong and safe. Take your time and follow each step carefully. Proper assembly prevents accidents and extends the bed’s life.
Joining All Components
Start by connecting the main frame parts securely. Use screws, bolts, or brackets as instructed. Tighten all fasteners but do not over-tighten. Over-tightening can damage the wood or metal. Align each part carefully for a perfect fit. Check that the ladder and guardrails attach firmly. Each piece must fit tight with no gaps. Double-check the instructions to avoid missing pieces.
Checking Stability And Safety
Test the bed’s stability by gently shaking it. The bed should not wobble or shift. Press on different areas to confirm solid support. Inspect guardrails and ladder for secure attachment. Ensure no sharp edges or splinters remain. Sand rough spots if necessary. Verify the mattress fits well without gaps. Lastly, review all bolts and screws one more time. Safety comes first for a comfortable sleep space.
Painting And Finishing Touches
Painting and finishing touches make your loft bunk bed look great and last longer. These steps protect the wood and give your bed a smooth, clean surface. They also add color and style to match your room.
Choose the right paint or stain to fit your design and wood type. Apply finishes carefully to avoid drips and uneven spots. Finally, add a comfy mattress and fun accessories to complete your bed.
Choosing Paint Or Stain
Pick paint for bright colors and full coverage. Paint hides wood grain and covers imperfections well. Stain shows the wood’s natural beauty and texture. It gives a warm, classic look.
Use non-toxic, child-safe paint or stain for safety. Consider the room’s theme and your personal taste. Test a small wood piece first to see the color.
Applying Finishes
Start with light sanding to smooth the wood surface. Use a brush or roller for even paint or stain application. Apply thin coats to avoid drips and runs.
Let each coat dry fully before adding another. Lightly sand between coats for a smooth finish. Seal with clear varnish or polyurethane for extra protection.
Adding Mattress And Accessories
Choose a mattress that fits the loft bed size exactly. Pick a firm mattress for good support and safety. Add bedding in colors and patterns that match your style.
Include accessories like pillows, lights, or storage bins. These make the bed cozy and functional. Secure accessories properly to avoid accidents.
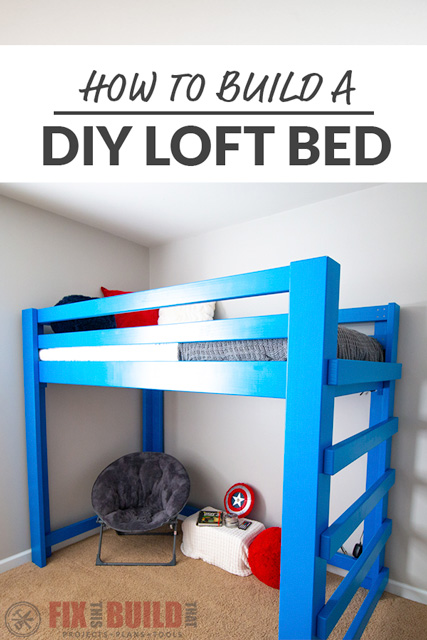
Credit: fixthisbuildthat.com
Frequently Asked Questions
What Materials Are Needed To Build A Loft Bunk Bed?
You need sturdy wood, screws, bolts, a drill, sandpaper, and a measuring tape. Quality materials ensure safety and durability. Choose hardwood like oak or pine for strength and longevity.
How Long Does It Take To Build A Loft Bunk Bed?
Building a loft bunk bed typically takes 6 to 10 hours. Time depends on your skill level, tools, and design complexity. Proper planning speeds up the process and ensures accuracy.
How To Ensure Loft Bunk Bed Safety?
Securely fasten all joints and use guardrails on the top bunk. Check weight limits and inspect regularly for wear or damage. Proper assembly and maintenance prevent accidents and ensure safety.
Can I Customize The Loft Bunk Bed Design?
Yes, you can customize size, color, and features like shelves or desks. Personalizing adds function and style to fit your room and needs. Use modular designs for easy adjustments.
Conclusion
Building a loft bunk bed can save space and add style. Follow each step carefully for safety and strength. Use good materials and check your measurements twice. A well-made bed lasts for years and suits many rooms. Enjoy the extra space and the fun design you create.
Small effort leads to big rewards in your home. Try this project and see the difference it makes.