Do you have a growing collection of stuffed animals taking over your space? What if you could organize them in a fun and creative way that also looks great?
Making a stuffed animal bunk bed is a simple project you can do yourself. It’s not only practical but also adds a playful touch to your room. In this guide, you’ll discover easy steps to build your own stuffed animal bunk bed that keeps your favorite toys cozy and tidy.
Ready to transform your space and impress your friends? Let’s get started!

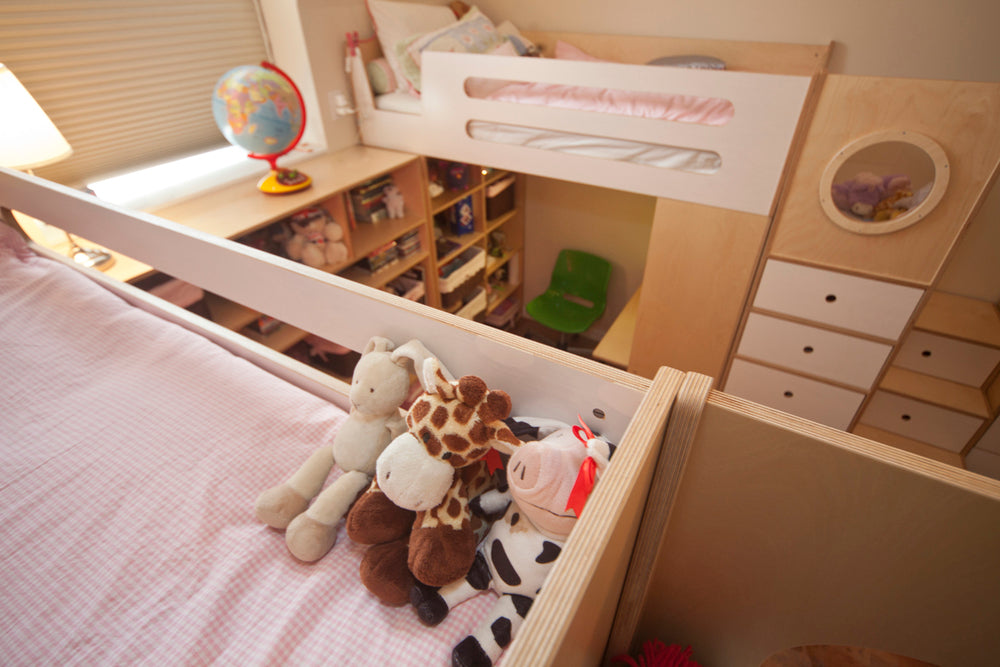
Credit: oeufnyc.com
Materials Needed
Gathering the right materials is the first step to create a stuffed animal bunk bed. Having quality supplies ensures your project looks great and lasts long. Organize everything before starting to save time and avoid mistakes.
Fabric Choices
Pick soft and durable fabric for comfort and strength. Cotton, fleece, or felt works well. Choose colors and patterns that match your style or your child’s favorite themes. Avoid slippery fabrics to keep animals from sliding.
Stuffing Options
Use polyester fiberfill for a fluffy and light feel. It is easy to shape and wash. Foam pieces provide firmer support but may be harder to handle. Avoid heavy materials that make the bed hard to move.
Tools Required
Keep scissors, sewing needles, and thread handy. A sewing machine speeds up the process but hand sewing works too. Pins help hold fabric pieces together while sewing. Measuring tape and fabric chalk make cutting precise.
Preparing The Pattern
Preparing the pattern is the first step to create a stuffed animal bunk bed. It helps to plan the size and shape before cutting fabric. A good pattern makes sewing easier and the final bed stronger. Follow these steps to prepare your pattern carefully.
Measuring Your Stuffed Animals
Start by measuring the stuffed animals that will sleep in the bunk bed. Measure their length, width, and height. Write down the biggest size to make sure the bed fits all animals. Add a little extra space for comfort. Accurate measurements help to avoid mistakes later.
Drawing The Bunk Bed Design
Use your measurements to draw the bunk bed design on paper. Sketch the bottom and top bunks, the ladder, and side rails. Keep lines simple and clear. Make sure the height between bunks is enough for the animals to fit. Use a ruler to keep straight lines. This plan guides your cutting and sewing.
Cutting The Fabric
Place the paper pattern on the fabric. Pin it down to stop slipping. Cut the fabric carefully along the edges of the pattern. Use sharp scissors for clean cuts. Cut two pieces for each bed part, front and back. Double check all pieces before moving to sewing.
Sewing The Bed Base
Sewing the bed base is an important step in making a stuffed animal bunk bed. This part holds the mattress and the toys. It must be strong and soft. You will work on the bottom bunk first. Follow these steps carefully to create a sturdy base.
Assembling The Bottom Bunk
Cut two pieces of fabric for the bottom bunk. They should be the same size. Place them together with the right sides facing each other. Pin the edges to keep the fabric in place. Sew around three sides, leaving one side open. This open side will allow you to add padding later.
Adding Padding
Turn the sewn fabric inside out so the right side is outside. Fill the inside with soft padding or stuffing. Use enough to make it comfortable for your stuffed animals. Spread the padding evenly. Push the corners to fill them well. This step makes the bed soft and cozy.
Closing The Seams
Fold the open edges inside to hide raw fabric. Pin the edges neatly. Sew the open side closed with a straight stitch. Double stitch for extra strength. Make sure the seams are tight and smooth. This will keep the padding inside and make the bed last longer.

Credit: www.youtube.com
Creating The Upper Bunk
Creating the upper bunk is a key step in building a stuffed animal bunk bed. It must be strong and safe to hold your toys. This part gives your stuffed animals a cozy place to rest on top. Follow these simple steps to make a sturdy upper bunk.
Building The Frame
Start by cutting four pieces of wood or sturdy cardboard. These will be the sides of your frame. Join the pieces to form a rectangle. Make sure all corners are right angles. Use glue or small nails to hold the frame tight. The frame should be big enough for the upper mattress. Check the size by placing the mattress inside the frame.
Attaching Support Straps
Support straps keep the upper bunk steady. Cut strong fabric strips or use ribbon. Attach the straps under the frame’s corners. Use glue or staples to fix them firmly. The straps will hang down and hold the bunk in place. This makes sure the upper bunk does not move or fall.
Securing The Upper Mattress
Place the mattress inside the frame. Use small pieces of Velcro or double-sided tape. Stick them to the mattress and frame corners. This stops the mattress from sliding. Check that the mattress fits snugly. A secure mattress keeps your stuffed animals safe and comfy.
Adding Details
Adding details brings life to your stuffed animal bunk bed. Details make the bed cozy and fun. Small touches create a special space for your toys. These ideas will help you decorate with simple crafts and ideas.
Making Pillows And Blankets
Create tiny pillows using soft fabric scraps. Cut small squares or rectangles for pillow shapes. Sew or glue the edges, leaving a small opening. Stuff with cotton or fabric pieces, then close it up. For blankets, use a larger piece of fabric. Choose colors and patterns your stuffed animals would like. Trim the edges with a small stitch or fabric glue. These soft items make the bed look comfy and warm.
Decorating The Bed Frame
Paint the frame with bright or pastel colors. Use non-toxic paint to keep it safe. Add patterns like stripes, dots, or stars with a small brush. Stick on stickers or craft foam shapes for extra fun. Wrap thin ribbons or yarn around the posts. Tie little bows at the corners for charm. These touches make the bed frame stand out and look playful.
Personalizing With Accessories
Use tiny baskets or boxes for toy storage. Add small rugs or mats at the bed’s base. Create mini books or magazines for your stuffed friends. Attach a small lamp made from craft supplies. Place a tiny clock or picture frame nearby. These accessories add personality and make the bed feel like home.
Credit: casakids.com
Frequently Asked Questions
What Materials Are Needed For A Stuffed Animal Bunk Bed?
You need cardboard or wood, glue, scissors, paint, and fabric. Choose sturdy materials for durability. Soft fabric adds comfort and style. Gather child-safe supplies to ensure safety during play.
How Do You Assemble A Stuffed Animal Bunk Bed?
Cut the base and sides to size. Attach pieces with glue or screws. Allow glue to dry completely. Add fabric cushions for comfort. Ensure stability before placing stuffed animals on it.
Can Kids Help Make A Stuffed Animal Bunk Bed?
Yes, kids can help with safe tasks like painting or arranging cushions. Supervise when using scissors or glue. Involving children makes the project fun and educational. It encourages creativity and teamwork.
How To Decorate A Stuffed Animal Bunk Bed Creatively?
Use bright paint and patterned fabric for a fun look. Add stickers, small pillows, or fairy lights. Personalize it with your child’s favorite colors or themes. This makes the bed more appealing and unique.
Conclusion
Making a stuffed animal bunk bed is simple and fun. You only need a few materials and some creativity. This project saves space and keeps toys organized. Kids will love their new cozy spot for stuffed friends. Take your time and enjoy building it step by step.
Soon, your room will look neat and playful. Try adding different colors or decorations for a personal touch. This idea brings joy and order to any child’s space. Give it a try and see the smiles it brings!