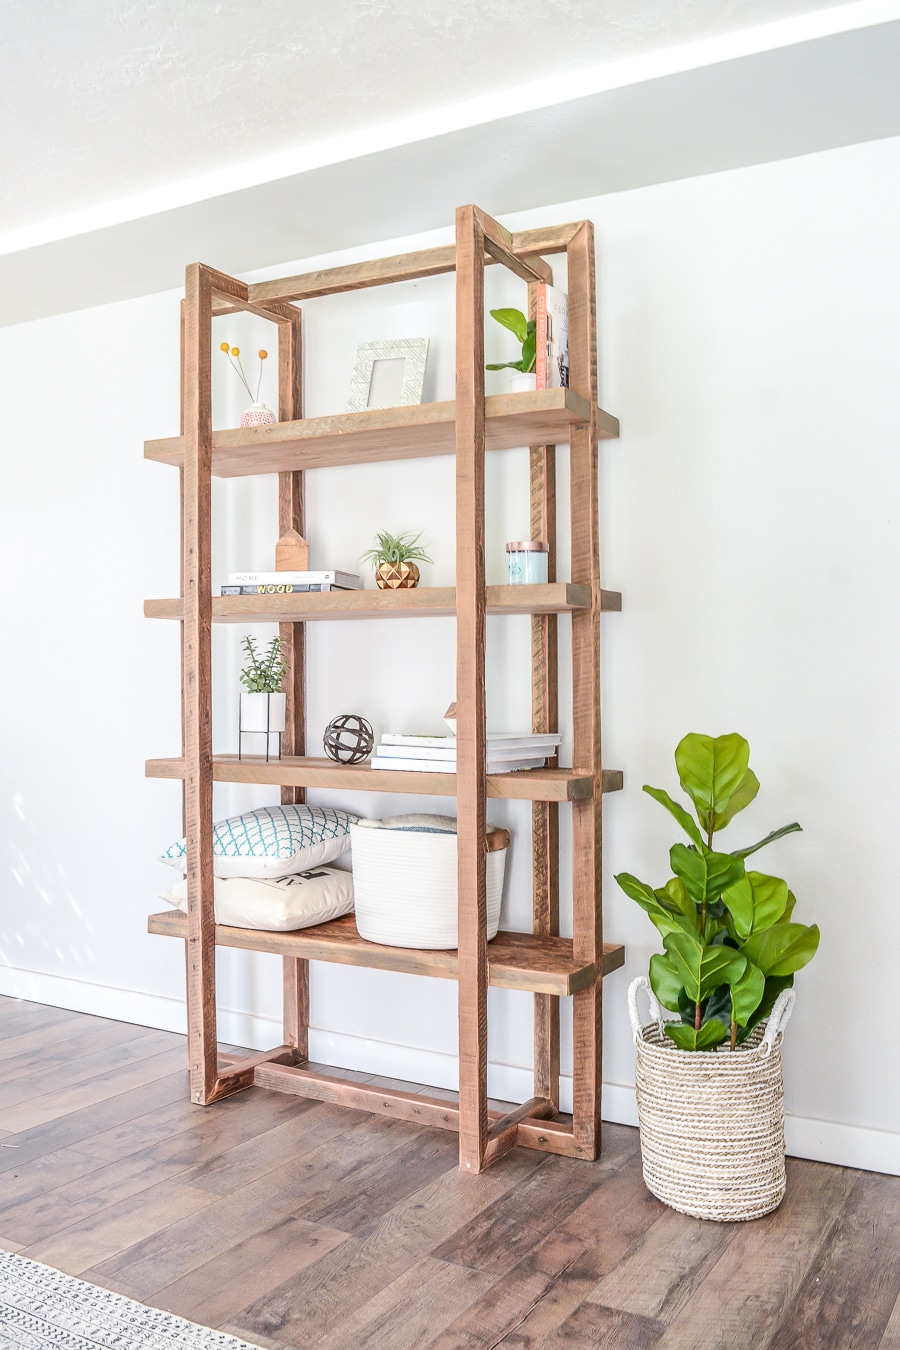
Are you tired of searching for the perfect bookshelf that fits your space and style? What if you could create one yourself, tailored exactly to your needs?
Building your own bookshelf is easier than you think, and it gives you full control over the size, design, and finish. Imagine the satisfaction of proudly displaying your favorite books on a shelf you made with your own hands. In this guide, you’ll discover simple steps and tips that make the process smooth and enjoyable.
Ready to turn your ideas into a beautiful, sturdy bookshelf? Let’s get started!
Credit: jenwoodhouse.com
Choosing The Right Materials
Choosing the right materials is key to building a strong bookshelf. The materials affect how it looks and how long it lasts. Pick materials that fit your style and budget. Good choices make the project easier and the shelf better.
Types Of Wood
Wood is the most common material for bookshelves. Pine is soft and easy to cut. Oak is hard and very strong. Cherry wood has a rich color and smooth texture. MDF is a cheaper, smooth option but not as durable. Choose wood that matches your needs and tools.
Tools And Supplies Needed
Basic tools include a saw, drill, and screwdriver. Sandpaper smooths rough edges. Wood glue helps hold pieces together. Screws and nails keep the shelf sturdy. A tape measure and pencil help with accurate cuts. Prepare all tools before starting.
Selecting Finishes
Finishes protect wood and add beauty. Stains change the wood color but show the grain. Paint covers the wood completely and adds color. Clear varnish keeps the natural look and adds shine. Choose a finish that fits your room’s style and protects the shelf well.
:max_bytes(150000):strip_icc()/dominiquegebruinsta-35b11dd4f037417980649e06e17c4027.jpg)
Credit: www.thespruce.com
Planning Your Bookshelf Design
Planning your bookshelf design is the first step to a successful build. It helps you create a piece that fits perfectly and looks great. Careful planning saves time and avoids mistakes later. Think about the space you have and what you want to store. A clear plan makes the building process easier and more enjoyable.
Measuring Your Space
Start by measuring the wall or area for your bookshelf. Use a tape measure and write down the height, width, and depth. Check for any obstacles like light switches or vents. Double-check your numbers to avoid errors. Accurate measurements ensure your bookshelf fits well in the space.
Sketching The Layout
Draw a simple sketch of your bookshelf design. Use graph paper or a digital tool to keep lines straight. Include the overall shape and position of shelves. Mark the measurements you took earlier. This sketch helps you visualize the final product and plan your cuts.
Determining Shelf Sizes
Decide how tall and deep each shelf should be. Think about the items you will store, like books or decorations. Make shelves tall enough for your tallest items. Keep shelf depth suitable for your space and storage needs. Proper shelf sizes keep your bookshelf functional and neat.
Cutting And Preparing Wood
Cutting and preparing wood is a key step to build your own bookshelf. It shapes the wood into pieces that fit perfectly. Precise cutting saves time and effort later. Proper preparation makes the wood safe and smooth. This section guides you through safe cutting, sanding, and checks before assembly.
Safe Cutting Techniques
Always wear safety goggles and gloves before cutting. Use a stable surface to keep wood steady. Mark your cutting lines clearly with a pencil. Cut slowly to avoid mistakes and splinters. Use a saw suited for your wood type. Keep hands away from the blade at all times.
Sanding And Smoothing
Sand edges after cutting to remove rough spots. Start with coarse sandpaper, then use finer grit. Smooth wood feels better and prevents splinters. Sand all surfaces that will be visible. Clean dust off the wood with a cloth after sanding.
Pre-assembly Checks
Check all wood pieces for correct size and shape. Ensure edges are straight and smooth. Test fit pieces without glue or nails first. Look for cracks or damage that may weaken the shelf. Fix any issues before starting assembly.
Assembling The Bookshelf
Assembling the bookshelf is the stage where your project takes shape. It brings all parts together to form a solid structure. Careful work here ensures your bookshelf lasts long and holds books safely.
Joining Pieces Together
Start by aligning the wooden panels. Match edges and corners precisely. Use clamps to hold pieces steady. Check that shelves are level before moving on. A good fit reduces gaps and keeps the bookshelf strong.
Using Nails And Screws
Choose screws for a tighter hold. Nails work well for quick fastening. Pre-drill holes to avoid wood splitting. Drive screws in straight and flush with the surface. Secure all joints firmly but avoid over-tightening.
Ensuring Stability
Add support brackets at corners. Use wood glue on joints for extra strength. Test the bookshelf by gently shaking it. Adjust and reinforce any loose parts. A stable bookshelf keeps your books safe and your room tidy.
Finishing Touches
Finishing touches give your bookshelf a polished, complete look. They protect the wood and add style. These final steps make your project last longer and look great in any room.
Applying Paint Or Stain
Choose paint or stain that matches your room’s style. Paint covers the wood completely, giving a smooth, colorful finish. Stain soaks into the wood, showing the grain and adding warmth.
Apply thin, even coats with a brush or cloth. Let each coat dry before adding the next. This creates a strong, beautiful finish.
Adding Decorative Elements
Decorative touches make your bookshelf unique. Use trim, molding, or stickers for extra style. You can add metal brackets or small carvings for charm.
Keep decorations simple to match your room’s look. This step lets your personality shine through the design.
Protecting The Surface
Protect your bookshelf with a clear topcoat. Polyurethane or varnish guards against scratches and spills. Apply two or three coats for strong protection.
Let each layer dry fully before the next. This keeps your bookshelf looking new for years.

Credit: www.youtube.com
Maintenance And Care Tips
Building your own bookshelf is just the first step. Taking care of it ensures it lasts long and stays beautiful. Regular maintenance keeps the wood strong and the structure steady. Simple care routines prevent costly repairs later on.
Cleaning Your Bookshelf
Dust your bookshelf often. Use a soft cloth to avoid scratches. For wooden shelves, a slightly damp cloth works best. Avoid soaking the wood to prevent warping. Clean spills immediately to stop stains. Use mild soap if needed, then dry the surface well.
Preventing Damage
Keep heavy items balanced to avoid tilting. Avoid placing your bookshelf in direct sunlight. Sunlight can fade and dry out the wood. Use coasters or mats under plants and drinks. Keep pets and sharp objects away from the surface. Tighten screws and bolts regularly to keep it stable.
Repairing Minor Issues
Fix small scratches with wood polish or crayons. For loose shelves, reapply wood glue and clamp it. Fill small holes with wood filler and sand smooth. Replace any broken screws or brackets quickly. Regular checks help catch problems early. Small repairs keep your bookshelf strong and neat.
Frequently Asked Questions
What Materials Do I Need To Build A Bookshelf?
You need wood, screws, nails, sandpaper, wood glue, a saw, drill, and measuring tape. Choose quality wood for durability and aesthetics.
How Much Time Does Building A Bookshelf Take?
Building a basic bookshelf usually takes 3 to 5 hours. Complex designs may require more time and skill.
What Tools Are Essential For Bookshelf Construction?
Essential tools include a saw, drill, screwdriver, measuring tape, level, and clamps. These ensure accuracy and safety during building.
How Do I Ensure My Bookshelf Is Sturdy?
Use strong wood, secure joints with screws and glue, and add support braces. Proper assembly prevents wobbling and collapse.
Conclusion
Building your own bookshelf brings pride and saves money. Start with a clear plan and the right tools. Take your time cutting and assembling each piece carefully. Choose wood that fits your style and needs. Remember, practice improves your skills and results.
Enjoy the process and the final product in your home. A handmade bookshelf holds both books and memories. Keep learning and trying new projects to grow your skills.
