Are you ready to create the perfect outdoor furniture table that fits your style and space? Building your own table isn’t just about saving money—it’s about crafting something unique that you can proudly call your own.
Imagine enjoying warm evenings with friends and family around a table you built yourself. In this guide, you’ll discover simple, step-by-step instructions that make the process easy and fun, even if you’ve never built furniture before. Keep reading, and soon you’ll have a sturdy, beautiful outdoor table ready for countless memorable moments.

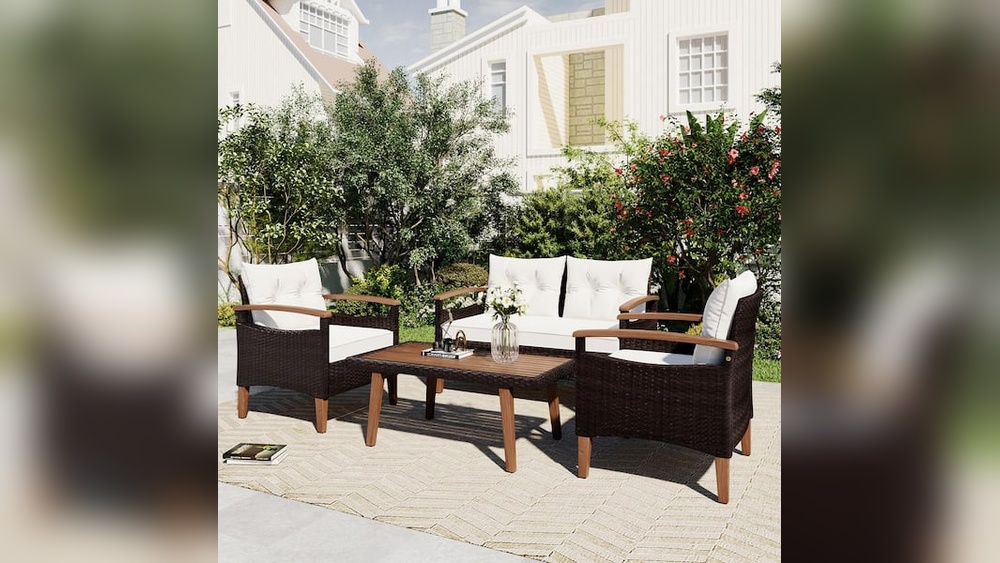
Credit: lepaystchad.com
Choosing The Right Materials
Choosing the right materials is key to building a strong outdoor furniture table. The materials affect the table’s look, strength, and how long it lasts outside. Some materials resist weather better than others. Picking the right one saves time and money in the long run.
Wood Types For Durability
Wood is a popular choice for outdoor tables. Teak stands out for its natural oils that resist water and insects. Cedar is lighter and has a nice smell that keeps bugs away. Redwood resists decay and looks great over time. Pine is cheaper but needs good sealing to last outdoors. Each wood type has its pros and cons for weather and wear.
Metal And Composite Options
Metal adds a modern look and strong support. Aluminum does not rust and is lightweight. Steel is very strong but needs a rust-resistant coating. Composite materials mix wood fibers and plastic. They resist moisture and do not crack or warp easily. These materials often require less care than wood.
Finishes And Weatherproofing
Finishes protect your table from rain and sun damage. Use outdoor paint or varnish for a smooth finish. Sealants block water and prevent wood from swelling. Reapply finishes every year for best protection. Weatherproofing extends the life of all materials.
Planning Your Table Design
Planning your table design sets the foundation for a successful outdoor furniture project. Careful planning helps you create a table that fits your space and meets your needs. It saves time and avoids costly mistakes. Start by thinking about the size, shape, and tools needed. Sketching your ideas brings clarity and guides your work.
Selecting The Size And Shape
Choose a size that suits your outdoor area. Measure the space to ensure the table fits comfortably. Consider how many people will use the table. Decide on a shape that matches your style and function. Rectangular tables offer more seating, while round ones create a cozy feel. Square tables work well for small spaces.
Sketching Your Layout
Draw a simple sketch of your table design. Use graph paper to keep lines straight and measurements clear. Mark the table’s dimensions and shape. Include details like leg placement and tabletop thickness. Sketching helps visualize the project and spot any issues early. It also guides you during construction.
Gathering Tools And Supplies
List all tools and materials before starting. Common tools include a saw, drill, measuring tape, and screws. Choose weather-resistant wood like cedar or teak. Get sandpaper and outdoor paint or sealant. Having everything ready avoids delays and makes the building process smoother.
Cutting And Preparing Wood
Cutting and preparing wood is the first step to building a strong outdoor table. It shapes the pieces you will join together. Proper cutting ensures the table fits well and lasts long. Preparing the wood makes it safe and smooth to use. This part takes time but sets the base for the whole project.
Measuring And Marking
Measure the wood carefully before cutting. Use a tape measure for exact lengths. Mark the cutting lines with a pencil. Double-check all measurements to avoid mistakes. Clear, straight lines help guide your saw. Mark all pieces needed for the table frame and top.
Safe Cutting Techniques
Use the right saw for your wood type and size. Always wear safety goggles and gloves. Keep your hands away from the blade. Cut slowly and steadily along the marked lines. Secure the wood with clamps to prevent slipping. Follow safety rules to avoid accidents and injuries.
Sanding For Smooth Surfaces
Sand the wood edges after cutting to remove splinters. Start with coarse sandpaper for rough areas. Switch to finer sandpaper for a smooth finish. Sand all surfaces that will be visible or touched. Clean off dust with a brush or cloth. Smooth wood improves the table’s look and feel.
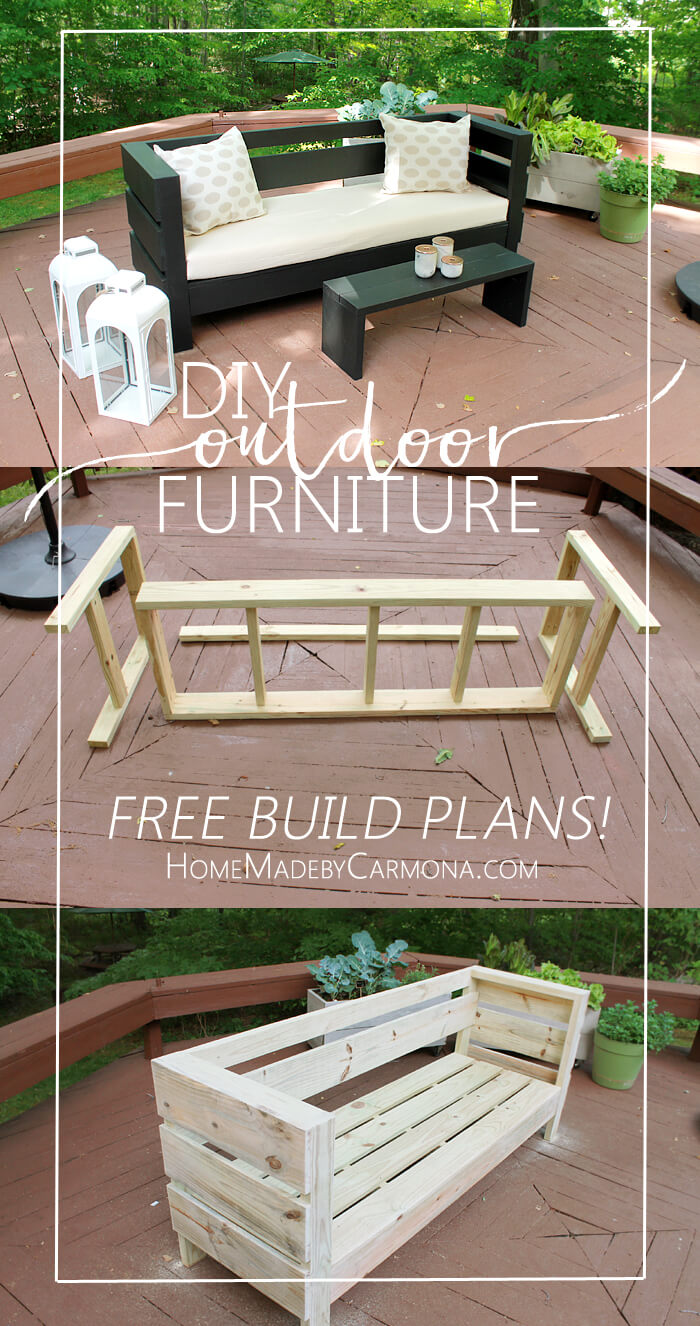
Credit: homemadebycarmona.com
Assembling The Table Frame
Assembling the table frame is the next important step in building your outdoor furniture table. This process creates the base that holds the tabletop securely. A strong frame ensures your table lasts long and stays sturdy during use.
Focus on connecting the legs and supports carefully. Precise assembly helps keep the table stable and safe. Use the right tools and hardware for better results. Follow each step with attention to detail.
Joining Legs And Supports
Start by positioning the legs upright. Attach the horizontal supports between the legs. Use clamps to hold pieces in place if needed. Check the measurements to keep the frame square. Tight joints help the table resist wobbling.
Using Screws And Brackets
Choose weather-resistant screws for outdoor use. Pre-drill holes to prevent wood from splitting. Secure the legs and supports with metal brackets for extra strength. Tighten all screws firmly but avoid over-tightening. Correct hardware improves the frame’s durability.
Ensuring Stability And Leveling
Place the frame on a flat surface. Check each leg for even contact with the ground. Adjust by sanding or adding small pads under shorter legs. Test stability by pressing gently on the frame. A level and steady frame is essential before adding the tabletop.
Attaching The Tabletop
Attaching the tabletop is a key step in building your outdoor furniture table. This part gives your table its surface and strength. It needs careful work to make sure the top is steady and smooth. Follow these steps to attach the tabletop right.
Aligning Planks Correctly
Start by laying out the planks side by side. Check the edges to make sure they fit well. The planks should be straight and tight together. Avoid gaps or uneven edges. Use clamps to hold the planks in place. This keeps the tabletop steady for the next steps.
Securing With Fasteners
Choose screws or nails that work well for outdoor use. Drill pilot holes to stop the wood from splitting. Attach the planks to the frame with fasteners. Space them evenly to give strong support. Do not over-tighten screws to avoid damage. Fasteners keep the tabletop firmly fixed.
Checking For Evenness
Use a level tool to check the tabletop surface. Look for any bumps or low spots. Sand down rough or uneven areas carefully. Ensure the surface is flat for comfort and safety. A smooth tabletop looks better and lasts longer outdoors.
Finishing Touches
Finishing touches make your outdoor table look complete and protect it from weather damage. These final steps add beauty and durability. Careful attention here ensures your table lasts longer and stays attractive.
Applying Sealant Or Paint
Choose a sealant or paint designed for outdoor wood. Sealants protect from moisture and sun damage. Paint adds color and a strong protective layer.
Apply evenly with a brush or roller. Let the first coat dry fully. Add a second coat for better protection. Make sure all surfaces, including edges, are covered.
Adding Decorative Elements
Decorative elements give your table a personal touch. Consider stencils or simple patterns with outdoor paint. Attach small metal or wooden accents for style.
Use waterproof glue or screws to secure decorations. Keep designs simple to avoid damage from rain or sun. Decorative details create charm and uniqueness.
Maintaining Your Outdoor Table
Regular maintenance keeps your table in good shape. Clean it with mild soap and water regularly. Avoid harsh chemicals that can damage the finish.
Reapply sealant or paint every year or two. Check for cracks or loose screws and fix them quickly. Cover the table or store it inside during harsh weather.
Troubleshooting Common Issues
Troubleshooting common issues helps keep your outdoor furniture table strong and beautiful. Small problems can turn big if not fixed early. Knowing simple fixes saves time and money. This guide covers easy ways to handle typical problems with outdoor tables.
Fixing Wobbly Legs
Wobbly legs make a table unsafe and annoying. First, check the screws and bolts. Tighten loose fasteners with a screwdriver or wrench. Use wood glue on loose joints for extra hold. Add small shims under uneven legs to balance the table. Test the stability after each step to ensure it stands firm.
Preventing Wood Warping
Wood warps due to moisture and heat changes. Apply a good outdoor wood sealant to protect against water. Store the table in shade or cover it during rain. Use straight, dry wood when building to reduce warping risk. Regularly check the wood for signs of bending or splitting.
Addressing Surface Damage
Outdoor tables face scratches and stains often. Sand rough or damaged areas lightly with fine sandpaper. Clean the surface before applying outdoor paint or stain. Use a protective finish to guard against future damage. Repair small cracks with wood filler and smooth it out. Keep the surface clean to maintain its look.

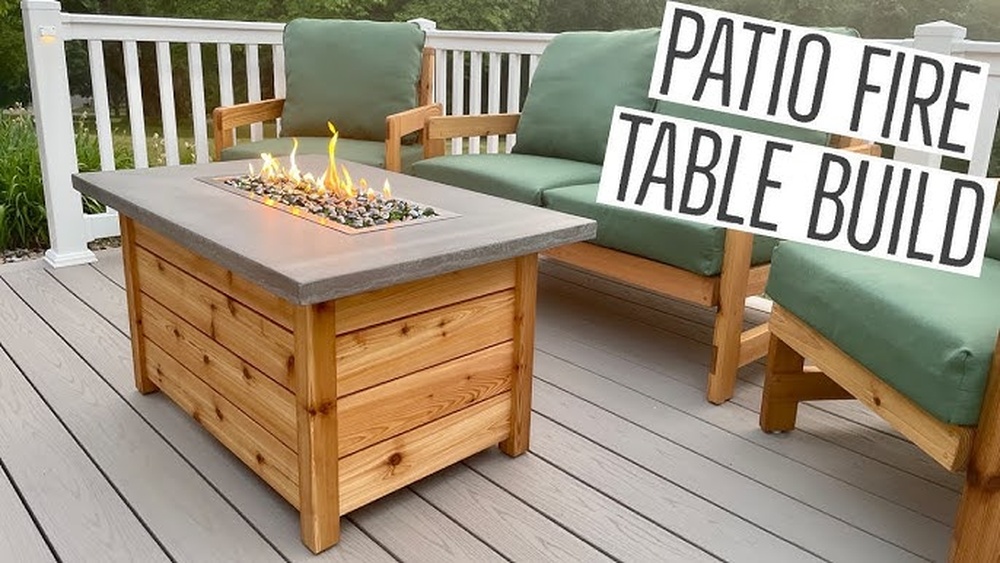
Credit: diyhuntress.com
Frequently Asked Questions
What Materials Are Best For Outdoor Furniture Tables?
Teak, cedar, and treated pine are ideal for outdoor tables. They resist weather and insects well. Metal and recycled plastic also offer durability and low maintenance.
How Do I Protect My Outdoor Furniture Table?
Use weatherproof sealant or varnish to protect wood surfaces. Cover the table when not in use. Clean regularly to prevent dirt and mold buildup.
What Tools Are Needed To Build An Outdoor Table?
Basic tools include a saw, drill, measuring tape, screws, and sandpaper. Clamps and a level help ensure accuracy and stability during assembly.
How Long Does It Take To Build An Outdoor Table?
Building a simple outdoor table typically takes 4 to 8 hours. Time varies based on design complexity and your experience level.
Conclusion
Building an outdoor furniture table can be a fun project. It takes some planning, tools, and patience. Choose the right wood and materials for weather resistance. Follow steps carefully to ensure a strong, lasting table. Enjoy the satisfaction of using something you made yourself.
This project adds value and charm to your outdoor space. Give it a try and see how rewarding it feels. Simple tools and effort can create a beautiful, useful table. Your outdoor area will look great and feel inviting.