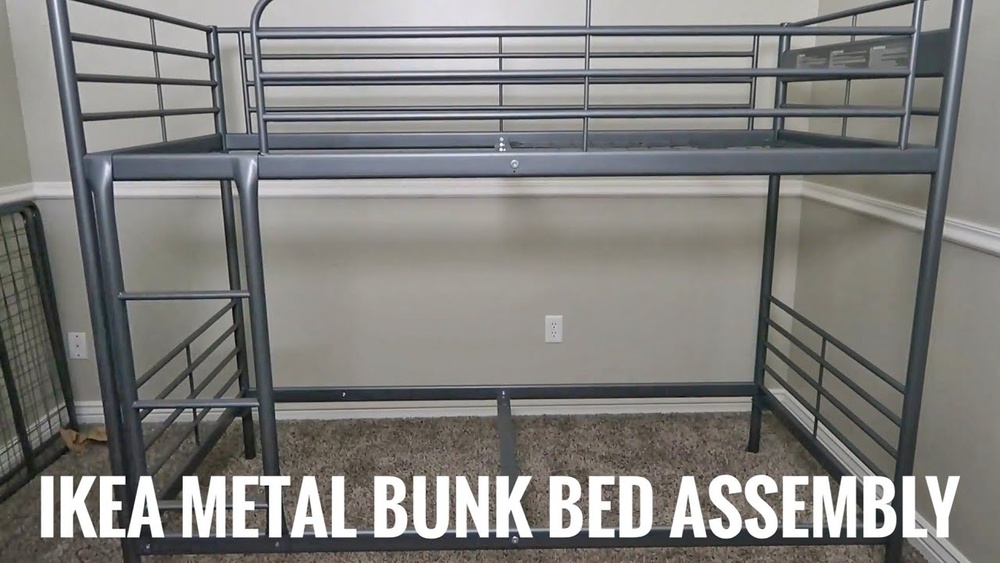
Are you ready to take apart your metal bunk bed but don’t know where to start? Dismantling a metal bunk bed might seem tricky, but with the right steps, you can do it quickly and safely.
Whether you’re moving to a new place or just need extra space, knowing how to break down your bunk bed can save you time and stress. In this guide, you’ll find simple instructions that anyone can follow, even if you’ve never done it before.
Keep reading, and you’ll have your bunk bed ready to move or store in no time!

Credit: www.reddit.com
Tools Needed
Having the right tools makes dismantling a metal bunk bed easier and safer. Tools help you take apart the bed without damaging it or hurting yourself. Some tools are must-haves, while others can help but are not required. Knowing which tools to gather before you start saves time and effort.
Essential Tools
A wrench or socket set is crucial. These help remove bolts and nuts that hold the bed together. A screwdriver is also needed. Most metal bunk beds use screws that require a flathead or Phillips screwdriver.
Keep a hammer nearby. It helps tap loose parts gently without bending the metal. Pliers are useful too. They assist in holding nuts or pulling out stubborn parts.
Optional Tools
An electric drill with screwdriver bits can speed up the process. It saves effort and time removing screws. A rubber mallet works well to tap parts without causing damage.
Work gloves protect your hands from sharp edges and metal splinters. A flashlight or headlamp helps see bolts in tight or dark spots. These tools are not necessary but improve safety and convenience.
Prepare The Area
Preparing the area is the first step to safely dismantle a metal bunk bed. A tidy space helps you work smoothly and avoid accidents. Taking time to get ready saves effort later and protects your home.
Clear The Space
Remove all furniture near the bunk bed. Clear toys, clothes, and other items from the floor. Give yourself plenty of room to move and place parts. A wide, open area makes the job easier and safer.
Protect The Floor
Use old blankets or cardboard to cover the floor under the bed. This prevents scratches from metal parts or tools. Floor protection keeps your home in good shape during the dismantling process.
Remove Bedding And Mattress
Removing the bedding and mattress is the first step to dismantle a metal bunk bed. This step makes the process safe and easier. Clearing the bed also protects the mattress and bedding from damage. It helps create space for working on the frame.
Remove Pillows And Blankets
Start by taking off all pillows and blankets. Fold them neatly and set them aside. This avoids clutter and keeps the area tidy. It also prevents any items from falling during dismantling.
Lift Off The Mattress Carefully
Next, lift the mattress gently from the bunk bed. Use both hands to avoid dropping it. Place the mattress on a clean surface or against a wall. This keeps it safe from dirt and damage.
Clear The Bed Frame Completely
Double-check the bed frame for small items like toys or clothes. Remove anything left behind to prevent accidents. Now, the bed frame is ready for the next dismantling steps.
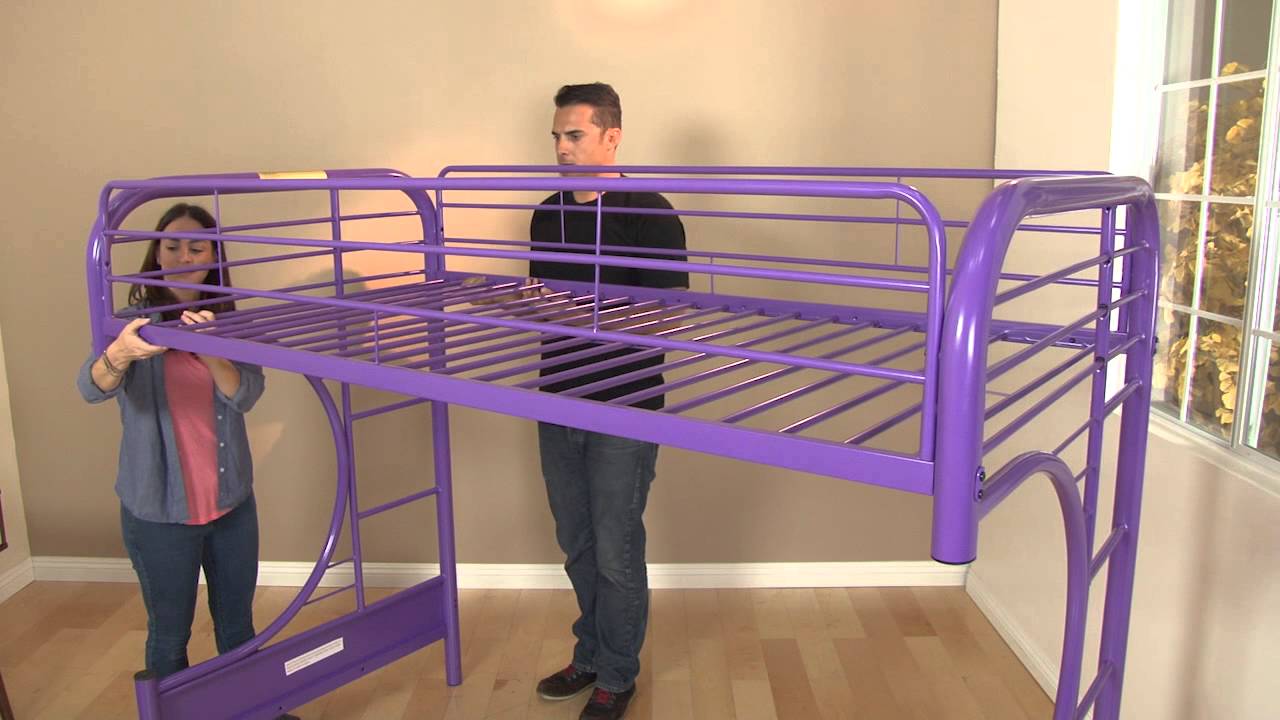
Disassemble Guard Rails
Disassembling the guard rails is an important step in taking apart a metal bunk bed. These rails keep the sleeper safe from falling out. Removing them carefully helps keep the bed parts in good shape. It also makes the whole bed easier to handle and move.
Take your time and handle each piece gently. Guard rails often attach firmly to the bed frame. Proper removal avoids damage and ensures the rails can be reused or stored safely.
Locate Fasteners
Start by finding the fasteners that hold the guard rails in place. These are usually screws, bolts, or clips. Look along the sides where the rails meet the bed frame. Use a flashlight if needed to see clearly in tight spaces.
Check both ends of the guard rails. Some beds may have extra fasteners in the middle for support. Make a note of each fastener’s position for easier reassembly later.
Unscrew Rails Carefully
Use the right tool to unscrew each fastener. A screwdriver or wrench usually works best. Turn slowly to avoid stripping the screws. Keep the screws and bolts in a small container so they don’t get lost.
Hold the rail steady as you remove the screws. This prevents sudden drops that can bend or scratch the metal. Once all fasteners are removed, gently lift the guard rail away from the bed frame.
Take Down Ladder
The ladder is a key part of a metal bunk bed. Taking it down carefully makes the whole dismantling process easier. It also helps keep the ladder safe for later use or storage.
Start by finding where the ladder is fixed to the bed. These spots hold the ladder tight. Knowing their location helps you remove the ladder without damage.
Identify Attachment Points
Look closely at the sides of the ladder. Find bolts, screws, or brackets holding it. These are usually at the top and bottom. They keep the ladder stable and secure.
Check both sides of the ladder. Sometimes, clips or hooks may also hold it in place. Use a flashlight if needed to see hidden parts clearly.
Detach Ladder
Use the right tools like a screwdriver or wrench. Remove bolts or screws carefully. Keep these small parts in a safe place for reassembly.
Hold the ladder firmly as you remove attachments. This stops it from falling suddenly. Slowly pull the ladder away from the bed frame once free.
Set the ladder aside on a flat surface. This prevents scratches or bending. Now, the ladder is ready for storage or moving.
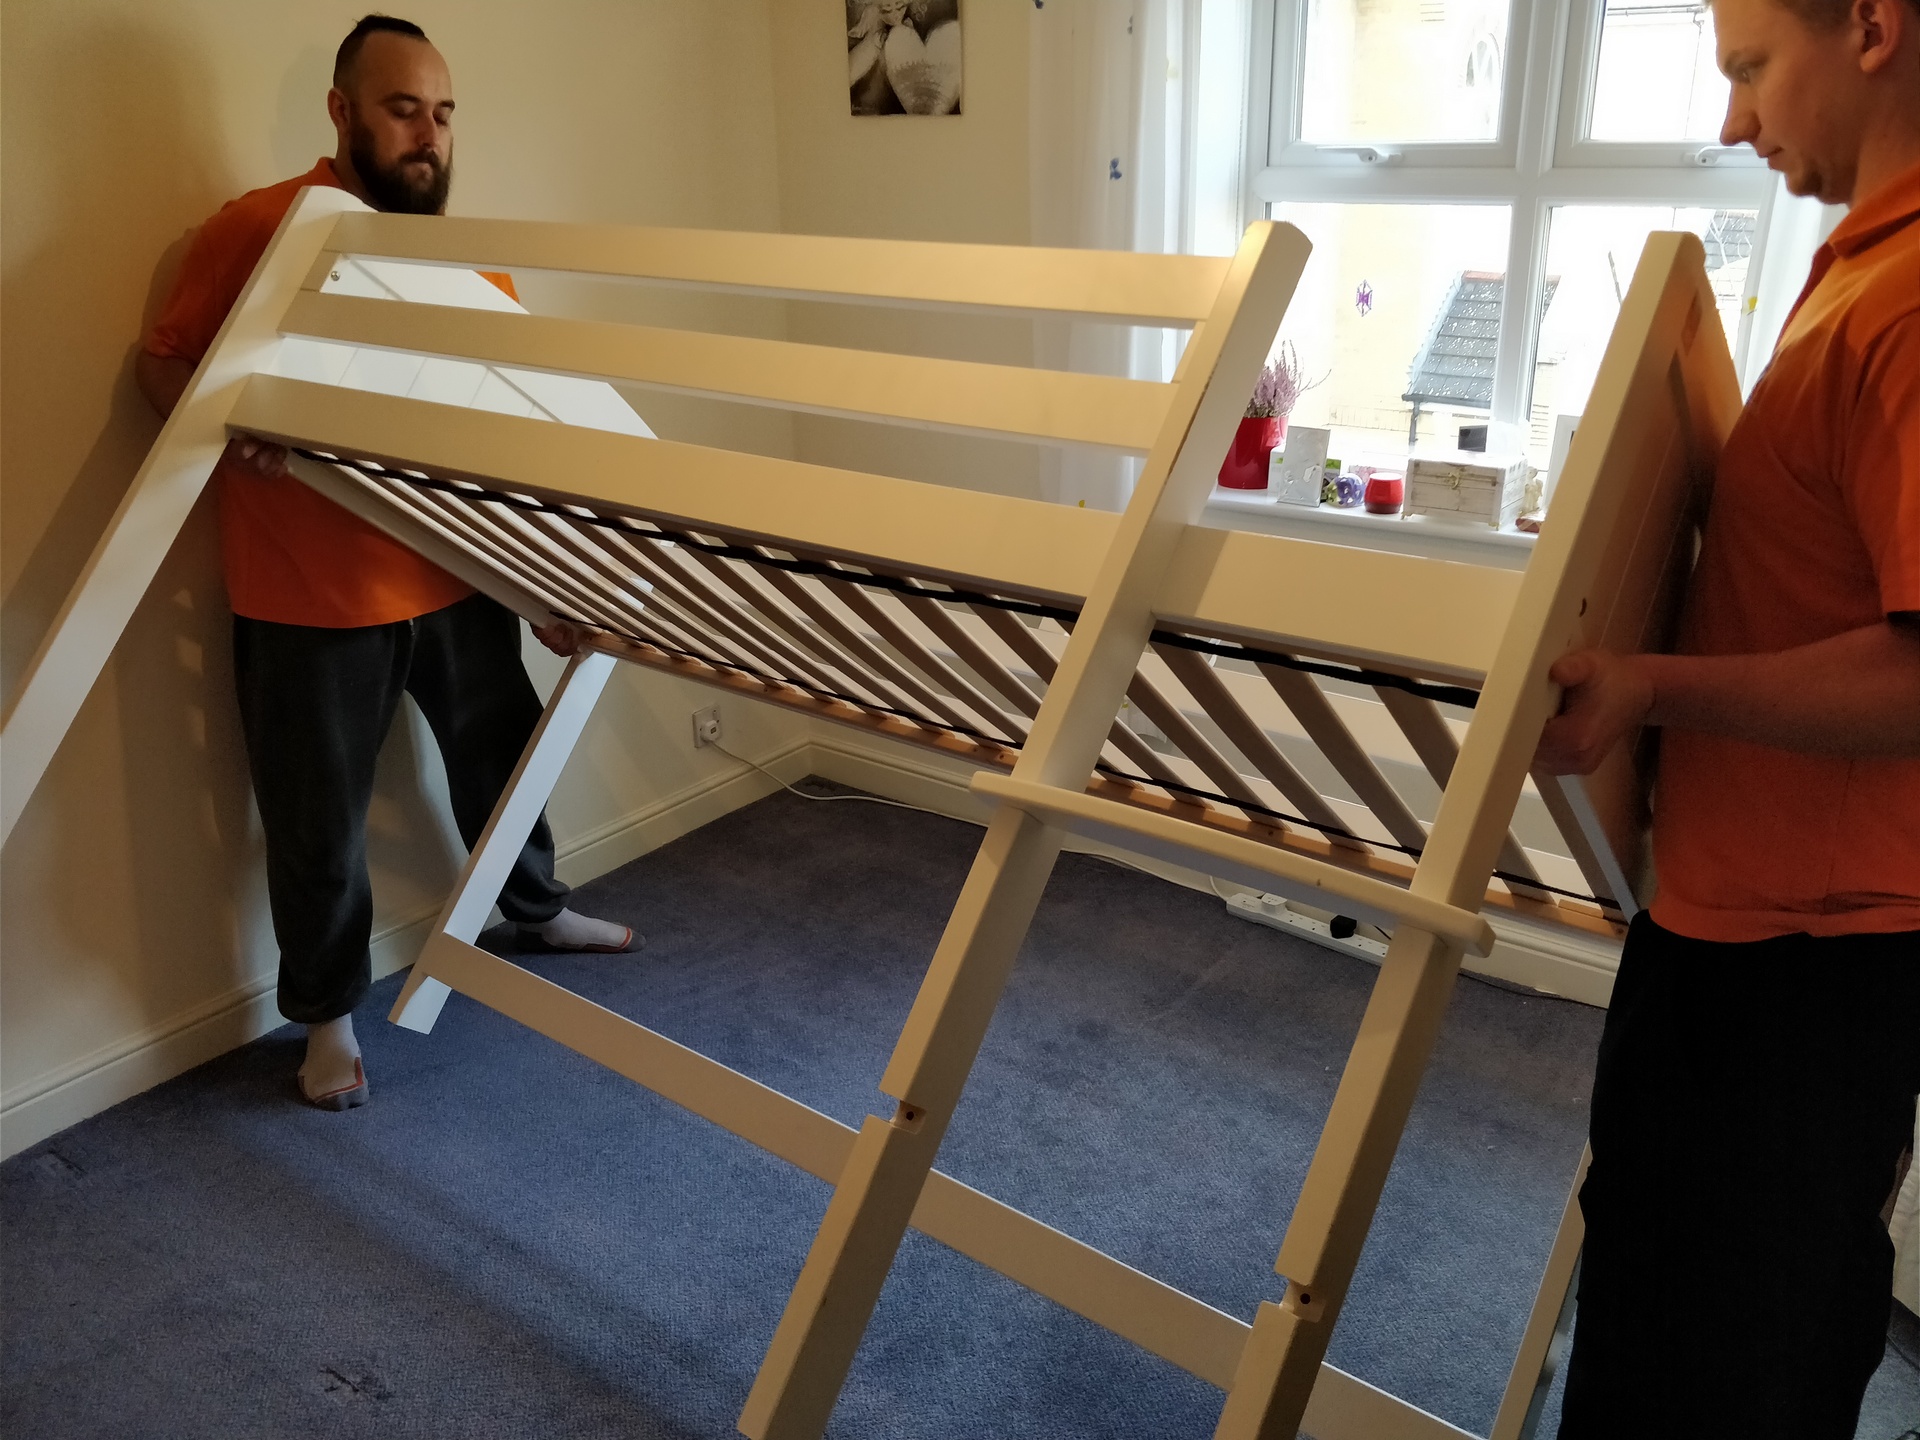
Separate Bed Frames
Separating the bed frames is an important step in dismantling a metal bunk bed. This process makes it easier to handle and store the pieces safely. Each frame must be carefully detached to avoid damage or injury.
Start by focusing on the parts that hold the frames together. Keep tools nearby and work on a flat surface for better control.
Disconnect Side Rails
Locate the side rails connecting the top and bottom frames. These rails usually attach with bolts or screws. Use a wrench or screwdriver to loosen and remove them. Hold the frame steady to prevent it from falling apart suddenly. Place the bolts and screws in a safe spot to avoid losing them. Once removed, gently separate the side rails from the frames.
Remove Support Slats
Support slats lie across the bed frames to hold the mattress. They often fit into slots or rest on ledges. Lift each slat carefully, one by one. Some slats might be fixed with screws or clips. Remove these fasteners if present. Keep the slats stacked neatly to prevent damage. Removing the slats frees the frame and makes it lighter to move.
Dismantle Bed Posts
Start by removing the mattress and bedding from the bunk bed. Unscrew the bolts holding the metal bed posts carefully. Keep all small parts in a safe place for easy reassembly.
Prepare Your Tools
Gather all tools before starting. A screwdriver and wrench usually work best. Keep a container for screws and small parts nearby. This prevents losing pieces during dismantling.
Loosen The Screws
Start by loosening the screws on each bed post. Turn screws counterclockwise. Do not remove them completely yet. Just make sure they are loose enough to move.
Remove Bed Posts
After loosening, carefully lift each bed post. Pull gently to avoid bending metal parts. If posts resist, check for hidden screws or bolts. Use the wrench to remove them.
Store Bed Posts Safely
Place all bed posts in a safe spot. Keep screws and bolts together in your container. Label parts if needed to remember their position. This helps during reassembly or transport.
Credit: removalsandstoragex.com
Organize And Store Parts
After dismantling a metal bunk bed, organizing and storing parts is key. It saves time during reassembly and keeps everything in good shape. Proper organization prevents loss and confusion.
Sort each piece carefully. Group similar parts together. This simple step makes the next use easier and faster.
Label Components
Label each part clearly. Use masking tape or sticky notes. Write the name or number of the part on the label.
Label both sides if needed. This helps identify pieces quickly. It avoids mistakes during reassembly.
Keep labels clean and legible. Replace any that get smudged or torn. Clear labeling saves frustration and effort.
Store Hardware Safely
Collect all screws, nuts, and bolts in one container. A small box or zip-lock bag works well.
Seal the container tightly to prevent spills. Store it with the labeled parts for easy access.
Keep hardware away from moisture to avoid rust. Store in a dry place like a shelf or drawer.
Safety Tips
Safety is important when dismantling a metal bunk bed. Taking precautions helps avoid accidents and injuries. Careful handling and focus keep the task smooth and safe.
Handle Tools Properly
Use the right tools for the job. Hold them firmly and keep them steady. Check tools for damage before use. Keep tools away from children. Place tools on a flat surface when not in use.
Avoid Injuries
Wear gloves to protect your hands from sharp edges. Work slowly and do not rush. Keep your workspace clean and free of clutter. Watch for pinch points between metal parts. Ask for help if the bed is heavy or hard to move.
Credit: www.youtube.com
Frequently Asked Questions
How Do I Start Dismantling A Metal Bunk Bed?
Begin by removing mattresses and bedding. Next, unscrew guardrails and ladders carefully. Use appropriate tools like a wrench or screwdriver for bolts and screws.
What Tools Are Needed To Dismantle A Metal Bunk Bed?
Common tools include a wrench, screwdriver, and possibly pliers. These help remove screws, bolts, and nuts safely and efficiently during dismantling.
Is It Safe To Dismantle A Metal Bunk Bed Alone?
Dismantling alone is possible but not recommended. Having a helper ensures safety and makes the process faster and easier.
How Should I Store Metal Bunk Bed Parts After Dismantling?
Organize bolts and screws in labeled bags. Stack metal frames flat in a dry place to prevent rust and damage.
Conclusion
Dismantling a metal bunk bed takes patience and the right tools. Follow each step carefully for safety. Keep bolts and screws in a small container to avoid losing them. Work on a flat surface to make the process easier. Taking your time helps prevent damage to the bed parts.
Now, you can move or store the bed without trouble. Simple steps lead to a smooth dismantling experience. Ready to start your project?
